文章目录
- 前言
- 使用
- 依赖引入
- 配置
- 注解使用
- controller中注解
- 实体类注解
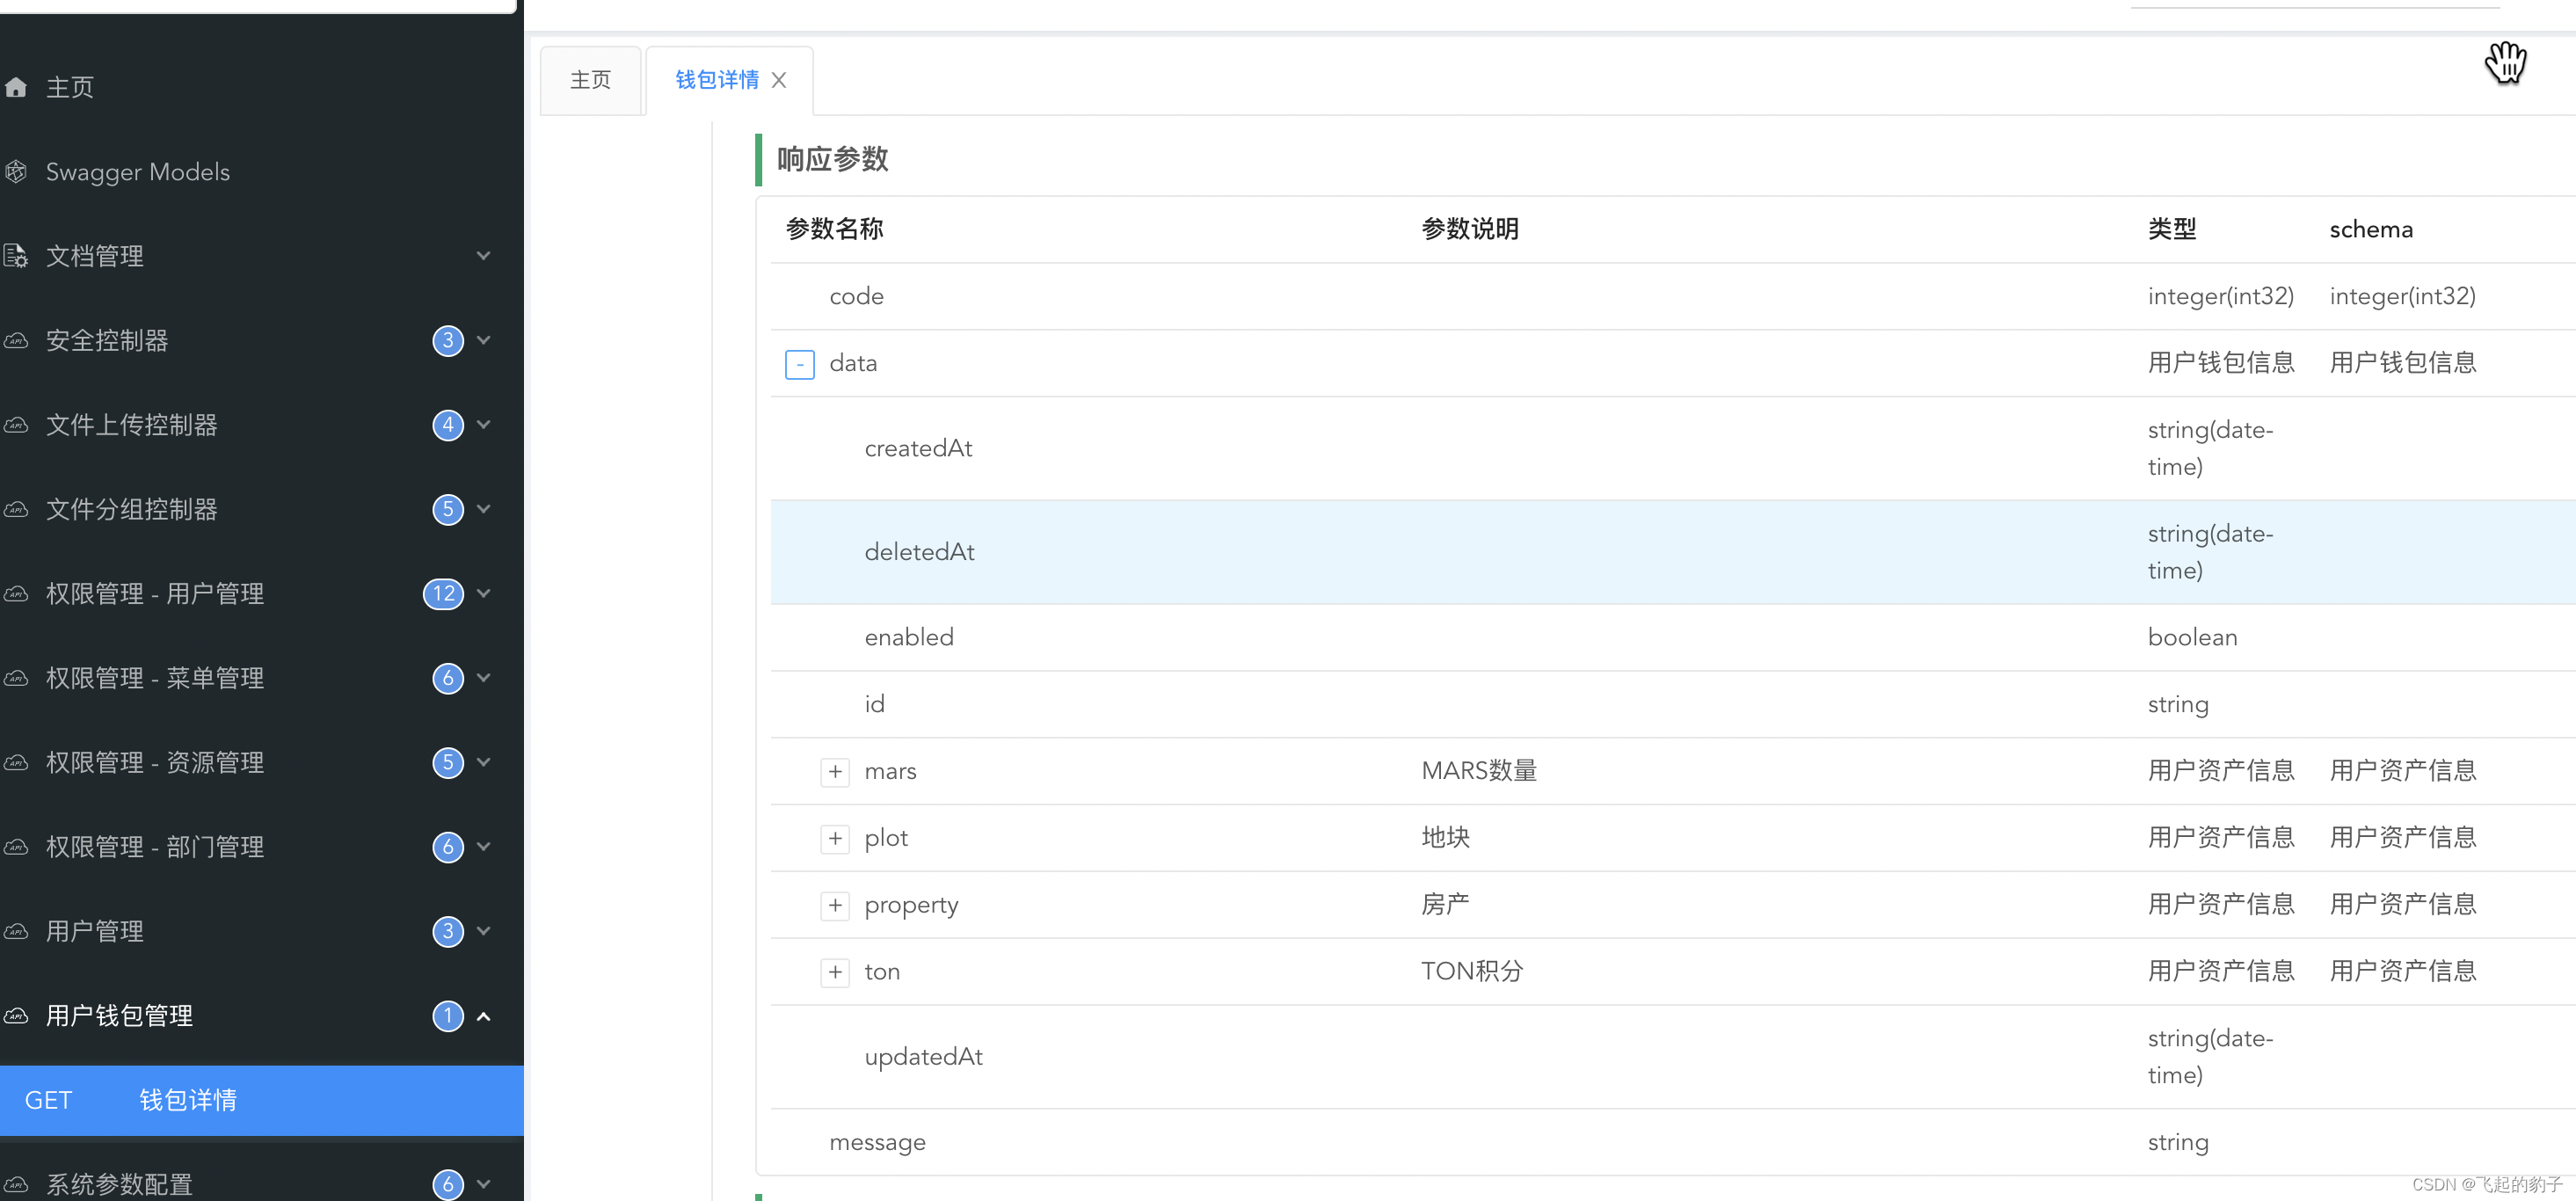
- 页面展示
前言
现在前后端分离式开发,最头疼的部分就是接口文档了。最讨厌两种人,一种是不写接口文档的人,另一种则是让我写接口文档的人。实际上,我们有一款特别好用的接口文档的工具,就是swagger。
使用
依赖引入
		<dependency>
            <groupId>com.github.xiaoymin</groupId>
            <artifactId>knife4j-spring-boot-starter</artifactId>
            <version>3.0.3</version>
        </dependency>
这里直接使用starter,就不用引入其他的依赖包,避免pom文件中有很多代码
配置
package com.hb.shop.biz.config;

import cn.hutool.core.util.StrUtil;
import org.springframework.context.annotation.Bean;
import org.springframework.context.annotation.Configuration;
import springfox.documentation.builders.ApiInfoBuilder;
import springfox.documentation.builders.PathSelectors;
import springfox.documentation.builders.RequestHandlerSelectors;
import springfox.documentation.service.ApiInfo;
import springfox.documentation.service.Contact;
import springfox.documentation.spi.DocumentationType;
import springfox.documentation.spring.web.plugins.Docket;
import springfox.documentation.swagger2.annotations.EnableSwagger2;

/**
 * swagger配置数据
 *
 **/
@Configuration
@EnableSwagger2
public class SwaggerConfig {

    @Bean
    public Docket createRestApi() {
        return new Docket(DocumentationType.SWAGGER_2)
                .apiInfo(apiInfo())
                .select()
                .apis(RequestHandlerSelectors.basePackage("扫描包的路径"))
                .paths(PathSelectors.any())
                .build();
    }

    private ApiInfo apiInfo() {
    	// concact可以随意填写
        return new ApiInfoBuilder()
                .title("文档主题")
                .description("文档描述")
                .version("1.0")
                .contact(new Contact("Cxk", "https://www.cxk.com", StrUtil.EMPTY))
                .build();
    }
}
注意,如果有配置拦截器,那么记得将忽略路径加入,这里我自定义了一个token的拦截器,忽略路径如下
 @Override
    public void addInterceptors(InterceptorRegistry registry) {
        registry.addInterceptor(getUserAuthInterceptor())
                .excludePathPatterns(ignores());
    }

    @Bean
    UserAuthInterceptor getUserAuthInterceptor() {
        return new UserAuthInterceptor();
    }

    private List<String> ignores() {
        return CollUtil.newArrayList(
                "/doc.html",
                "/favicon.ico",
                "/webjars/**",
                "/v2/**",
                "/v2/api-docs",
                "/api-docs/**",
                "/swagger-resources/**",
                "/error"
        );
    }
至此,配置部分就可以了。
注解使用
controller中注解
// Api注解用于标识,这是一个控制层,并且其中tags属性为控制层的名称
@Api(tags = "用户钱包管理")
@RequestMapping("/app/wallet")
@RestController("WalletController")
@RequiredArgsConstructor(onConstructor = @__(
        @Autowired
))
public class WalletController {

    private final IWalletService walletService;

    @GetMapping("/detail")
    // ApiOperation 用于标识控制层方法,value就是方法名称,notes是介绍,可以不用填写,tags则是分类,与api中的tags保持一致,就在同一个分组下
    @ApiOperation(value = "钱包详情", notes = "钱包详情", tags = "用户钱包管理")
    // ApiImplicitParam与ApiImplicitParams注解差不多,后者可以在其中写多个前者,主要用于标识入参
    @ApiImplicitParam(dataType = "string", name = "userId", value = "用户id", required = true)
    public R<WalletVO> detail(@RequestParam String userId) {
        return R.ok(walletService.detail(userId));
    }
}
实体类注解
@Data
@Accessors(chain = true)
@EqualsAndHashCode(callSuper = true)
// 标识是一个实体类
@ApiModel(value = "用户钱包信息", description = "用户钱包信息")
public class WalletVO extends BaseVO {

    private static final long serialVersionUID = -4976341956333394474L;

	// 标识实体类的名称,这里也可以指定dataType等
    @ApiModelProperty(value = "积分数量", notes = "积分数量")
    private BigDecimal point;

    @ApiModelProperty(value = "钱包地址", notes = "钱包地址")
    private String address;

    @ApiModelProperty(value = "房产数量", notes = "房产数量")
    private Integer property;
}
页面展示
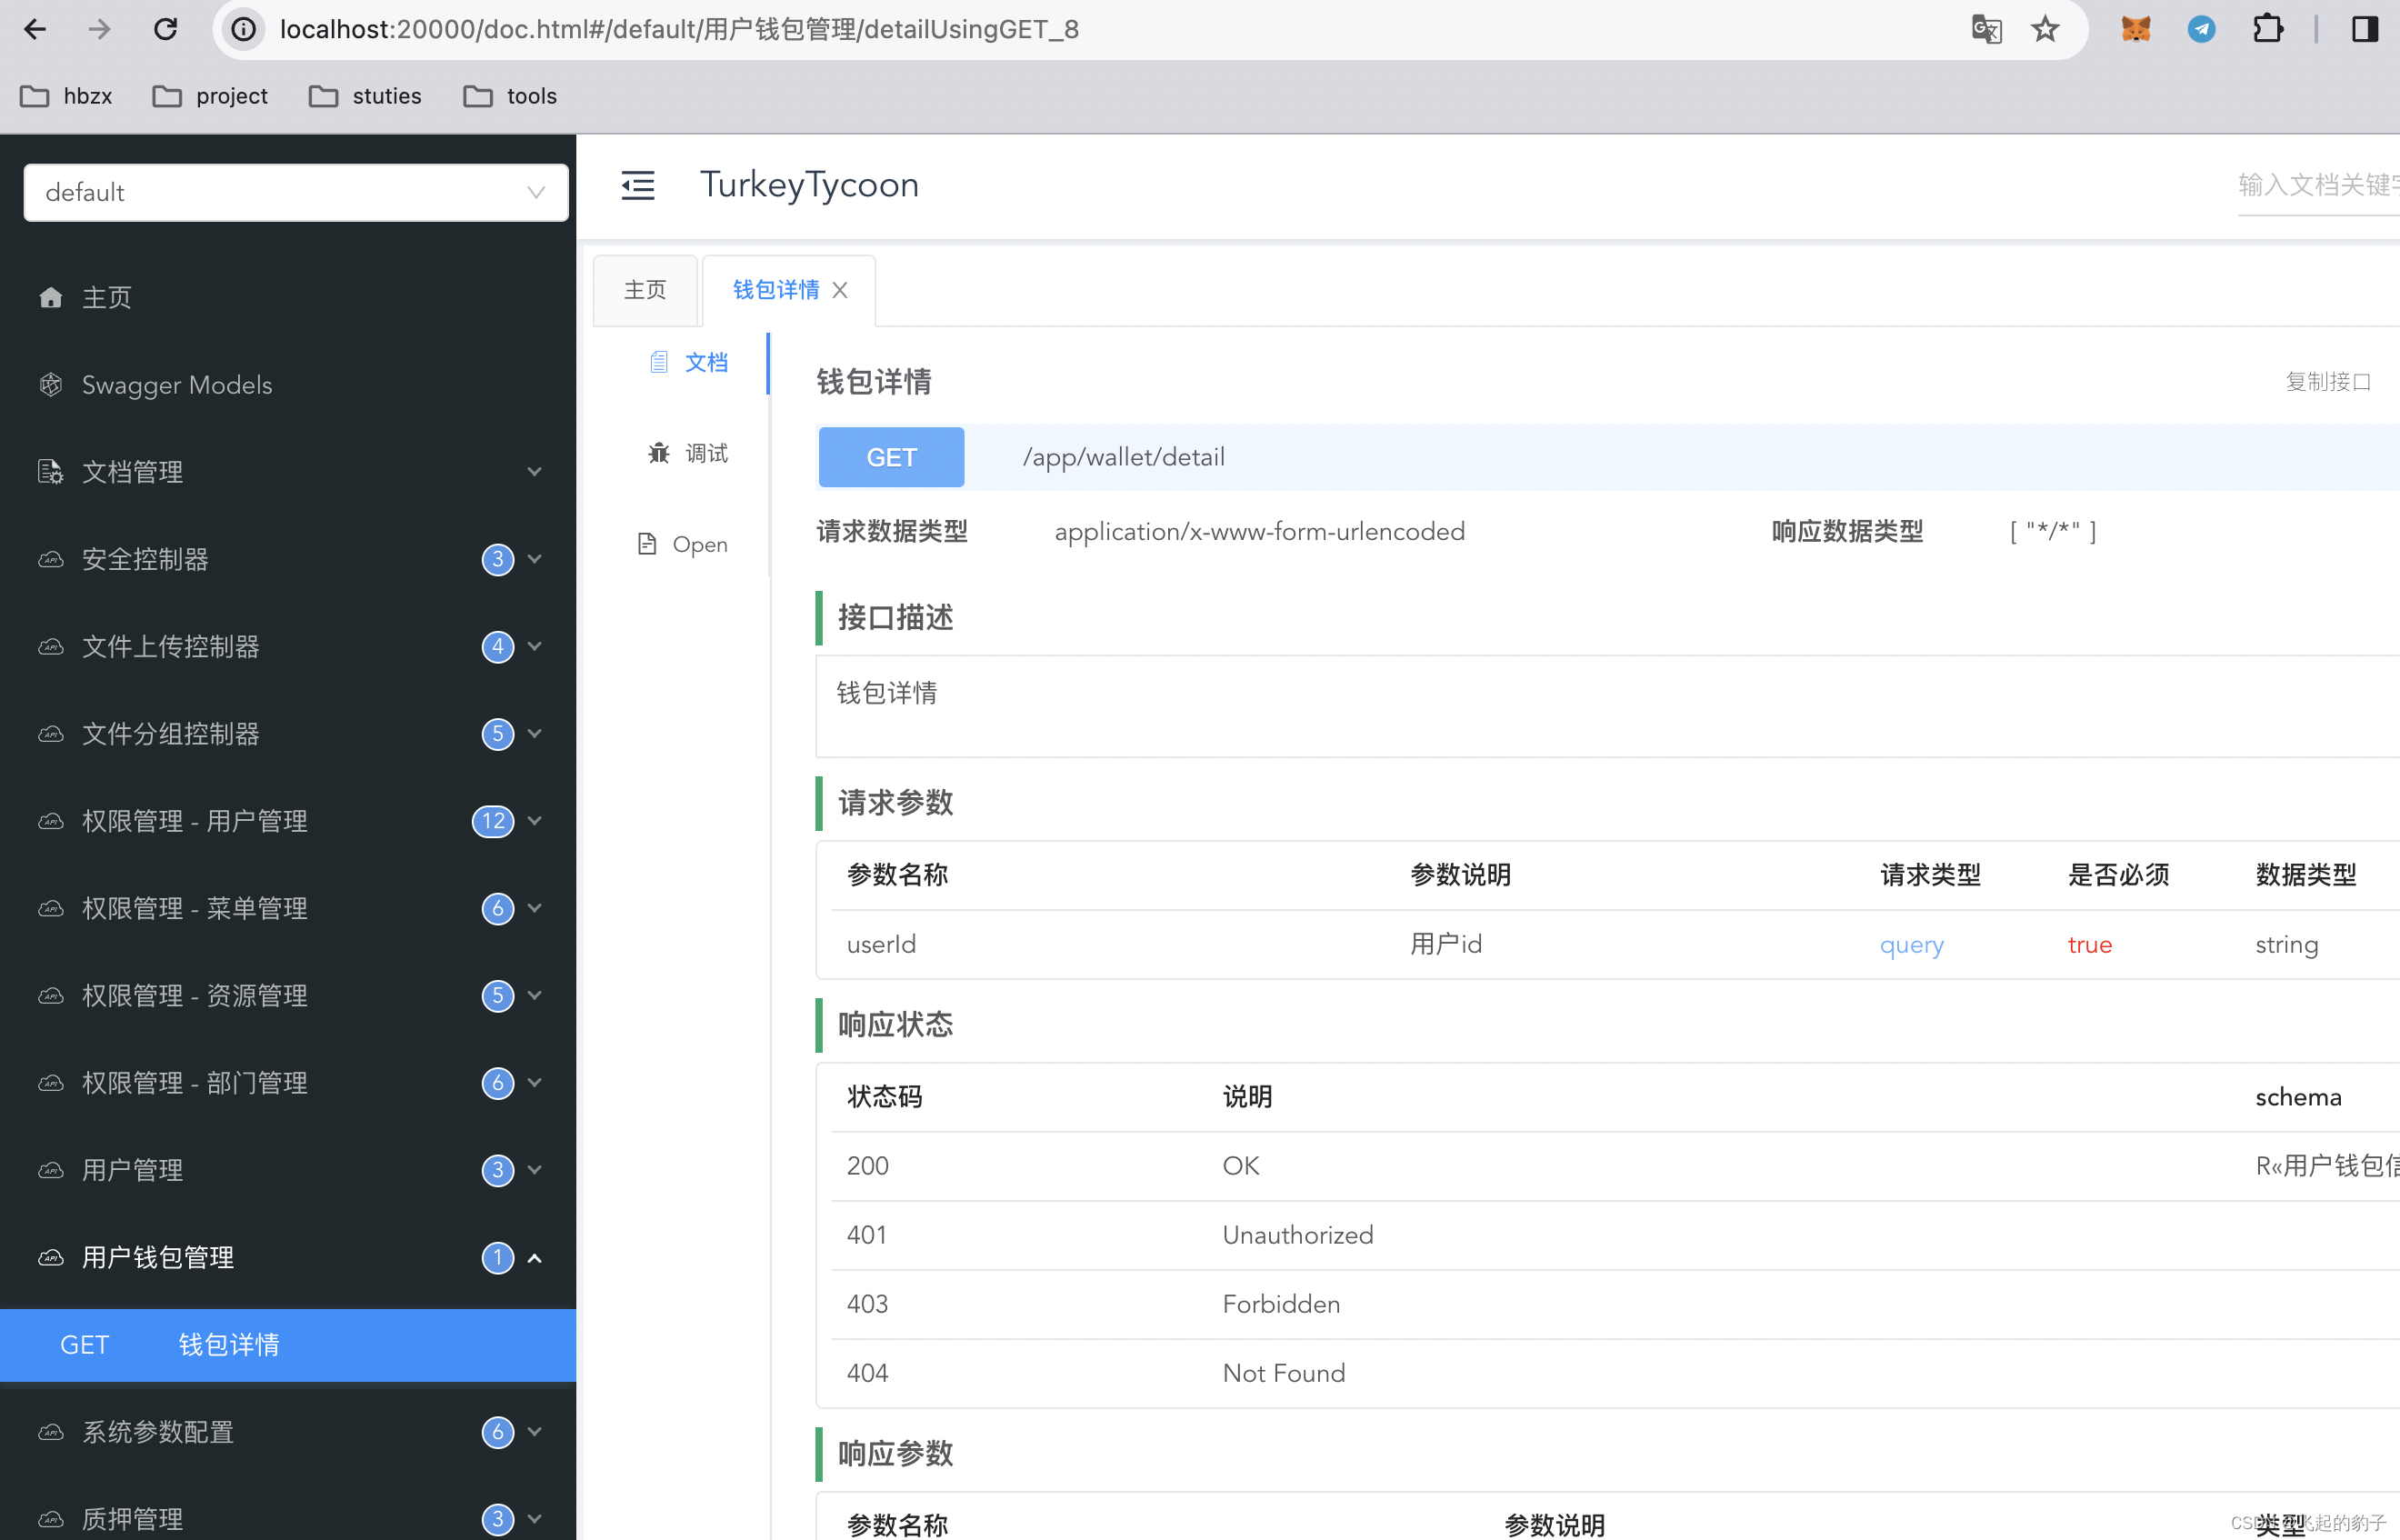
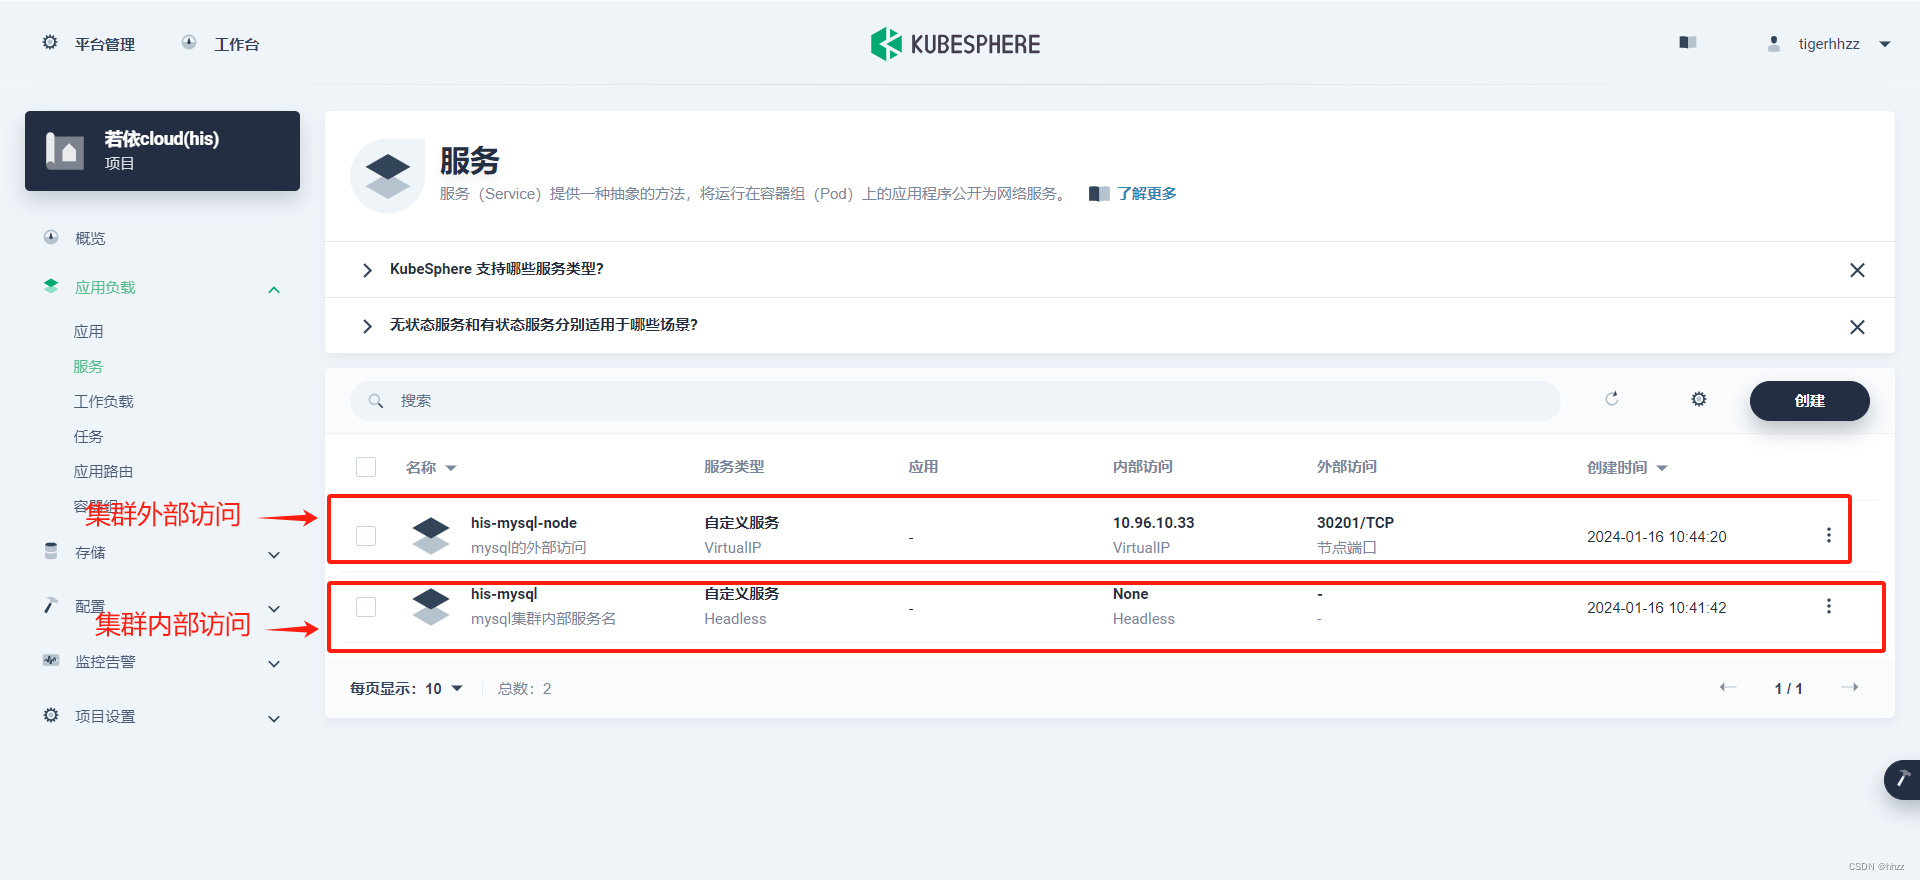
第二张截图这里,我的类型稍微有一些变化,在代码中就没有修改了
