1 添加配置文件
点击到你要配置的python文件,然后右上角点击 运行 ,再点击 添加配置

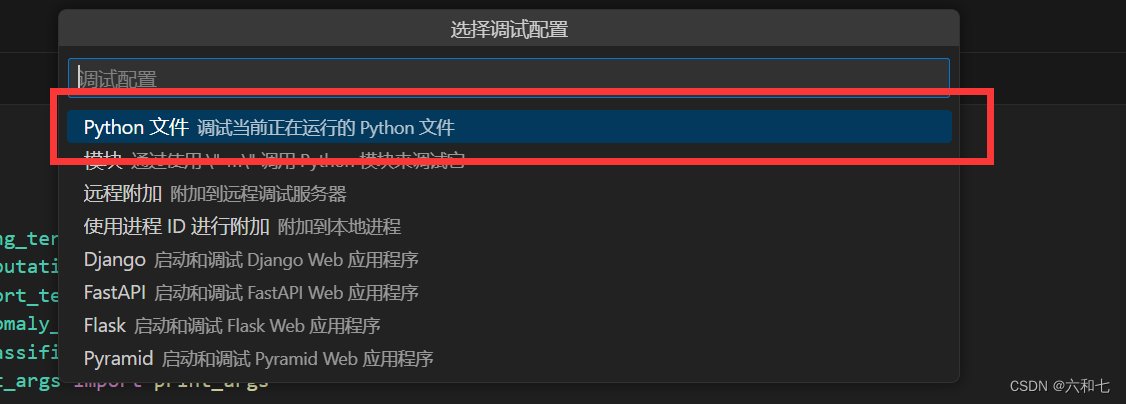
再点击 “Pyhton文件” 选项(其实就是在选择 当前的python文件 进行配置)
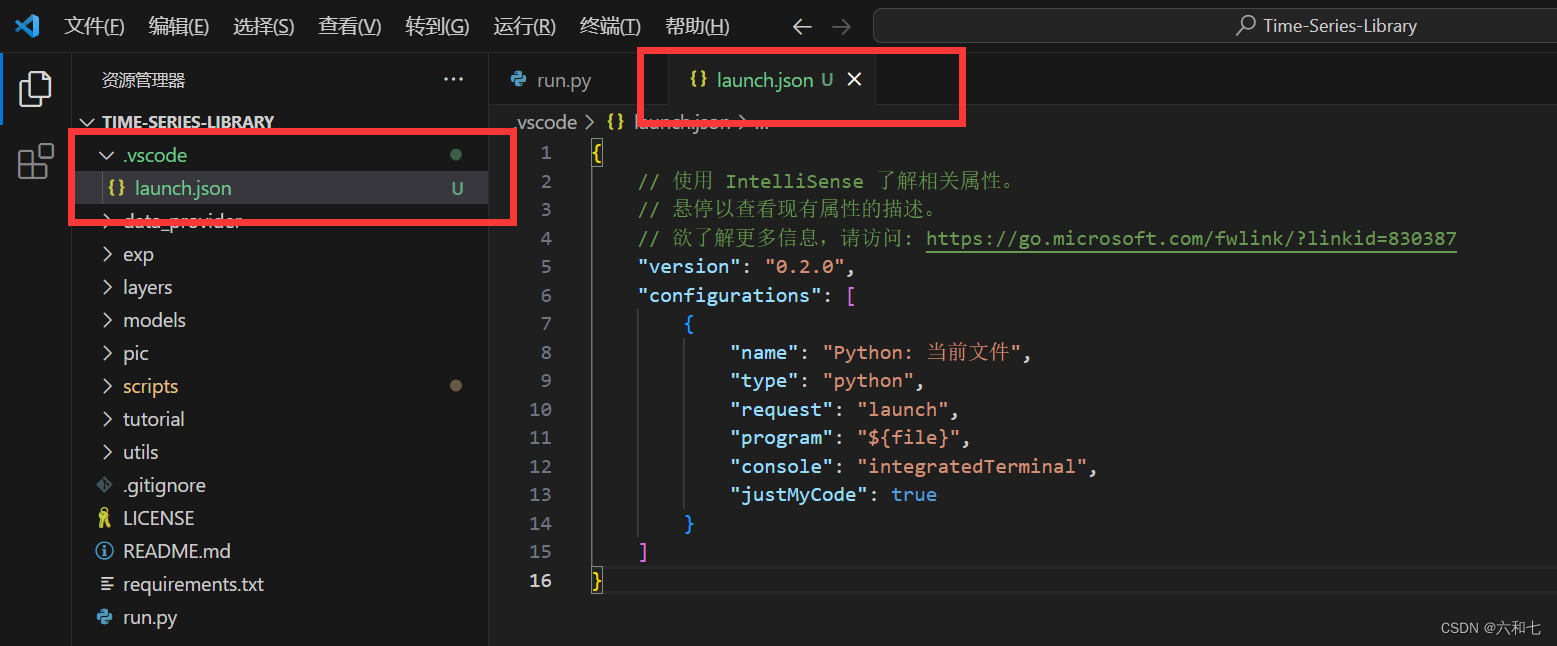
接着就生成了配置文件 lanunch.json
2 参数配置
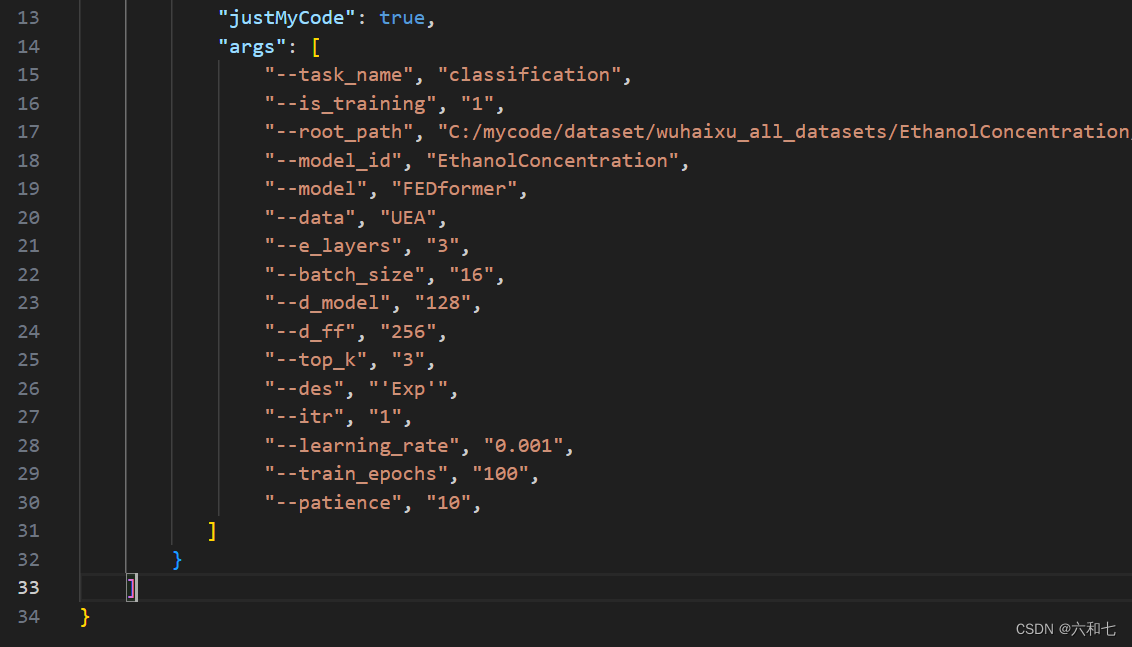
再上面代码的基础上,先在上一个参数项结尾加个逗号,然后添加 “arg”参数项
{
    // 使用 IntelliSense 了解相关属性。
    // 悬停以查看现有属性的描述。
    // 欲了解更多信息,请访问: https://go.microsoft.com/fwlink/?linkid=830387
    "version": "0.2.0",
    "configurations": [
        {
            "name": "Python: 当前文件",
            "type": "python",
            "request": "launch",
            "program": "${file}",
            "console": "integratedTerminal",
            "justMyCode": true,
            "args": [
                "arg1", "xxx",
                "arg2", "xxx",
           ]
        }
    ]
}
现在修改 “arg” 参数项为自己的参数
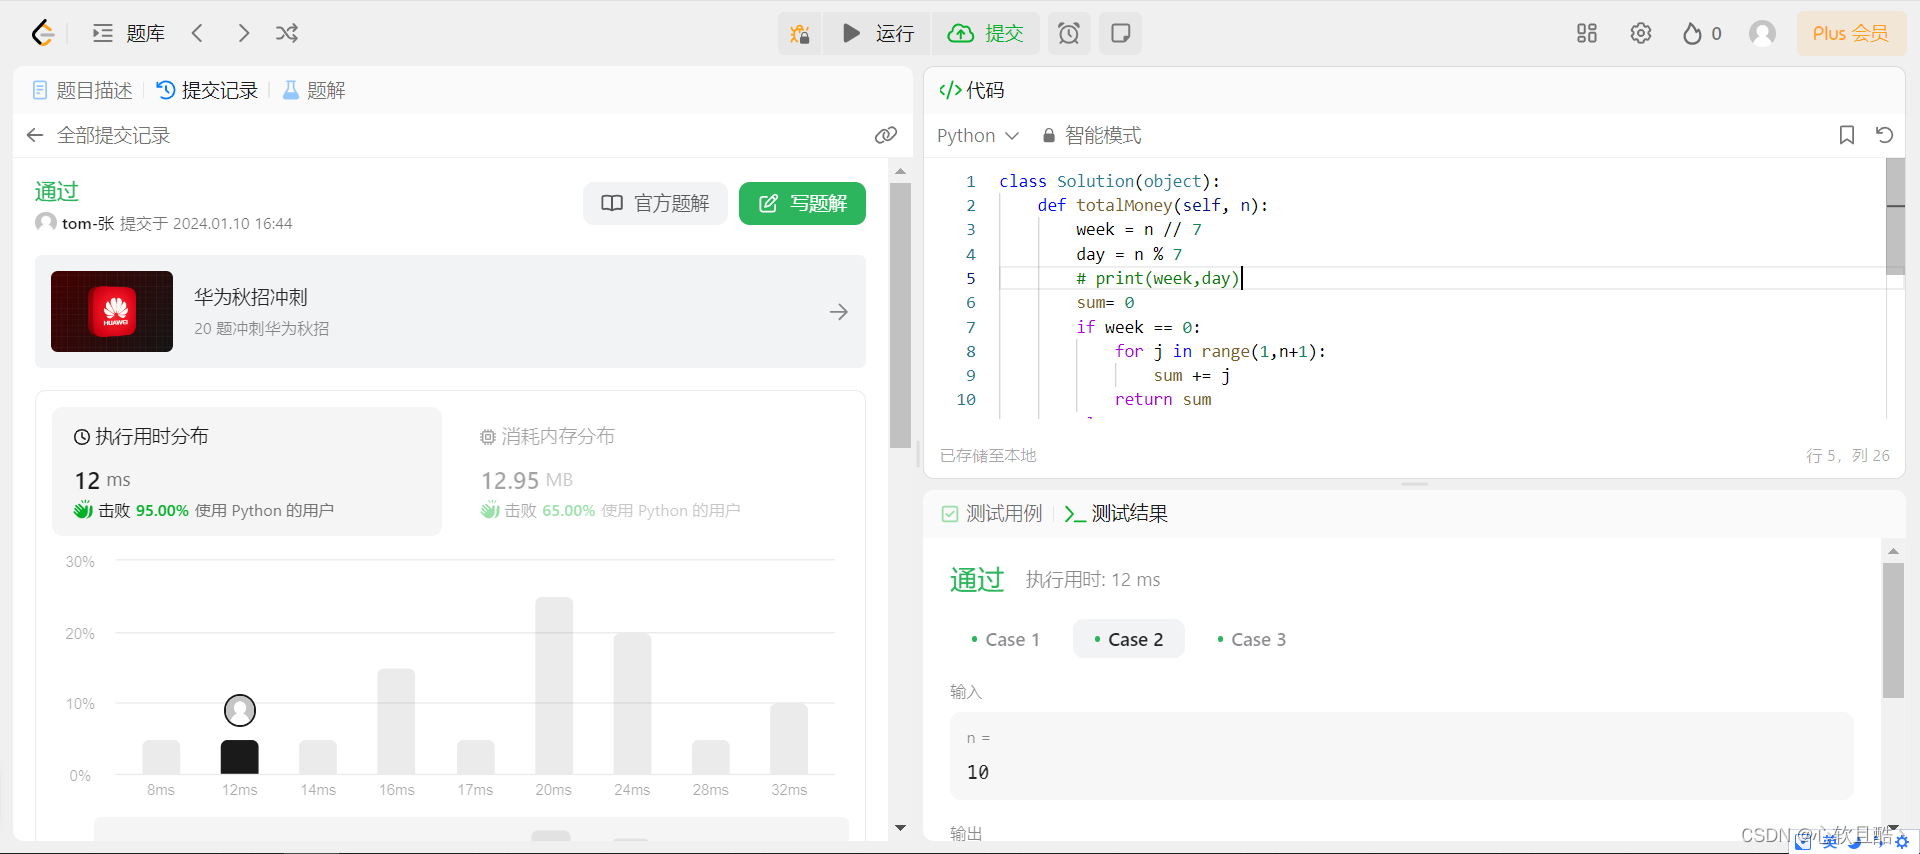
保存后,运行 python文件,可以看到运行参数已经生效


![[足式机器人]Part2 Dr. CAN学习笔记-动态系统建模与分析 Ch02-7二阶系统](https://img-blog.csdnimg.cn/direct/7f1982b78d7f4338becc106b80a464f0.png#pic_center)