仿stackoverflow名片与b站名片实现(HTML、CSS)

news2024/9/19 10:42:36

目录

  • 前言
  • 一、仿stackoverflow名片
    • HTML
    • CSS
  • 二、仿b站名片
    • HTML
    • CSS
  • 素材


前言

学习自ACwing - Web应用课

一、仿stackoverflow名片

在这里插入图片描述

HTML

<!DOCTYPE html>
<html lang="en">

<head>
    <meta charset="UTF-8">
    <meta name="viewport" content="width=device-width, initial-scale=1.0">
    <title>Document</title>
    <link rel="stylesheet" href="/static/css/style.css">
</head>

<body>
    <div class="user-card">
        <div class="user-card-head">
            asked Aug 3, 2022 at 2:30
        </div>
        <div class="user-card-body">
            <div class="user-card-body-photo">
                <a href="https://blog.csdn.net/qq_37397652?type=blog" target="_blank">
			<img src="static/images/head.jpeg" alt=""></a>
            </div>
            <div class="user-card-body-info">
                <div class="user-card-body-info-username">
                    <a href="https://blog.csdn.net/qq_37397652?type=blog" target="_blank"
                        style="text-decoration: none; color: #1B75D0;">Kinno</a>
                </div>
                <div class="user-card-body-info-reputation">
                    <span style="font-weight: bold;">1,024</span>
                    <div class="user-card-body-info-reputation-item" style="background-color: #f7ce46;"></div>
                    3
                    <div class="user-card-body-info-reputation-item" style="background-color: #b5b8bc;"></div>
                    14
                    <div class="user-card-body-info-reputation-item" style="background-color: #caa889;"></div>
                    25
                </div>
            </div>
        </div>

    </div>
</body>

</html>

CSS

.user-card-body-photo img {
    width: 32px;
    height: 32px;
    border-radius: 4px;
}

.user-card {
    width: 200px;
    height: 67.19px;
    background-color: #eef5fc;
    margin: 100px auto;
    padding: 5px 6px 7px 7px;
    box-sizing: border-box;
}

.user-card-head {
    font-size: 12px;
    color: #636B74;
    margin-top: 1px;
    margin-bottom: 4px;
}

.user-card-body-info-username {
    font-size: 11px;
    height: 16px;
    /* text-decoration: none; */
    line-height: 16px;
    /*让字上下居中*/
}

.user-card-body-info-reputation {
    font-size: 12px;
    color: #636B74;
    height: 16px;
    line-height: 16px;
}

.user-card-body-photo {
    float: left;
}

.user-card-body-info {
    float: left;
    margin-left: 8px;
}

.user-card-body-info-reputation-item {
    width: 6px;
    height: 6px;
    display: inline-block;
    border-radius: 50%;
    margin-left: 2px;
    margin-right: 3px;
    position: relative;
    top: -2px;
}

二、仿b站名片

在这里插入图片描述

HTML

<!DOCTYPE html>
<html lang="en">

<head>
    <meta charset="UTF-8">
    <meta name="viewport" content="width=device-width, initial-scale=1.0">
    <title>Document</title>
    <link rel="stylesheet" href="/static/css/bilibili.css">
</head>

<body>
    <div class="user-card">
        <div class="user-card-head">

        </div>
        <div class="user-card-body">
            <div class="user-card-body-left">
                <img src="/static/images/head.jpeg" alt="head-photo">
            </div>
            <div class="user-card-body-right">
                <div class="user-card-body-right-info">
                    <div class="user-card-body-right-text">
                        <div class="user-card-body-right-text-username">
                            <a href="#" style="text-decoration: none;">Kinno喵喵</a>
                            <i>
                                <img src="/static/images/6-level.png" alt="6-level" style="width: 17.8px;">
                            </i>
                        </div>
                    </div>
                    <div class="user-card-body-right-text-reputation">

                        <div class="user-card-body-right-text-reputation-item">
                            <span style="color: rgb(24, 25, 28);">304</span>
                            <span style="color: rgb(148, 153, 160); margin-left: 3px;">关注</span>
                        </div>
                        <div class="user-card-body-right-text-reputation-item">
                            <span>8</span>
                            <span style="color: rgb(148, 153, 160); margin-left: 3px;">粉丝</span>
                        </div>
                        <div class="user-card-body-right-text-reputation-item">
                            <span>8</span>
                            <span style="color: rgb(148, 153, 160); margin-left: 3px;">获赞</span>
                        </div>
                    </div>
                    <div class="user-card-body-right-button">
                        <button>+ 关注</button>
                        <button>发消息</button>
                    </div>
                </div>

            </div>
        </div>
    </div>
</body>

</html>

CSS

.user-card {
    width: 366px;
    height: 220px;
    box-shadow: 2px 2px 5px lightgray;
    border-radius: 5px;
}

.user-card-head {
    background-image: url(/static/images/bilibili-background.png);
    background-size: cover;
    width: 100%;
    height: 85px;
}


.user-card-body-right {
    width: 366px;
    height: 134px;
    padding: 12px 20px 16px 70px;
    box-sizing: border-box;
}

.user-card-body-right-info {

    display: flex;
    flex-direction: column;
}

.user-card-body-left {
    width: 70px;
    height: 48px;
    float: left;
    margin-top: 10px;
    display: flex;
    justify-content: center;
    /* 水平居中 */
    align-items: center;
    /* 垂直居中 */
}

.user-card-body-left img {
    width: 48px;
    height: 48px;
    border-radius: 50%;
}

.user-card-body-right-text-username {
    margin-bottom: 10px;
    width: 276px;
    height: 30px;
}

.user-card-body-right-text-username a {
    line-height: 30px;
    font-size: 16px;
    font-weight: 600;
    color: rgb(24, 25, 28);
    display: inline-block;
    /* 设置为inline-block,以支持高度和垂直对齐 */
    vertical-align: middle;
    /* 与图标垂直居中对齐 */
}

.user-card-body-right-text-username i {
    width: 30px;
    height: 30px;
    margin-left: 5px;
}

.user-card-body-right-text-reputation {
    width: 276px;
    height: 18px;
    font-size: 12px;
    line-height: 18px;
    font-weight: 400;
    display: flex;
}

.user-card-body-right-text-reputation-item {
    margin-right: 18px;
    display: inline-block;
    text-size-adjust: 100%;
    display: flex;
}

.user-card-body-right-button {
    margin-top: 16px;
    width: 276px;
    height: 32px;
}

.user-card-body-right-button button {
    width: 100px;
    height: 30px;
    font-size: 14px;
    border: none;
    border-radius: 5px;
    cursor: pointer;
}

.user-card-body-right-button button:nth-child(1) {
    background-color: #00AEEC;
    color: white;
    margin-right: 8px;
}

.user-card-body-right-button button:nth-child(1):hover {
    background-color: #43c3f2;
    transition: 500ms;
}

.user-card-body-right-button button:nth-child(2) {
    background-color: white;
    border: rgb(201, 204, 208) solid 1px;
    color: rgb(97, 102, 109);
}

.user-card-body-right-button button:nth-child(2):hover {
    border-color: #00AEEC;
    color: #00AEEC;
    transition: 500ms;
}

素材

  • b站名片背景:
    b站名片背景
  • 头像:
    在这里插入图片描述
  • b站level6:
    在这里插入图片描述

本文来自互联网用户投稿,该文观点仅代表作者本人,不代表本站立场。本站仅提供信息存储空间服务,不拥有所有权,不承担相关法律责任。如若转载,请注明出处:http://www.coloradmin.cn/o/1370273.html

如若内容造成侵权/违法违规/事实不符,请联系多彩编程网进行投诉反馈,一经查实,立即删除!

相关文章

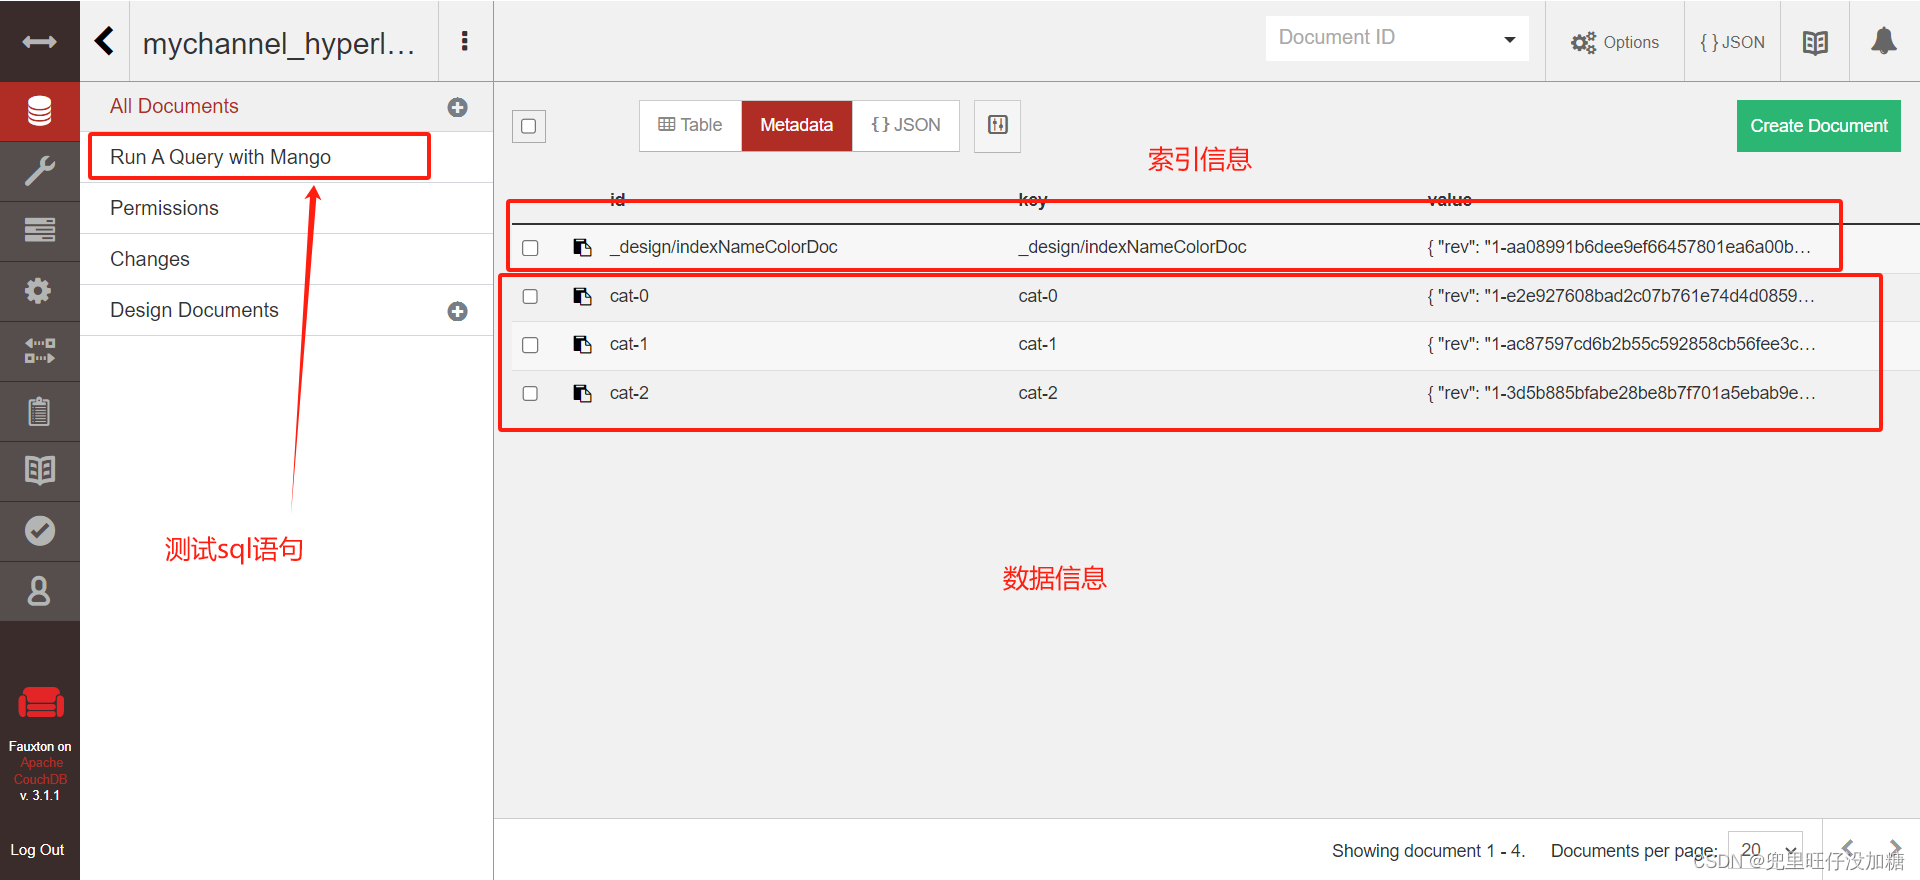
【hyperledger-fabric】使用couchDB

简介 本文章主要参考来自于官方文档使用CouchDB以及 https://www.bilibili.com/video/BV1Li4y1f7ex/?spm_id_frompageDriver&vd_source2c5f2831e1c63d3a20045b167ae044e6 B站视频&#xff0c;还是非常感谢up主提供了学习的思路。 为什么要使用couchDB&#xff1f; 原文…

如何将Redis、Zookeeper、Nacos配置为Windows系统的一个服务

说明&#xff1a;当我们在Windows上开发时&#xff0c;不可避免的会用到一些中间件&#xff0c;如Redis、Zookeeper、Nacos等等&#xff0c;当在项目中使用到本地的这些服务器时&#xff0c;我们需要把本地的服务器启动&#xff0c;会开启下面这样的一个窗口。 Redis服务器&am…

vscode使用npm安装element-UI并添加router路由

npm安装vue&#xff0c;添加淘宝镜像-CSDN博客 elementUI安装与配置 安装可以看我上一篇文章 vscode控制台输入指令 npm i element-ui -S 安装完成后在目录结构打开下图文件 可以看到多了一行elementui就代表安装成功了 下面是项目常用的结构 安装完成后需要启用elementU…

稀疏矩阵的三元组表示----(算法详解)

目录 基本算法包括&#xff1a;&#xff08;解释都在代码里&#xff09; 1.创建 2.对三元组元素赋值 3.将三元组元素赋值给变量 4.输出三元组 5.转置&#xff08;附加的有兴趣可以看看&#xff09; 稀疏矩阵的概念&#xff1a;矩阵的非零元素相较零元素非常小时&#xff…

自承载 Self-Host ASP.NET Web API 1 (C#)

本教程介绍如何在控制台应用程序中托管 Web API。 ASP.NET Web API不需要 IIS。 可以在自己的主机进程中自托管 Web API。 创建控制台应用程序项目 启动 Visual Studio&#xff0c;然后从“开始”页中选择“新建项目”。 或者&#xff0c;从“ 文件 ”菜单中选择“ 新建 ”&a…

了解VR虚拟现实的沉浸式效果及其技术特点!

VR虚拟现实体验装置作为近年来人气火爆的科技产品&#xff0c;以其独特的沉浸式体验效果吸引了众多用户&#xff0c;那么&#xff0c;你知道这种VR体验装置是如何实现沉浸式体验效果的吗&#xff1f;它又具备了哪些技术特点呢&#xff1f; 一、真实的场景体验 VR虚拟现实技术通…

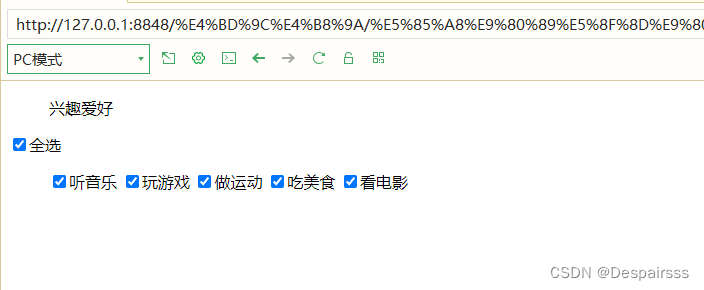
html的全选反选

一、实验题目 html实现选择框的全选和反选 二、实验代码 <!DOCTYPE html> <html><head><meta charset"utf-8"><title>全选和反选</title></head><body><ul>兴趣爱好</ul><input id"all"…

深入理解 Hadoop (四)HDFS源码剖析

HDFS 集群启动脚本 start-dfs.sh 分析 启动 HDFS 集群总共会涉及到的角色会有 namenode, datanode, zkfc, journalnode, secondaryName 共五种角色。 JournalNode 核心工作和启动流程源码剖析 // 启动 JournalNode 的核心业务方法 public void start() throws IOException …

数据湖存储解决方案之Iceberg

1.Iceberg是什么&#xff1f; Apache Iceberg 是由 Netflix 开发开源的&#xff0c;其于2018年11月16日进入 Apache 孵化器&#xff0c;是 Netflix 公司数据仓库基础。Apache Iceberg设计初衷是为了解决Hive离线数仓计算慢的问题&#xff0c;经过多年迭代已经发展成为构建数据…

<蓝桥杯软件赛>零基础备赛20周--第13周--DFS剪枝

报名明年4月蓝桥杯软件赛的同学们&#xff0c;如果你是大一零基础&#xff0c;目前懵懂中&#xff0c;不知该怎么办&#xff0c;可以看看本博客系列&#xff1a;备赛20周合集 20周的完整安排请点击&#xff1a;20周计划 每周发1个博客&#xff0c;共20周。 在QQ群上答疑&#x…

在生产环境中使用uWSGI来运行Flask应用

安装uwsgi pip install uwsgi -i https://pypi.tuna.tsinghua.edu.cn/simple安装不上则使用以下命令&#xff1a; conda install -c conda-forge uwsgi 当您成功安装uwsgi后&#xff0c;您可以通过以下步骤来测试uwsgi是否安装成功&#xff1a; 创建一个Python脚本&#xff…

WPS或word中英文字母自动调整大小写,取消自动首字母大写,全部英文单词首字母大小写变换方法

提示&#xff1a;写英文论文时&#xff0c;如何实现英文字母大小写的自动切换&#xff0c;不用再傻傻的一个字母一个字母的编辑了&#xff0c;一篇文章搞定WPS与Word中字母大小写切换 文章目录 一、WPS英文单词大小写自动修改与首字母大写调整英文字母全部由大写变成小写 或 小…

C++ Web框架Drogon初体验笔记

这段时间研究了一下C的Web框架Drogon。从设计原理上面来说和Python的Web框架是大同小异的&#xff0c;但是难点在于编译项目上面&#xff0c;所以现在记录一下编译的过程。下面图是我项目的目录。其中include放的是头文件&#xff0c;src放的是视图文件&#xff0c;static放的是…

e2studio开发磁力计LIS2MDL(2)----电子罗盘

e2studio开发磁力计LIS2MDL.2--电子罗盘 概述使用硬件视频教学样品申请源码下载环境磁场建模消除硬铁误差软铁干扰演示主程序 概述 本文将介绍如何使用 LIS2MDL 传感器来读取数据来转化为指南针。 地磁场强度范围约为 23,000 至 66,000 nT &#xff0c;并且可以建模为磁偶极子…

YOLOv8改进 | Neck篇 | 利用ASF-YOLO改进特征融合层(适用于分割和目标检测)

一、本文介绍 本文给大家带来的改进机制是ASF-YOLO(发布于2023.12月份的最新机制),其是特别设计用于细胞实例分割。这个模型通过结合空间和尺度特征,提高了在处理细胞图像时的准确性和速度。在实验中,ASF-YOLO在2018年数据科学竞赛数据集上取得了卓越的分割准确性和速度,…

使用 Process Explorer 和 Windbg 排查软件线程堵塞问题

目录 1、问题说明 2、线程堵塞的可能原因分析 3、使用Windbg和Process Explorer确定线程中发生了死循环 4、根据Windbg中显示的函数调用堆栈去查看源码&#xff0c;找到问题 4.1、在Windbg定位发生死循环的函数的方法 4.2、在Windbg中查看变量的值去辅助分析 4.3、是循环…

IPv6路由协议---IPv6动态路由(OSPFv3-4)

OSPFv3的链路状态通告LSA类型 链路状态通告是OSPFv3进行路由计算的关键依据,链路状态通告包含链路状态类型、链路状态ID、通告路由器三元组唯一地标识了一个LSA。 OSPFv3的LSA头仍然保持20字节,但是内容变化了。在LSA头中,OSPFv2的LS age、Advertising Router、LS Sequence…

SpringBoot整合EasyExcel实现导入导出

1、EasyExcel是什么 EasyExcel是一个基于Java的、快速、简洁、解决大文件内存溢出的Excel处理工具。 他能让你在不用考虑性能、内存的等因素的情况下&#xff0c;快速完成Excel的读、写等功能。 2、相关网站 官网https://easyexcel.opensource.alibaba.com/ GitHubhttps://…

线性代数_同济第七版

contents 前言第1章 行列式1.1 二阶与三阶行列式1.1.1 二元线性方程组与二阶行列所式1.1.2 三阶行列式 1.2 全排列和对换1.2.1 排列及其逆序数1.2.2 对换 1.3 n 阶行列式的定义1.4 行列式的性质1.5 行列式按行&#xff08;列&#xff09;展开1.5.1 引理1.5.2 定理1.5.3 推论 * …

ULINK2仿真器安装使用之工程设置

一、 ULINK2仿真器 ULINK2是ARM公司最新推出的配套RealView MDK使用的仿真器&#xff0c;是ULink仿真器的升级版本。ULINK2不仅具有ULINK仿真器的所有功能&#xff0c;还增加了串行调试&#xff08;SWD&#xff09;支持&#xff0c;返回时钟支持和实时代理等功能。开发工程师通…