创建虚拟环境
打开Anaconda Prompt,创建一个新的虚拟环境mmlab。注意我这里选择了python3.6,因为在python3.7下出现了mmdet3d.apis中的类无法无法import的情况(但mmdet3d可以import),暂时不清楚原因。
conda create -n mmlab python=3.6
然后切换到该环境下:
activate mmlab
安装pytorch
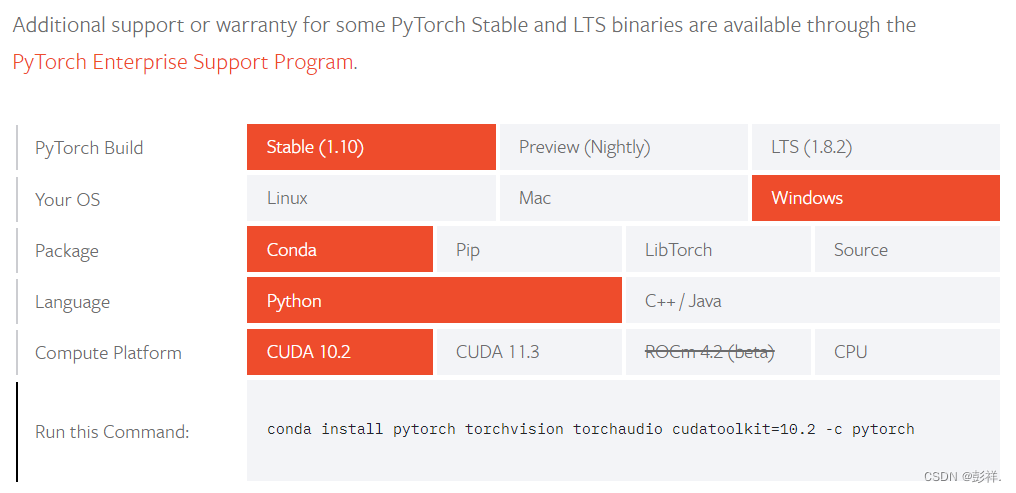
根据Pytorch官网的教程安装Pytorch,注意根据自己电脑的CUDA版本选择。在命令行运行nvcc -V查看当前cuda版本:

另外,当前(2021.10.23)MMCV最新仅支持到pytorch-1.9,安装最新的pytorch1.10会导致MMDetection无法使用,因此安装的时候需要指定pytorch版本为1.9。
conda install pytorch==1.9.1 torchvision torchaudio cudatoolkit=10.2 -c pytorch
这个时间可能会很漫长,耐心等待即可,安装完成后进行测试,看pytorch是否可用。

MMCV安装
MMCV有两mmcv-full和mmcv两个版本,两者差别在于是否包含CUDA操作,如果不需要使用CUDA可以安装mmcv,不过官方还是推荐安装完整版的mmcv-full
pip install mmcv-full
需要的依赖包很多,耐心等待下载。

MMDetection安装
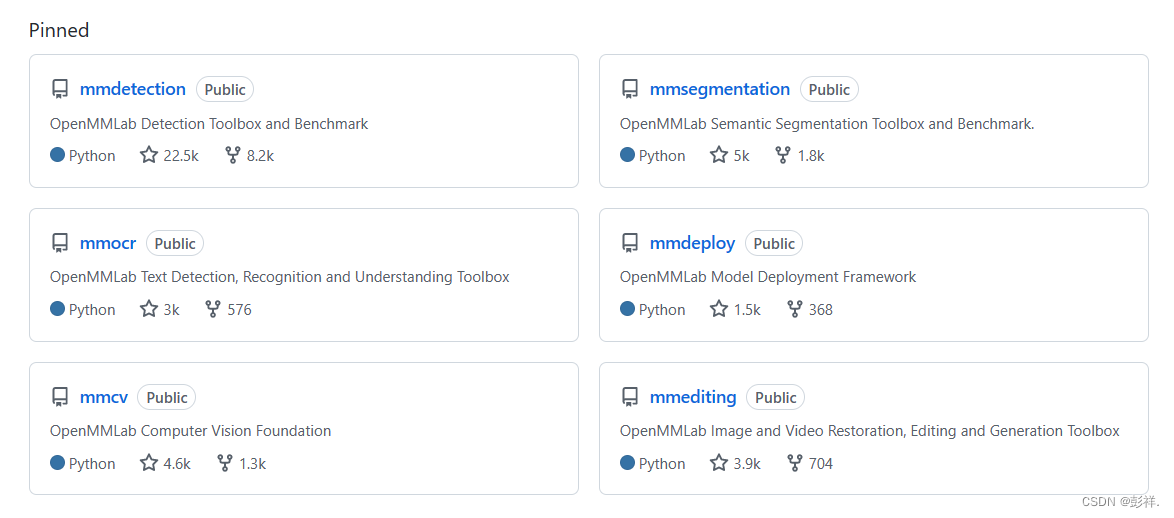
我们需要使用的是mmdection,这里还有其他标准,如mmsegmentation等。
首先从github上下载mmdetection的源码,然后根据requirements.txt安装所需的依赖库,最后执行setup.py安装mmdetection。
git clone https://github.com/open-mmlab/mmdetection.git
cd mmdetection
pip install -r requirements.txt
python setup.py develop
将文件下载后打开,选择我们创建好的环境。
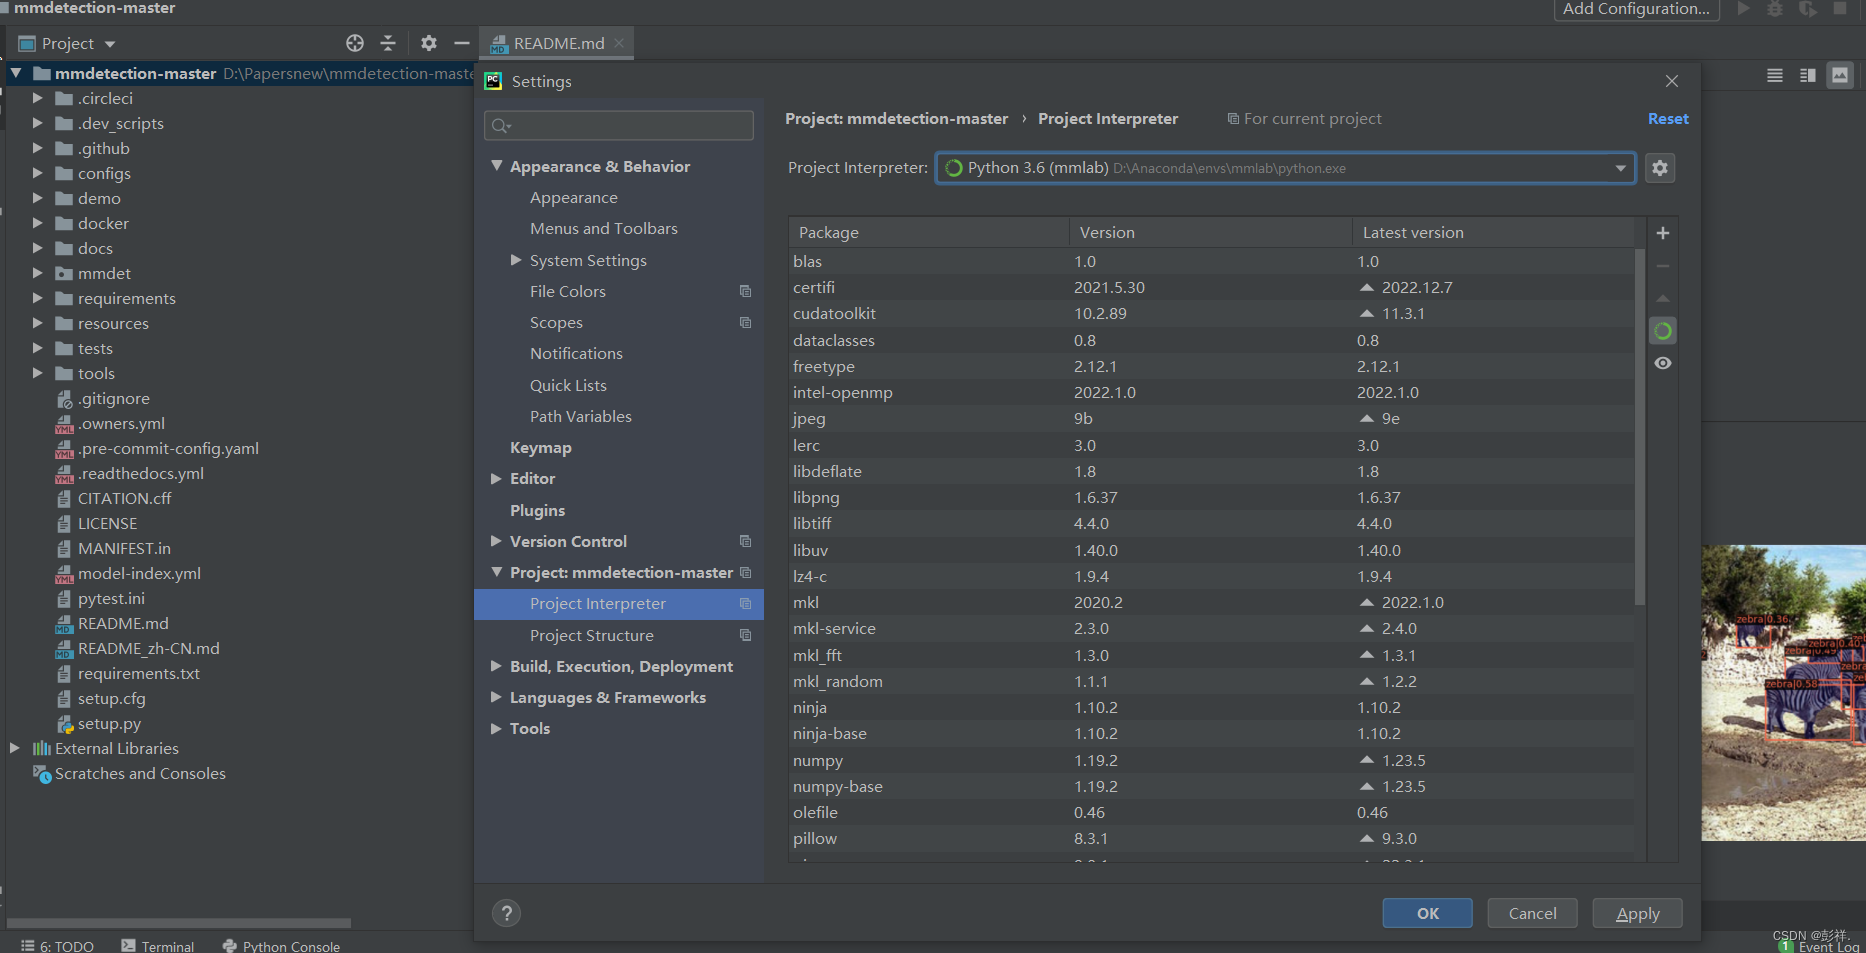
安装所需包:pip install -r requirements.txt

requirements内容,其分别去运行对应文件中要求的包。
-r requirements/build.txt
-r requirements/optional.txt
-r requirements/runtime.txt
-r requirements/tests.txt
这里运行到最后爆了个错误:Cannot find command ‘git’,没有 git 包,安装即可:
conda install git

完成后在pycharm的Terminal中再次执行pip install -r requirements.txt命令。再次报错:
可能是由于pip版本太低导致的,按其要求更新即可,完成后再次执行。


