这里写目录标题
- 微信小程序上传头像
- 使用button按钮包裹img
- 微信小程序内接小程序客服
- 使用button按钮跳转客服
微信小程序上传头像
使用button按钮包裹img
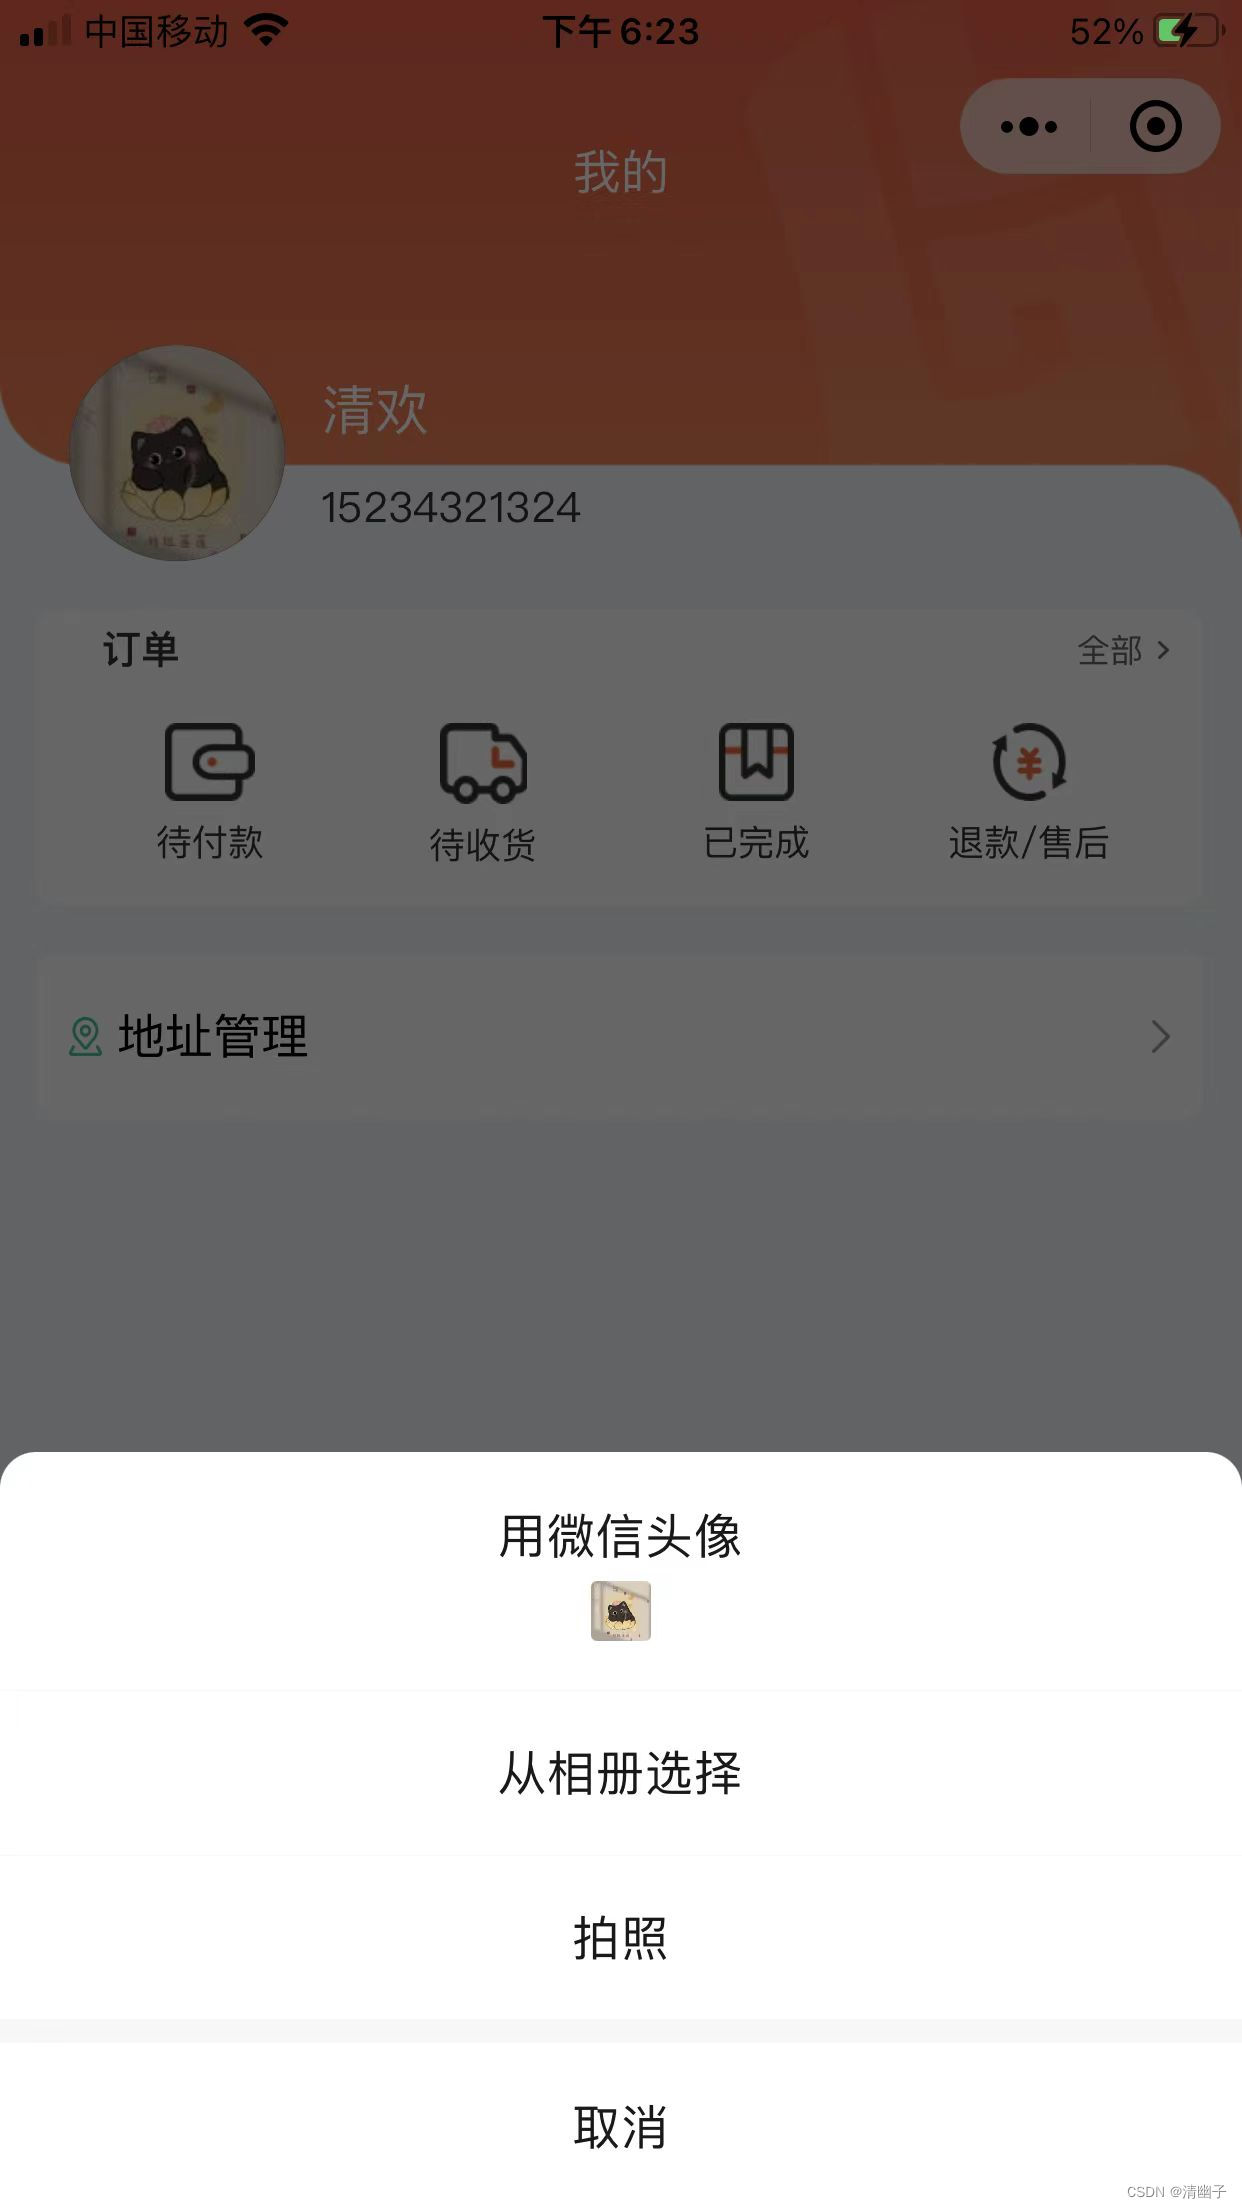
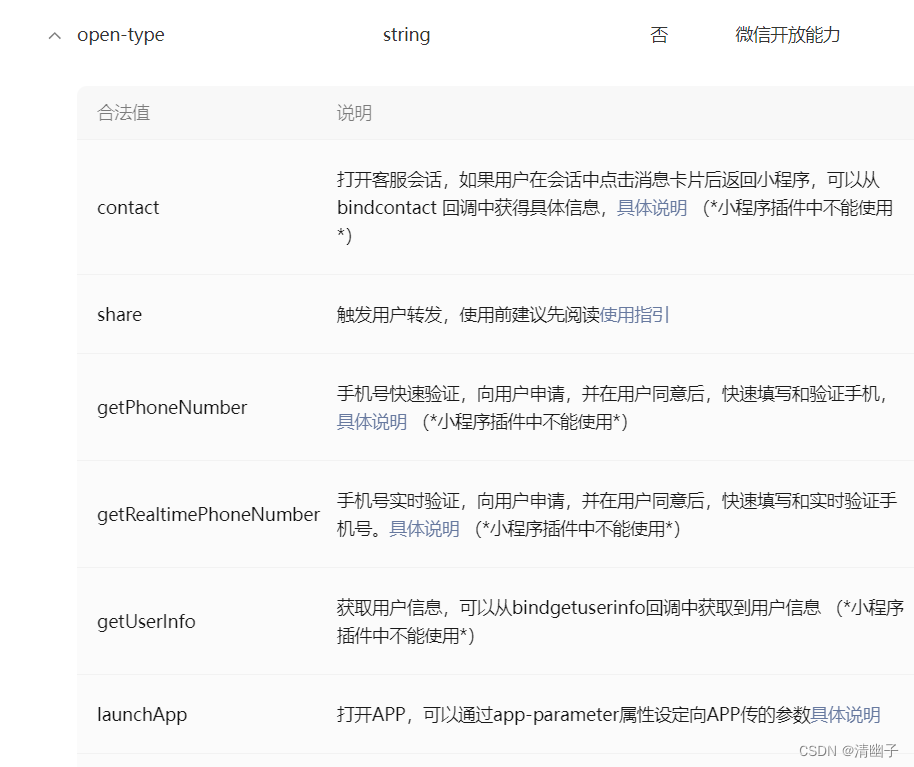
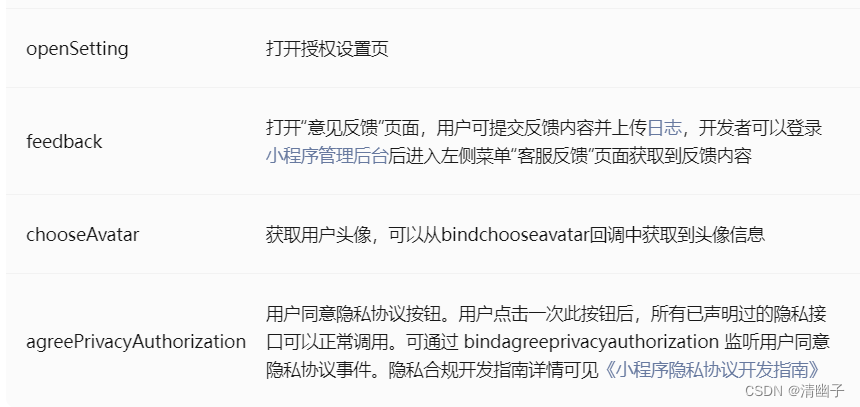
原本思路是只使用image标签再加上chooseImg,但发现使用button标签上传头像这种方法更实用。微信小程序文档上,button的 open-type 功能有很多
  <button
      style="border-radius: 50%;"
      open-type="chooseAvatar"
      bindchooseavatar="getPropertyPortrait"
  >
   <image style="margin: 0rpx;" src="{{headimg?headimg:'https://ys.zye.com/upload/touxiang.png' }}"></image>
  </button>
  // 上传头像

  getPropertyPortrait(e){
    var that = this;
    var image =  e.detail.avatarUrl;
    // 调用上传函数
    imageUpload.uploadImage('/api/upload/headimg', image, 'file', {}).then((response) => {
      console.log('上传成功', response);
      that.setData({
        headimg: 'https://ys.zye.com' + response.data.pic_path
      })
      //上传之后在调用修改头像函数
      that.updePropertyPortrait('https://ys.zye.com' + response.data.pic_path);
    })
        .catch((error) => {
          console.error('上传失败', error);
          toast.showError(error.errMsg);
        });

  },
  // 修改头像
  updePropertyPortrait(pic_path){
    var that = this;
    var data = {
      token:app.globalData.token,
      headimg:pic_path
    }
    api.post('/api/member/moheadimg', JSON.stringify(data))
        .then((response) => {
          console.log('修改头像==》',response);
          if(response.code == 0){
            that.getPropertyDetails();
          }else{
            toast.showError(response.message);
          }
        })
        .catch((error) => {
          toast.showError(error.errMsg);
        });

  },
微信小程序内接小程序客服
内接公司内部的小程序客服,先在微信公众平台设置小程序客服,然后使用button的open-type设置成contact,再进行事件对接。
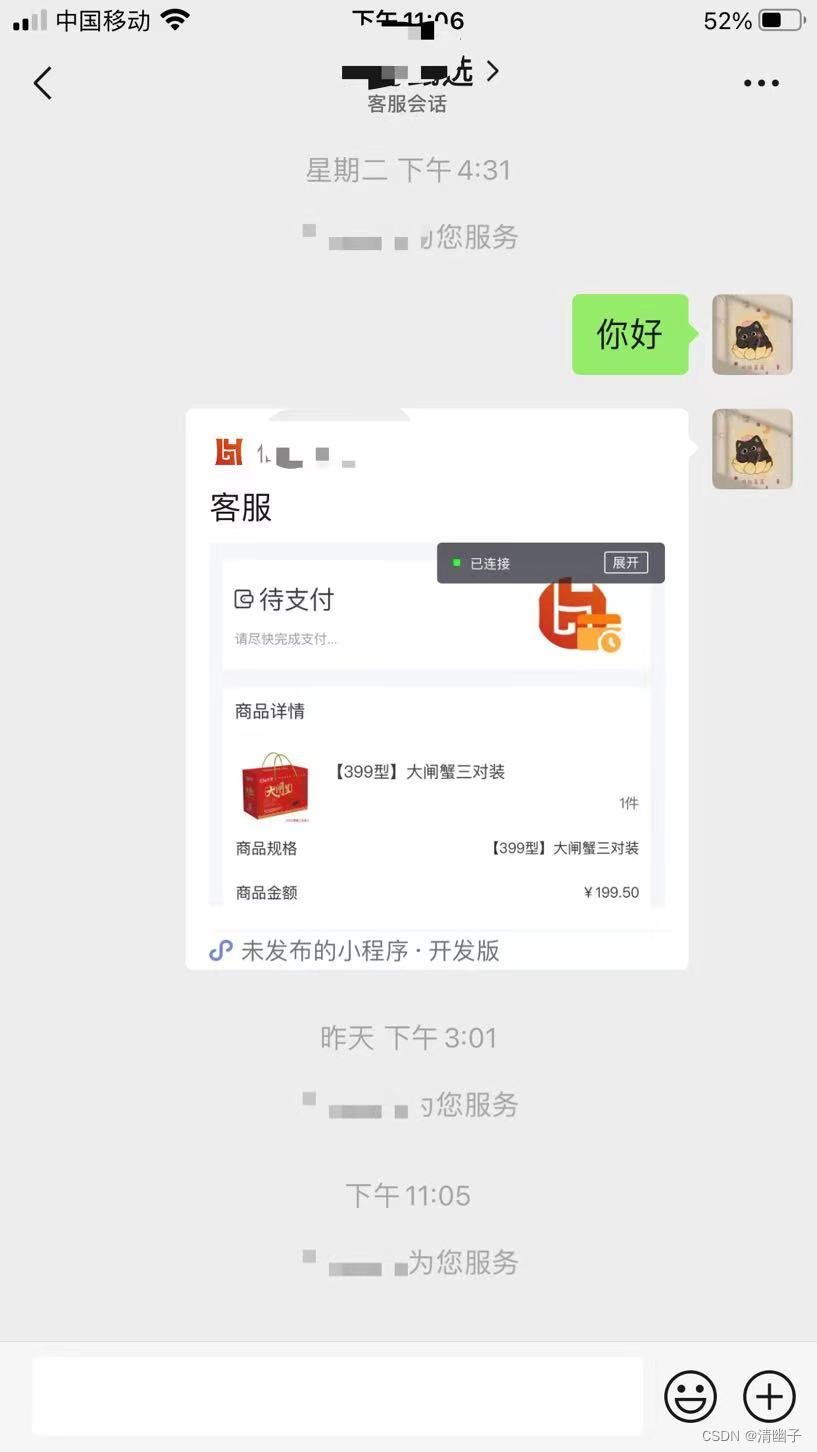
使用button按钮跳转客服
  <button class="containedwhd"
          open-type="contact"
          send-message-title="客服"
          show-message-card="true"
          bindcontact="contactEvent"
  >
    <image class="left_ls" src="https://ys.ziye.com/upload/iocn/kefu.png"></image>
    <view class="keda">客服</view>
  </button>
Page({
     // 客服
  contactEvent(e){

	console.log(e,'客服===>')
	console.log(e.detail.path)
    console.log(e.detail.query)

  },
})
