------------------------------------------------------------------------------------------------------------------
#非常好资料和教程:
1. Module Index - Qt for Python
2. muziing/PySide6-Code-Tutorial: 可能是最好的PySide6中文教程!用代码实例讲解PySide6,附优质Demos、图标库、QSS皮肤、相关文章等分享! (github.com)
3. pyside6自带的Examples的路径:
~AppData\Local\Programs\Python\Python311\Lib\site-packages\PySide6\examples
--> 可以把这个examples的folder copy出来一个个研究
------------------------------------------------------------------------------------------------------------------
看起来需要掌握的知识点比较多,如果要系统学习的话,可以考虑买一本书学习一下:
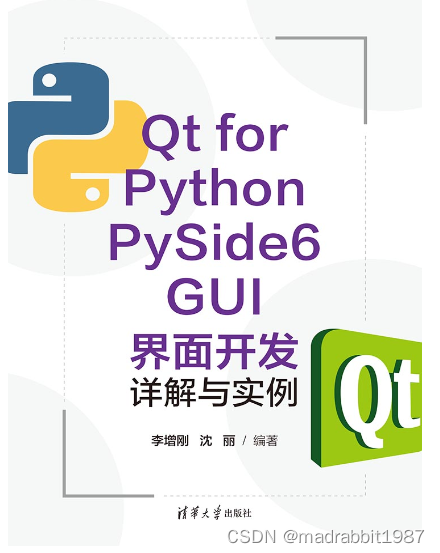
清华大学出版社-图书详情-《Qt for Python PySide6 GUI界面开发详解与实例》 (tsinghua.edu.cn)
以下内容参考自文章:
PySide6精简教程_钱彬 (Qian Bin)的博客-CSDN博客_pyside6
1. 安装pyside6
>>>py -m pip install pyside6
2. 生成*.ui文件
2.1 启动qt designer
在cmd中输入:
>>>pyside6-designer
它的路径在:~AppData\Local\Programs\Python\Python311\Lib\site-packages\PySide6
新建一个widget
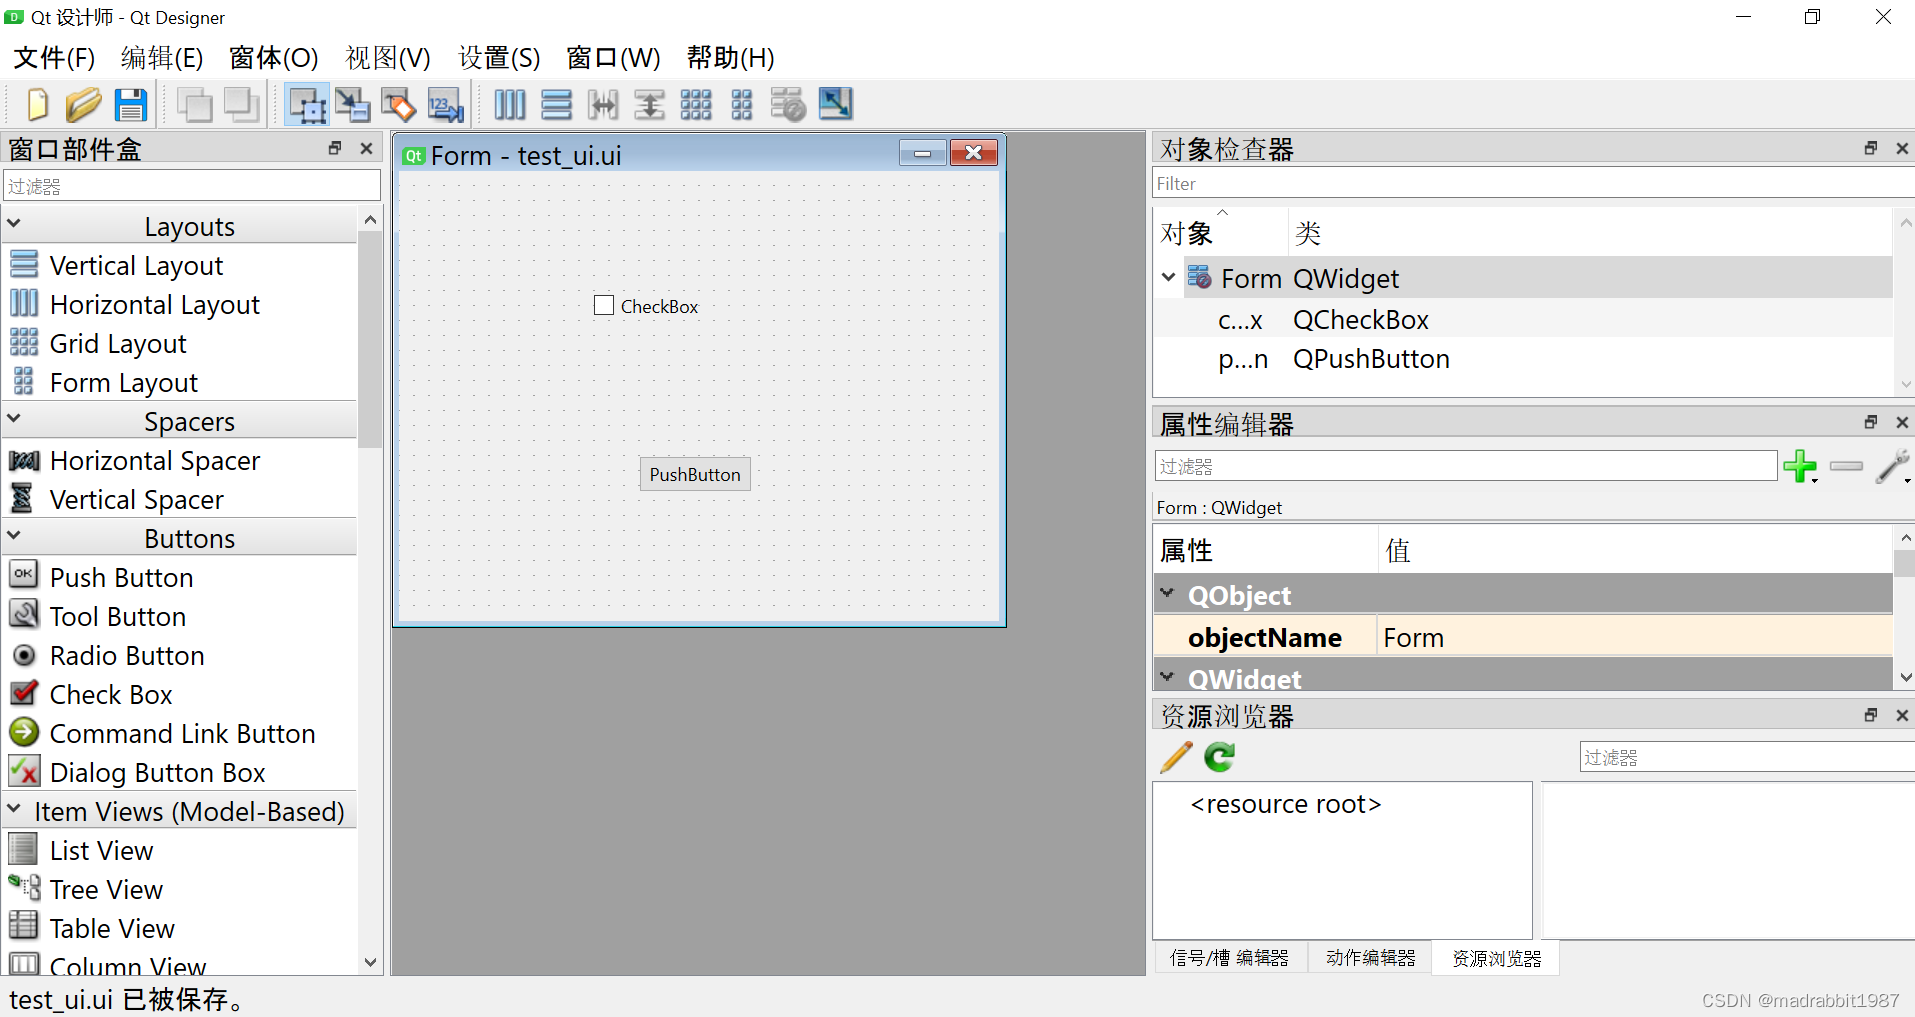
保存为test_ui.ui
2.2 把*.ui文件转换为*.py的文件(转换完了之后,可以只需要*.py就可以运行,但是保留*.ui可以便于后续的修改)
注意,PySide6是不能直接使用ui文件的,我们还需要将其转为py文件。首先cd到test_ui.ui的文件夹中,然后使用命令:
>>>pyside6-uic test_ui.ui > test_ui.py
2.3 转换得到的test_ui.py文件:
# -*- coding: utf-8 -*-

################################################################################
## Form generated from reading UI file 'test_ui.ui'
##
## Created by: Qt User Interface Compiler version 6.4.1
##
## WARNING! All changes made in this file will be lost when recompiling UI file!
################################################################################

from PySide6.QtCore import (QCoreApplication, QDate, QDateTime, QLocale,
    QMetaObject, QObject, QPoint, QRect,
    QSize, QTime, QUrl, Qt)
from PySide6.QtGui import (QBrush, QColor, QConicalGradient, QCursor,
    QFont, QFontDatabase, QGradient, QIcon,
    QImage, QKeySequence, QLinearGradient, QPainter,
    QPalette, QPixmap, QRadialGradient, QTransform)
from PySide6.QtWidgets import (QApplication, QCheckBox, QPushButton, QSizePolicy,
    QWidget)

class Ui_Form(object):
    def setupUi(self, Form):
        if not Form.objectName():
            Form.setObjectName(u"Form")
        Form.resize(400, 300)
        self.checkBox = QCheckBox(Form)
        self.checkBox.setObjectName(u"checkBox")
        self.checkBox.setGeometry(QRect(130, 80, 75, 20))
        self.pushButton = QPushButton(Form)
        self.pushButton.setObjectName(u"pushButton")
        self.pushButton.setGeometry(QRect(160, 190, 75, 24))

        self.retranslateUi(Form)

        QMetaObject.connectSlotsByName(Form)
    # setupUi

    def retranslateUi(self, Form):
        Form.setWindowTitle(QCoreApplication.translate("Form", u"Form", None))
        self.checkBox.setText(QCoreApplication.translate("Form", u"CheckBox", None))
        self.pushButton.setText(QCoreApplication.translate("Form", u"PushButton", None))
    # retranslateUi
2.4 调用UI的py
# 导入sys
import sys

# 任何一个PySide界面程序都需要使用QApplication
# 我们要展示一个普通的窗口,所以需要导入QWidget,用来让我们自己的类继承
from PySide6.QtWidgets import QApplication, QWidget
# 导入我们生成的界面
from test_ui import Ui_Form

# 继承QWidget类,以获取其属性和方法
class MyWidget(QWidget):
    def __init__(self):
        super().__init__()
        # 设置界面为我们生成的界面
        self.ui = Ui_Form()
        self.ui.setupUi(self)

# 程序入口
if __name__ == "__main__":
    # 初始化QApplication,界面展示要包含在QApplication初始化之后,结束之前
    app = QApplication(sys.argv)

    # 初始化并展示我们的界面组件
    window = MyWidget()
    window.show()
    # 执行QApplication
    sys.exit(app.exec())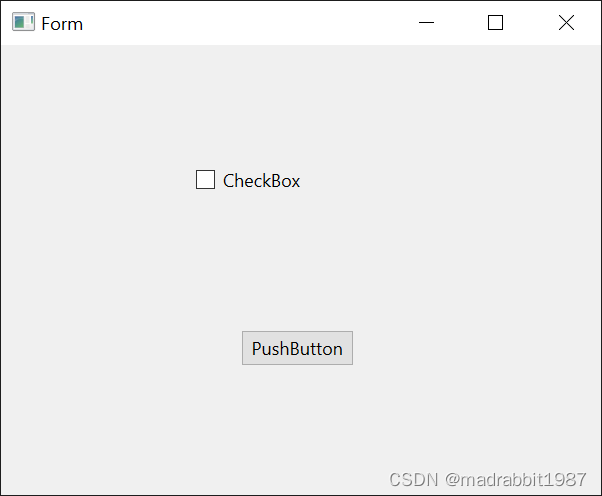
![[python] PyMouse、PyKeyboard用python操作鼠标和键盘](https://img-blog.csdnimg.cn/img_convert/7596c1e3a2b1beb74761a00d22e272a3.png)



![[oeasy]python0035_ 整合shell编程_循环_延迟_清屏](https://img-blog.csdnimg.cn/img_convert/165e66291fd752e74e03b09a9eb594af.png)


