GitHub上有大佬写好代码,理论上直接克隆仓库里下来使用
git clone https://github.com/Wulingtian/yolov5_tensorrt_int8_tools.git然后在yolov5_tensorrt_int8_tools的convert_trt_quant.py 修改如下参数
BATCH_SIZE 模型量化一次输入多少张图片
BATCH 模型量化次数
height width 输入图片宽和高
CALIB_IMG_DIR 训练图片路径,用于量化
onnx_model_path onnx模型路径
engine_model_path 模型保存路径
其中这个batch_size不能超过照片的数量,然后跑这个convert_trt_quant.py
出问题了吧@_@
这是因为tensor的版本更新原因,这个代码的tensorrt版本是7系列的,而目前新的tensorrt版本已经没有了一些属性,所以我们需要对这个大佬写的代码进行一些修改
如何修改呢,其实tensorrt官方给出了一个caffe量化INT8的例子
https://github.com/NVIDIA/TensorRT/tree/master/samples/python/int8_caffe_mnist如果足够NB是可以根据官方的这个例子修改一下直接实现onnx的INT8量化的
但是奈何我连半桶水都没有,只有一滴水,但是这个例子中的tensorrt版本是新的,于是我尝试将上面那位大佬的代码修改为使用新版的tensorrt
居然成功了??!!
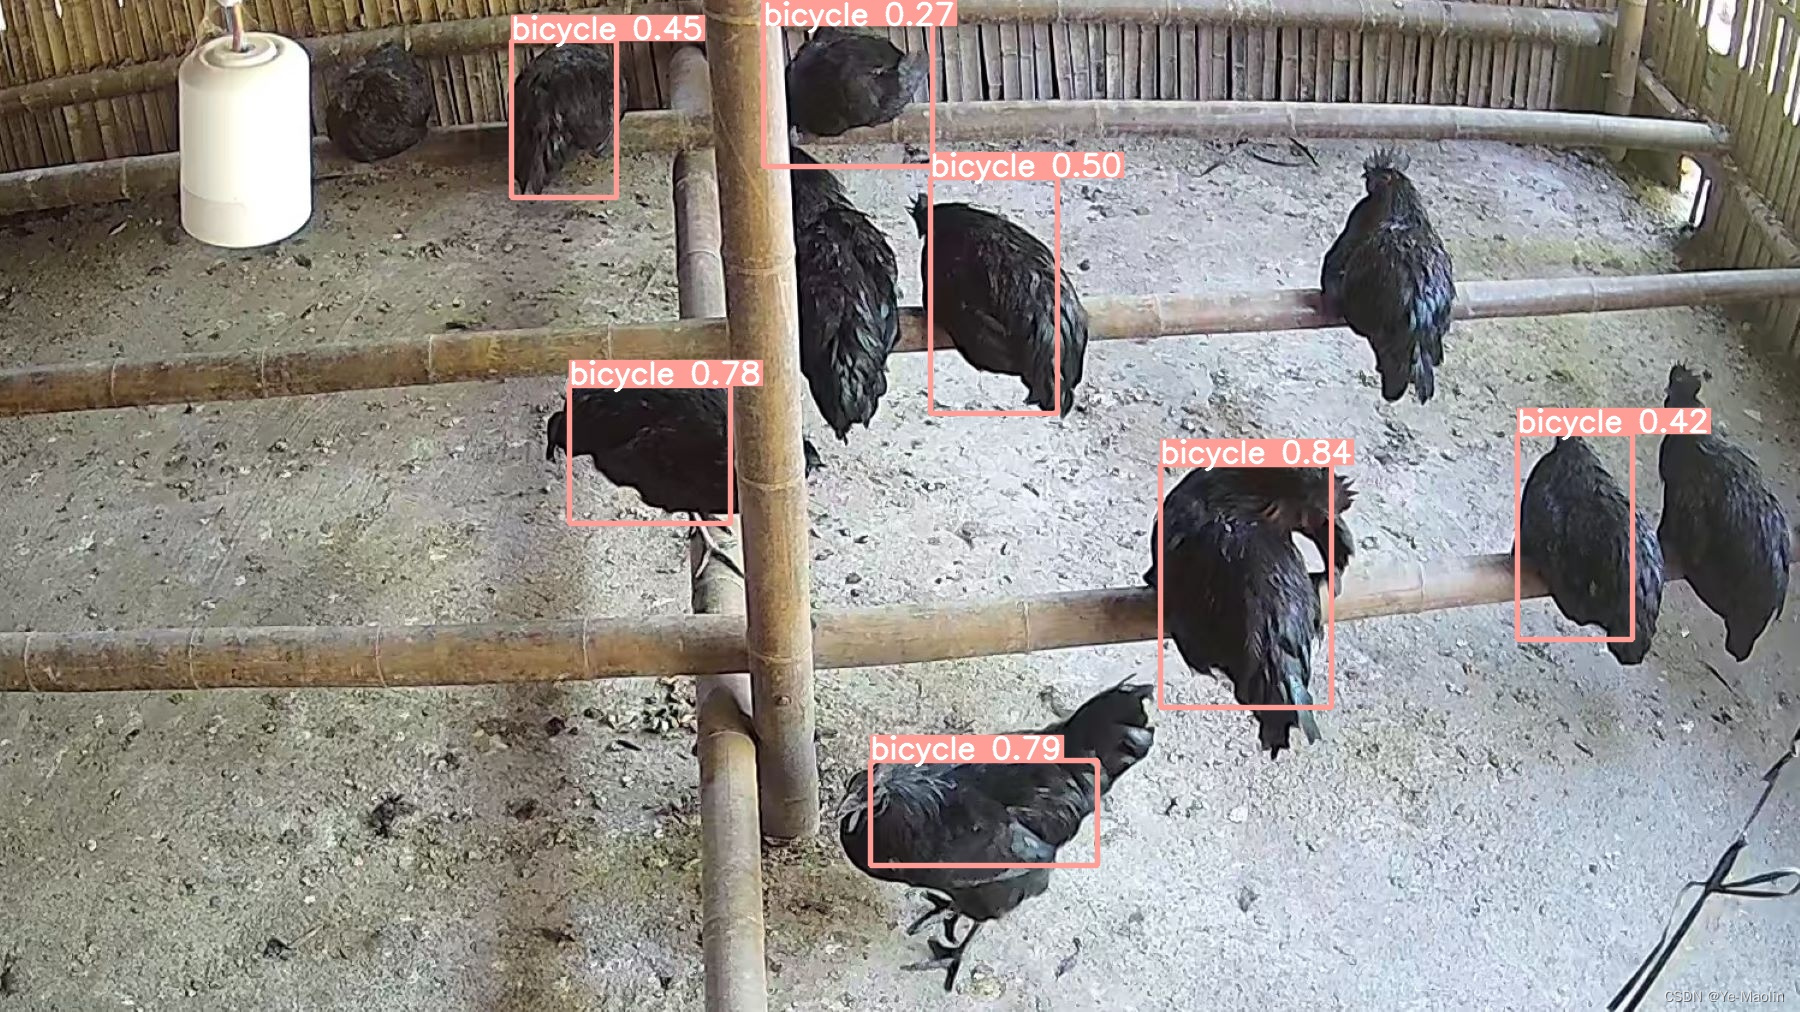
成功量化后的模型大小只有4MB,相比之下的FP16的大小为6MB,FP32的大小为9MB

再看看检测速度,速度和FP16差不太多

但是效果要差上一些了
那肯定不能忘记送上修改的代码,折腾一晚上的结果如下,主要是 util_trt程序
# tensorrt-lib

import os
import tensorrt as trt
import pycuda.autoinit
import pycuda.driver as cuda
from calibrator import Calibrator
from torch.autograd import Variable
import torch
import numpy as np
import time
# add verbose
TRT_LOGGER = trt.Logger(trt.Logger.VERBOSE) # ** engine可视化 **

# create tensorrt-engine
  # fixed and dynamic
def get_engine(max_batch_size=1, onnx_file_path="", engine_file_path="",\
               fp16_mode=False, int8_mode=False, calibration_stream=None, calibration_table_path="", save_engine=False):
    """Attempts to load a serialized engine if available, otherwise builds a new TensorRT engine and saves it."""
    def build_engine(max_batch_size, save_engine):
        """Takes an ONNX file and creates a TensorRT engine to run inference with"""
        with trt.Builder(TRT_LOGGER) as builder, \
                builder.create_network(1) as network,\
                trt.OnnxParser(network, TRT_LOGGER) as parser:

            # parse onnx model file
            if not os.path.exists(onnx_file_path):
                quit('ONNX file {} not found'.format(onnx_file_path))
            print('Loading ONNX file from path {}...'.format(onnx_file_path))
            with open(onnx_file_path, 'rb') as model:
                print('Beginning ONNX file parsing')
                parser.parse(model.read())
                assert network.num_layers > 0, 'Failed to parse ONNX model. \
                            Please check if the ONNX model is compatible '
            print('Completed parsing of ONNX file')
            print('Building an engine from file {}; this may take a while...'.format(onnx_file_path))

            # build trt engine
            builder.max_batch_size = max_batch_size
            config = builder.create_builder_config()
            config.max_workspace_size = 1 << 20
            if int8_mode:
                config.set_flag(trt.BuilderFlag.INT8)
                assert calibration_stream, 'Error: a calibration_stream should be provided for int8 mode'
                config.int8_calibrator  = Calibrator(calibration_stream, calibration_table_path)
                print('Int8 mode enabled')
            runtime=trt.Runtime(TRT_LOGGER)
            plan = builder.build_serialized_network(network, config)
            engine = runtime.deserialize_cuda_engine(plan)
            if engine is None:
                print('Failed to create the engine')
                return None
            print("Completed creating the engine")
            if save_engine:
                with open(engine_file_path, "wb") as f:
                    f.write(engine.serialize())
            return engine

    if os.path.exists(engine_file_path):
        # If a serialized engine exists, load it instead of building a new one.
        print("Reading engine from file {}".format(engine_file_path))
        with open(engine_file_path, "rb") as f, trt.Runtime(TRT_LOGGER) as runtime:
            return runtime.deserialize_cuda_engine(f.read())
    else:
        return build_engine(max_batch_size, save_engine)
唔,convert_trt_quant.py的代码也给一下吧
import numpy as np
import torch
import torch.nn as nn
import util_trt
import glob,os,cv2

BATCH_SIZE = 1
BATCH = 79
height = 640
width = 640
CALIB_IMG_DIR = '/content/drive/MyDrive/yolov5/ikunData/images'
onnx_model_path = "runs/train/exp4/weights/FP32.onnx"
def preprocess_v1(image_raw):
    h, w, c = image_raw.shape
    image = cv2.cvtColor(image_raw, cv2.COLOR_BGR2RGB)
    # Calculate widht and height and paddings
    r_w = width / w
    r_h = height / h
    if r_h > r_w:
        tw = width
        th = int(r_w * h)
        tx1 = tx2 = 0
        ty1 = int((height - th) / 2)
        ty2 = height - th - ty1
    else:
        tw = int(r_h * w)
        th = height
        tx1 = int((width - tw) / 2)
        tx2 = width - tw - tx1
        ty1 = ty2 = 0
    # Resize the image with long side while maintaining ratio
    image = cv2.resize(image, (tw, th))
    # Pad the short side with (128,128,128)
    image = cv2.copyMakeBorder(
        image, ty1, ty2, tx1, tx2, cv2.BORDER_CONSTANT, (128, 128, 128)
    )
    image = image.astype(np.float32)
    # Normalize to [0,1]
    image /= 255.0
    # HWC to CHW format:
    image = np.transpose(image, [2, 0, 1])
    # CHW to NCHW format
    #image = np.expand_dims(image, axis=0)
    # Convert the image to row-major order, also known as "C order":
    #image = np.ascontiguousarray(image)
    return image


def preprocess(img):
    img = cv2.resize(img, (640, 640))
    img = cv2.cvtColor(img, cv2.COLOR_BGR2RGB)
    img = img.transpose((2, 0, 1)).astype(np.float32)
    img /= 255.0
    return img

class DataLoader:
    def __init__(self):
        self.index = 0
        self.length = BATCH
        self.batch_size = BATCH_SIZE
        # self.img_list = [i.strip() for i in open('calib.txt').readlines()]
        self.img_list = glob.glob(os.path.join(CALIB_IMG_DIR, "*.jpg"))
        assert len(self.img_list) > self.batch_size * self.length, '{} must contains more than '.format(CALIB_IMG_DIR) + str(self.batch_size * self.length) + ' images to calib'
        print('found all {} images to calib.'.format(len(self.img_list)))
        self.calibration_data = np.zeros((self.batch_size,3,height,width), dtype=np.float32)

    def reset(self):
        self.index = 0

    def next_batch(self):
        if self.index < self.length:
            for i in range(self.batch_size):
                assert os.path.exists(self.img_list[i + self.index * self.batch_size]), 'not found!!'
                img = cv2.imread(self.img_list[i + self.index * self.batch_size])
                img = preprocess_v1(img)
                self.calibration_data[i] = img

            self.index += 1

            # example only
            return np.ascontiguousarray(self.calibration_data, dtype=np.float32)
        else:
            return np.array([])

    def __len__(self):
        return self.length

def main():
    # onnx2trt
    fp16_mode = False
    int8_mode = True
    print('*** onnx to tensorrt begin ***')
    # calibration
    calibration_stream = DataLoader()
    engine_model_path = "runs/train/exp4/weights/int8.engine"
    calibration_table = 'yolov5_tensorrt_int8_tools/models_save/calibration.cache'
    # fixed_engine,校准产生校准表
    engine_fixed = util_trt.get_engine(BATCH_SIZE, onnx_model_path, engine_model_path, fp16_mode=fp16_mode,
        int8_mode=int8_mode, calibration_stream=calibration_stream, calibration_table_path=calibration_table, save_engine=True)
    assert engine_fixed, 'Broken engine_fixed'
    print('*** onnx to tensorrt completed ***\n')

if __name__ == '__main__':
    main()
![[01]汇川IMC30G-E系列运动控制卡应用笔记](https://img-blog.csdnimg.cn/e7a97b1dc45d4d179e8836360838692d.jpeg)
