一、环境配置方法
基本要求: Python版本>=3.8 ; Halcon版本 >=20.11
1)首先创建一个python版本大于3.8的基础环境
2)然后查看自己的halcon的版本,在该环境下安装halcon
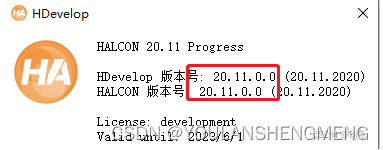
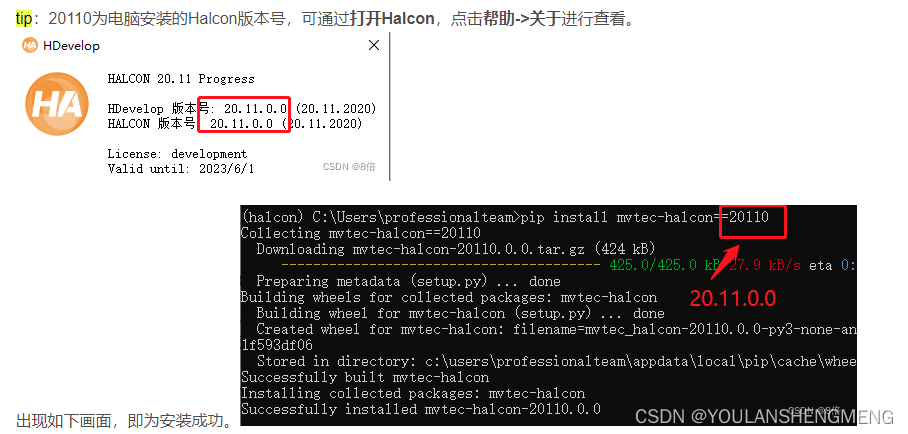
如图所示,版本是20110,执行以下语句,完成halcon的安装
pip install mvtec-halcon==20110
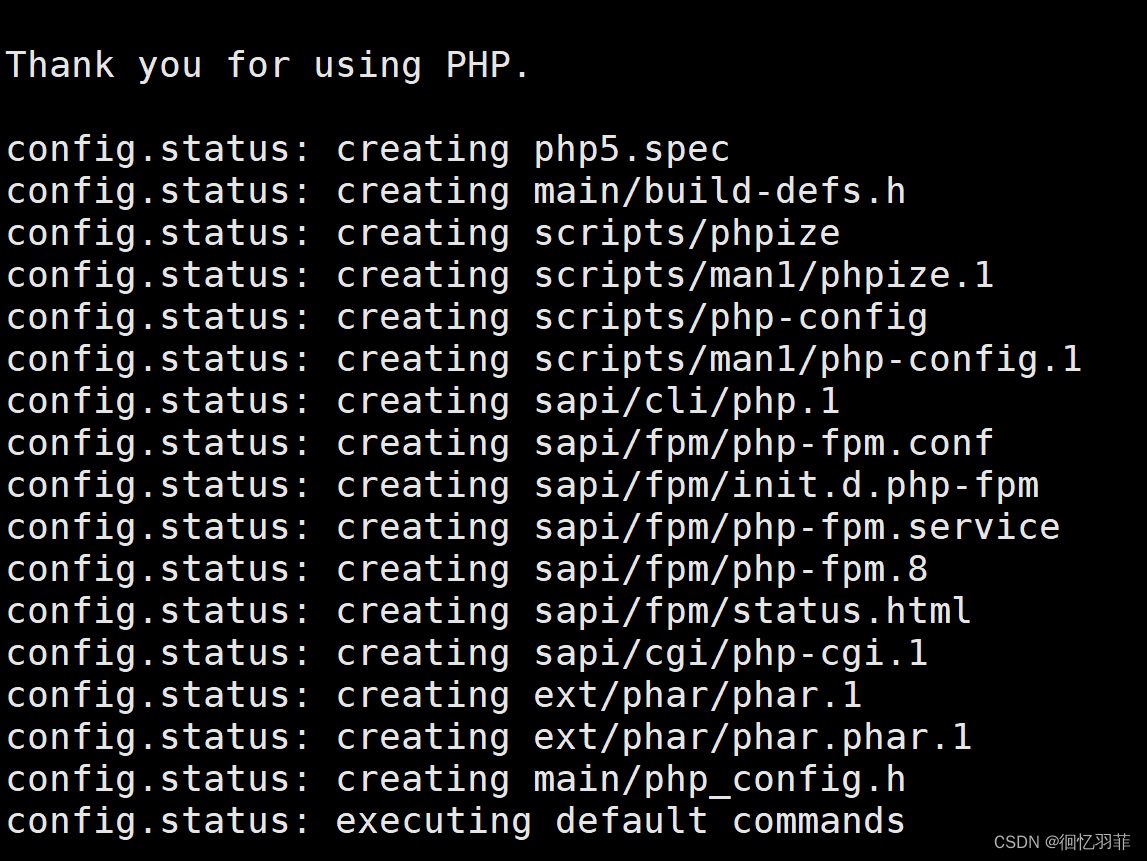
安装成功后,出现如下的图像:
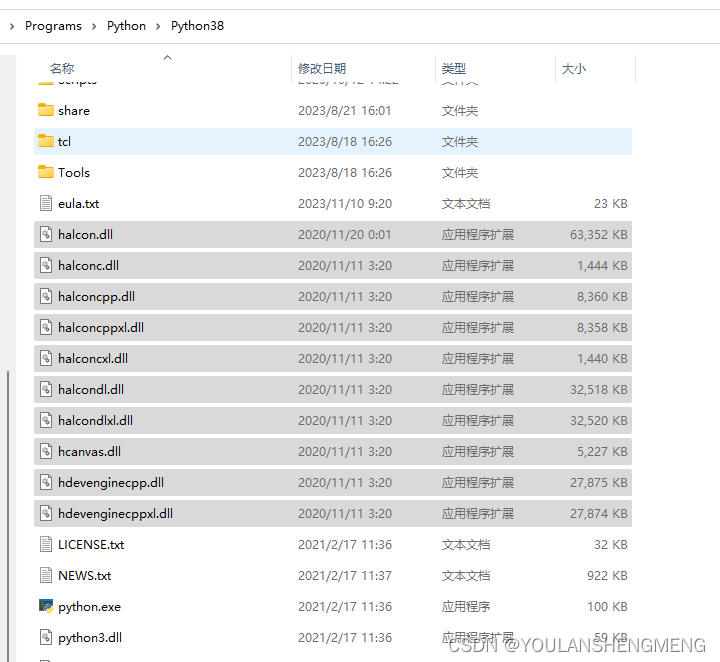
3)将halcon相关的dll放在python.exe所在的文件夹下。halcon的相关dll可以在你安装的halcon的文件位置获得。拷贝以下命名的dll,进行拷贝,放置在创建的python环境中python.exe所在的位置。

拷贝后,如图所示:
4)验证是否成功
import halcon
没有报错证明安装成功,可以使用下面的代码进行测试
import halcon as ha

WindowHandle = ha.open_window(0, 0, 500, 400, father_window=0, mode='visible', machine='')
Image = ha.read_image('die/die_03')
ha.disp_obj(Image, WindowHandle)
ha.wait_seconds(5)
5)opencv和halcon基于python的图像转换的方法
1,Python将Halcon图像转OpenCV(CV2)图像(高效)
import cv2
import halcon as ha
from PIL import Image
from halcon.numpy_interop import himage_as_numpy_array
img = cv2.imread(r"C:\Users\11716\Desktop\DogCat-seg\images\train\13.jpg")

image = ha.read_image(r'C:\Users\11716\Desktop\DogCat-seg\images\train\6.jpg')


res = himage_as_numpy_array(image)

print(type(res))

img = cv2.cvtColor(res,cv2.COLOR_RGB2BGR)
print(type(img))

img= Image.fromarray(cv2.cvtColor(img,cv2.COLOR_BGR2RGB))

img.show()
print(type(img))
2,cv2 np array 转 HObject
import cv2
import halcon as ha
from PIL import Image
from halcon.numpy_interop import himage_as_numpy_array,himage_from_numpy_array
img = cv2.imread(r"C:\Users\11716\Desktop\DogCat-seg\images\train\13.jpg")

image = ha.read_image(r'C:\Users\11716\Desktop\DogCat-seg\images\train\6.jpg')


res = himage_as_numpy_array(image)

print(type(res))

img = cv2.cvtColor(res,cv2.COLOR_RGB2BGR)
print(type(img))


## cv2 np array 转 HObject
hobjectImg = himage_from_numpy_array(img)

print(type(hobjectImg))
6)复杂功能的实现,测量功能的实现方法
对于负责功能基于halcon的实现,编程方法和在halcon中的不太一样,需要将输出的结果写在功能函数的前面。如下面实现的复杂的功能测量功能的实现:
import halcon as ha
import cv2
from halcon.numpy_interop import himage_from_numpy_array

import time

WindowHandle = ha.open_window(0, 0, 500, 400, father_window=0, mode='visible', machine='')

mat_image=cv2.imread('143228_014.png',-1)


start_time_init = time.time()
hobjectImg = himage_from_numpy_array(mat_image)
Width, Height=ha.get_image_size(hobjectImg)


Row = 77
Column = 669
Phi = -1.5708
print(Phi)
Length1 = 31
Length2 = 24
Rectangle=ha.gen_rectangle2(Row, Column, Phi, Length1, Length2)
print(Rectangle)

Interpolation = 'nearest_neighbor'
MeasureHandle=ha.gen_measure_rectangle2 (Row, Column, Phi, Length1, Length2, Width, Height, Interpolation)


Sigma = 1.0
Threshold = 30
Transition = 'all'
Select = 'all'
RowEdge,ColumnEdge,Amplitude,Distance= ha.measure_pos (hobjectImg, MeasureHandle, Sigma, Threshold, Transition, Select)
totall_distance =sum(Distance)

end_time_init = time.time()
elapsed_time_init = (end_time_init - start_time_init)*1000
print("检测时间为: {} ms".format(elapsed_time_init))

print(totall_distance)
# ha.write_image(hobjectImg,'png',0,'F:/1.png')
![[autojs]逍遥模拟器和vscode对接](https://img-blog.csdnimg.cn/f47619a6c850442ca4f4b7a45018173a.jpeg)

