📚目录
- ⚙️简介:
- ✨注解定义:
- ⛳@RetryMechanism
- ⌛编写AOP代码:
- ⚓RetryMechanismAspect 切面
- ⛵演示:
- ⛴如何使用@RetryMechanism:
- ⚡️正常请求如下:
- ☘️测试异常并且重试:
- ☄️测试异常并且重试后成功:
- ✍️结束:
⚙️简介:
当我们调用第三方服务商接口时,可能存在网络波动导致数据获取异常,得不到我们想要的结果,我们如果想要发起重试,然后又不入侵业务代码,我们使用使用AOP切面技术,通过添加注解方式来实现对应的方法进行重试,代码也很简单。AOP往期文章点击查看
✨注解定义:
既然使用注解方式那么,我们应该想到注解上应该涉及到那些属性,好比:重试的最次数,发起重试的间隔时间等。
⛳@RetryMechanism
/**
 * @Author itmei
 * @Date 2023/10/30 20:07
 * @description: 重试机制注解
 * @Title: RetryMechanism
 */
//注释的语法位置在方法上
@Target(value = {ElementType.METHOD})
//运行时
@Retention(RetentionPolicy.RUNTIME)
@Documented
public @interface RetryMechanism {
    /**
     * 重试次数
     */
    int retryTimes() default 3;
    /**
     * 重试间隔时间(秒)
     */
    int retryIntervalSecond() default 10;
}
⌛编写AOP代码:
AOP的代码使用的是@Around环绕通知,这里面涉及到前置通知,后置通知,异常通知。其中最终通知我们暂且不需要使用到因为它是在finally里面。
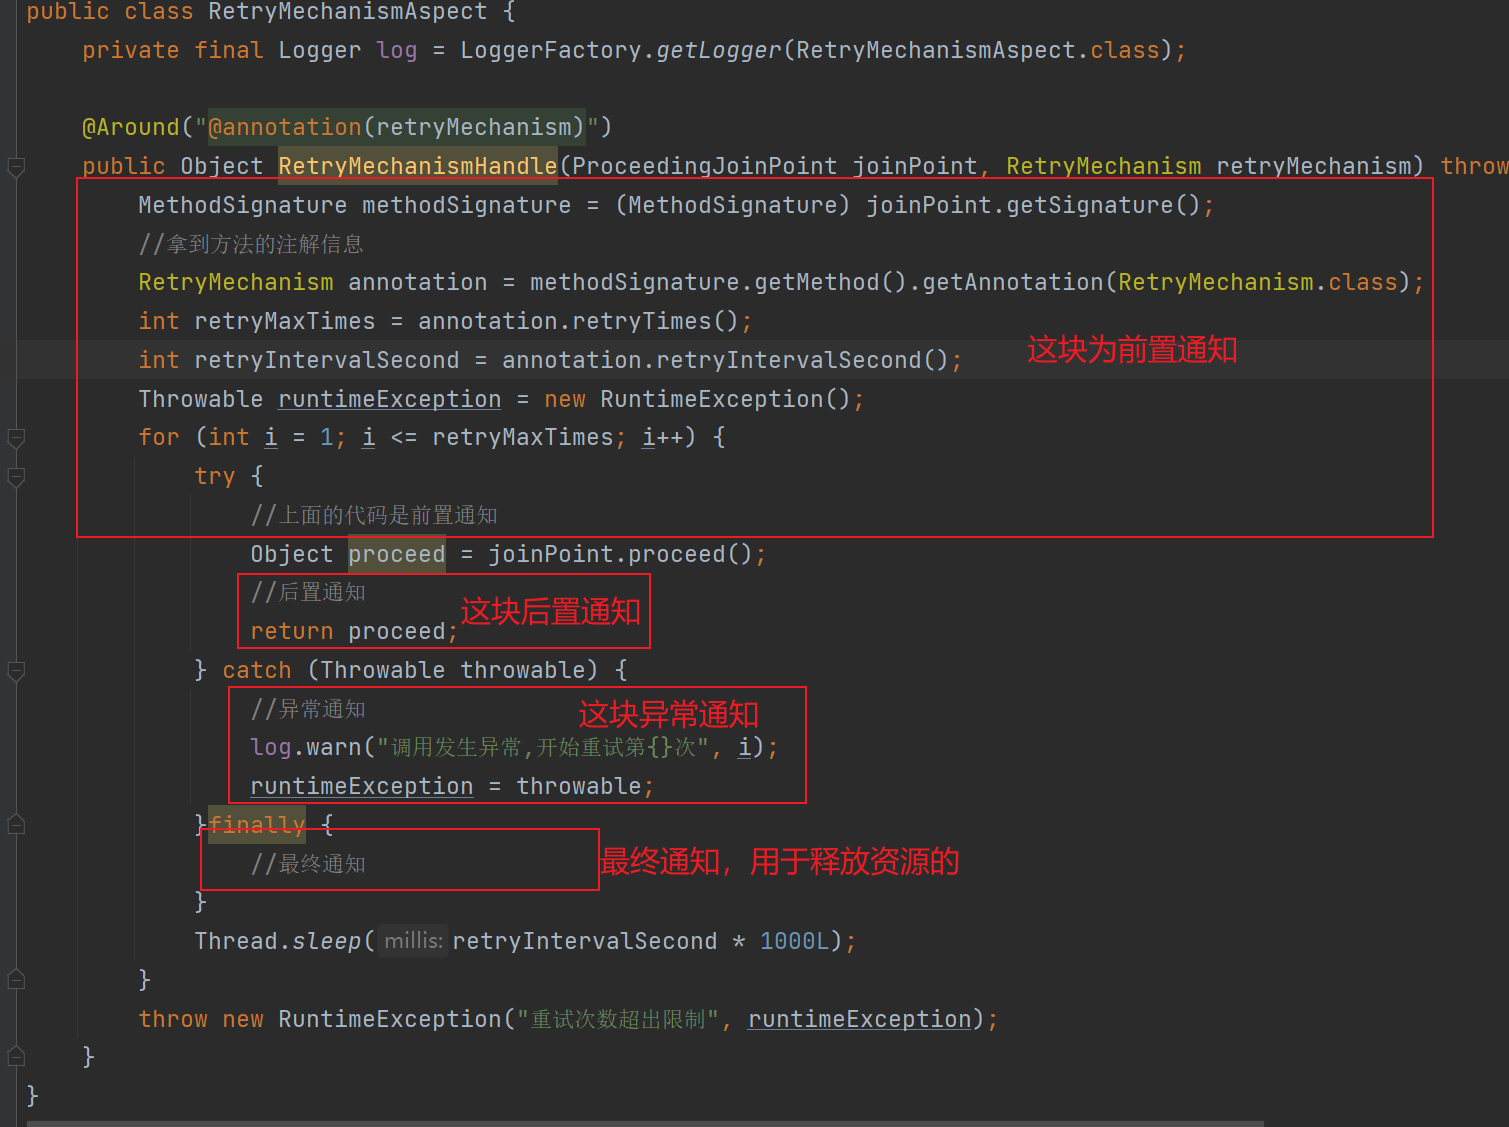
⚓RetryMechanismAspect 切面
/**
 * @Author itmei
 * @Date 2023/10/30 20:16
 * @description: 重试间隔AOP
 * @Title: RetryMechanismAspect
 */
@Aspect
@Order(-99)
@Component
public class RetryMechanismAspect {
    private final Logger log = LoggerFactory.getLogger(RetryMechanismAspect.class);

    @Around("@annotation(retryMechanism)")
    public Object RetryMechanismHandle(ProceedingJoinPoint joinPoint, RetryMechanism retryMechanism) throws InterruptedException {
        MethodSignature methodSignature = (MethodSignature) joinPoint.getSignature();
        //拿到方法的注解信息
        RetryMechanism annotation = methodSignature.getMethod().getAnnotation(RetryMechanism.class);
        int retryMaxTimes = annotation.retryTimes();
        int retryIntervalSecond = annotation.retryIntervalSecond();
        Throwable runtimeException = new RuntimeException();
        for (int i = 1; i <= retryMaxTimes; i++) {
            try {
                //上面的代码是前置通知
                Object proceed = joinPoint.proceed();
                //后置通知
                return proceed;
            } catch (Throwable throwable) {
                //异常通知
                log.warn("调用发生异常,开始重试第{}次", i);
                runtimeException = throwable;
            }finally {
                //最终通知
            }
            Thread.sleep(retryIntervalSecond * 1000L);
        }
        throw new RuntimeException("重试次数超出限制", runtimeException);
    }
}
⛵演示:
⛴如何使用@RetryMechanism:
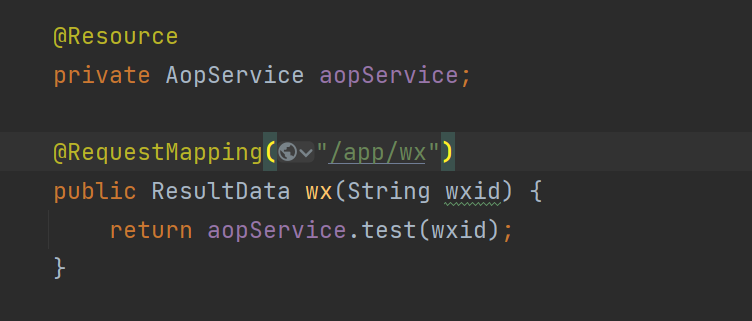
Controller 添加测试接口:
    @Resource
    private AopService aopService;

    @RequestMapping("/app/wx")
    public ResultData wx(String wxid) {
        return aopService.test(wxid);
    }
Service类:
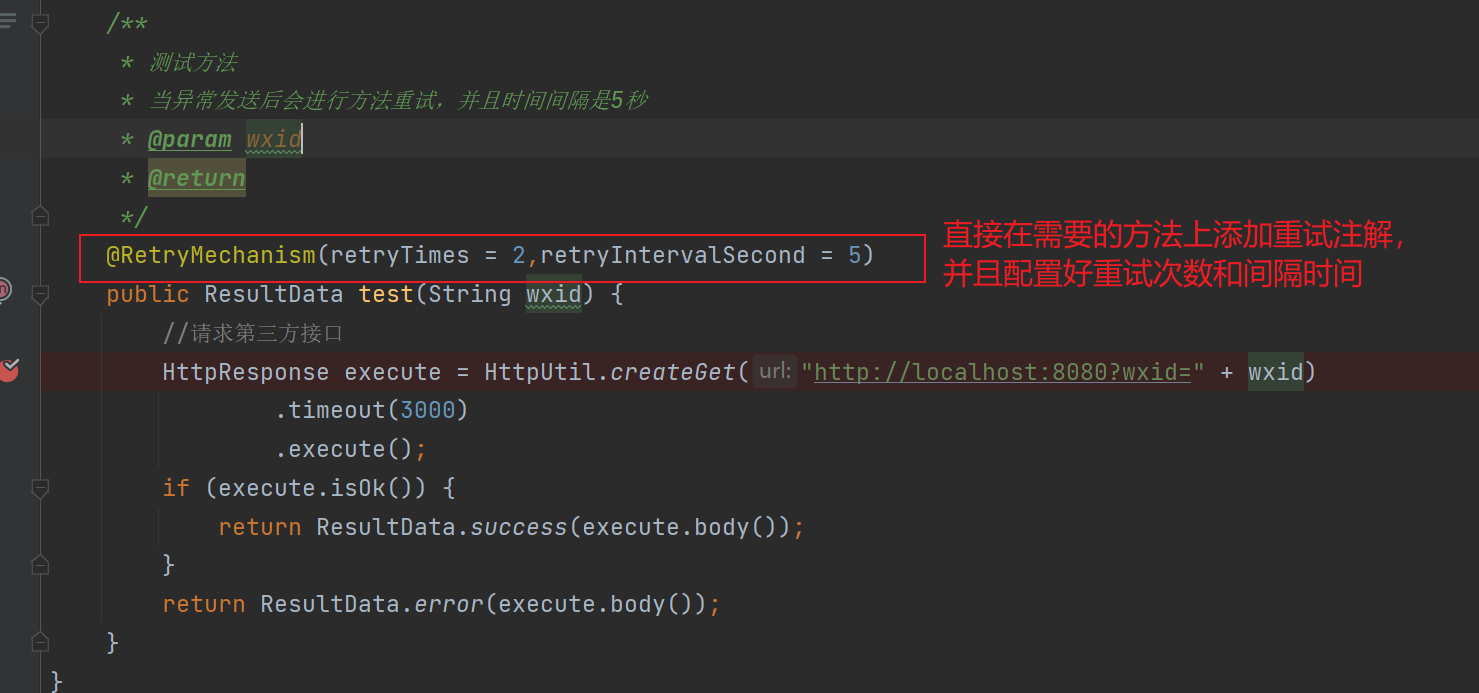
test方法模拟调用第三方的接口因为网络波动导致的超时现象
/**
 * @Author itmei
 * @Date 2023/10/30 23:32
 * @description:
 * @Title: AopService
 */
@Service
public class AopService {
    /**
     * 测试方法
     * 当异常发送后会进行方法重试,并且时间间隔是5秒
     * @param wxid
     * @return
     */
    @RetryMechanism(retryTimes = 2,retryIntervalSecond = 5)
    public ResultData test(String wxid) {
        //请求第三方接口
        HttpResponse execute = HttpUtil.createGet("http://localhost:8080?wxid=" + wxid)
                .timeout(3000)
                .execute();
        if (execute.isOk()) {
            return ResultData.success(execute.body());
        }
        return ResultData.error(execute.body());
    }
}
⚡️正常请求如下:
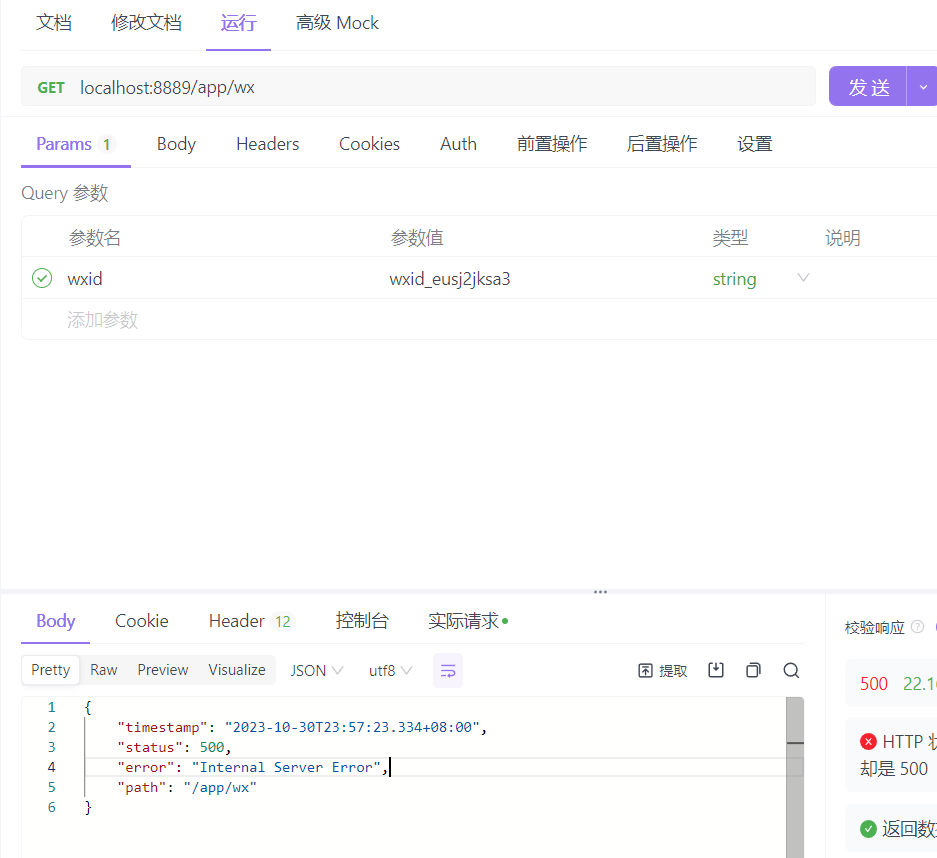
☘️测试异常并且重试:


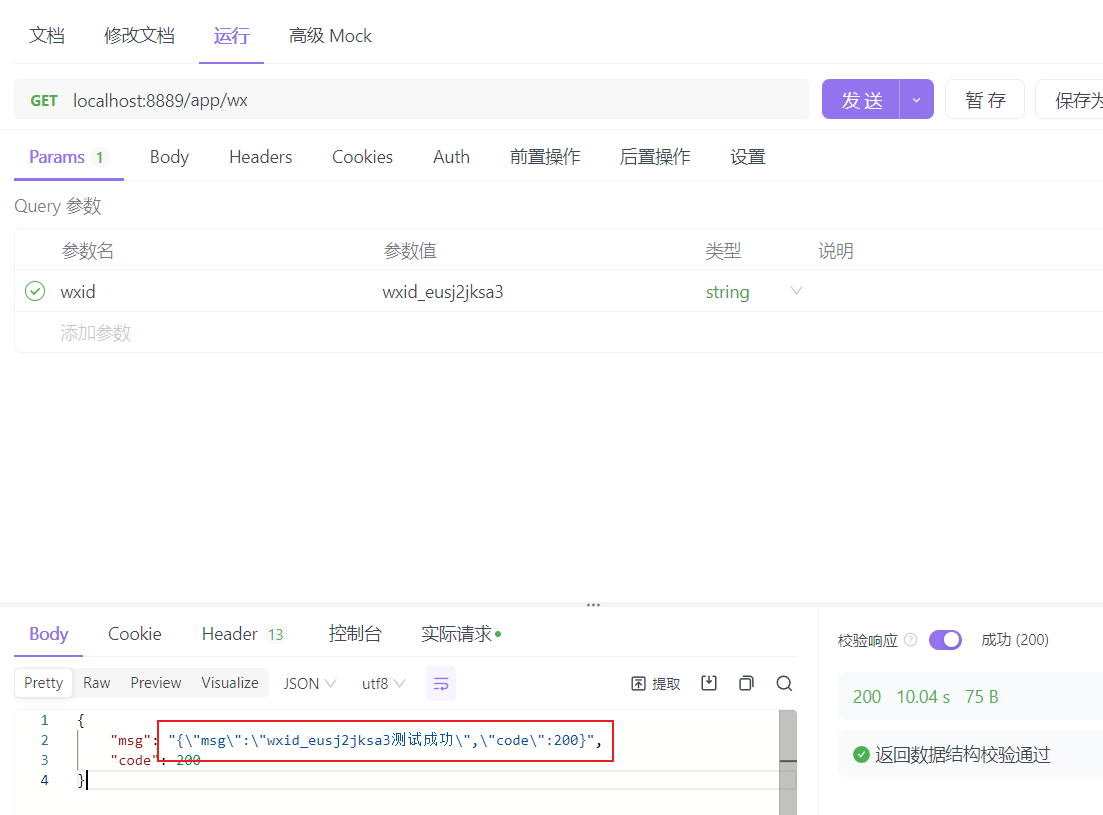
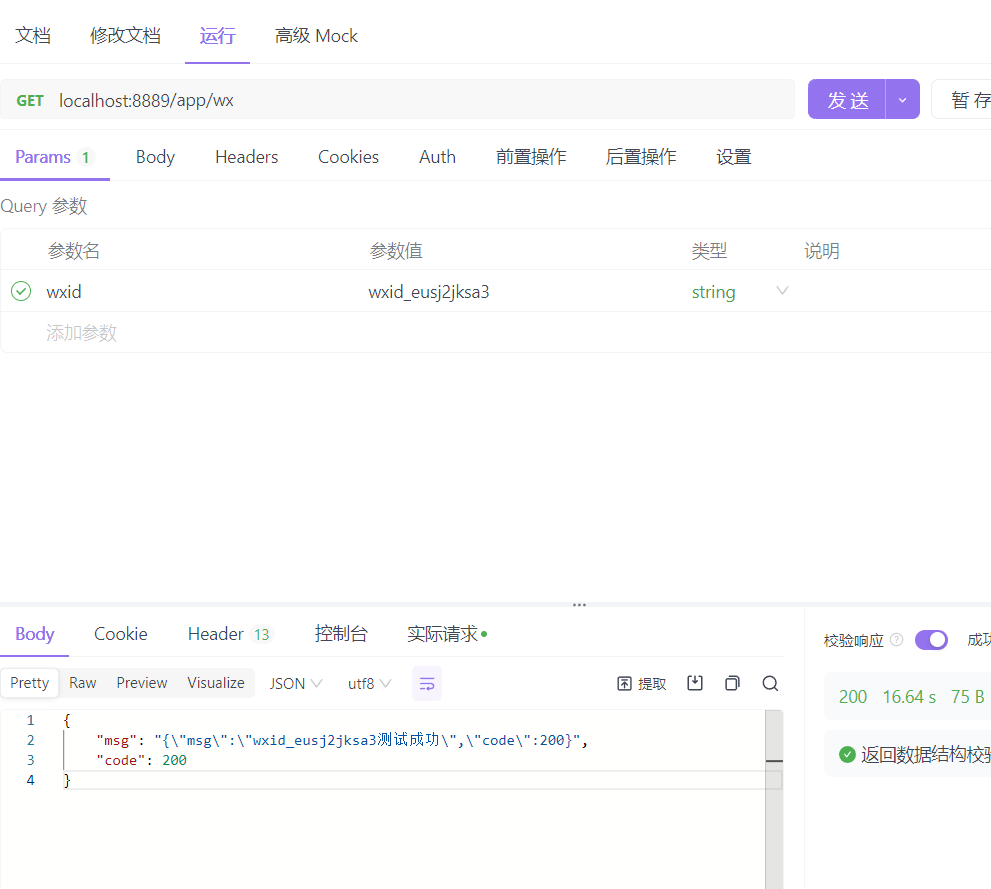
☄️测试异常并且重试后成功:

第一次因为网络波动导致超时,第二次成功拿到返回值
✍️结束:
到这里你应该也学习到了使用AOP的环绕通知对代码的无侵入的增强,并且对前置通知,后置通知,异常通知也有了初步的理解,动动手写起来记忆更深刻哦。
