一、说明
这都是关于物体识别的。物体识别是指通过计算机视觉技术,自动识别图像或视频中的物体及其属性和特征,是人工智能领域的一个分支。物体识别可应用于多个领域,包括工业自动化、智能家居、医疗、安防等。请随时阅读这篇文章:类似哈尔的功能(维基百科))
二、项目介绍
我们在这里所做的只是检测俄罗斯车牌和图像,然后使用haarcascade方法模糊它们。
2.1 步骤1: 导入库
import cv2
import numpy as np
import matplotlib.pyplot as plt
%matplotlib inline
2.2 步骤:导入要使用的图像
img = cv2.imread('DATA/car_plate_0.jpg')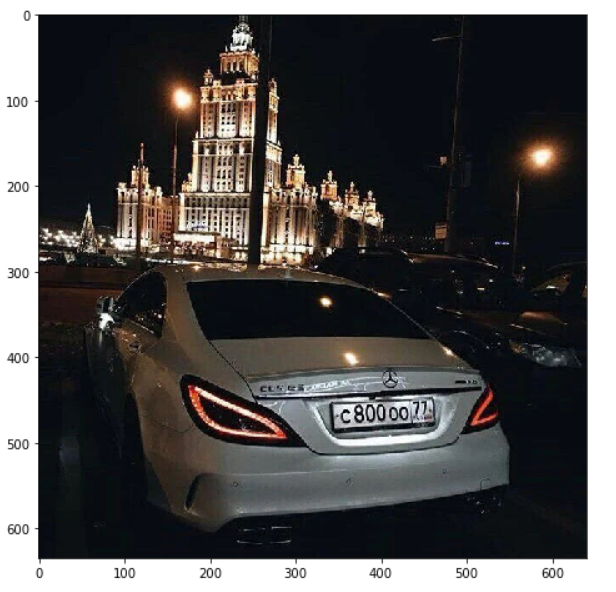
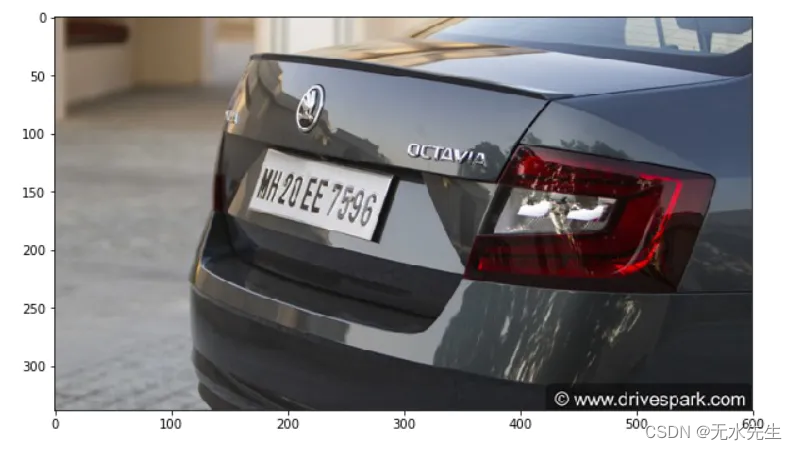
2.3 步骤3:显示图像
接下来,我们希望您创建一个函数,以更大的比例显示图像并进行颜色校正。
def display(img):
  fig = plt.figure(figsize=(10,8))
  ax = fig.add_subplot(111)
  new_img = cv2.cvtColor(img, cv2.COLOR_BGR2RGB)
  ax.imshow(new_img)
测试一下:
display(img)2.4 步骤4: 加载级联俄罗斯车牌号 XML 文件。
对于此步骤,您必须下载并粘贴到/DATA文件夹中的目录haarcascades。地址如下:opencv/data/haarcascades at master · opencv/opencv · GitHub
plate_cascade = cv2.CascadeClassifier('DATA/haarcascades/haarcascade_russian_plate_number.xml')2.5 步骤5: 检测板的功能
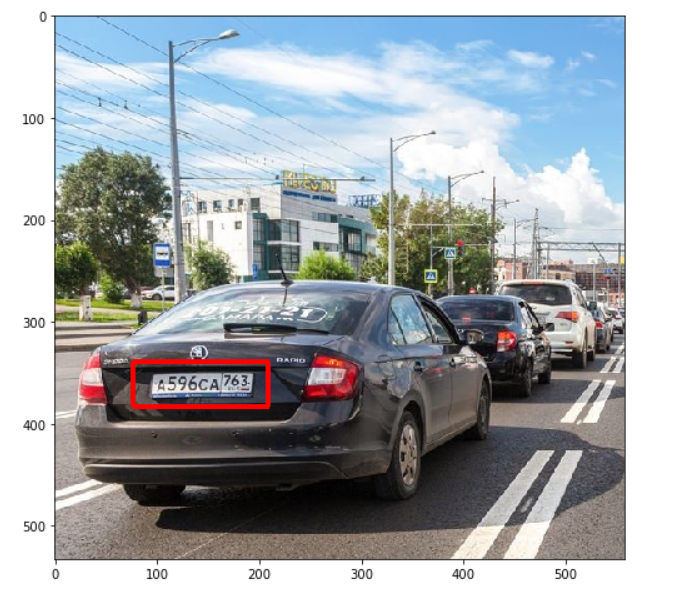
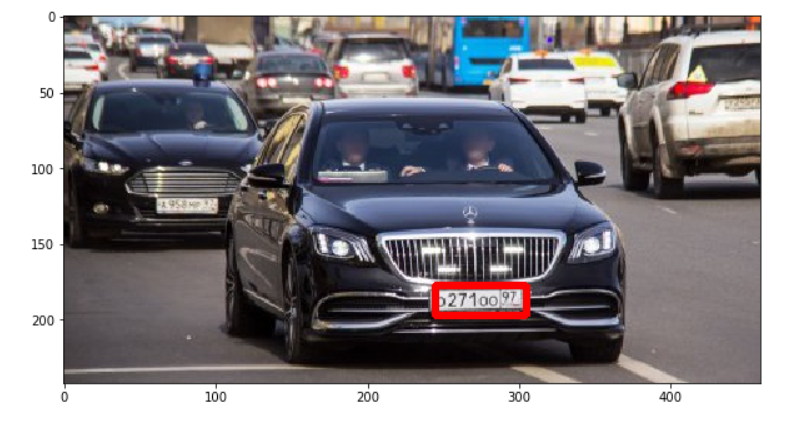
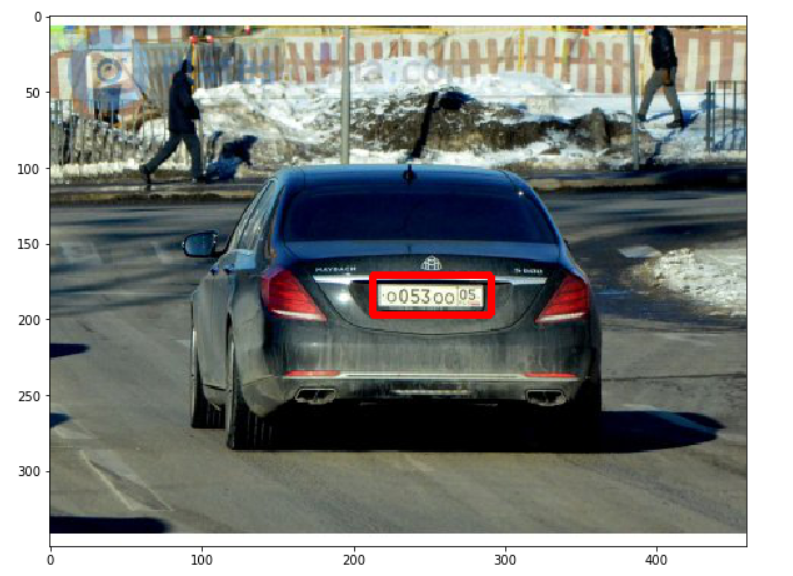
接下来,我们要创建一个函数来接收图像并围绕它所获取的内容绘制一个矩形。
def detect_plate(img):
  plate_img = img.copy()
  plate_rects = plate_cascade.detectMultiScale(plate_img,
    scaleFactor=1.3, minNeighbors=3)

  for(x,y,w,h) in plate_rects:
    cv2.rectangle(plate_img, (x,y), (x+w, y+h), (0,0,255),3)
  return plate_img
测试一下:
result = detect_plate(img)显示它:
display(result)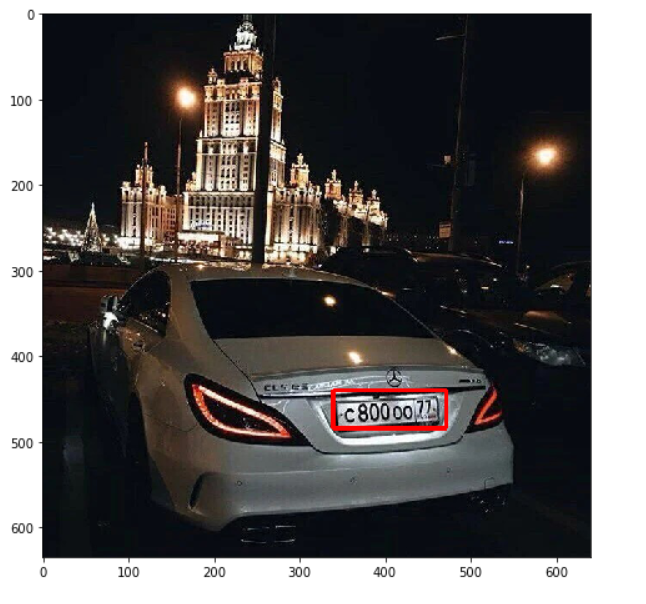
04步骤 # 检测板的功能
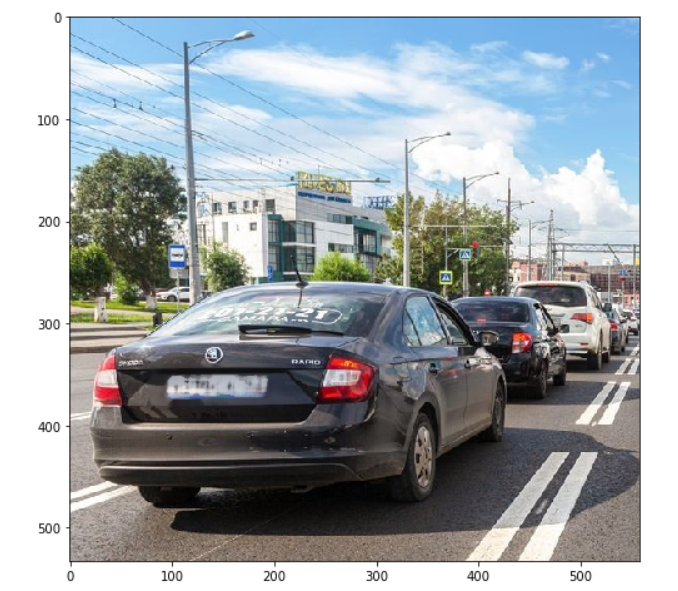
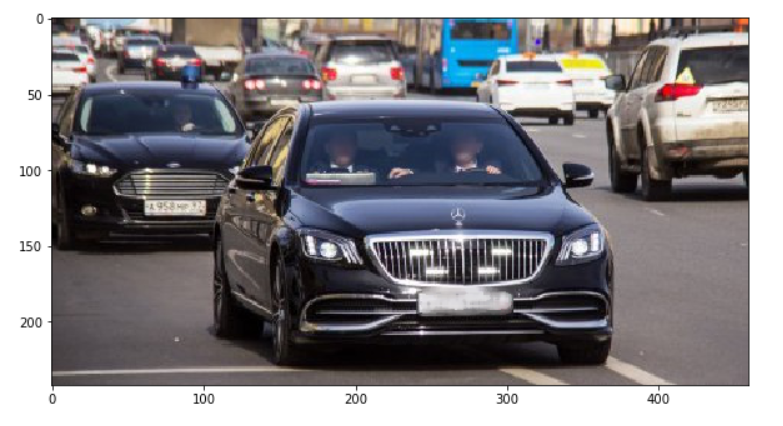
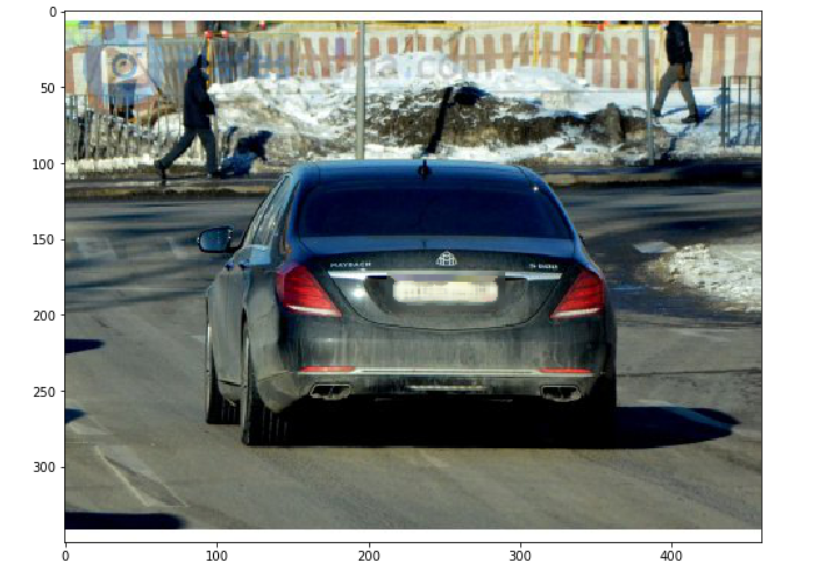
所以现在我知道车牌在哪里,我可以把它模糊出来。
所以我要做的方法是,我实际上要删除这个区域并将其设置为感兴趣的区域(RoI)。
然后我将模糊该区域,然后将其粘贴回原始图像中。
def detect_n_blur_plate(img):
  plate_img = img.copy()
  roi = img.copy()
  plate_rects = plate_cascade.detectMultiScale(plate_img,
    scaleFactor=1.3, minNeighbors=3)
  for(x,y,w,h) in plate_rects:
    roi = roi[y:y+h, x:x+w]
    blured_roi = cv2.medianBlur(roi, 7)
    plate_img[y:y+h, x:x+w] = blured_roi
  return plate_img
测试一下:
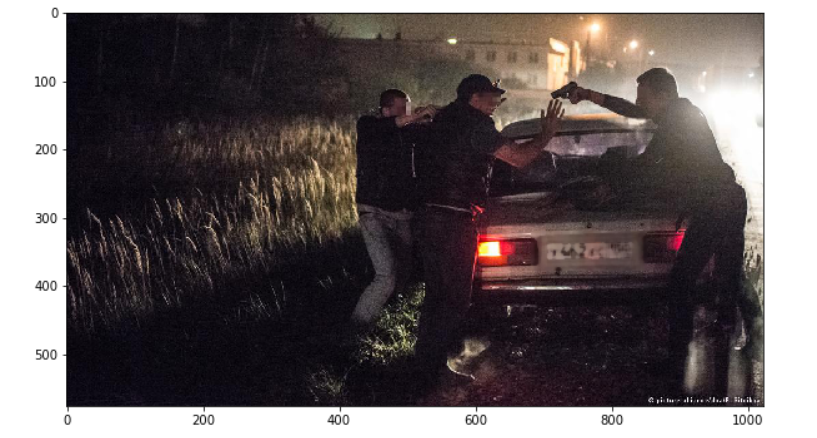
result = detect_n_blur_plate(img)显示它:
display(result)
这些是该项目的文件,在每个图像上运行该方法,请查看这篇有关如何操作文件的文章。 :)
from pathlib import Path
path = Path('DATA/')
files = path.iterdir()
for file in files:
  file_name = file.name
  if file_name[:9]=='car_plate' and file_name[-3:] == 'jpg':
    print(file_name)
    car_plate_0.jpg
    car_plate_1.jpg
    car_plate_2.jpg
    car_plate_3.jpg
    car_plate_4.jpg
    car_plate_5.jpg
    car_plate_6.jpg
这就是大家!
print("That's it! Thank you once again!\nI hope will be helpful.")
That's it! Thank you once again!
I hope will be helpful.
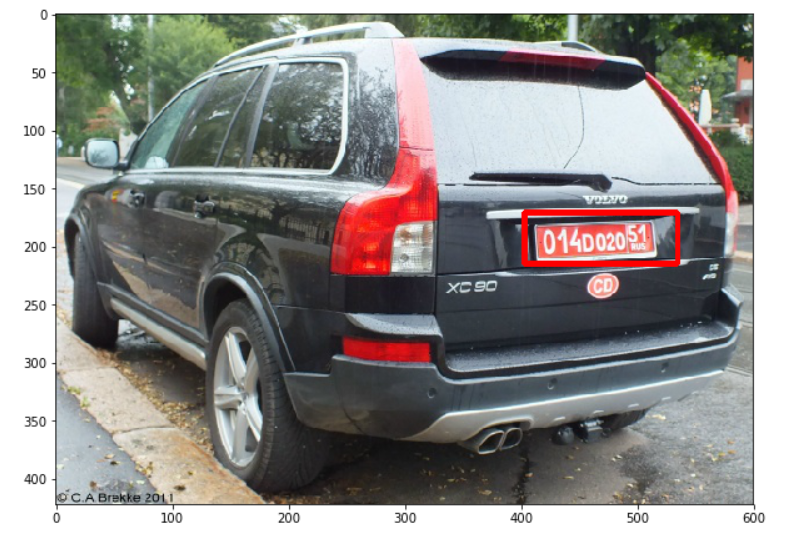
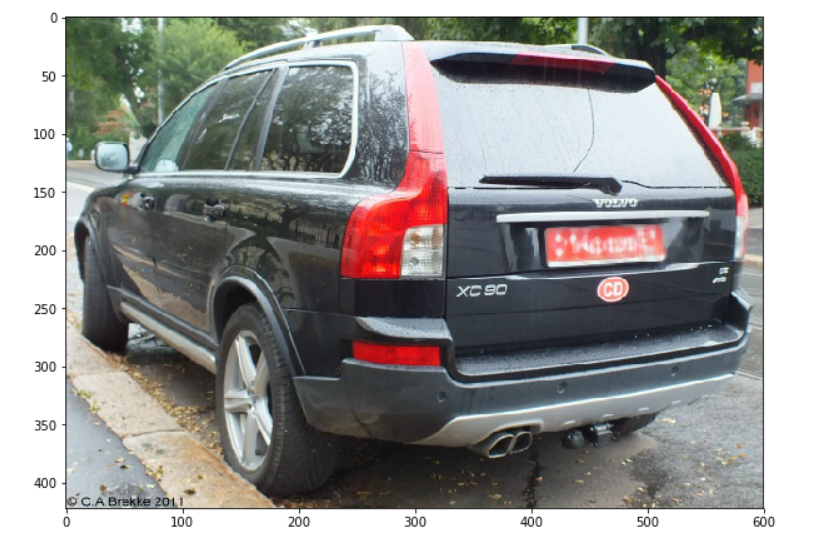
以下是我们测试的图像:
Note:
The last image the algorithm was not able to detect.
The reasons may be several: The image may be at an angle difficult to detect, the numbering may not be Russian, the taillights do not give adequate space, who knows...
Try it yourself by manipulating the function parameters.
That is all!
Goodbye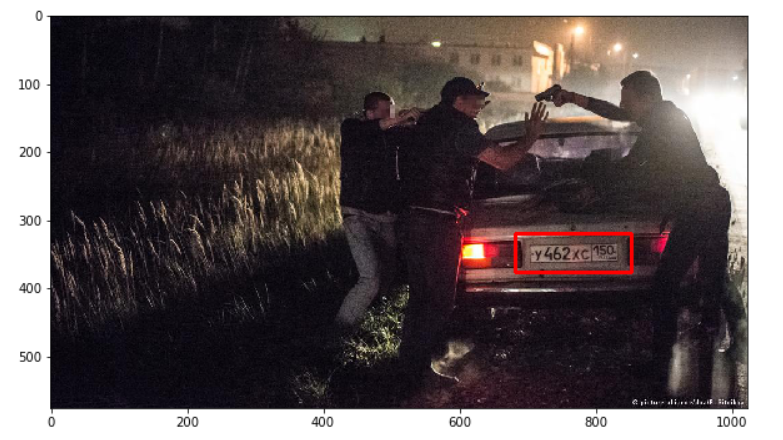
Jose Portilla — Python for Computer Vision with OpenCV and Deep Learning — Learn the latest techniques in computer vision with Python, OpenCV, and Deep Learning!
Haar-like feature - Wikipedia
Haar-like features are digital image features used in object recognition. They owe their name to their intuitive…
相关资料:
00 集# 嗨,Python 计算机视觉 — PIL! — Python Imaging Library 简介 #PyVisionSeries
01 Episode# Jupyter-lab — Python — OpenCV — 图像处理练习 #PyVisionSeries
02 集# OpenCV — 图像基础知识 — 从头开始创建图像 #PyVisionSeries
03 集# OpenCV — 形态学操作 — 如何使用梯度 #PyVisionSeries 进行侵蚀、扩张、边缘检测
04 集# OpenCV — 直方图均衡 — 如何均衡图像直方图 — #PyVisionSeries
05 集# OpenCV — 调整图像大小 — 如何在不失真的情况下调整大小 — #PyVisionSeries
07 第 # 集 # YOLO — 对象检测 — 最先进的对象检测框架!
08 集 # OpenCV — HaashCascate — 对象检测 — Viola–Jones 对象检测框架 — #PyVisionSeries
