点云滤波
第一章 点云数据采集
第二章 点云滤波
1. 为什么要滤波?
通常我们获取的点云数据中包含噪声,噪声会影响点云的特征提取、配准和语义处理。
点云需要处理的主要情况包括:
数据量过大,不易于处理,需要进行下采样
通常由遮挡引起的离群点,需要去除
点云数据的密度不均匀需要平滑
噪声数据需要去除
2.滤波算法
2.1 索引滤波
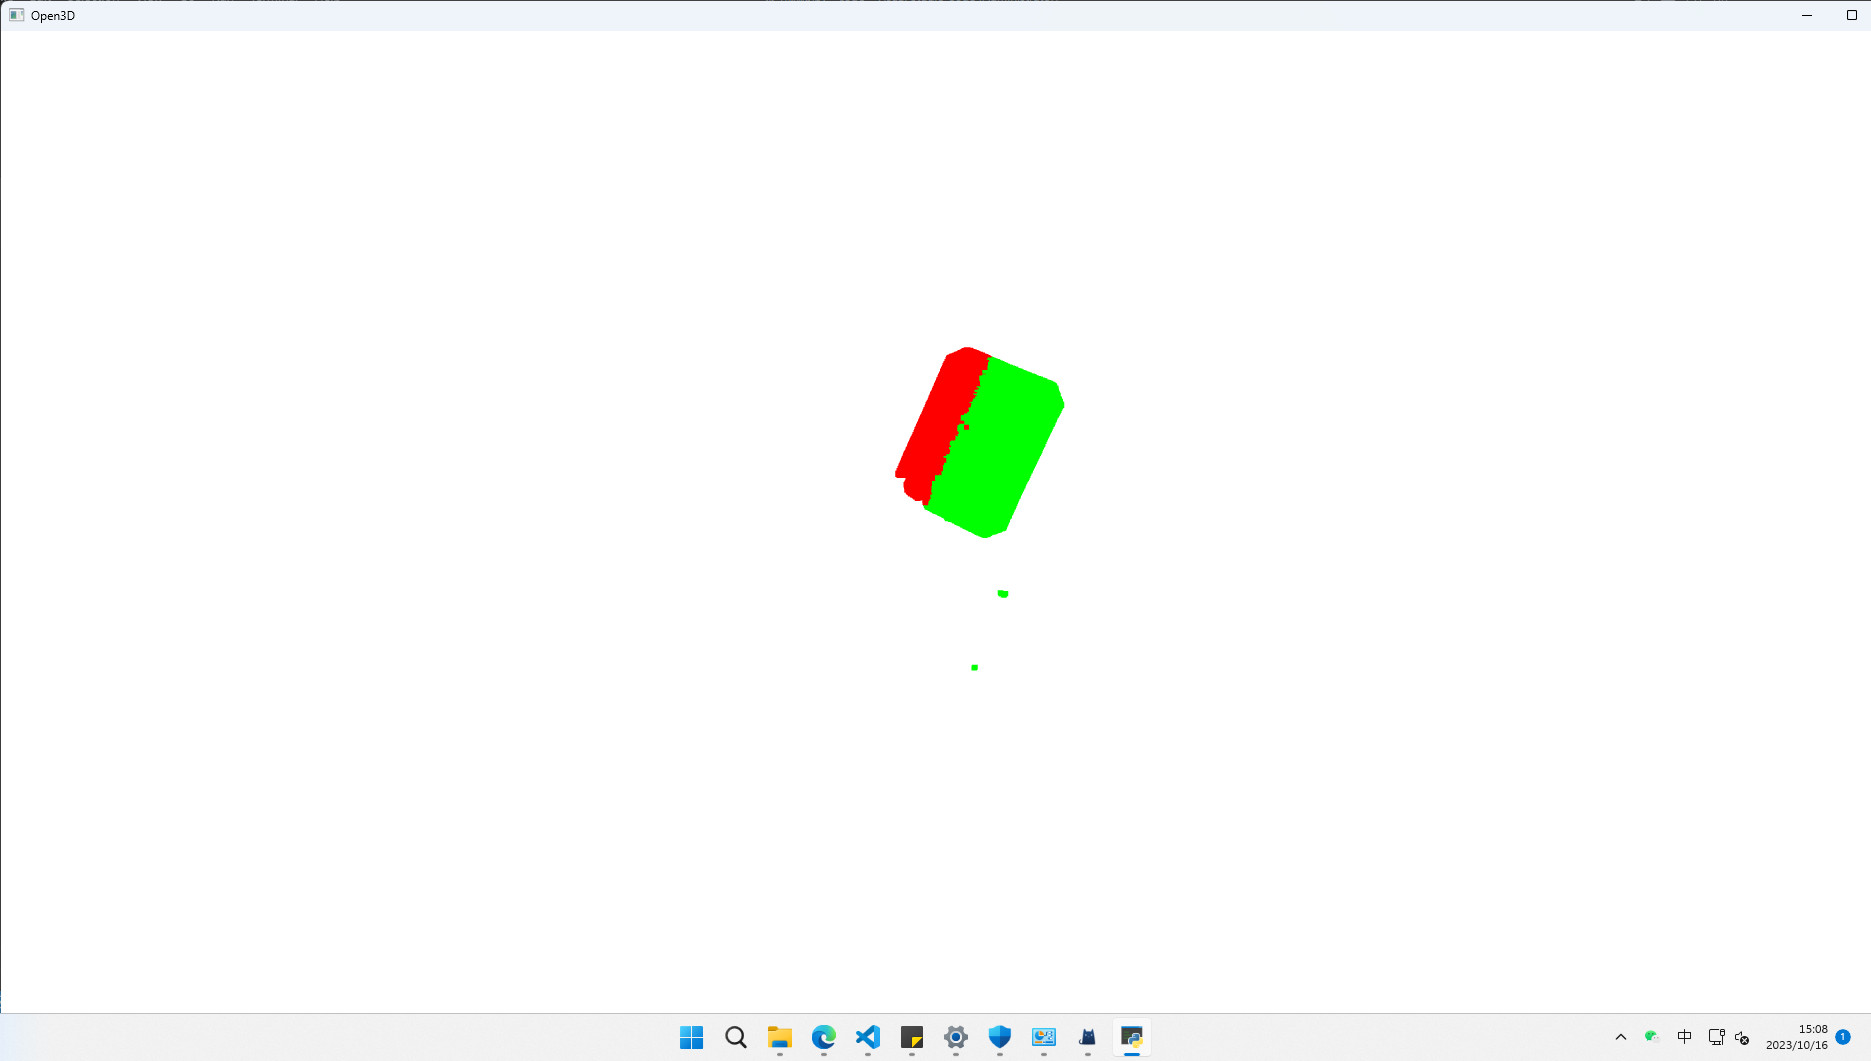
索引滤波就是设置索引选择区域,可用于超简单的区域初步筛选,算不上真正的滤波算法。
open3d
import open3d as o3d
import numpy as np
pcd = o3d.io.read_point_cloud("xxx.pcd")
idx = np.arange(100000)
# 索引对应的点
pIn = pcd.select_by_index(idx)
pIn.paint_uniform_color([1, 0, 0])
# 索引外的点云
pOut = pcd.select_by_index(idx, invert=True)
pOut.paint_uniform_color([0, 1, 0])
o3d.visualization.draw_geometries([pIn, pOut])
pcl
#include <pcl/io/pcd_io.h>
#include <pcl/point_types.h>
#include <pcl/filters/extract_indices.h>
#include <pcl/visualization/pcl_visualizer.h>

int main(int argc, char** argv) {
    pcl::PointCloud<pcl::PointXYZ>::Ptr cloud (new pcl::PointCloud<pcl::PointXYZ>);
    pcl::PointCloud<pcl::PointXYZ>::Ptr cloud_filtered(new pcl::PointCloud<pcl::PointXYZ>);
    if (pcl::io::loadPCDFile<pcl::PointXYZ> ("1695805751226.pcd", *cloud) == -1){
        PCL_ERROR("couldn't read file");
        return 0;
    }

    std::cout << "Loaded " << cloud->width * cloud->height
              << " data points" << std::endl;

    // 创建索引向量
    pcl::PointIndices::Ptr indices(new pcl::PointIndices());
    for (int i = 0; i <= 100000 && i < cloud->points.size(); ++i)
    {
        indices->indices.push_back(i);
    }
    // 创建提取对象
    pcl::ExtractIndices<pcl::PointXYZ> extract;
    extract.setInputCloud(cloud);
    extract.setIndices(indices);
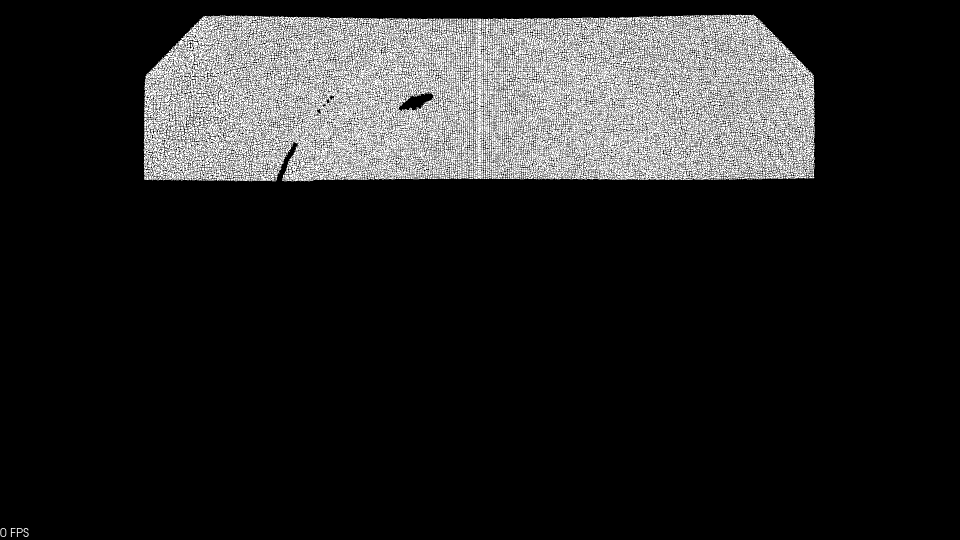
    extract.setNegative(false); // set to true if you want to extract everything except the specified indices
    extract.filter(*cloud_filtered);
	//将PointXYZ改为PointXYZRGB时可实现彩色显示
	// for (size_t i = 0; i < cloud_filtered->points.size(); ++i)
    // {
    //     if (i <= 10000)
    //     {
    //         // Set color to red
    //         cloud_filtered->points[i].r = 255;
    //         cloud_filtered->points[i].g = 0;
    //         cloud_filtered->points[i].b = 0;
    //     }
    //     else
    //     {
    //         // Set color to green
    //         cloud_filtered->points[i].r = 0;
    //         cloud_filtered->points[i].g = 255;
    //         cloud_filtered->points[i].b = 0;
    //     }
    // }

    std::cout << "Filtered cloud size: " << cloud_filtered->width * cloud_filtered->height << std::endl;
    pcl::visualization::PCLVisualizer::Ptr viewer(new pcl::visualization::PCLVisualizer("3D Viewer"));
    viewer->addPointCloud<pcl::PointXYZ>(cloud_filtered, "sample cloud");

    while (!viewer->wasStopped())
    {
        viewer->spinOnce(100);
    }
    return 0;
}
2.2 半径滤波
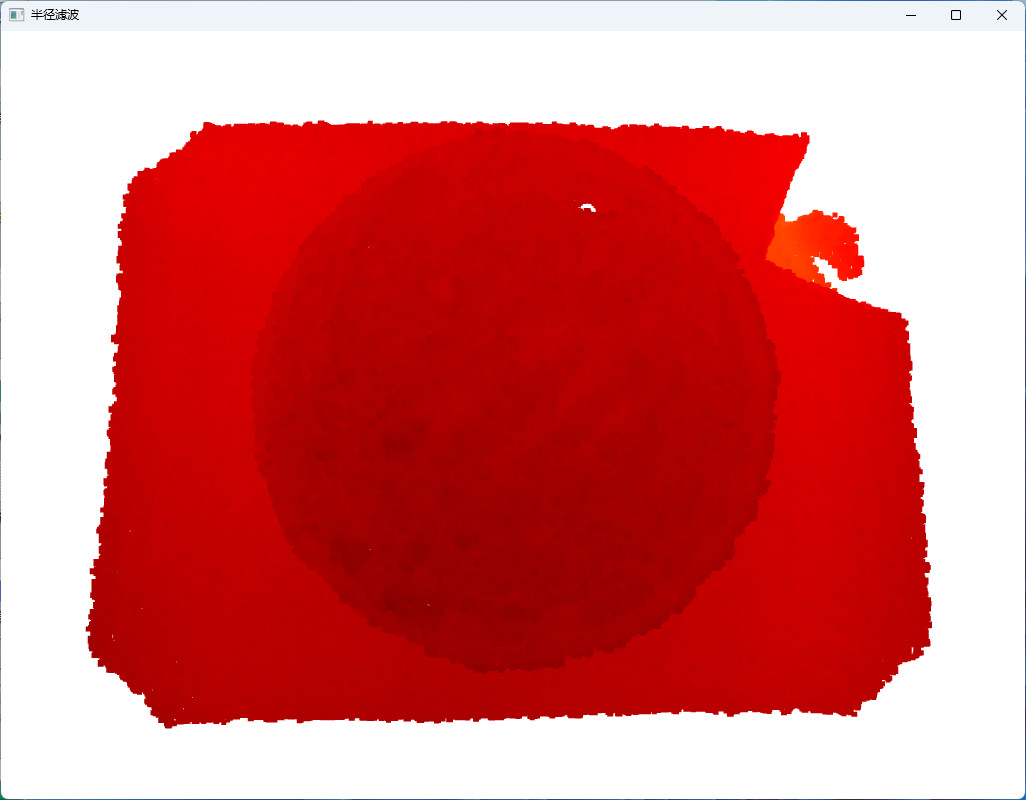
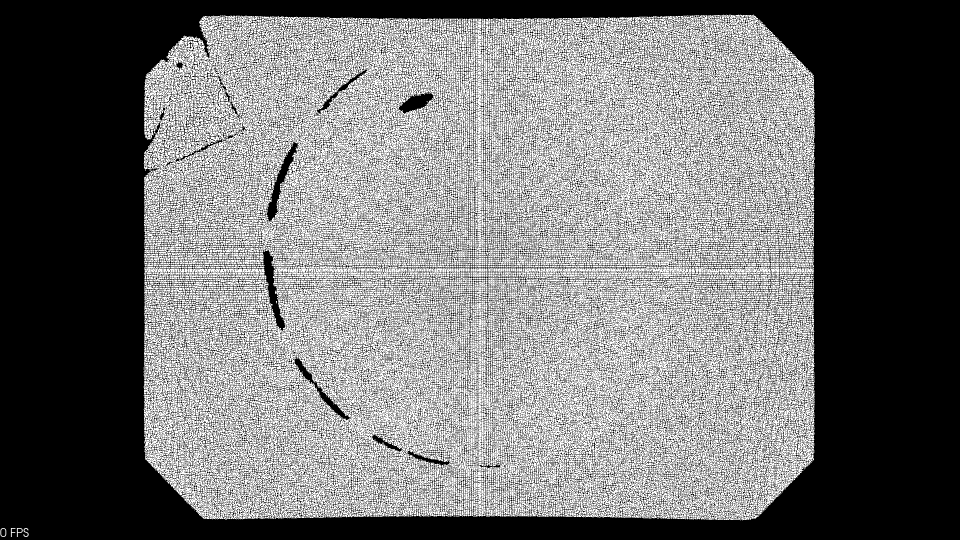
设置半径大小和半径内所需的点云数,用来去除稀疏处的噪声。
Open3d
import open3d as o3d
import numpy as np
pcd = o3d.io.read_point_cloud("second/1697165371469.pcd")
print(pcd)  # 输出点云点的个数
o3d.visualization.draw_geometries([pcd], window_name="原始点云",
                                  width=1024, height=768,
                                  left=50, top=50,
                                  mesh_show_back_face=True)
print("Radius oulier removal")
cl, ind = pcd.remove_radius_outlier(nb_points=160, radius=20)
radius_cloud = pcd.select_by_index(ind)
o3d.visualization.draw_geometries([radius_cloud], window_name="半径滤波",
                                  width=1024, height=768,
                                  left=50, top=50,
                                  mesh_show_back_face=True)
#o3d.io.write_point_cloud("second_radius_cloud.pcd",radius_cloud)
PCL
#include <pcl/io/pcd_io.h>
#include <pcl/point_types.h>
#include <pcl/visualization/pcl_visualizer.h>
#include <pcl/filters/radius_outlier_removal.h>

int main(int argc, char** argv) {
    pcl::PointCloud<pcl::PointXYZ>::Ptr cloud (new pcl::PointCloud<pcl::PointXYZ>);
    pcl::PointCloud<pcl::PointXYZ>::Ptr cloud_filtered(new pcl::PointCloud<pcl::PointXYZ>);
    if (pcl::io::loadPCDFile<pcl::PointXYZ> ("1697165371469.pcd", *cloud) == -1){
        PCL_ERROR("couldn't read file");
        return 0;
    }

    std::cout << "Loaded " << cloud->width * cloud->height
              << " data points" << std::endl;

    // 创建滤波器对象
    pcl::RadiusOutlierRemoval<pcl::PointXYZ> outrem;
    outrem.setInputCloud(cloud);
    outrem.setRadiusSearch(20);  // 设置半径
    outrem.setMinNeighborsInRadius(160);  // 设置半径内最小的邻居数量
    outrem.filter(*cloud_filtered);

    std::cout << "Filtered cloud size: " << cloud_filtered->width * cloud_filtered->height << std::endl;


    pcl::visualization::PCLVisualizer::Ptr viewer(new pcl::visualization::PCLVisualizer("3D Viewer"));
    viewer->setBackgroundColor(0, 0, 0);  // 设置背景色
    viewer->addPointCloud<pcl::PointXYZ>(cloud_filtered, "sample cloud");
    viewer->setPointCloudRenderingProperties(pcl::visualization::PCL_VISUALIZER_POINT_SIZE, 1, "sample cloud");
    viewer->initCameraParameters();
    while (!viewer->wasStopped())
    {
        viewer->spinOnce(100);
    }

    return 0;
}
2.3 统计滤波
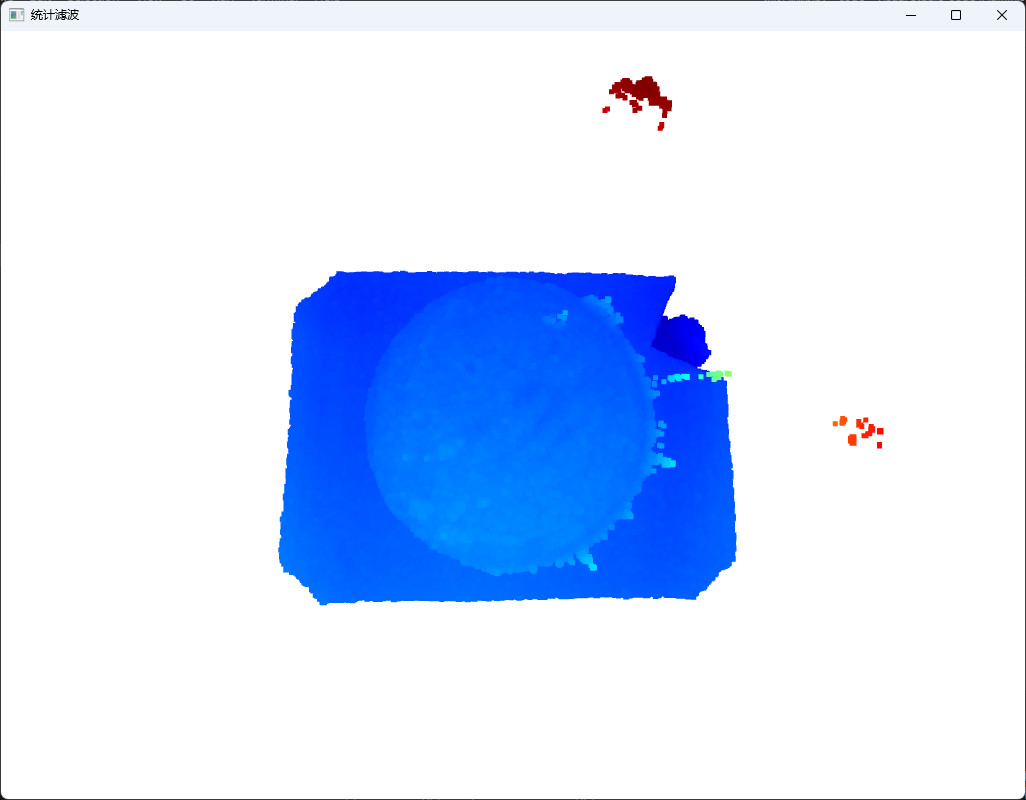
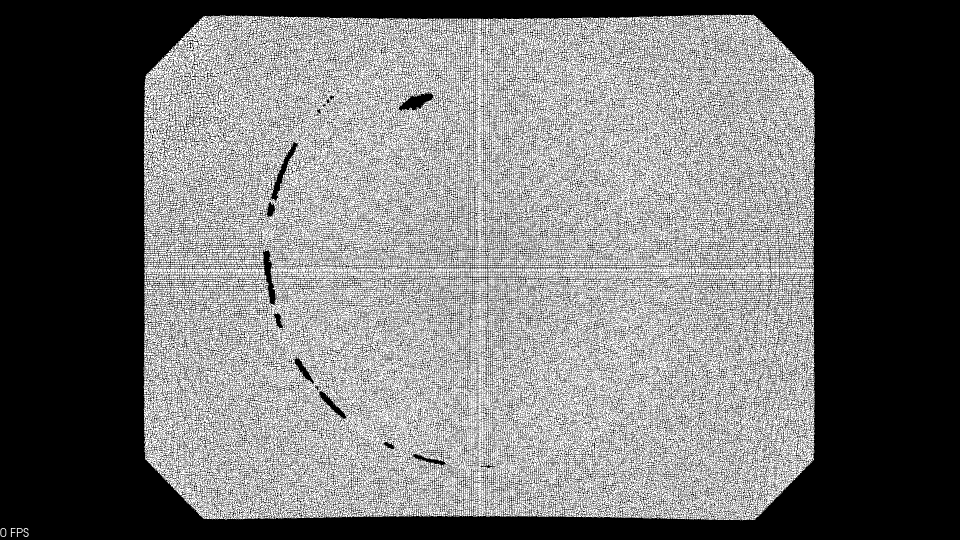
点云在空间中分布稀疏,定义某处点云小于某个密度,即点云无效。因此我们要计算每个点到其最近的K个点平均距离,则点云中所有点的距离应构成高斯分布,根据全部点集的均值和标准差,计算距离阈值,剔除阈值之外的点。
Open3d
import open3d as o3d
import numpy as np
pcd = o3d.io.read_point_cloud("second/1697165371469.pcd")
print(pcd)  # 输出点云点的个数
o3d.visualization.draw_geometries([pcd], window_name="原始点云",
                                  width=1024, height=768,
                                  left=50, top=50,
                                  mesh_show_back_face=True)

cl,index = pcd.remove_statistical_outlier(nb_neighbors = 26,std_ratio= 10)
new_cloud = pcd.select_by_index(index)
print(new_cloud)
o3d.visualization.draw_geometries([new_cloud], window_name="统计滤波",
                                  width=1024, height=768,
                                  left=50, top=50,
                                  mesh_show_back_face=True)
#o3d.io.write_point_cloud("second_radius_cloud.pcd",radius_cloud)
PCL
#include <pcl/io/pcd_io.h>
#include <pcl/point_types.h>
#include <pcl/visualization/pcl_visualizer.h>
#include <pcl/filters/statistical_outlier_removal.h>

int main(int argc, char** argv) {
    pcl::PointCloud<pcl::PointXYZ>::Ptr cloud (new pcl::PointCloud<pcl::PointXYZ>);
    pcl::PointCloud<pcl::PointXYZ>::Ptr cloud_filtered(new pcl::PointCloud<pcl::PointXYZ>);
    if (pcl::io::loadPCDFile<pcl::PointXYZ> ("1697165371469.pcd", *cloud) == -1){
        PCL_ERROR("couldn't read file");
        return 0;
    }

    std::cout << "Loaded " << cloud->width * cloud->height
              << " data points" << std::endl;

    pcl::StatisticalOutlierRemoval<pcl::PointXYZ> sor;
    sor.setInputCloud(cloud);
    sor.setMeanK(50);   // 考虑的邻近点的数量
    sor.setStddevMulThresh(100);  // 距离平均值1个标准差范围之外的点将被删除
    sor.filter(*cloud_filtered);

    std::cout << "Filtered cloud size: " << cloud_filtered->width * cloud_filtered->height << std::endl;

    pcl::visualization::PCLVisualizer::Ptr viewer(new pcl::visualization::PCLVisualizer("3D Viewer"));
    viewer->setBackgroundColor(0, 0, 0);  // 设置背景色
    viewer->addPointCloud<pcl::PointXYZ>(cloud_filtered, "sample cloud");
    viewer->setPointCloudRenderingProperties(pcl::visualization::PCL_VISUALIZER_POINT_SIZE, 1, "sample cloud");
    viewer->initCameraParameters();
    viewer->saveScreenshot("screenshot.png");
    while (!viewer->wasStopped())
    {
        viewer->spinOnce(100);
    }

    return 0;
}
2.4 双边滤波
双边滤波由空域和值域组成,降噪用高斯滤波,边缘用高斯方差。通过临近采样点加权平均,剔除差异大的点,同时保留边缘信息从而使数据更加平滑。
Open3d
import open3d as o3d
import numpy as np


# ----------------------------------加载点云------------------------------------
pcd = o3d.io.read_point_cloud("second/1697165371469.pcd")
o3d.visualization.draw_geometries([pcd])


sigma_s = 50  # 距离权重
sigma_r = 10    # 法向权重
searchNum = 30  # 近邻点数
# 计算法向量
pcd.estimate_normals(o3d.geometry.KDTreeSearchParamKNN(searchNum))
# 构建KD-tree
kdtree = o3d.geometry.KDTreeFlann(pcd)
BFilter = o3d.geometry.PointCloud(pcd)
# 双边滤波
for i in range(len(pcd.points)):
    [k, idx, _] = kdtree.search_knn_vector_3d(pcd.points[i], searchNum)
    curNormal = pcd.normals[i]
    searchPoint = pcd.points[i]

    BF = 0.0
    W = 0.0
    for j in idx[1:]:
        near_point = pcd.points[j]
        vec = near_point - pcd.points[i]
        dd = np.sqrt(np.sum(np.square(vec)))
        dn = np.dot(vec, curNormal)
        weight = np.exp(-dd * dd / (2 * sigma_s * sigma_s)) * np.exp(-dn * dn / (2 * sigma_r * sigma_r))
        BF = BF + weight * dn
        W = W + weight

    lamda = BF / W
    BFilter.points[i] = searchPoint + lamda * curNormal
# ---------------------------------结果可视化----------------------------------
o3d.visualization.draw_geometries([BFilter], window_name="基于法线的双边滤波",
                                  width=1024, height=768,
                                  left=50, top=50,
                                  mesh_show_back_face=False)
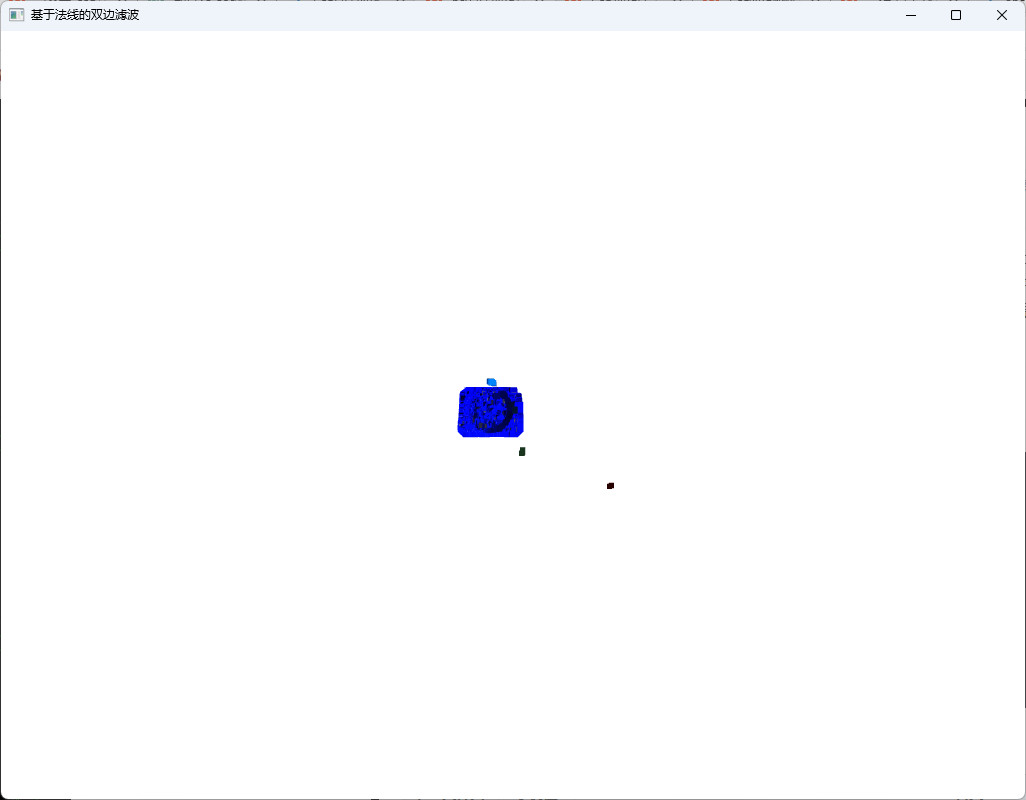
双边滤波需要强度信息(XYZI),我们的点云没有强度信息;快速双边滤波需要有序数据才能实现。
PCL
#include <pcl/io/pcd_io.h>
#include <pcl/point_types.h>
#include <pcl/visualization/pcl_visualizer.h>
#include <pcl/filters/bilateral.h>
#include <pcl/filters/fast_bilateral.h>
#include <pcl/filters/fast_bilateral_omp.h>

int main(int argc, char** argv) {
    pcl::PointCloud<pcl::PointXYZ>::Ptr cloud (new pcl::PointCloud<pcl::PointXYZ>);
    pcl::PointCloud<pcl::PointXYZ>::Ptr cloud_filtered(new pcl::PointCloud<pcl::PointXYZ>);
    if (pcl::io::loadPCDFile<pcl::PointXYZ> ("1697165371469.pcd", *cloud) == -1){
        PCL_ERROR("couldn't read file");
        return 0;
    }

    std::cout << "Loaded " << cloud->width * cloud->height
              << " data points" << std::endl;

     // 创建滤波器对象
    pcl::FastBilateralFilter<pcl::PointXYZ> fbf;
    //双边滤波器
    fbf.setInputCloud(cloud);  //设置输入点云
    //fbf.setSearchMethod(tree1);
    fbf.setSigmaS(100);      //高斯滤波器的一半窗口值
    fbf.setSigmaR(10);           //标准差
    fbf.applyFilter(*cloud_filtered);
    std::cout << "Filtered cloud size: " << cloud_filtered->width * cloud_filtered->height << std::endl;
    pcl::visualization::PCLVisualizer::Ptr viewer(new pcl::visualization::PCLVisualizer("3D Viewer"));
    viewer->setBackgroundColor(0, 0, 0);  // 设置背景色
    viewer->addPointCloud<pcl::PointXYZ>(cloud_filtered, "sample cloud");
    viewer->setPointCloudRenderingProperties(pcl::visualization::PCL_VISUALIZER_POINT_SIZE, 1, "sample cloud");
    viewer->initCameraParameters();
    while (!viewer->wasStopped())
    {
        viewer->spinOnce(100);
    }
    return 0;
}


