一、Vue中的Teleport
是一个内置组件,它可以将一个组件内部的一部分模板“传送”到该组件的 DOM 结构外层的位置去
试想下面这样的 HTML 结构:
<div class="outer">
  <h3>Tooltips with Vue 3 Teleport</h3>
  <div>
    <MyModal />
  </div>
</div>
接下来我们来看看 的实现:
<script setup>
import { ref } from 'vue'

const open = ref(false)
</script>

<template>
  <button @click="open = true">Open Modal</button>

  <div v-if="open" class="modal">
    <p>Hello from the modal!</p>
    <button @click="open = false">Close</button>
  </div>
</template>

<style scoped>
.modal {
  position: fixed;
  z-index: 999;
  top: 20%;
  left: 50%;
  width: 300px;
  margin-left: -150px;
}
</style>
提供了一个更简单的方式来解决此类问题,让我们不需要再顾虑 DOM 结构的问题。让我们用 改写一下 :
<button @click="open = true">Open Modal</button>

<Teleport to="body">
  <div v-if="open" class="modal">
    <p>Hello from the modal!</p>
    <button @click="open = false">Close</button>
  </div>
</Teleport>
禁用 Teleport
在某些场景下可能需要视情况禁用 。举例来说,我们想要在桌面端将一个组件当做浮层来渲染,但在移动端则当作行内组件。我们可以通过对 动态地传入一个 disabled prop 来处理这两种不同情况。.
<Teleport :disabled="isMobile">
  ...
</Teleport>
多个 Teleport 共享目标
一个可重用的模态框组件可能同时存在多个实例。对于此类场景,多个 组件可以将其内容挂载在同一个目标元素上,而顺序就是简单的顺次追加,后挂载的将排在目标元素下更后面的位置上。
<Teleport to="#modals">
  <div>A</div>
</Teleport>
<Teleport to="#modals">
  <div>B</div>
</Teleport>

渲染的结果为:
<div id="modals">
  <div>A</div>
  <div>B</div>
</div>
二、React中的Portal
index.js
import React from 'react'

import RenderPropDemo from './RenderPropDemo'

class AdvancedUse extends React.Component {
    constructor(props) {
        super(props)
    }
    render() {
        return <div>
            <PortalsDemo>Modal 内容</PortalsDemo>
        </div>
    }
}

export default AdvancedUse
PortalsDemo.js
import React from 'react'
import ReactDOM from 'react-dom'
import './style.css'

class App extends React.Component {
    constructor(props) {
        super(props)
        this.state = {
        }
    }
    render() {
        // // 正常渲染
        // return <div className="modal">
        //     {this.props.children} {/* vue slot */}
        // </div>

        // 使用 Portals 渲染到 body 上。
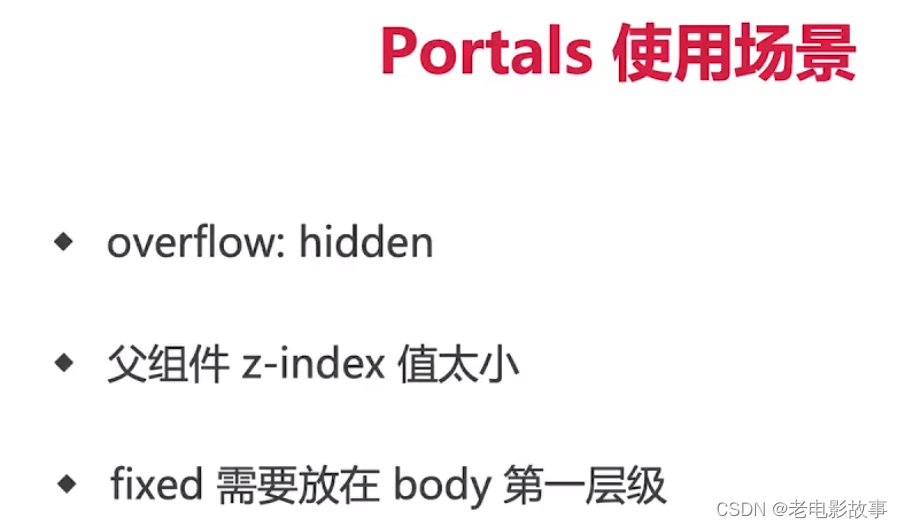
        // fixed 元素要放在 body 上,有更好的浏览器兼容性。
        return ReactDOM.createPortal(
            <div className="modal">
              {this.props.children}  {/* 类似vue slot */}
            </div>,
            document.body // DOM 节点 第二参数,表示要渲染到什么地方去
        )
    }
}

export default App
