前言:
服务平时没啥问题,一到过节我放假,它也想放假,所以只能找个监工看着了。当前市面上主流的监工方案是 zabbix 和 prometheus,没有优劣之分,只是适用场景略有区别。我这边的需求就主要是监控服务的端口、接口响应、关键服务器的信息,使用prometheus比较合适。
一、prometheus 简介
这里不做介绍,可以自行查阅或者去官网查询材料 (https://prometheus.io)。介绍几个相关的模块:
1. prometheus:监控的主服务模块
2. alertmanager:告警模块
3. blackbox_exporter:监控类型模块(支持 http、tcp等类型,并可自定义监控)
4. node_exporter:服务器资源监控模块,需要安装在被监控的服务器上,服务端口 9100
以上及其他模块可以在 https://prometheus.io/download 下载(我这边是普通的 redhat7.6系统,需要选择 amd 架构)。
二、服务搭建
规划把各服务放在 /apps/app 目录下
1. prometheus 搭建
1)服务前准备
#直接解压到指定目录
tar -xvf prometheus-2.45.0.linux-amd64.tar.gz -C /apps/app/

#重命名解压目录(完全个人习惯哈)
cd /apps/app
mv prometheus-2.45.0.linux-amd64 prometheus-2.45.0

#创建数据目录(服务启动会用到)
cd /apps/app/prometheus-2.45.0
mkdir data
2)prometheus 服务添加到系统
vim /usr/lib/systemd/system/prometheus.service配置如下:
[Unit]
Description=Prometheus Server
Documentation=https://prometheus.io
After=network.target

[Service]
Type=simple
ExecStart=/apps/app/prometheus-2.45.0/prometheus \
--config.file=/apps/app/prometheus-2.45.0/prometheus.yml \
--storage.tsdb.path=/apps/app/prometheus-2.45.0/data/ \
--storage.tsdb.retention=10d \
--web.enable-lifecycle

ExecReload=/bin/kill -HUP $MAINPID
Restart=on-failure
[Install]
WantedBy=multi-user.target
3)prometheus 服务添加自启动
systemctl enable prometheus.service4)启动prometheus 服务
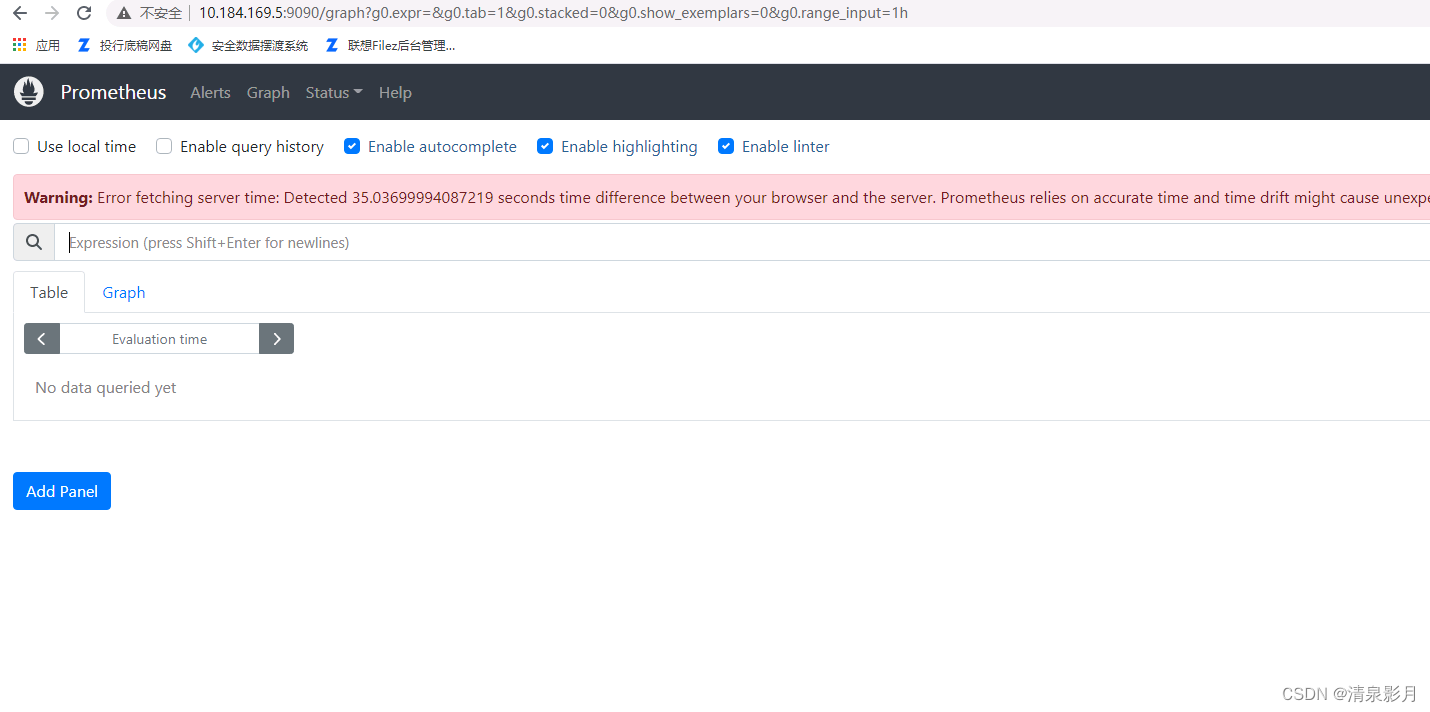
systemctl start prometheus.service可以在 http://ip:9090 看到prometheus服务页面(比较简单)
2. alertmanager 搭建
搭建过程跟上述类似,服务端口是 9093。
#解压到指定目录
tar -xvf alertmanager-0.26.0.linux-amd64.tar.gz -C /apps/app/

cd /apps/app
mv alertmanager-0.26.0.linux-amd64/ alertmanager-0.26.0/

#服务添加到系统配置
vim /usr/lib/systemd/system/alertmanager.service

#配置如下
[Unit]
Description=alertmanager

[Service]
ExecStart=/apps/app/alertmanager-0.26.0/alertmanager --config.file=/apps/app/alertmanager-0.26.0/alertmanager.yml
ExecReload=/bin/kill -HUP $MAINPID
KillMode=process
Restart=on-failure

[Install]
WantedBy=multi-user.target

#服务自启动
systemctl enable alertmanager.service

#启动服务
systemctl start alertmanager.service
3. blackbox_exporter 搭建
搭建过程跟上述类似,服务端口是 9115。
#解压到指定目录
tar -xvf blackbox_exporter-0.24.0.linux-amd64.tar.gz -C /apps/app/

cd /apps/app
mv blackbox_exporter-0.24.0.linux-amd64/ blackbox_exporter-0.24.0/

#服务添加到系统配置
vim /usr/lib/systemd/system/blackbox.service

#配置如下
[Unit]
Description=blackbox_exporter
After=network.target

[Service]
User=root
Type=simple
ExecStart=/apps/app/blackbox_exporter-0.24.0/blackbox_exporter --config.file=/apps/app/blackbox_exporter-0.24.0/blackbox.yml
Restart=on-failure

[Install]
WantedBy=multi-user.target

#服务自启动
systemctl enable blackbox.service

#启动服务
systemctl start blackbox.service
三、监控配置
1. 监控服务器
需要把 node_exporter 服务部署在被监控的服务器上
#解压到指定目录
 tar -xvf node_exporter-1.6.1.linux-amd64.tar.gz -C /apps/app/

cd /apps/app
mv node_exporter-1.6.1.linux-amd64/ node_exporter-1.6.1/

#服务添加到系统配置
vim /usr/lib/systemd/system/node_exporter.service

#配置如下
[Unit]
Description=node_exporter
Documentation=https://prometheus.io/
After=network.target

[Service]
Type=simple
ExecStart=/apps/app/node_exporter-1.6.1/node_exporter \
--collector.ntp \
--collector.mountstats \
--collector.systemd \
--collector.tcpstat

ExecReload=/bin/kill -HUP $MAINPID
Restart=on-failure

[Install]
WantedBy=multi-user.target


#服务自启动
systemctl enable node_exporter.service

#启动服务
systemctl start node_exporter.service
回到 prometheus 的服务器修改配置文件(prometheus 安装目录下 prometheus.yml):
#全局配置
global:
  scrape_interval: 15s
  evaluation_interval: 15s


#具体监控项
scrape_configs:
  - job_name: "服务器监控"
    static_configs:
      - targets: ['被监控服务器ip:9100']
重启 prometheus 服务:
systemctl restart prometheus.service可以在 prometheus 界面的 Status -> Targets 看到这个服务器的监控项,点击超链接可以看到被监控服务器的详细信息(这种信息适合结合 grafana 用图表展示,这里不叙述)。
2. 监控端口
这个需要结合 blackbox_exporter 服务才能做到;打开 blackbox_exporter 的配置项查看一下默认支持的模块(安装目录下的 blackbox.yml 文件):
modules:
  http_2xx:
    prober: http
    http:
      preferred_ip_protocol: "ip4"
  http_post_2xx:
    prober: http
    http:
      method: POST
  tcp_connect:
    prober: tcp
  pop3s_banner:
    prober: tcp
    tcp:
      query_response:
      - expect: "^+OK"
      tls: true
      tls_config:
        insecure_skip_verify: false
  grpc:
    prober: grpc
    grpc:
      tls: true
      preferred_ip_protocol: "ip4"
  grpc_plain:
    prober: grpc
    grpc:
      tls: false
      service: "service1"
  ssh_banner:
    prober: tcp
    tcp:
      query_response:
      - expect: "^SSH-2.0-"
      - send: "SSH-2.0-blackbox-ssh-check"
  irc_banner:
    prober: tcp
    tcp:
      query_response:
      - send: "NICK prober"
      - send: "USER prober prober prober :prober"
      - expect: "PING :([^ ]+)"
        send: "PONG ${1}"
      - expect: "^:[^ ]+ 001"
  icmp:
    prober: icmp
  icmp_ttl5:
    prober: icmp
    timeout: 5s
    icmp:
      ttl: 5
添加监控项到 prometheus 的配置文件(无关的配置参见上述):
scrape_configs:
  - job_name: '端口监控'
    metrics_path: /probe
    params:
      module: [tcp_connect] # blackbox_exporter 的模块
    static_configs:
      - targets: ['127.0.0.1:443']
        labels: # 自定义的一些字段,方便后续处理
          instance: 'local_service_tcp'
          group: 'web'
    relabel_configs:
      - source_labels: [__address__]
        target_label: __param_target
      - target_label: __address__
        replacement: 127.0.0.1:9115
重启 prometheus 服务,可在 Status -> Targets 看到监控项,点击监控项可以看到监控详情。
3. 监控 http 响应的状态码
其他跟上述操作一样,配置项略有区别,如下:
  - job_name: 'http响应状态码监控'
    metrics_path: /probe
    params:
      module: [http_2xx]
    static_configs:
      - targets: ['http://127.0.0.1:9201/alert/test']
        labels:
          instance: 'local_service_http'
          group: 'web'
    relabel_configs:
      - source_labels: [__address__]
        target_label: __param_target
      - target_label: __address__
        replacement: 127.0.0.1:9115
4. 监控规则(告警规则)
上述已经配置了监控项,这里需要配置一些监控的触发条件,点击监控项可以看到监控的返回,我这里主要监控 probe_success 字段(进程活着等于 1,进程挂了等于 0)。
# 进入 prometheus 安装目录
cd /apps/app/prometheus-2.45.0

# 创建规则存放目录
mkdir rules

# 创建规则文件
cd rules
vim alert.rule
alert.rule 内容:
groups:
- name: hostStatsAlert

  rules:
  - alert: instance_down
    expr: probe_success == 0    # 这个是核心
    for: 1m
    labels:
      severity: node
    annotations:
      summary: "Instance {{ $labels.instance }} down"
      description: "{{ $labels.instance }} of job {{ $labels.job }} has been down for more than 1 minutes."
上述规则加入到 prometheus 配置文件中:
rule_files:
  - ./rules/*.rule
重启 prometheus 服务,可以在 Status -> Rules 看到上述规则。
四、告警配置
prometheus 服务界面有个 Alerts 页签,里面就是 alertmanager 服务的集成,所有触发监控规则的告警都会在这里显示。
1. 告警配置集成到prometheus
prometheus 配置文件添加配置:
alerting:
  alertmanagers:
    - static_configs:
        - targets: ['127.0.0.1:9093']
2. 自定义定义告警接收器
切换到 alertmanager 安装目录,修改 alertmanager.yml :
route:
  group_by: [...] # 禁用分组。
  group_wait: 30s
  group_interval: 1m
  repeat_interval: 2m
  receiver: 'prometheus_clock'       # 默认接收器
  routes:                            # 定义多个接收器,如果不需要可以删除
  - receiver: 'prometheus_special'
    match:                           # 这里跟告警项的label标签配置相匹配
      instance: local_service_http   # instance=local_service_http 时告警走上述接收器
inhibit_rules:
  - source_match:
      severity: 'critical'
    target_match:
      severity: 'warning'
    equal: ['alertname', 'dev', 'instance']

receivers:                            # 告警接收器定义
  - name: 'prometheus_clock'
    webhook_configs:
      - url: 'http://127.0.0.1:9200/alert/msg/receive'
  - name: 'prometheus_special'
    webhook_configs:
      - url: 'http://127.0.0.1:9200/alert/msg/special'
当触发告警时,会在上述定义的接收器(接口)以 POST 方式发送一个 json 告警字符串,可以依据这个策略做进一步的自定义集成。
完成上述操作后记得重启 prometheus 和 alertmanager 服务。
五、自定义监控配置(举例)
这里我举个例子:我们这边有一套 eureka 注册中心,某些服务偶尔会掉线,所以我需要监控eureka 注册的实例数量。
1. 自定义模块
blackbox_exporter 配置项添加配置(末尾添加,跟其他模块平级关系):
  http_2xx_eureka:
    prober: http
    http:
      fail_if_body_not_matches_regexp:
      - "<apps__hashcode>UP_6_</apps__hashcode>"
上述配置含义:如果接口返回不匹配(包含)<apps__hashcode>UP_6_</apps__hashcode> 就触发告警,上述字符串是 eureka 实例接口数量的一段核心字段。
2. 添加监控项
  - job_name: 'test-eureka'
    metrics_path: /probe
    params:
      module: [http_2xx_eureka]
    static_configs:
      - targets: ['http://user:password@eureka的ip:端口/eureka/apps']
        labels:
          instance: 'service_eureka'
          group: 'web'
          type: 'http响应监控'
          ownerEmail: '负责人邮件'
    relabel_configs:
      - source_labels: [__address__]
        target_label: __param_target
      - target_label: __address__
        replacement: 127.0.0.1:9115
重启 blackbox_exporter 和 prometheus 服务即可。


