1.项目介绍
基于SpringBoot + QQ邮箱服务 + Hutools实现的获取验证码功能,接下来从如何申请授权码,如何配置项目,如何启动项目,如何测试项目进行讲解,下面的图片是一个测试案例,使用postman进行测试,在测试上填写发送人的邮箱,即可收到验证码邮箱

2.使用前提
1.从仓库拉取代码
2.需要申请邮箱的授权码,然后在application.yml下进行配置
3.邮箱授权码申请
1.开启POP3/SMTP服务

点击设置,进入下面的页面,然后再点击账号

往下滑,找到下面的服务,点击申请授权码,按照提示一步步完成

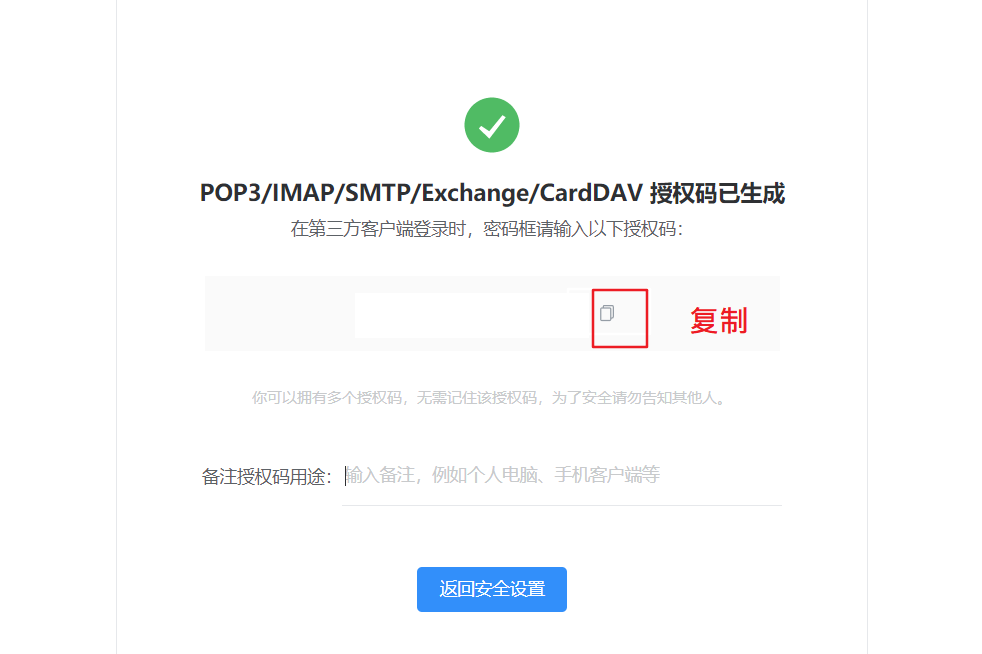
2.复制授权码
4.项目使用说明
1.可以自己手写代码,也可以从我的仓库直接拉取代码
2.配置application配置文件,修改username改为自己的邮箱,password改为邮箱授权码,详细介绍查看代码说明下的配置文件
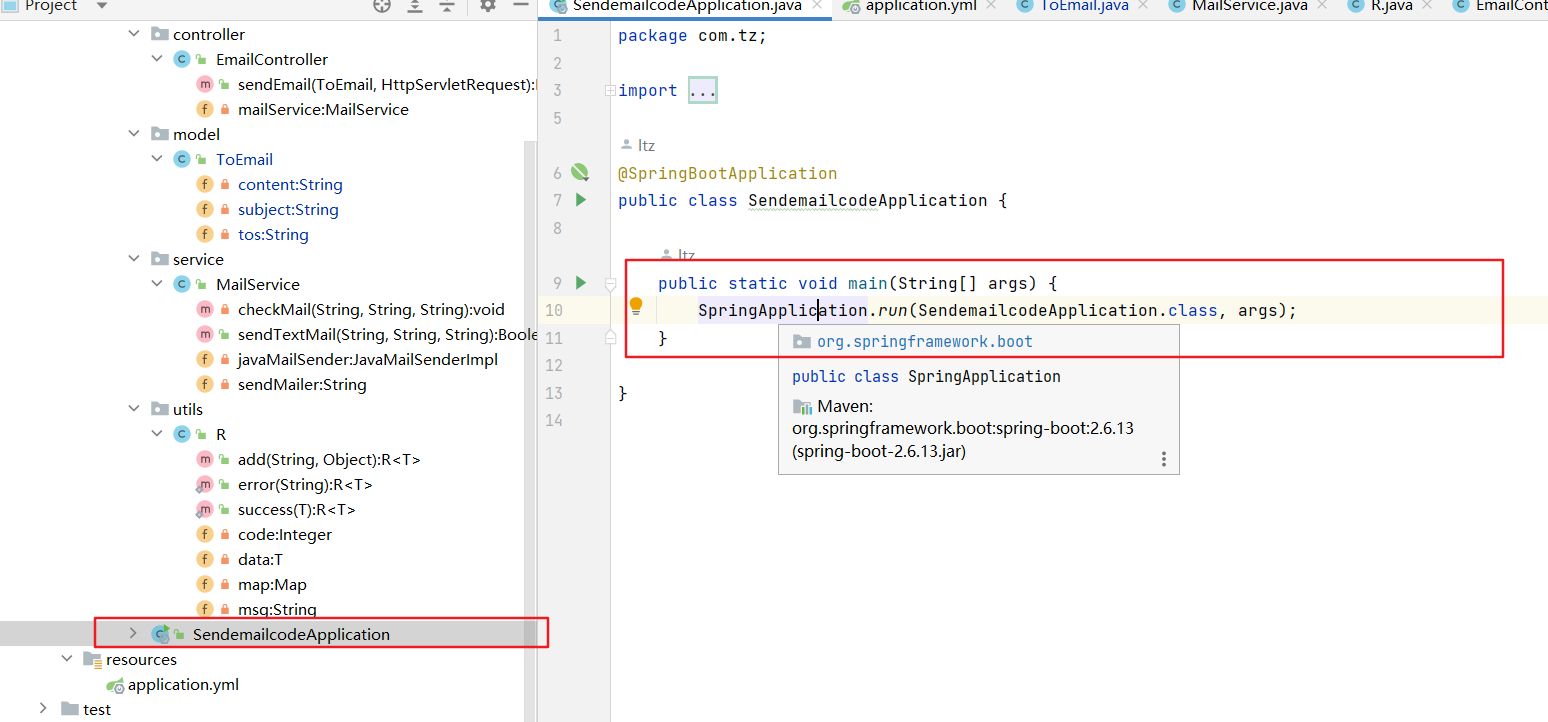
3.启动项目SendemailcodeApplication
4.使用postman进行测试
1.拉取仓库代码:
git clone https://gitee.com/tzmoxi/use-email-getcode.git
2.修改配置文件
修改application.yml下的配置文件,修改成为自己的邮箱和授权码

3.修改完成上面的内容,就直接启动项目
4.使用postman测试
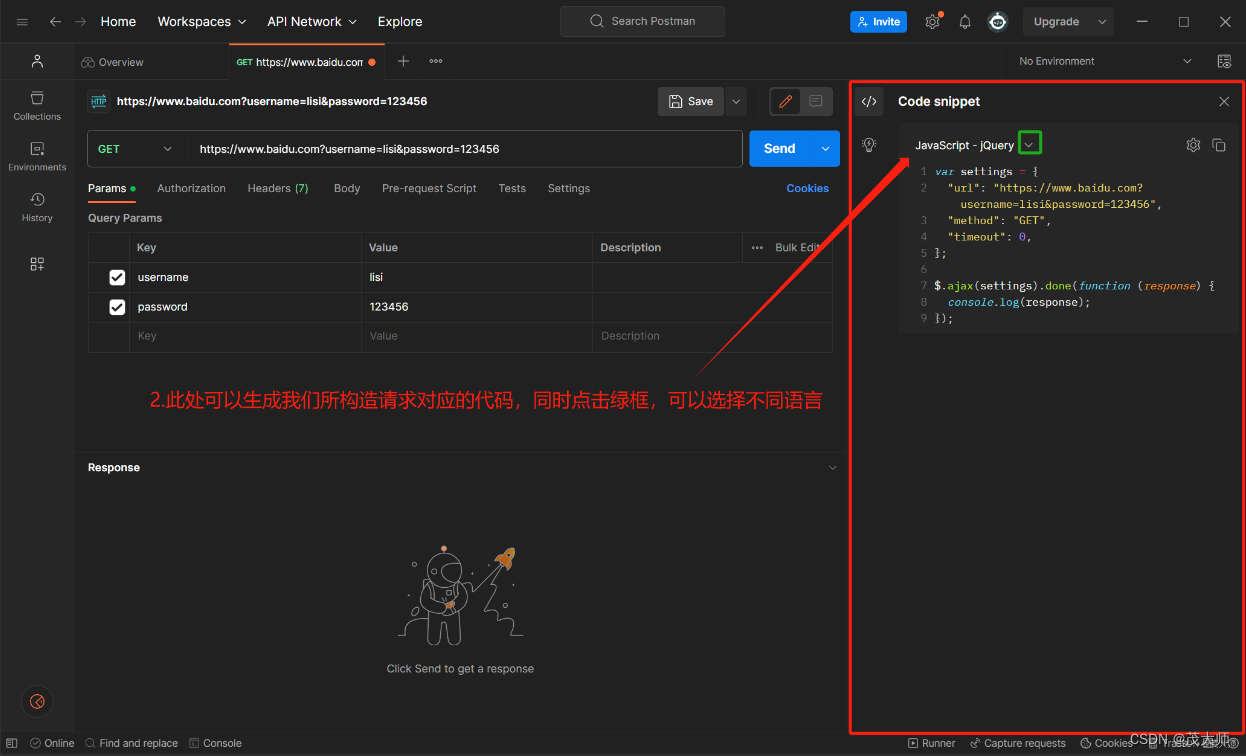
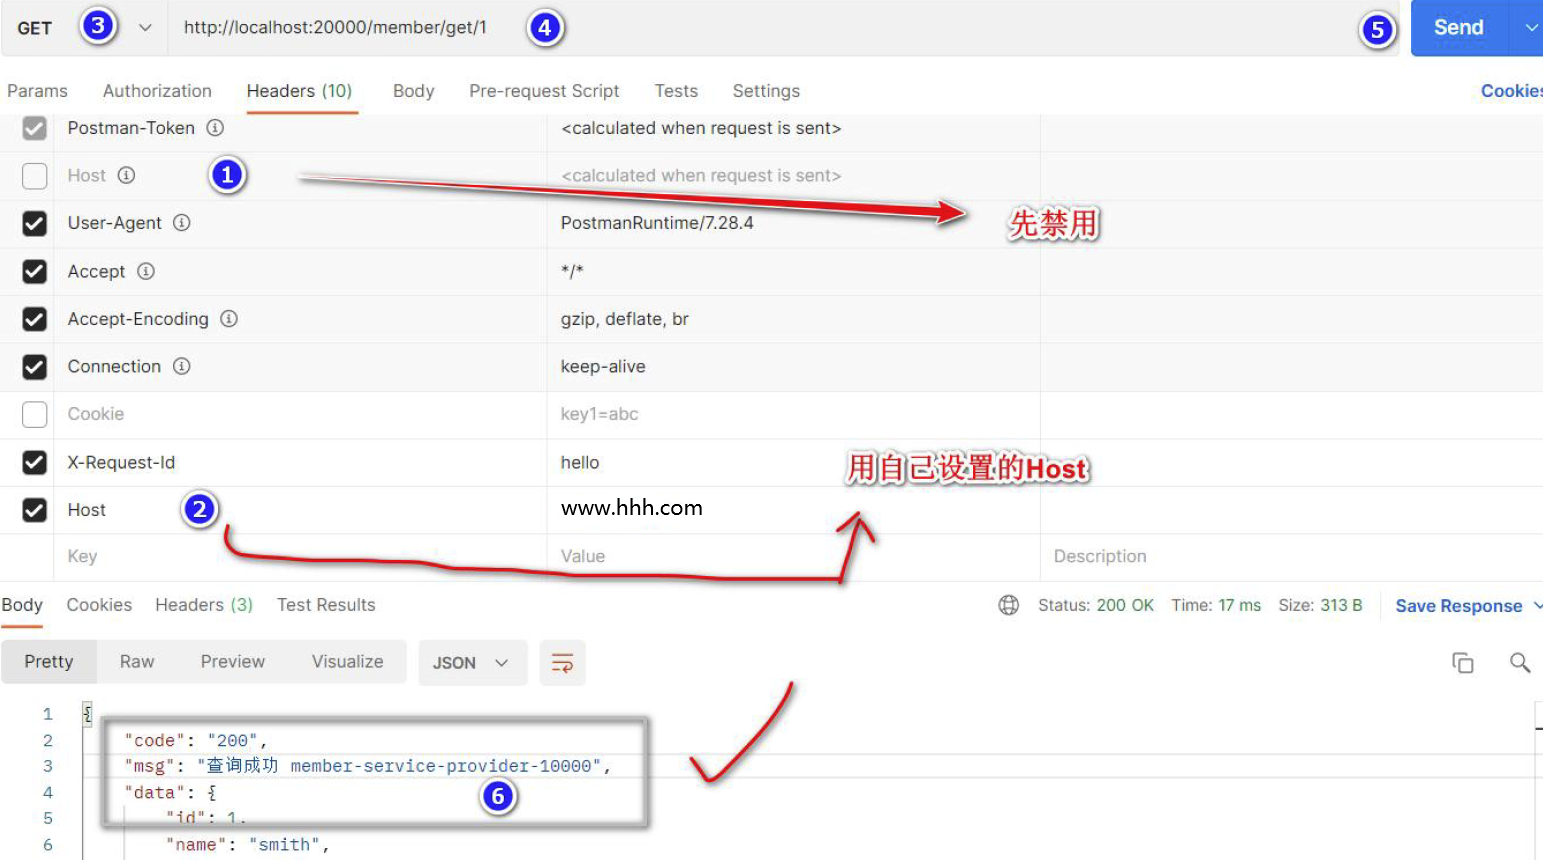
首先是get请求,填写请求地址localhost:8080/user/getCode,传递的参数为tos值为接收方邮箱,点击发送即可收到

点击发送,成功后,邮箱会收到一个验证码

5.代码说明
1.创建一个SpringBoot工程
2.引入邮件相关依赖
注意:springboot相关的依赖给去掉了,在创建工程的时候会自动引入
<dependencies>
        <!-- https://mvnrepository.com/artifact/org.projectlombok/lombok -->
        <dependency>
            <groupId>org.projectlombok</groupId>
            <artifactId>lombok</artifactId>
            <version>1.18.24</version>
            <scope>provided</scope>
        </dependency>


        <dependency>
            <groupId>cn.hutool</groupId>
            <artifactId>hutool-all</artifactId>
            <version>5.8.16</version>
        </dependency>


        <!--   发送邮件     -->
        <dependency>
            <groupId>org.springframework.boot</groupId>
            <artifactId>spring-boot-starter-mail</artifactId>
        </dependency>

        <!-- https://mvnrepository.com/artifact/org.apache.commons/commons-lang3 -->
        <dependency>
            <groupId>org.apache.commons</groupId>
            <artifactId>commons-lang3</artifactId>
            <version>3.12.0</version>
        </dependency>

        <dependency>
            <groupId>com.mysql</groupId>
            <artifactId>mysql-connector-j</artifactId>
            <scope>runtime</scope>
        </dependency>
    </dependencies>
3.配置application.yml文件
username和password需要使用自己的
username事自己的qq邮箱
password是刚昂申请的邮箱授权码
Spring:
  # 邮箱基本配置
  mail:
    host: smtp.qq.com
    # 填写自己的邮箱
    username: 111111111111@qq.com
    # 在邮箱内填写自己申请的授权码
    password: aaaaaaaaaaaa
    # 端口号
    port: 587
    # 默认的邮件编码为UTF-8
    default-encoding: UTF-8
    # 其他参数
    properties:
      mail:
        # 配置SSL 加密工厂
        smtp:
          ssl:
            # 本地测试, 先放开ssl
            enable: false
            required: false
          #开启debug模式,这样邮件发送过程的日志会在控制台打印出来,方便排查错误
        debug: false
server:
  port: 8080
4.定义实体类
@Data
@AllArgsConstructor
public class ToEmail implements Serializable {

   //邮件接受方

    private String tos;

   //邮件主题

    private String subject;


   //邮件内容

    private String content;
}
5.邮件服务也是核心
public class MailService {
    /**
     * 注入邮件工具类
     */
    @Resource
    private JavaMailSenderImpl javaMailSender;

    @Value("${spring.mail.username}")
    private String sendMailer;

    /**
     * 检测邮件信息类
     * @param receiveEmail 接收者
     * @param subject  主题
     * @param emailMsg 内容
     */
    private void checkMail(String receiveEmail, String subject, String emailMsg){
        //  StringUtils 需要引入  commons-lang3 依赖
        //  可以用 receiveEmail == null || receiveEmail.isEmpty() 来代替
        if(StringUtils.isEmpty(receiveEmail)) {
            throw new RuntimeException("邮件收件人不能为空");
        }
        if(StringUtils.isEmpty(subject)) {
            throw new RuntimeException("邮件主题不能为空");
        }
        if(StringUtils.isEmpty(emailMsg)) {
            throw new RuntimeException("邮件内容不能为空");
        }
    }

    /**
     * 发送纯文本邮件
     * @param receiveEmail 接收者
     * @param subject  主题
     * @param emailMsg 内容
     */
    public Boolean sendTextMail(String receiveEmail, String subject, String emailMsg) {
        // 参数检查
        checkMail(receiveEmail, subject, emailMsg);
        try {
            // true 代表支持复杂的类型
            MimeMessageHelper mimeMessageHelper = new MimeMessageHelper(javaMailSender.createMimeMessage(), true);
            // 邮件发件人
            mimeMessageHelper.setFrom(sendMailer);
            // 邮件收件人
            mimeMessageHelper.setTo(receiveEmail.split(","));
            // 邮件主题
            mimeMessageHelper.setSubject(subject);
            // 邮件内容
            mimeMessageHelper.setText(emailMsg);
            // 邮件发送时间
            mimeMessageHelper.setSentDate(new Date());

            // 发送邮件
            javaMailSender.send(mimeMessageHelper.getMimeMessage());
            System.out.println("发送邮件成功: " + sendMailer + "-->" + receiveEmail);
            return true;
        } catch (MessagingException e) {
            e.printStackTrace();
            System.out.println("发送邮件失败: " + e.getMessage());
            return false;
        }
    }
}
6.编写控制层
@RestController
@RequestMapping("/user")
public class EmailController {

    @Resource
    private MailService mailService;

    @RequestMapping("/getCode")
    public R sendEmail(ToEmail toEmail, HttpServletRequest request) {
        if(toEmail == null || toEmail.getTos() == null ) {
            return R.error( "参数错误!");
        }
        toEmail.setSubject("你本次的验证码是");
        // 使用hutools工具获取验证码
        CircleCaptcha captcha = CaptchaUtil.createCircleCaptcha(200, 100, 4, 20);
        String verCode = captcha.getCode();
        String content = "尊敬的xxx,您好:\n"
                + "\n本次请求的邮件验证码为:" + verCode + ",本验证码 5 分钟内效,请及时输入。(请勿泄露此验证码)\n"
                + "\n如非本人操作,请忽略该邮件。\n(这是一封通过自动发送的邮件,请不要直接回复)";
        toEmail.setContent(content);

        Boolean check = mailService.sendTextMail(toEmail.getTos(), toEmail.getSubject(), toEmail.getContent());
        if(check) {
            return R.success("发送成功");
        } else {
            return R.error( "发送失败");
        }

    }
}
6.Git仓库地址
基于SpringBoot实现邮箱发送验证码仓库地址
更多内容查看:

![[Qt]QListView 重绘实例之一:背景重绘](https://img-blog.csdnimg.cn/4778002354934de48f1fdc1baea411c1.png#pic_center)


![[每周一更]-(第64期):Dockerfile构造php定制化镜像](https://img-blog.csdnimg.cn/2b883e87df6e459bac2ab61dba1945a4.png#pic_center)
