介绍:
在使用 Java SWT(Standard Widget Toolkit)创建图形用户界面时,经常需要处理按钮的选中和反选事件。本文将介绍如何通过添加 SelectionListener 监听器来实现按钮选中与反选事件的处理,并相应地修改相关变量的值。
示例代码:
import org.eclipse.swt.SWT;
import org.eclipse.swt.events.SelectionAdapter;
import org.eclipse.swt.events.SelectionEvent;
import org.eclipse.swt.layout.GridData;
import org.eclipse.swt.layout.GridLayout;
import org.eclipse.swt.widgets.Button;
import org.eclipse.swt.widgets.Composite;
import org.eclipse.swt.widgets.Display;
import org.eclipse.swt.widgets.Label;
import org.eclipse.swt.widgets.Shell;

public class CheckboxExample {
	private boolean checked = false;

	public static void main(String[] args) {
		Display display = new Display();
		Shell shell = new Shell(display);
		shell.setLayout(new GridLayout());
		shell.setMinimumSize(360, 360);
		shell.setText("Checkbox Example");

		CheckboxExample example = new CheckboxExample();
		example.createCheckbox(shell);

		shell.pack();
		shell.open();

		while (!shell.isDisposed()) {
			if (!display.readAndDispatch()) {
				display.sleep();
			}
		}

		display.dispose();
	}

	private void createCheckbox(Shell shell) {
		Composite cmp = new Composite(shell, SWT.NONE);
		cmp.setLayout(new GridLayout());
		cmp.setLayoutData(new GridData(GridData.FILL_BOTH | GridData.CENTER));

		Button ckBox = new Button(cmp, SWT.CHECK);
		ckBox.setText("Check me");
		ckBox.setLayoutData(new GridData(GridData.FILL_HORIZONTAL | GridData.CENTER));

		Label label = new Label(cmp, SWT.NONE);
		label.setText("value: " + ckBox.getSelection());
		label.setLayoutData(new GridData(GridData.FILL_HORIZONTAL | GridData.CENTER));

		ckBox.addSelectionListener(new SelectionAdapter() {
			@Override
			public void widgetSelected(SelectionEvent e) {
				Button button = (Button) e.widget;
				checked = button.getSelection();
				label.setText("value: " + checked);
			}
		});
	}
}
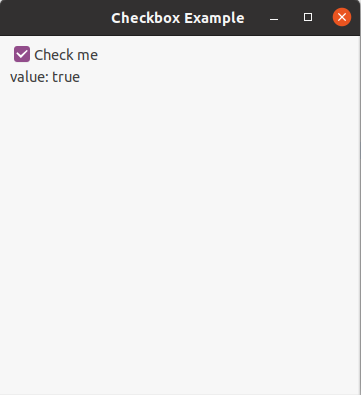
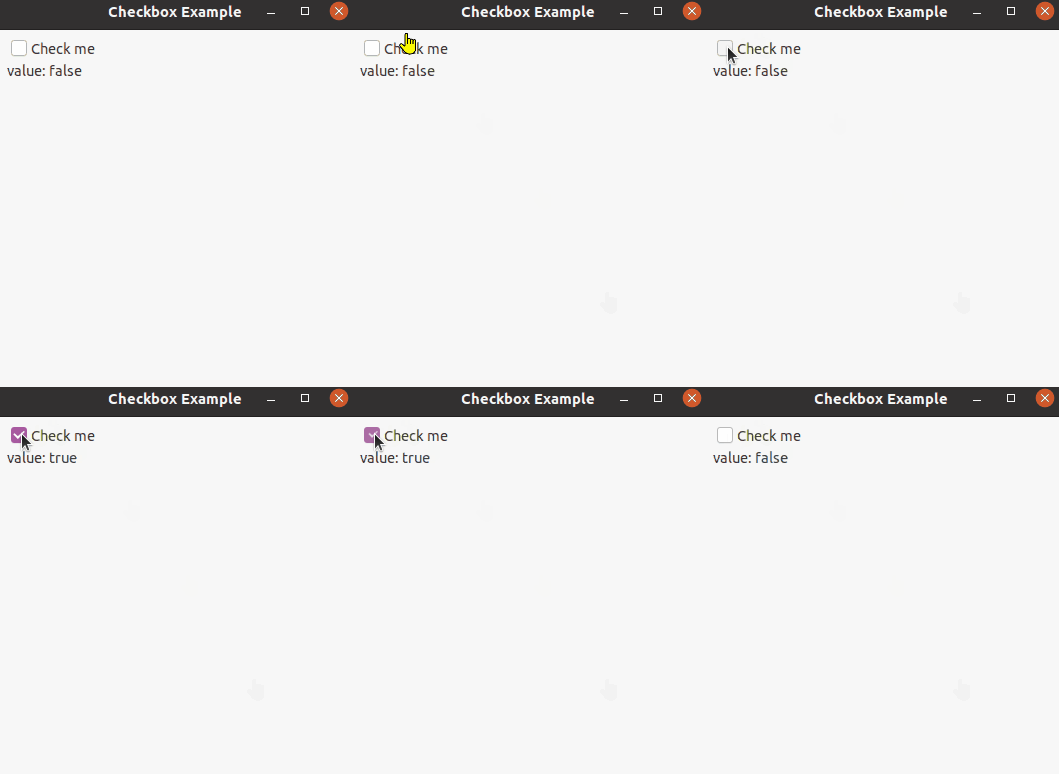
效果
未选中时
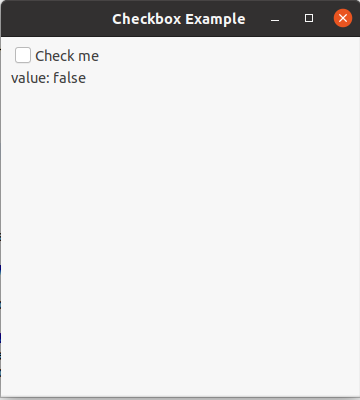
选中时
动图:
总结:
通过添加 SelectionListener 监听器,可以轻松处理 SWT 的按钮选中与反选事件。在示例代码中,我们创建了一个复选框按钮,并将其选中状态赋值给一个布尔型变量 checked。然后使用 Label 将 CheckBox 状态回显到界面。示例中通过监听器中的回调方法,对 Checkbox 的值进行处理,也可以 进行进一步处理,例如打印选中状态或执行其他相关操作。
