文章目录
- 一、目标检测
- 1.1 labelImg
- 1.2 介绍
- 1.3 安装
- 1.4 使用
- 1.5 转换
- 1.6 验证
- 二、图像分割
- 2.1 labelme
- 2.2 介绍
- 2.3 安装
- 2.4 使用
- 2.5 转换
- 2.6 验证
一、目标检测
1.1 labelImg
1.2 介绍
labelImg是一个开源的图像标注工具,用于创建图像标注数据集。它提供了一个简单易用的界面,允许用户通过绘制边界框或者创建多边形来标注图像中的对象。它支持多种常见的标注格式,如Pascal VOC、YOLO和COCO等。
使用labelImg,用户可以加载图像文件夹,逐个标注图像中的对象,并保存标注结果。该工具还提供了一些快捷键和功能,如缩放、移动和删除标注框,以及快速切换到下一张图像等。此外,labelImg还支持标注图像的困难程度、部分可见性和关键点等。
labelImg是一个跨平台的工具,可以在Windows、Linux和macOS等操作系统上运行。它基于Python和Qt开发,可以通过pip安装或从GitHub上获取源代码。这使得用户可以根据自己的需求进行定制和扩展。
总而言之,labelImg是一个功能强大、易于使用的图像标注工具,适用于创建各种类型的标注数据集,从而用于训练和评估计算机视觉模型。
1.3 安装
pip install labelImg
1.4 使用
- 在cmd中输入labelImg,打开目标标注界面
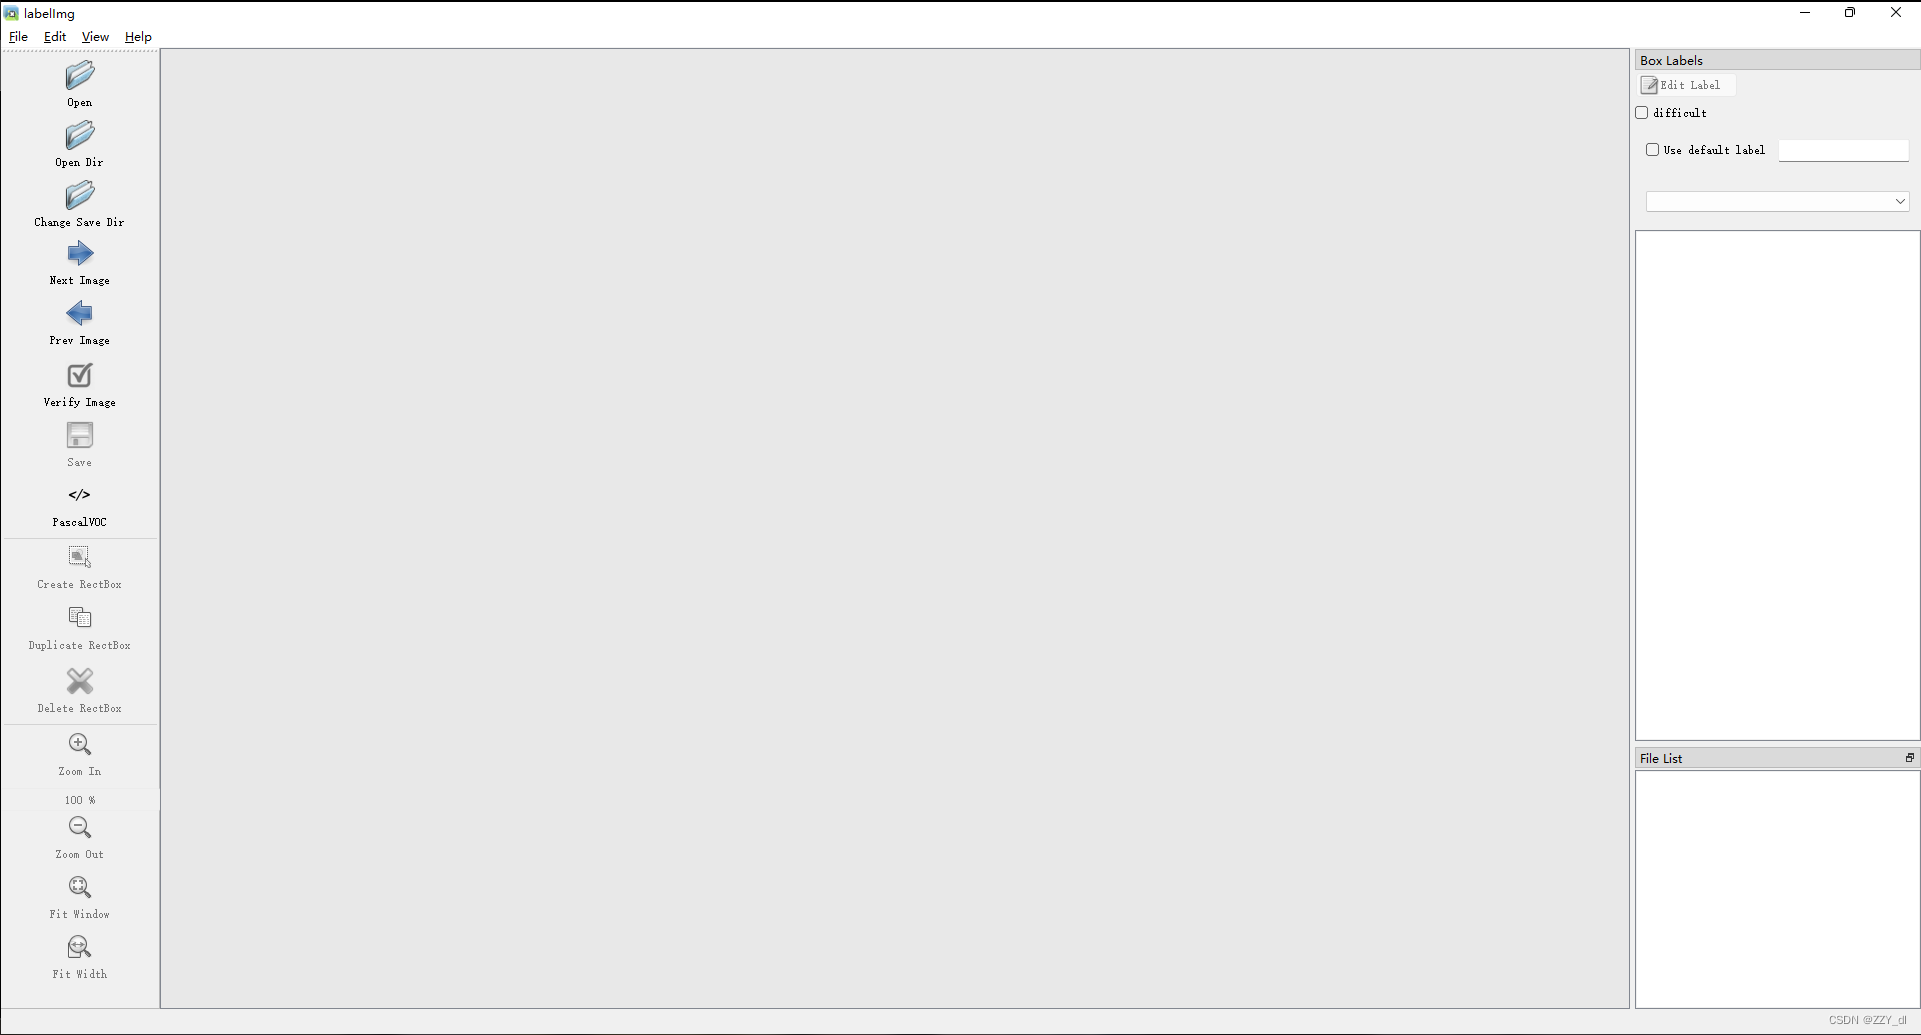
- open dir选择图片的文件夹、Change Save Dir选择label保存的位置、在View下选择auto save mode可以不用每次都要点击保存、在File里面选择YOLO数据集的格式(点击pascalVOC切换)。
- 通过w来选择标注区域,然后写上类别名
- 键盘输入a是上一张,d是下一张
- 然后按照这种格式将图片和label进行分开(train和valid同理)
1.5 转换
如果通过labelImg直接得到txt标签文本是不用进行转换就可以提供给YOLO进行训练的。
如果是保存的XML文本,则需要通过下面代码进行转换。
修改两个路径:xml文件地址和创建保存txt文件的地址
import os
import xml.etree.ElementTree as ET

# xml文件存放目录(修改成自己的文件名)
input_dir = r'E:\auto_label\annotation'

# 输出txt文件目录(自己创建的文件夹)
out_dir = r'E:\auto_label\labels'

class_list = []


# 获取目录所有xml文件
def file_name(input_dir):
    F = []
    for root, dirs, files in os.walk(input_dir):

        for file in files:
            # print file.decode('gbk')    #文件名中有中文字符时转码
            if os.path.splitext(file)[1] == '.xml':
                t = os.path.splitext(file)[0]
                F.append(t)  # 将所有的文件名添加到L列表中
    return F  # 返回L列表


# 获取所有分类
def get_class(filelist):
    for i in filelist:
        f_dir = input_dir + "\\" + i + ".xml"
        in_file = open(f_dir, encoding='UTF-8')
        filetree = ET.parse(in_file)
        in_file.close()
        root = filetree.getroot()
        for obj in root.iter('object'):
            cls = obj.find('name').text
            if cls not in class_list:
                class_list.append(cls)


def ConverCoordinate(imgshape, bbox):
    # 将xml像素坐标转换为txt归一化后的坐标
    xmin, xmax, ymin, ymax = bbox
    width = imgshape[0]
    height = imgshape[1]
    dw = 1. / width
    dh = 1. / height
    x = (xmin + xmax) / 2.0
    y = (ymin + ymax) / 2.0
    w = xmax - xmin
    h = ymax - ymin

    # 归一化
    x = x * dw
    y = y * dh
    w = w * dw
    h = h * dh

    return x, y, w, h


def readxml(i):
    f_dir = input_dir + "\\" + i + ".xml"

    txtresult = ''

    outfile = open(f_dir, encoding='UTF-8')
    filetree = ET.parse(outfile)
    outfile.close()
    root = filetree.getroot()

    # 获取图片大小
    size = root.find('size')
    width = int(size.find('width').text)
    height = int(size.find('height').text)
    imgshape = (width, height)

    # 转化为yolov5的格式
    for obj in root.findall('object'):
        # 获取类别名
        obj_name = obj.find('name').text

        obj_id = class_list.index(obj_name)
        # 获取每个obj的bbox框的左上和右下坐标
        bbox = obj.find('bndbox')
        xmin = float(bbox.find('xmin').text)
        xmax = float(bbox.find('xmax').text)
        ymin = float(bbox.find('ymin').text)
        ymax = float(bbox.find('ymax').text)
        bbox_coor = (xmin, xmax, ymin, ymax)

        x, y, w, h = ConverCoordinate(imgshape, bbox_coor)
        txt = '{} {} {} {} {}\n'.format(obj_id, x, y, w, h)
        txtresult = txtresult + txt

    # print(txtresult)
    f = open(out_dir + "\\" + i + ".txt", 'a')
    f.write(txtresult)
    f.close()


# 获取文件夹下的所有文件
filelist = file_name(input_dir)

# 获取所有分类
get_class(filelist)

# 打印class
print(class_list)

# xml转txt
for i in filelist:
    readxml(i)

# 在out_dir下生成一个class文件
f = open(out_dir + "\\classes.txt", 'a')
classresult = ''
for i in class_list:
    classresult = classresult + i + "\n"
f.write(classresult)
f.close()
1.6 验证
import cv2
import os
# 读取txt文件信息
def read_list(txt_path):
pos = []
with open(txt_path, 'r') as file_to_read:
while True:
lines = file_to_read.readline() # 整行读取数据
if not lines:
break
# 将整行数据分割处理,如果分割符是空格,括号里就不用传入参数,如果是逗号, 则传入‘,'字符。
p_tmp = [float(i) for i in lines.split(' ')]
pos.append(p_tmp) # 添加新读取的数据
# Efield.append(E_tmp)
pass
return pos
# txt转换为box
def convert(size, box):
xmin = (box[1] - box[3] / 2.) * size[1]
xmax = (box[1] + box[3] / 2.) * size[1]
ymin = (box[2] - box[4] / 2.) * size[0]
ymax = (box[2] + box[4] / 2.) * size[0]
box = (int(xmin), int(ymin), int(xmax), int(ymax))
return box
def draw_box_in_single_image(image_path, txt_path):
# 读取图像
image = cv2.imread(image_path)
pos = read_list(txt_path)
for i in range(len(pos)):
label = classes[int(str(int(pos[i][0])))]
print('label is '+label)
box = convert(image.shape, pos[i])
image = cv2.rectangle(image,(box[0], box[1]),(box[2],box[3]),colores[int(str(int(pos[i][0])))],2)
cv2.putText(image, label,(box[0],box[1]-2), 0, 1, colores[int(str(int(pos[i][0])))], thickness=2, lineType=cv2.LINE_AA)
cv2.imshow("images", image)
cv2.waitKey(0)
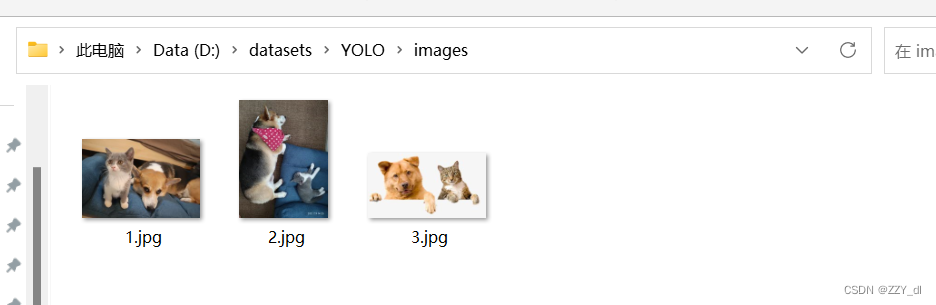
if __name__ == '__main__':
img_folder = "D:\datasets\YOLO/images"
img_list = os.listdir(img_folder)
img_list.sort()
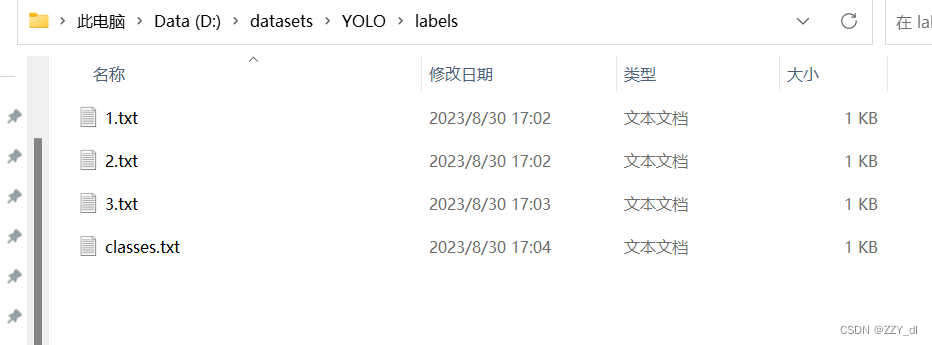
label_folder = "D:\datasets\YOLO/labels"
label_list = os.listdir(label_folder)
label_list.sort()
classes = {0: "cat", 1: "dog"}
colores = [(0,0,255),(255,0,255)]
for i in range(len(img_list)):
image_path = img_folder + "\\" + img_list[i]
txt_path = label_folder + "\\" + label_list[i]
draw_box_in_single_image(image_path, txt_path)

二、图像分割
2.1 labelme
2.2 介绍
LabelMe是一个在线图像标注工具,旨在帮助用户对图像进行标注和注释。它提供了一个简单易用的界面,让用户可以方便地在图像上绘制边界框、标记点、线条等,并为每个标注对象添加文字描述。
LabelMe的主要特点包括:
-
灵活多样的标注工具:LabelMe提供了多种标注工具,包括矩形框、多边形、线条、点等,可以满足不同类型图像的标注需求。
-
支持多种标注任务:LabelMe适用于各种标注任务,包括对象检测、语义分割、关键点标注等。
-
数据的可视化和管理:LabelMe支持将标注结果可视化展示,用户可以在网页上查看和编辑标注结果。此外,LabelMe还提供了数据管理功能,可以方便地组织和管理大量的标注数据。
-
数据的导入和导出:LabelMe支持将标注数据导入和导出为常见的数据格式,如XML、JSON等,方便与其他机器学习和计算机视觉工具集成。
总的来说,LabelMe是一个功能强大且易于使用的在线图像标注工具,适用于各种图像标注任务,并提供了方便的数据管理和导入导出功能。
2.3 安装
pip install labelme -i https://pypi.tuna.tsinghua.edu.cn/simple/
2.4 使用
参考链接:点击
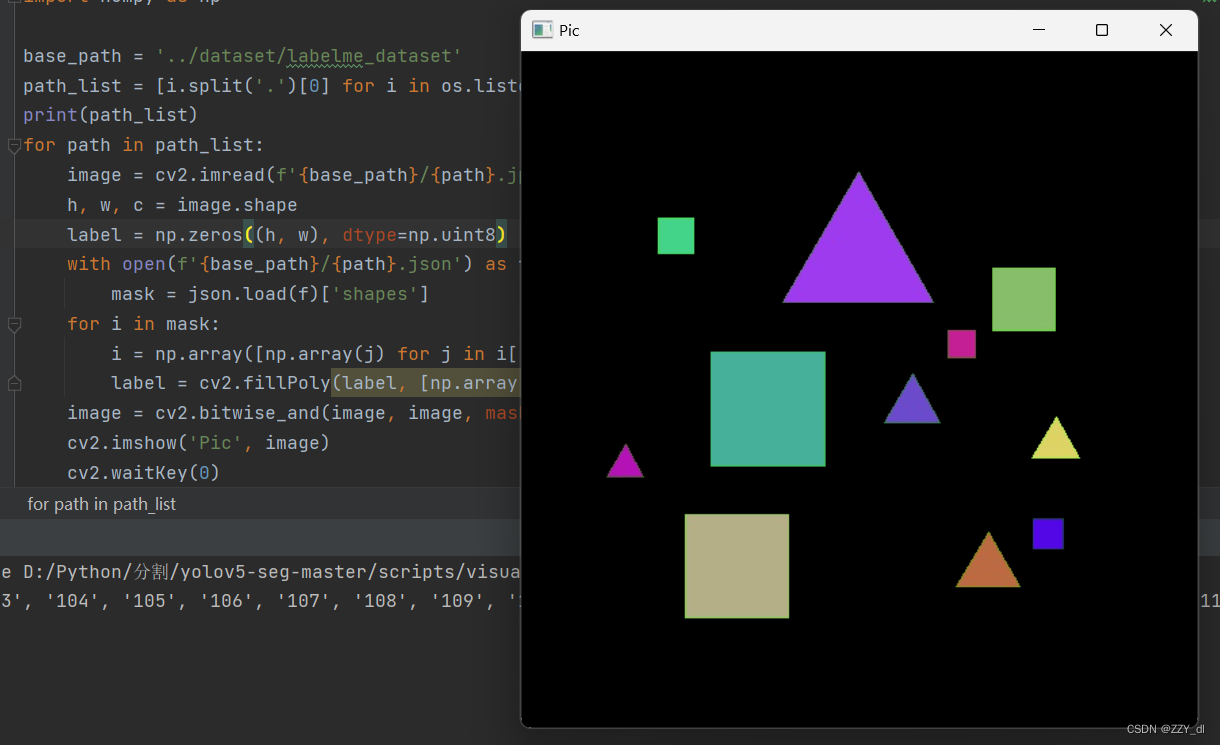
打完标签后,会在我们图片的目录下相应的生成JSON标签文件,首先我们先验证一下我们打的标签和图片是否对应,如果没问题那么我们才转换成YOLO可训练的标签文件。参考代码如下:
import os, cv2, json
import numpy as np

base_path = '../dataset/labelme_dataset'
path_list = [i.split('.')[0] for i in os.listdir(base_path) if 'json' in i]
print(path_list)
for path in path_list:
    image = cv2.imread(f'{base_path}/{path}.jpg')
    h, w, c = image.shape
    label = np.zeros((h, w), dtype=np.uint8)
    with open(f'{base_path}/{path}.json') as f:
        mask = json.load(f)['shapes']
    for i in mask:
        i = np.array([np.array(j) for j in i['points']])
        label = cv2.fillPoly(label, [np.array(i, dtype=np.int32)], color=255)
    image = cv2.bitwise_and(image, image, mask=label)
    cv2.imshow('Pic', image)
    cv2.waitKey(0)
    cv2.destroyAllWindows()
2.5 转换
既然打的标签文件是没问题的,那么我们开始转换成YOLO可用的TXT文件,转换代码如下:
import os, cv2, json
import numpy as np

classes = ['square', 'triangle'] # 修改成对应的类别

base_path = '../dataset/labelme_dataset' # 指定json和图片的位置
path_list = [i.split('.')[0] for i in os.listdir(base_path)]
for path in path_list:
    image = cv2.imread(f'{base_path}/{path}.jpg')
    h, w, c = image.shape
    with open(f'{base_path}/{path}.json') as f:
        masks = json.load(f)['shapes']
    with open(f'{base_path}/{path}.txt', 'w+') as f:
        for idx, mask_data in enumerate(masks):
            mask_label = mask_data['label']
            if '_' in mask_label:
                mask_label = mask_label.split('_')[0]
            mask = np.array([np.array(i) for i in mask_data['points']], dtype=np.float)
            mask[:, 0] /= w
            mask[:, 1] /= h
            mask = mask.reshape((-1))
            if idx != 0:
                f.write('\n')
            f.write(f'{classes.index(mask_label)} {" ".join(list(map(lambda x:f"{x:.6f}", mask)))}')
通过这个代码可以在当前目录生成对应文件名的TXT标签文件,然后我们需要将其划分为训练集、验证集和测试集,可通过下面的代码:
import os, shutil, random
import numpy as np

postfix = 'jpg' # 里面都是jpg图片
base_path = '../dataset/labelme_dataset' # 原图片和TXT文件
dataset_path = '../dataset/custom_dataset' # 保存的目标位置
val_size, test_size = 0.1, 0.2

os.makedirs(dataset_path, exist_ok=True)
os.makedirs(f'{dataset_path}/images', exist_ok=True)
os.makedirs(f'{dataset_path}/images/train', exist_ok=True)
os.makedirs(f'{dataset_path}/images/val', exist_ok=True)
os.makedirs(f'{dataset_path}/images/test', exist_ok=True)
os.makedirs(f'{dataset_path}/labels/train', exist_ok=True)
os.makedirs(f'{dataset_path}/labels/val', exist_ok=True)
os.makedirs(f'{dataset_path}/labels/test', exist_ok=True)

path_list = np.array([i.split('.')[0] for i in os.listdir(base_path) if 'txt' in i])
random.shuffle(path_list)
train_id = path_list[:int(len(path_list) * (1 - val_size - test_size))]
val_id = path_list[int(len(path_list) * (1 - val_size - test_size)):int(len(path_list) * (1 - test_size))]
test_id = path_list[int(len(path_list) * (1 - test_size)):]

for i in train_id:
    shutil.copy(f'{base_path}/{i}.{postfix}', f'{dataset_path}/images/train/{i}.{postfix}')
    shutil.copy(f'{base_path}/{i}.txt', f'{dataset_path}/labels/train/{i}.txt')

for i in val_id:
    shutil.copy(f'{base_path}/{i}.{postfix}', f'{dataset_path}/images/val/{i}.{postfix}')
    shutil.copy(f'{base_path}/{i}.txt', f'{dataset_path}/labels/val/{i}.txt')

for i in test_id:
    shutil.copy(f'{base_path}/{i}.{postfix}', f'{dataset_path}/images/test/{i}.{postfix}')
    shutil.copy(f'{base_path}/{i}.txt', f'{dataset_path}/labels/test/{i}.txt')
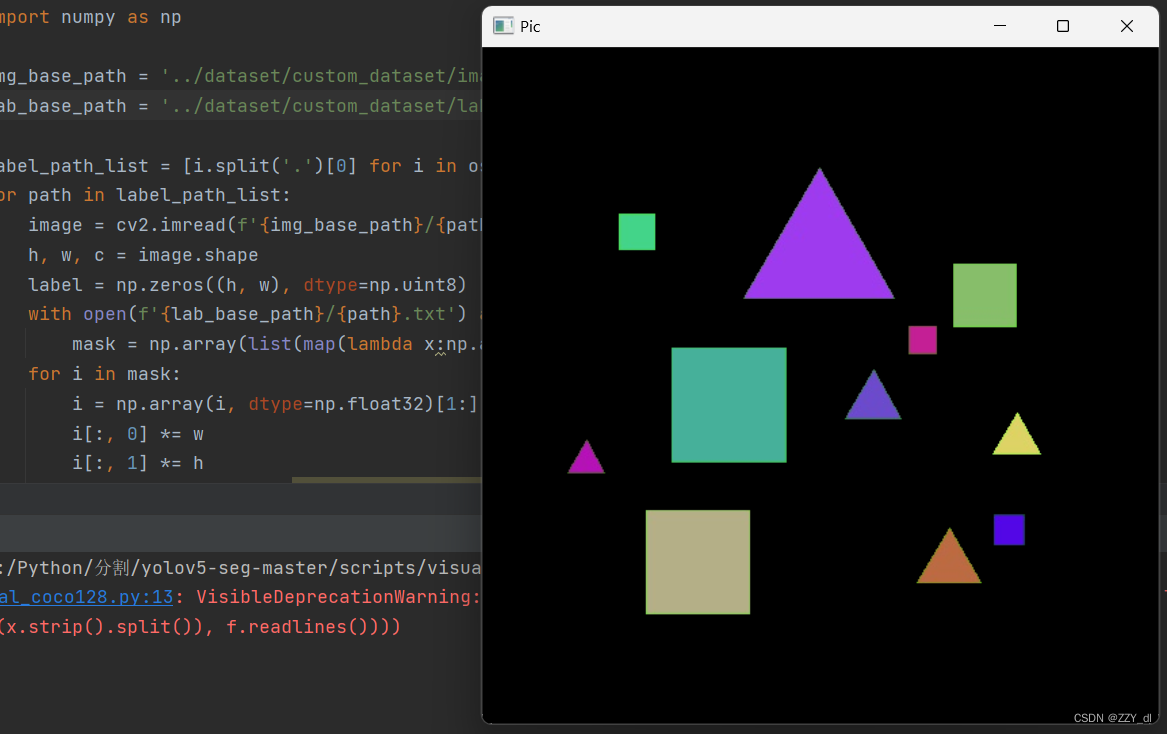
2.6 验证
通过结合TXT标签文件以及图片来进行可视化,以验证其是否正确。
import os, cv2
import numpy as np

img_base_path = '../dataset/custom_dataset/images/train'
lab_base_path = '../dataset/custom_dataset/labels/train'

label_path_list = [i.split('.')[0] for i in os.listdir(img_base_path)]
for path in label_path_list:
    image = cv2.imread(f'{img_base_path}/{path}.jpg')
    h, w, c = image.shape
    label = np.zeros((h, w), dtype=np.uint8)
    with open(f'{lab_base_path}/{path}.txt') as f:
        mask = np.array(list(map(lambda x:np.array(x.strip().split()), f.readlines())))
    for i in mask:
        i = np.array(i, dtype=np.float32)[1:].reshape((-1, 2))
        i[:, 0] *= w
        i[:, 1] *= h
        label = cv2.fillPoly(label, [np.array(i, dtype=np.int32)], color=255)
    image = cv2.bitwise_and(image, image, mask=label)
    cv2.imshow('Pic', image)
    cv2.waitKey(0)
    cv2.destroyAllWindows()


![[JDK8下的HashMap类应用及源码分析] 数据结构、哈希碰撞、链表变红黑树](https://img-blog.csdnimg.cn/c02ef767a9e743068b4ff6034a46cb21.png)