一、图片文件简介及解析
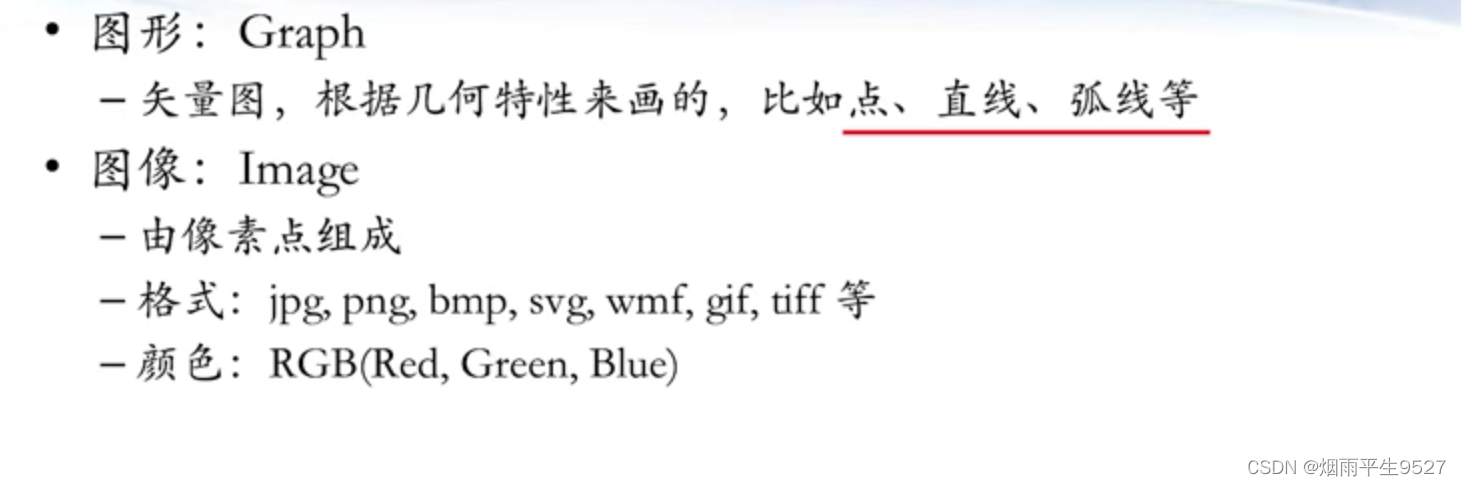
1.1图形图像基础概念
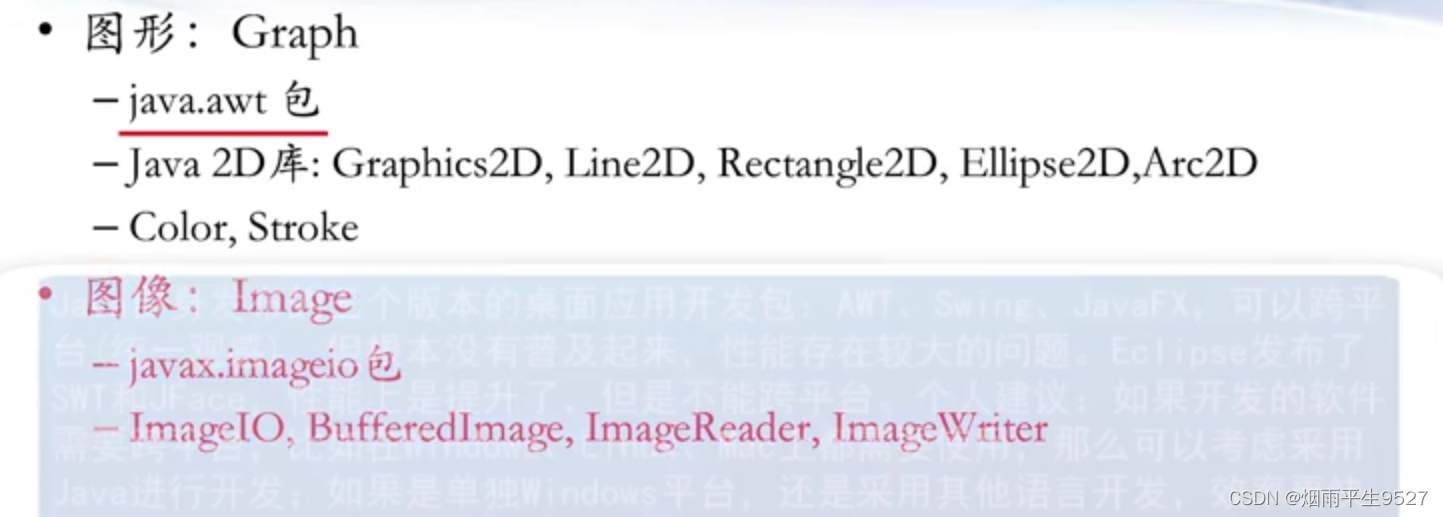
1.2JAVA图形图像关键类

1.3图形的基本操作
package org.example;


import javax.imageio.ImageIO;
import javax.imageio.ImageReadParam;
import javax.imageio.ImageReader;
import javax.imageio.stream.ImageInputStream;
import java.awt.*;
import java.awt.image.BufferedImage;
import java.io.File;
import java.io.FileInputStream;
import java.util.Iterator;

public class ImageTest {
    public static void main(String[] args) throws Exception {
        readAndWrite(); // 读取并写入图片
        readComparison(); // 图片读取速度对比
        cropImage("D://桌面//1.png", "D://桌面//4.png", 750, 250, 700, 300, "png", "png");
        combineImagesHorizontally("D://桌面//1.png", "D://桌面//1.png", "jpg", "D://桌面//4.png");
        combineImagesVertically("D://桌面//1.png","D://桌面//1.png","jpg", "D://桌面//5.png");
    }
    public static void readAndWrite() throws Exception {
        // 读取和写入 PNG 图片
        BufferedImage image = ImageIO.read(new File("D://桌面//1.png"));
        System.out.println("高度: " + image.getHeight()); // 图片高度(像素)
        System.out.println("宽度: " + image.getWidth()); // 图片宽度(像素)
        ImageIO.write(image, "png", new File("D://桌面//3.png"));
    }
    public static void readComparison() throws Exception {
        System.out.println("===========加载速度测试==============");
        // 使用 ImageIO 读取 PNG 图片
        long startTime = System.nanoTime();
        BufferedImage image = ImageIO.read(new File("D://桌面//1.png"));
        System.out.println("高度: " + image.getHeight()); // 图片高度(像素)
        System.out.println("宽度: " + image.getWidth()); // 图片宽度(像素)
        long endTime = System.nanoTime();
        System.out.println("使用 ImageIO 读取时间: " + (endTime - startTime) / 1000000.0 + "毫秒");
        // 使用 PNG ImageReader 读取 PNG 图片
        startTime = System.nanoTime();
        Iterator<ImageReader> readers = ImageIO.getImageReadersByFormatName("png");
        ImageReader reader = readers.next(); // 使用正确的格式读取器
        System.out.println(reader.getClass().getName());
        ImageInputStream iis = ImageIO.createImageInputStream(new File("D://桌面//1.png"));
        reader.setInput(iis, true);
        System.out.println("使用 ImageReader 获得的高度:" + reader.getHeight(0)); // 从 ImageReader 获取图片高度
        System.out.println("使用 ImageReader 获得的宽度:" + reader.getWidth(0)); // 从 ImageReader 获取图片宽度
        endTime = System.nanoTime();
        System.out.println("使用 ImageReader 读取时间: " + (endTime - startTime) / 1000000.0 + "毫秒");
    }
    public static void cropImage(String fromPath, String toPath, int x, int y, int width, int height, String readImageFormat, String writeImageFormat) throws Exception {
        FileInputStream fis = null;
        ImageInputStream iis = null;
        try {
            // 读取原始图片文件
            fis = new FileInputStream(fromPath);
            Iterator<ImageReader> it = ImageIO.getImageReadersByFormatName(readImageFormat);
            ImageReader reader = it.next();
            iis = ImageIO.createImageInputStream(fis);
            reader.setInput(iis, true);
            // 定义一个矩形 并放入切割参数中
            ImageReadParam param = reader.getDefaultReadParam();
            Rectangle rect = new Rectangle(x, y, width, height);
            param.setSourceRegion(rect);
            // 从源文件读取一个矩形大小的图像
            BufferedImage bi = reader.read(0, param);
            // 写入到目标文件
            ImageIO.write(bi, writeImageFormat, new File(toPath));
        } finally {
            fis.close();
            iis.close();
        }
    }
    public static void combineImagesHorizontally(String firstPath, String secondPath, String imageFormat, String toPath) {
        try {
            File first = new File(firstPath);
            BufferedImage imageOne = ImageIO.read(first);
            int width1 = imageOne.getWidth();
            int height1 = imageOne.getHeight();
            int[] firstRGB = imageOne.getRGB(0, 0, width1, height1, null, 0, width1);
            File second = new File(secondPath);
            BufferedImage imageTwo = ImageIO.read(second);
            int width2 = imageTwo.getWidth();
            int height2 = imageTwo.getHeight();
            int[] secondRGB = imageTwo.getRGB(0, 0, width2, height2, null, 0, width2);
            // 生成新图片
            int height3 = Math.max(height1, height2);
            int width3 = width1 + width2;
            BufferedImage imageNew = new BufferedImage(width3, height3, BufferedImage.TYPE_INT_RGB);
            // 设置左半部分的RGB从 (0, 0) 开始
            imageNew.setRGB(0, 0, width1, height1, firstRGB, 0, width1);
            // 设置右半部分的RGB从 (width1, 0) 开始
            imageNew.setRGB(width1, 0, width2, height2, secondRGB, 0, width2);
            // 保存图片
            ImageIO.write(imageNew, imageFormat, new File(toPath));
        } catch (Exception e) {
            e.printStackTrace();
        }
    }
    public static void combineImagesVertically(String firstPath, String secondPath,String imageFormat, String toPath){
        try{
//读取第一张图片
            File  first  =  new  File(firstPath);
            BufferedImage  imageOne = ImageIO.read(first);
            int  width1  =  imageOne.getWidth();//图片宽度
            int  height1  =  imageOne.getHeight();//图片高度
//从图片中读取RGB
            int[]  firstRGB  =  new  int[width1*height1];
            firstRGB  =  imageOne.getRGB(0,0,width1,height1,firstRGB,0,width1);
//对第二张图片做相同的处理
            File  second  =  new  File(secondPath);
            BufferedImage  imageTwo  =  ImageIO.read(second);
            int width2 = imageTwo.getWidth();
            int height2 = imageTwo.getHeight();
            int[]   secondRGB  =  new  int[width2*height2];
            secondRGB  =  imageTwo.getRGB(0,0,width2,height2,secondRGB,0,width2);
//生成新图片
            int width3 = (width1>width2)?width1:width2; //挑选宽度大的,作为目标文件的宽度
            int height3 = height1+height2; //高度,两张图片相加
            BufferedImage  imageNew  =  new  BufferedImage(width3,height3,BufferedImage.TYPE_INT_RGB);
//设置上半部分的RGB 从 开始
            imageNew.setRGB(0,0,width1,height1,firstRGB,0,width1);
//设置下半部分的RGB 从(0, height1) 开始
            imageNew.setRGB(0,height1,width2,height2,secondRGB,0,width2);
//保存图片
            ImageIO.write(imageNew, imageFormat, new File(toPath));
        } catch (Exception e) {
            e.printStackTrace();
        }
    }
}
1.4验证码的生成

package org.example;

import java.awt.Color;
import java.awt.Font;
import java.awt.Graphics2D;
import java.awt.image.BufferedImage;
import java.io.File;
import java.io.IOException;
import java.util.Random;
import javax.imageio.ImageIO;

public class ValidateCodeTest {
    static char[] codeSequence = { 'A', 'B', 'C', 'D', 'E', 'F', 'G', 'H', 'J', 'K', 'M', 'N', 'P', 'Q', 'R', 'S', 'T',
            'U', 'V', 'W', 'X', 'Y', 'Z', '2', '3', '4', '5', '6', '7', '8', '9' };
    static int charNum = codeSequence.length;

    public static void main(String[] a) throws IOException {
        generateCode("D://桌面//6.png");
    }

    public static void generateCode(String filePath) throws IOException {
        // 首先定义验证码图片框
        int width = 800; // 验证码图片的宽度
        int height = 200; // 验证码图片的高度

        BufferedImage buffImg = new BufferedImage(width, height, BufferedImage.TYPE_INT_RGB);

        // 定义图片上的图形和干扰线
        Graphics2D gd = buffImg.createGraphics();
        gd.setColor(Color.LIGHT_GRAY); // 将图像填充为浅灰色
        gd.fillRect(0, 0, width, height);
        gd.setColor(Color.BLACK); // 画边框。
        gd.drawRect(0, 0, width - 1, height - 1);

        // 随机产生16条灰色干扰线,使图像中的认证码不易识别
        gd.setColor(Color.GRAY);
        Random random = new Random();
        for (int i = 0; i < 16; i++) {
            int x = random.nextInt(width);
            int y = random.nextInt(height);
            int x1 = random.nextInt(12);
            int y1 = random.nextInt(12);
            gd.drawLine(x, y, x + x1, y + y1);
        }

        // 计算字的位置坐标
        int codeCount = 4; // 字符个数
        int fontHeight = height - 10; // 字体高度
        int codeX = (width - 4) / (codeCount + 1); // 第一个字符的x坐标
        int codeY = height - 7;

        // 创建字体
        Font font = new Font("Fixedsys", Font.PLAIN, fontHeight);
        gd.setFont(font);

        // 随机产生codeCount个数字的验证码
        for (int i = 0; i < codeCount; i++) {
            String strRand = String.valueOf(codeSequence[random.nextInt(charNum)]);
            int red = random.nextInt(255);
            int green = random.nextInt(255);
            int blue = random.nextInt(255);
            gd.setColor(new Color(red, green, blue));
            gd.drawString(strRand, (i + 1) * codeX, codeY);
        }

        // 保存图片
        ImageIO.write(buffImg, "jpg", new File(filePath));
    }
}
二、条形码和二维码简介及解析
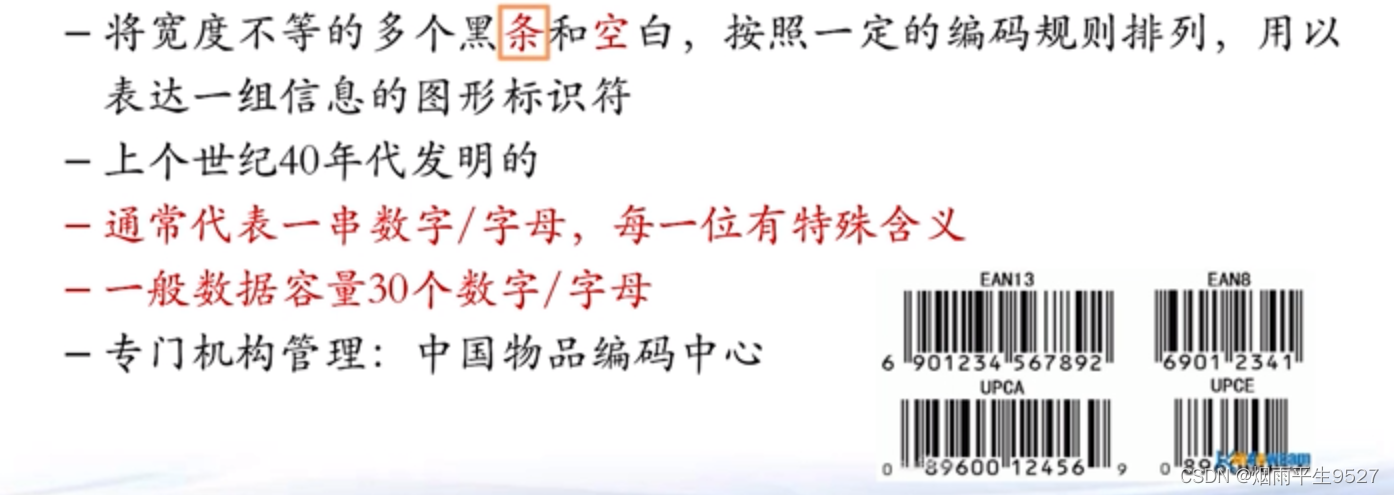
2.1条形码
2.2二维码

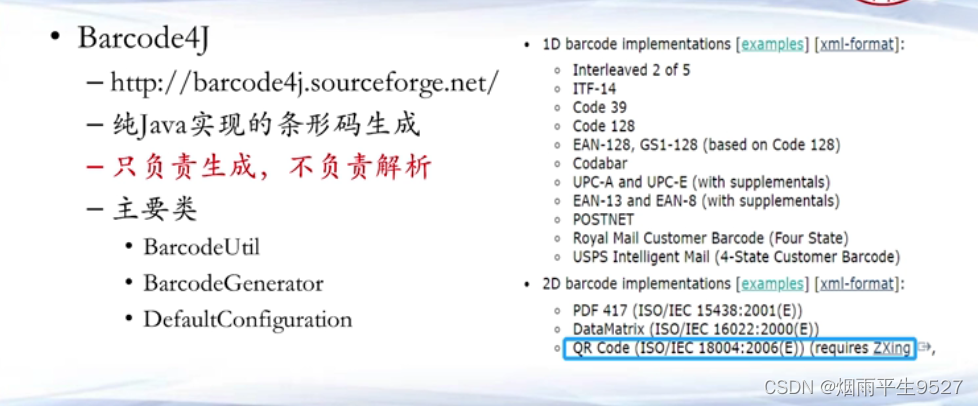
2.3相关包

package org.example;

import com.google.zxing.BarcodeFormat;
import com.google.zxing.BinaryBitmap;
import com.google.zxing.DecodeHintType;
import com.google.zxing.LuminanceSource;
import com.google.zxing.MultiFormatReader;
import com.google.zxing.MultiFormatWriter;
import com.google.zxing.Result;
import com.google.zxing.client.j2se.MatrixToImageWriter; // 引入 MatrixToImageWriter 类
import com.google.zxing.common.BitMatrix;
import com.google.zxing.common.HybridBinarizer;
import javax.imageio.ImageIO;
import java.awt.image.BufferedImage;
import java.io.File;
import java.io.FileOutputStream;
import java.util.HashMap;
import java.util.Map;

public class BarCodeTest {

    /**
     * 根据 code 生成相应的一维码
     *
     * @param file   一维码目标文件
     * @param code   一维码内容
     * @param width  图片宽度
     * @param height 图片高度
     */
    public static void generateCode(File file, String code, int width, int height) {
        // 定义位图矩阵 BitMatrix
        BitMatrix matrix = null;
        try {
            // 使用 CODE_128 格式进行编码生成一维码
            MultiFormatWriter writer = new MultiFormatWriter();
            matrix = writer.encode(code, BarcodeFormat.CODE_128, width, height, null);
        } catch (Exception e) {
            e.printStackTrace();
        }

        // 将位图矩阵 BitMatrix 保存为图片
        try (FileOutputStream outStream = new FileOutputStream(file)) {
            ImageIO.write(MatrixToImageWriter.toBufferedImage(matrix), "png", outStream);
            outStream.flush();
        } catch (Exception e) {
            e.printStackTrace();
        }
    }

    public static void readCode(File file) {
        try {
            BufferedImage image = ImageIO.read(file);
            if (image == null) {
                return;
            }
            LuminanceSource source = new BufferedImageLuminanceSource(image);
            BinaryBitmap bitmap = new BinaryBitmap(new HybridBinarizer(source));
            Map<DecodeHintType, Object> hints = new HashMap<>();
            hints.put(DecodeHintType.CHARACTER_SET, "GBK");
            hints.put(DecodeHintType.PURE_BARCODE, Boolean.TRUE);
            hints.put(DecodeHintType.TRY_HARDER, Boolean.TRUE);
            Result result = new MultiFormatReader().decode(bitmap, hints);
            System.out.println("条形码内容:" + result.getText());
        } catch (Exception e) {
            e.printStackTrace();
        }
    }

    public static void main(String[] args) throws Exception {
        // generateCode(new File("1dcode.png"), "123456789012", 500, 250);
        readCode(new File("1dcode.png"));
    }
}
三、Docx简介及解析
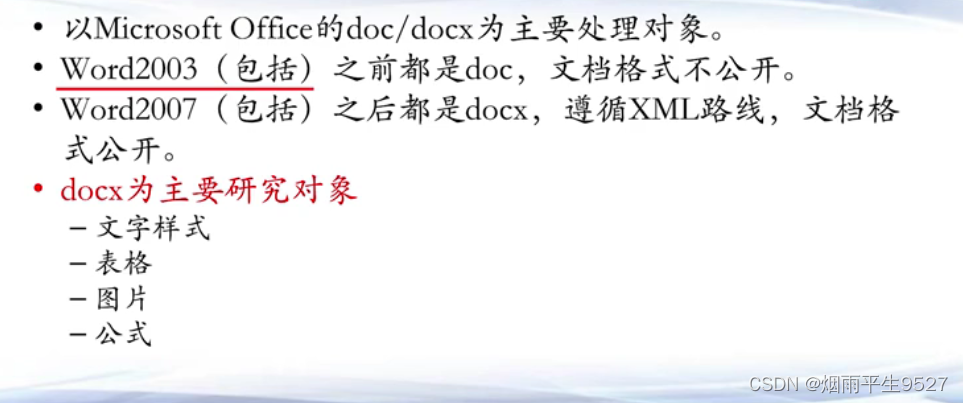
3.1Docx简介
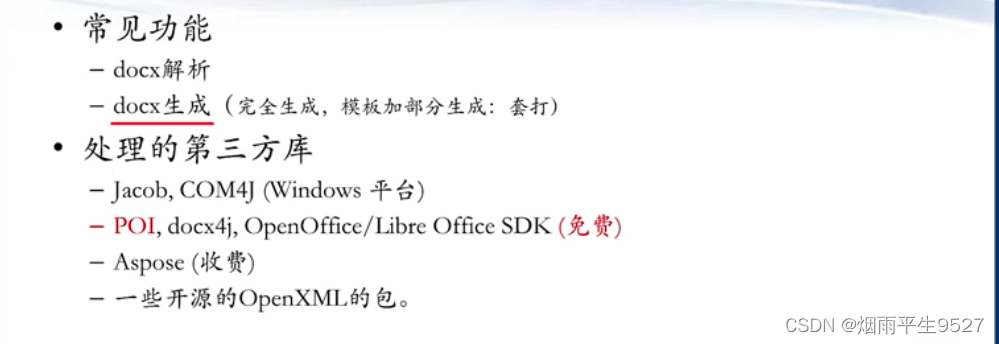 3.2POI库
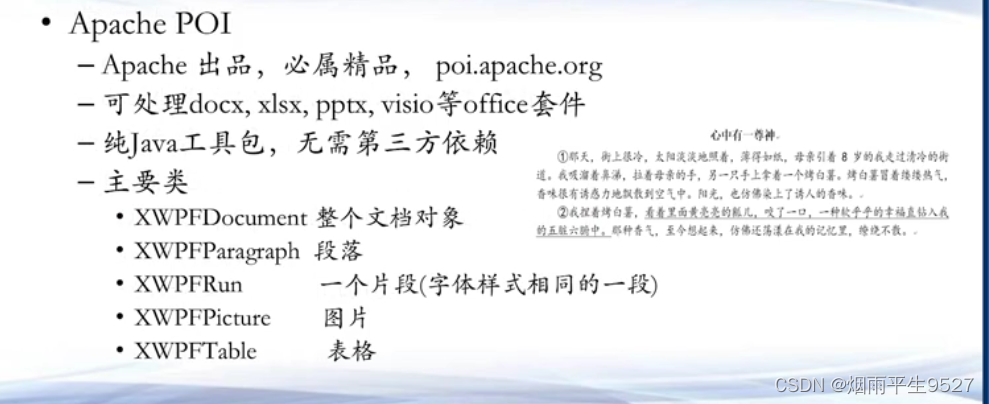
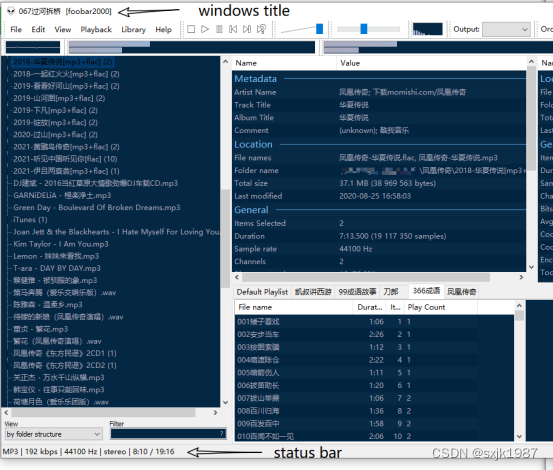
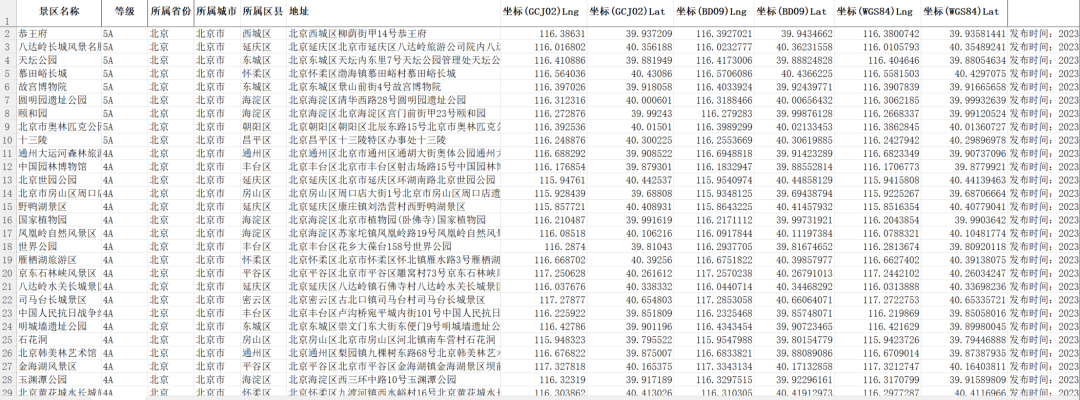
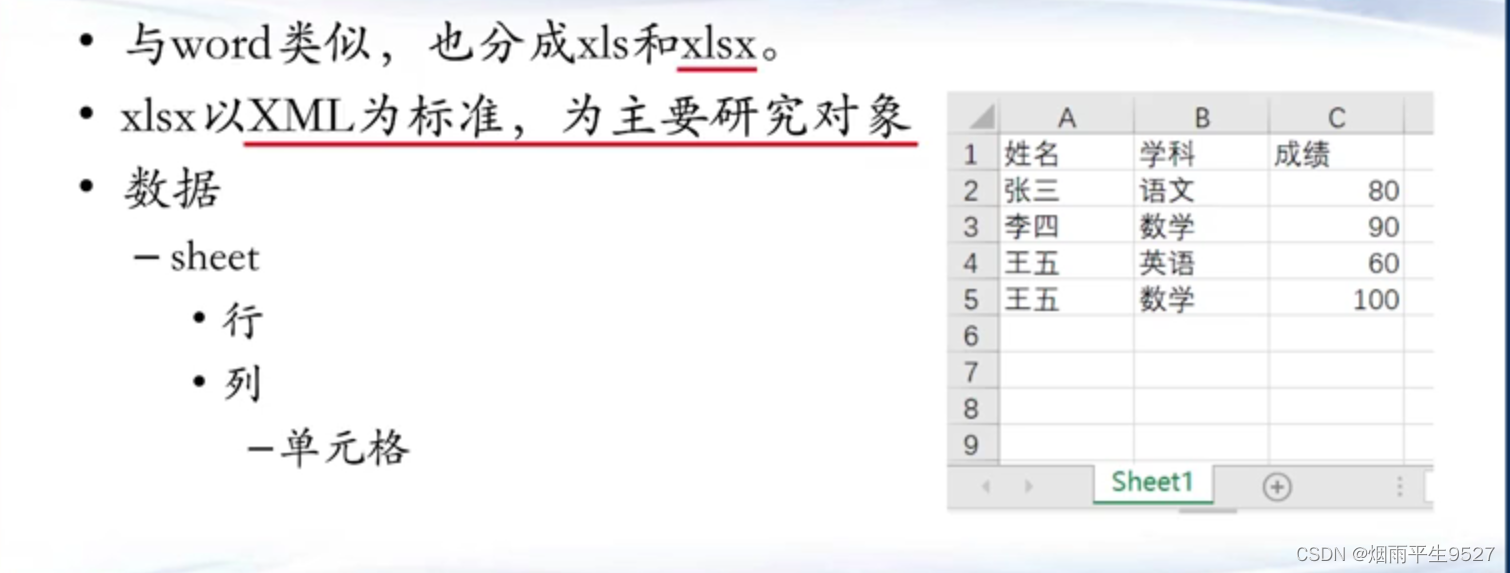
四、表格文件简介及解析
●xls/xlsx 文件(Microsoft Excel)
●CSV文件(Comma Seperated Values文件)
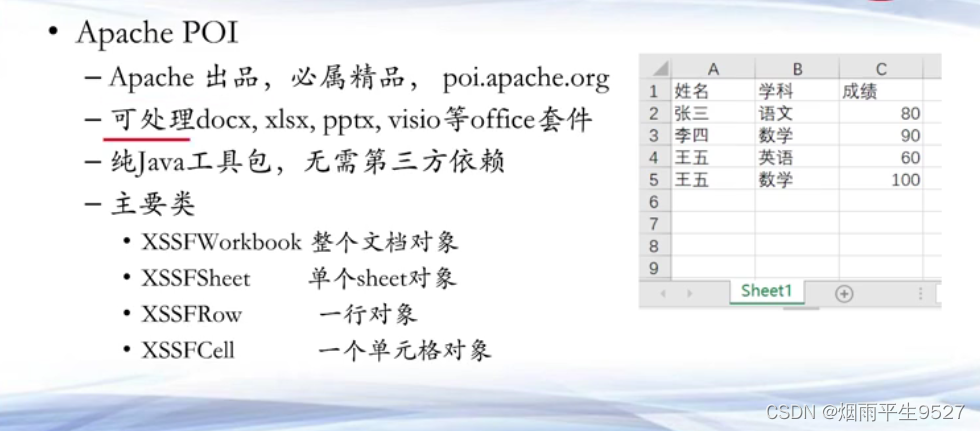
4.1xls/xlsx 文件
4.2相关包

 4.3CSV文件
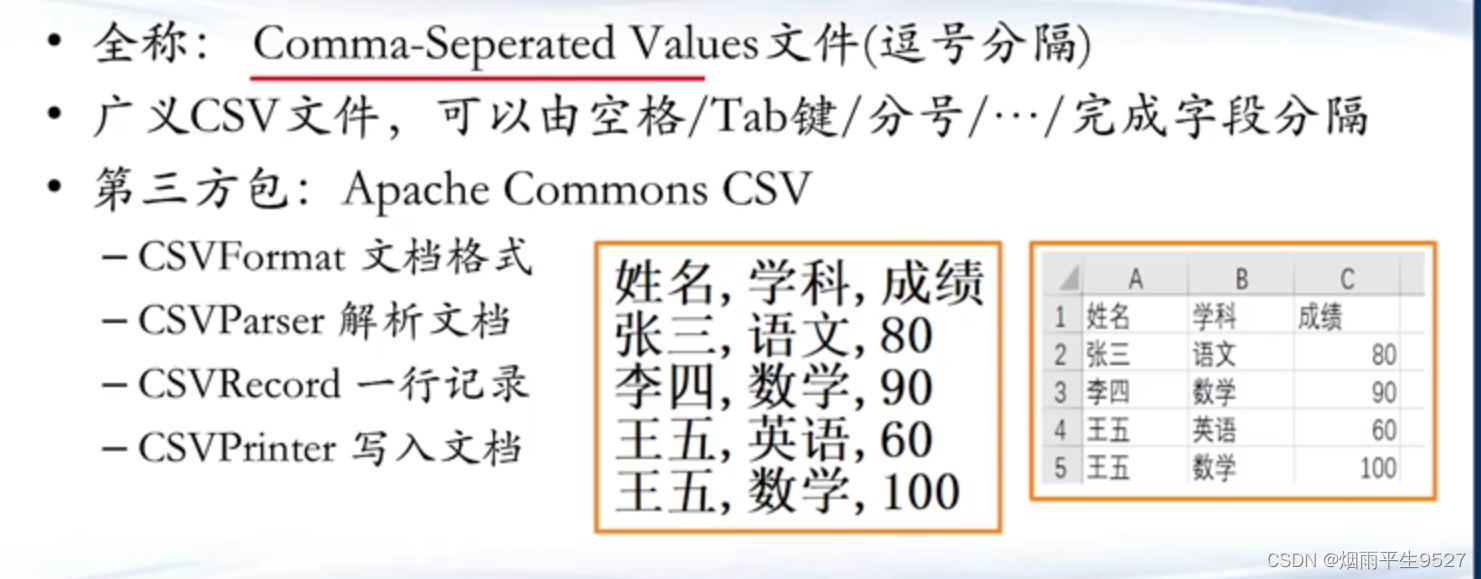
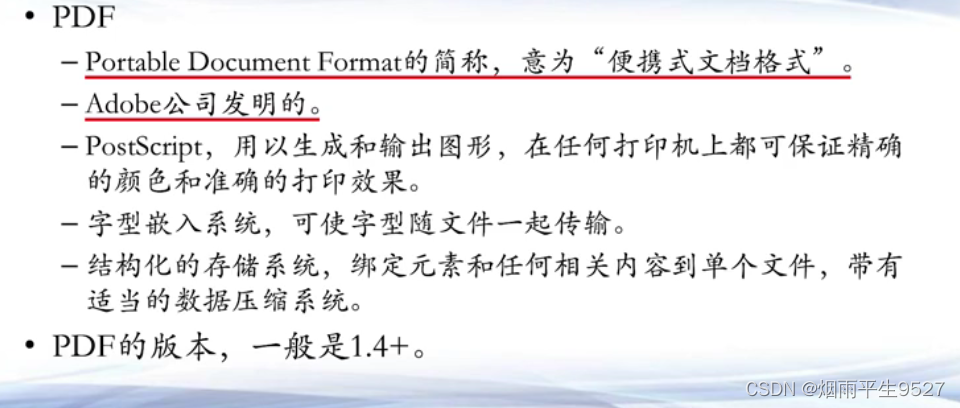
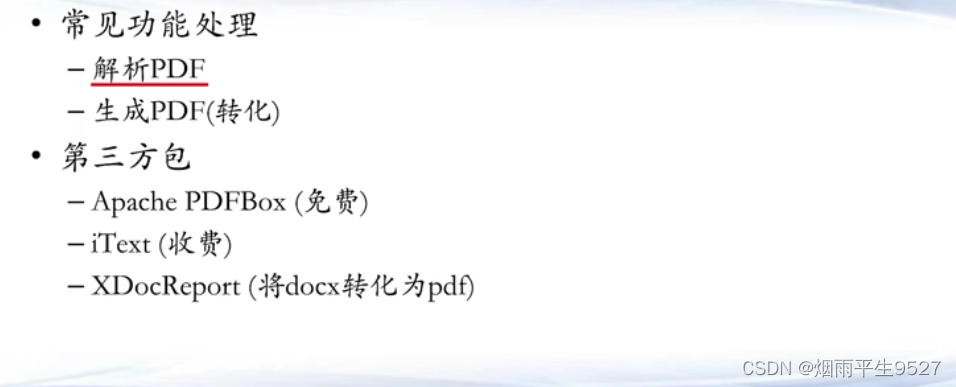
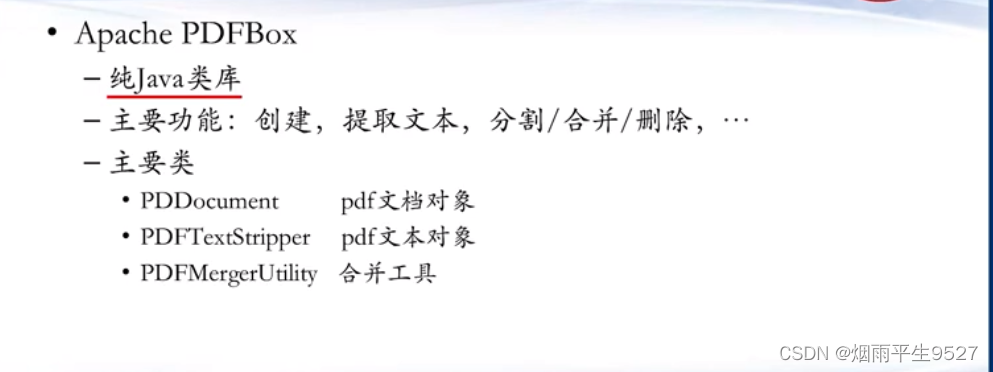
五、 PDF简介及解析
5.1 PDF简介