Ⅰ、Element-plus 提供的 Table 表格组件与想要目标情况的对比:
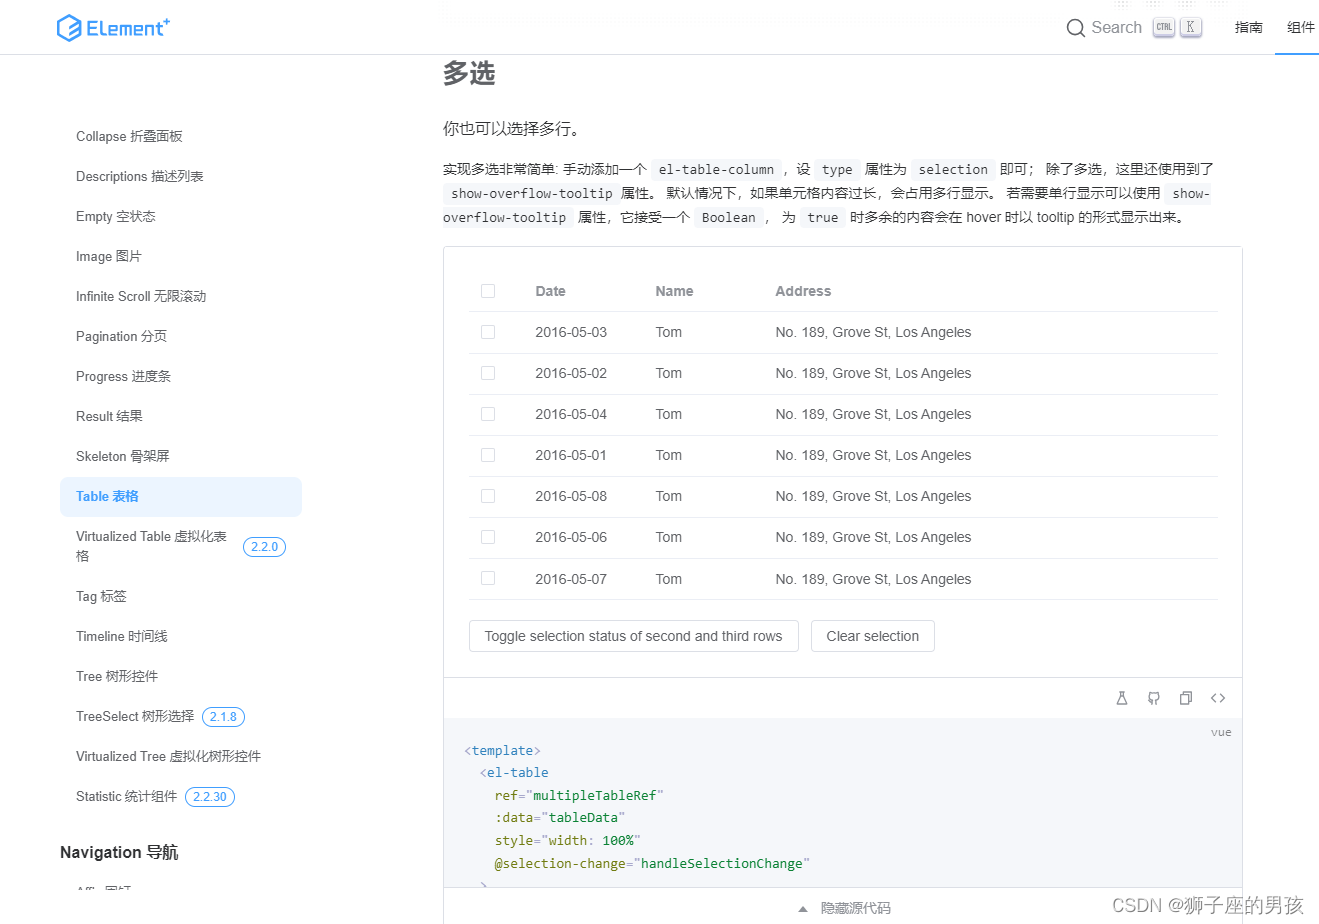
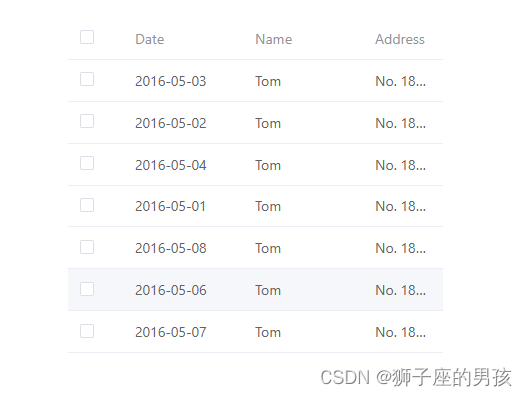
1、Element-plus 提供 Table 组件情况:
其一、Element-ui 自提供的 Table 代码情况为(示例的代码):
// Element-plus 自提供的代码:
// 此时是使用了 ts 语言环境,但是我在实际项目中并没有使用 ts 语言和环境;

<template>
  <el-table
    ref="multipleTableRef"
    :data="tableData"
    style="width: 100%"
    @selection-change="handleSelectionChange"
  >
    <el-table-column type="selection" width="55" />
    <el-table-column label="Date" width="120">
      <template #default="scope">{{ scope.row.date }}</template>
    </el-table-column>
    <el-table-column property="name" label="Name" width="120" />
    <el-table-column property="address" label="Address" show-overflow-tooltip />
  </el-table>
  <div style="margin-top: 20px">
    <el-button @click="toggleSelection([tableData[1], tableData[2]])"
      >Toggle selection status of second and third rows</el-button
    >
    <el-button @click="toggleSelection()">Clear selection</el-button>
  </div>
</template>

<script lang="ts" setup>
import { ref } from 'vue'
import { ElTable } from 'element-plus'

interface User {
  date: string
  name: string
  address: string
}

const multipleTableRef = ref<InstanceType<typeof ElTable>>()
const multipleSelection = ref<User[]>([])
const toggleSelection = (rows?: User[]) => {
  if (rows) {
    rows.forEach((row) => {
      // TODO: improvement typing when refactor table
      // eslint-disable-next-line @typescript-eslint/ban-ts-comment
      // @ts-expect-error
      multipleTableRef.value!.toggleRowSelection(row, undefined)
    })
  } else {
    multipleTableRef.value!.clearSelection()
  }
}
const handleSelectionChange = (val: User[]) => {
  multipleSelection.value = val
}

const tableData: User[] = [
  {
    date: '2016-05-03',
    name: 'Tom',
    address: 'No. 189, Grove St, Los Angeles',
  },
  {
    date: '2016-05-02',
    name: 'Tom',
    address: 'No. 189, Grove St, Los Angeles',
  },
  {
    date: '2016-05-04',
    name: 'Tom',
    address: 'No. 189, Grove St, Los Angeles',
  },
  {
    date: '2016-05-01',
    name: 'Tom',
    address: 'No. 189, Grove St, Los Angeles',
  },
  {
    date: '2016-05-08',
    name: 'Tom',
    address: 'No. 189, Grove St, Los Angeles',
  },
  {
    date: '2016-05-06',
    name: 'Tom',
    address: 'No. 189, Grove St, Los Angeles',
  },
  {
    date: '2016-05-07',
    name: 'Tom',
    address: 'No. 189, Grove St, Los Angeles',
  },
]
代码地址(直接点击下面 url 跳转):https://element-plus.gitee.io/zh-CN/component/table.html#多选
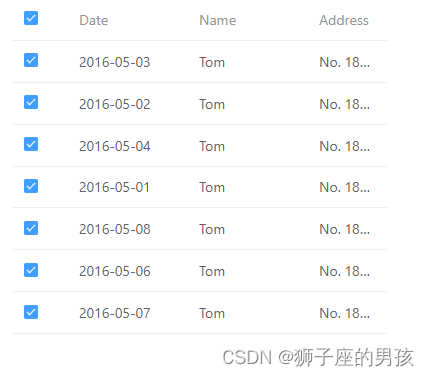
其二、页面的显示情况为:
2、目标想修改后的情况:

Ⅱ、实现 Table 表格组件达到目标效果变化的过程:
1、 Table 表格组件成功引入 vue3 项目的过程(去除了 ts 的语法):
其一、代码:
<template>
  <el-table
    ref="multipleTableRef"
    :data="tableData"
    style="width: 100%"
    @selection-change="handleSelectionChange"
  >
    <el-table-column type="selection" width="55" />
    <el-table-column label="Date" width="120">
      <template #default="scope">{{ scope.row.date }}</template>
    </el-table-column>
    <el-table-column property="name" label="Name" width="120" />
    <el-table-column property="address" label="Address" show-overflow-tooltip />
  </el-table>
</template>

<script setup>

import { ref } from 'vue'

const tableData =ref([
  {
    date: '2016-05-03',
    name: 'Tom',
    address: 'No. 189, Grove St, Los Angeles',
  },
  {
    date: '2016-05-02',
    name: 'Tom',
    address: 'No. 189, Grove St, Los Angeles',
  },
  {
    date: '2016-05-04',
    name: 'Tom',
    address: 'No. 189, Grove St, Los Angeles',
  },
  {
    date: '2016-05-01',
    name: 'Tom',
    address: 'No. 189, Grove St, Los Angeles',
  },
  {
    date: '2016-05-08',
    name: 'Tom',
    address: 'No. 189, Grove St, Los Angeles',
  },
  {
    date: '2016-05-06',
    name: 'Tom',
    address: 'No. 189, Grove St, Los Angeles',
  },
  {
    date: '2016-05-07',
    name: 'Tom',
    address: 'No. 189, Grove St, Los Angeles',
  },
])
</script>

<style lang="scss" scoped>

</style>
其二、效果展示:
// 可以看出此时是支持多选的;
2、 Table 表格组件添加展示样式处理的过程:
其一、代码:
<script setup>
import { ref } from 'vue'

const multipleTable = ref('')

// do not use same name with ref
const tableData = ref([
  {
    date: '2016-05-03',
    name: 'Tom',
    address: 'No. 189, Grove St, Los Angeles',
  },
  {
    date: '2016-05-02',
    name: 'Tom',
    address: 'No. 189, Grove St, Los Angeles',
  },
  {
    date: '2016-05-04',
    name: 'Tom',
    address: 'No. 189, Grove St, Los Angeles',
  },
  {
    date: '2016-05-01',
    name: 'Tom',
    address: 'No. 189, Grove St, Los Angeles',
  },
  {
    date: '2016-05-08',
    name: 'Tom',
    address: 'No. 189, Grove St, Los Angeles',
  },
  {
    date: '2016-05-06',
    name: 'Tom',
    address: 'No. 189, Grove St, Los Angeles',
  },
  {
    date: '2016-05-07',
    name: 'Tom',
    address: 'No. 189, Grove St, Los Angeles',
  },
])

// 设置 table 表格中不同行的背景颜色;
const tableRowClassName = (val) => {
  if(val.rowIndex %2 === 0){
    return 'double-row'
  } else {
    return 'single-row'
  }
}
</script>

<template>
  <div class="my_project">
    <div class="project">
      <el-table
        ref="multipleTable"
        :data="tableData"
        style="width: 1000px"
        :row-class-name="tableRowClassName"
      >
        <el-table-column type="selection" width="55" />
        <el-table-column label="Date" width="120">
          <template #default="scope">{{ scope.row.date }}</template>
        </el-table-column>
        <el-table-column property="name" label="Name" width="120" />
        <el-table-column property="address" label="Address" show-overflow-tooltip />
      </el-table>
    </div>
  </div>
</template>

<style lang="scss" scoped>
.my_project {
  margin: 30px auto;
  background-color: #c7cacf;  // 设置整体的背景色(即:表格外的背景颜色);
  box-shadow: rgba(0, 0, 0, 0.15) 0px 0px 40px 0px;
  // 设置表格表头的背景色;
  ::v-deep(.el-table th) {
    background-color: rgb(154, 201, 207);
  }
  // 表格表头的下边框;
  ::v-deep(.el-table th.is-leaf) {
    border-bottom: 1px solid #557A95;
    font-weight: 700;
    font-size: 16px;
    color: black;
  }

  // 将表格的每一行悬停的背景色都设置为:transparent(即:没有其他展示),或其它颜色(如:yellowgreen) ;
  ::v-deep(.el-table--enable-row-hover .el-table__body tr:hover > td) {
    background-color: yellowgreen;
  }
  // 设置表格内双行的背景色(如:0,2,4........)
  ::v-deep(.el-table .double-row) {
    background-color: #e6f1f9;
  }
  // 设置表格内单行的背景色(如:1,3,5.......)
  ::v-deep(.el-table .single-row) {
    background-color: #d6e6f5;
  }
  .project {
    margin: 20px;
  }
}
</style>
其二、效果展示:
// 此时的悬停颜色设置成了:yellowgreen;

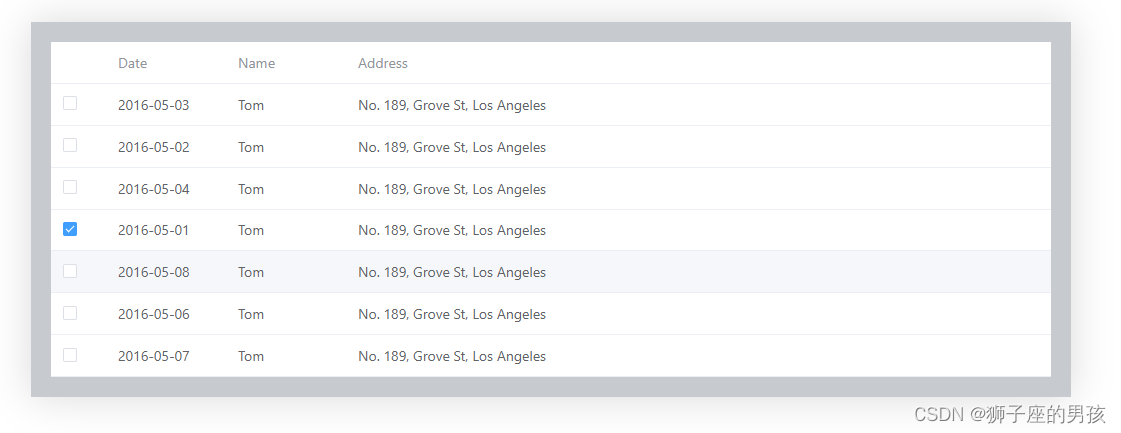
3、 Table 表格组件将支持多选的操作变成支持单选的过程:
其一、代码:
<script setup>
import { ref } from 'vue'

const selectData = ref('')
const multipleTable = ref('')
const isDelete = ref(true)

// do not use same name with ref
const tableData = ref([
  {
    date: '2016-05-03',
    name: 'Tom',
    address: 'No. 189, Grove St, Los Angeles',
  },
  {
    date: '2016-05-02',
    name: 'Tom',
    address: 'No. 189, Grove St, Los Angeles',
  },
  {
    date: '2016-05-04',
    name: 'Tom',
    address: 'No. 189, Grove St, Los Angeles',
  },
  {
    date: '2016-05-01',
    name: 'Tom',
    address: 'No. 189, Grove St, Los Angeles',
  },
  {
    date: '2016-05-08',
    name: 'Tom',
    address: 'No. 189, Grove St, Los Angeles',
  },
  {
    date: '2016-05-06',
    name: 'Tom',
    address: 'No. 189, Grove St, Los Angeles',
  },
  {
    date: '2016-05-07',
    name: 'Tom',
    address: 'No. 189, Grove St, Los Angeles',
  },
])

// 此时是将多选操作变成单选操作的函数的过程;
const select = ((selection, row) => {

    // 清除所有勾选项的操作;

    // 注意:this.$refs.multipleTable 是 vue2 的语法;
    // this.$refs.multipleTable.clearSelection()
    multipleTable.value.clearSelection()


    // 主要用于将当前勾选的表格状态清除;
    // 当表格数据都没有被勾选的时候就返回;
    if(selection.length == 0)  {
      isDelete.value = true
      return
    }


    // 注意:this.$refs.multipleTable 是 vue2 的语法;
    // this.$refs.multipleTable.toggleRowSelection(row, true);
    multipleTable.value.toggleRowSelection(row, true);
    console.log(selection,1111111);
    console.log(row,22222222);
    isDelete.value = false
})


// 表格的选中 可以获得当前选中的数据(但和多选变成单选的操作无关;)
const handleSelectionChange = ((val) => {
  selectData.value = val
})
</script>

<template>
  <div class="my_project">
    <div class="project">
      <el-table
        ref="multipleTable"
        :data="tableData"
        style="width: 1000px"
        @select="select"
        @selection-change="handleSelectionChange"
        :row-class-name="tableRowClassName"
      >
        <el-table-column type="selection" width="55" />
        <el-table-column label="Date" width="120">
          <template #default="scope">{{ scope.row.date }}</template>
        </el-table-column>
        <el-table-column property="name" label="Name" width="120" />
        <el-table-column property="address" label="Address" show-overflow-tooltip />
      </el-table>
    </div>
  </div>
</template>

<style lang="scss" scoped>
.my_project {
  margin: 30px auto;
  background-color: #c7cacf;  // 设置整体的背景色(即:表格外的背景颜色);
  box-shadow: rgba(0, 0, 0, 0.15) 0px 0px 40px 0px;
  // 取消多选第一列的展示(即:将多选变成单选的第一步); 取消该样式后,就不会出现多选的情况;但由此可知还有其他的方法来实现单选;
  ::v-deep(.el-table th.el-table__cell:nth-child(1) .cell) {
    visibility: hidden;
  }
  .project {
    margin: 20px;
  }
}
</style>
其二、效果展示:
4、关于 Table 表格组件样式设置的其它用法:
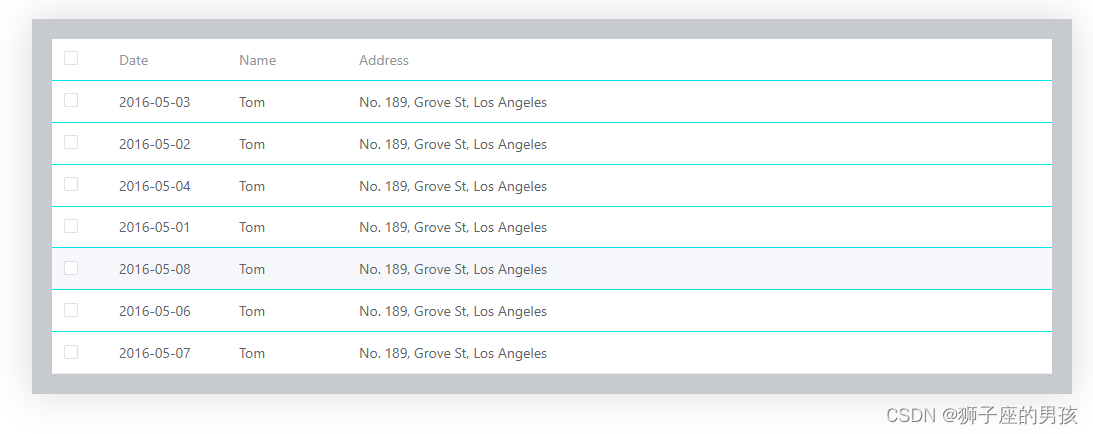
其一、给表格头和表格每个 cell 添加样式(方式一):
A、代码:
// 此时用的是 :cell-style="{borderColor:'#01e3ed'}" :header-cell-style="{borderColor:'#01e3ed'}",但好像没有很好的效果,只是将原有的颜色变了而已;
<script setup>
import { ref } from 'vue'

const multipleTable = ref('')

// do not use same name with ref
const tableData = ref([
  {
    date: '2016-05-03',
    name: 'Tom',
    address: 'No. 189, Grove St, Los Angeles',
  },
  {
    date: '2016-05-02',
    name: 'Tom',
    address: 'No. 189, Grove St, Los Angeles',
  },
  {
    date: '2016-05-04',
    name: 'Tom',
    address: 'No. 189, Grove St, Los Angeles',
  },
  {
    date: '2016-05-01',
    name: 'Tom',
    address: 'No. 189, Grove St, Los Angeles',
  },
  {
    date: '2016-05-08',
    name: 'Tom',
    address: 'No. 189, Grove St, Los Angeles',
  },
  {
    date: '2016-05-06',
    name: 'Tom',
    address: 'No. 189, Grove St, Los Angeles',
  },
  {
    date: '2016-05-07',
    name: 'Tom',
    address: 'No. 189, Grove St, Los Angeles',
  },
])
</script>


<template>
  <div class="my_project">
    <div class="project">
      <el-table
        ref="multipleTable"
        :data="tableData"
        style="width: 1000px"
        @select="select"
        @selection-change="handleSelectionChange"
        :row-class-name="tableRowClassName"
        :cell-style="{borderColor:'#01e3ed'}"
        :header-cell-style="{borderColor:'#01e3ed'}"
      >
        <el-table-column type="selection" width="55" />
        <el-table-column label="Date" width="120">
          <template #default="scope">{{ scope.row.date }}</template>
        </el-table-column>
        <el-table-column property="name" label="Name" width="120" />
        <el-table-column property="address" label="Address" show-overflow-tooltip />
      </el-table>
    </div>
  </div>
</template>

<style lang="scss" scoped>
.my_project {
  margin: 30px auto;
  background-color: #c7cacf;  // 设置整体的背景色(即:表格外的背景颜色);
  box-shadow: rgba(0, 0, 0, 0.15) 0px 0px 40px 0px;
  .project {
    margin: 20px;
  }
}
</style>
B、效果展示:
其二、给表格头和表格每个 cell 添加样式(方式二):
A、代码为:
<script setup>
import { ref } from 'vue'

const multipleTable = ref('')

// do not use same name with ref
const tableData = ref([
  {
    date: '2016-05-03',
    name: 'Tom',
    address: 'No. 189, Grove St, Los Angeles',
  },
  {
    date: '2016-05-02',
    name: 'Tom',
    address: 'No. 189, Grove St, Los Angeles',
  },
  {
    date: '2016-05-04',
    name: 'Tom',
    address: 'No. 189, Grove St, Los Angeles',
  },
  {
    date: '2016-05-01',
    name: 'Tom',
    address: 'No. 189, Grove St, Los Angeles',
  },
  {
    date: '2016-05-08',
    name: 'Tom',
    address: 'No. 189, Grove St, Los Angeles',
  },
  {
    date: '2016-05-06',
    name: 'Tom',
    address: 'No. 189, Grove St, Los Angeles',
  },
  {
    date: '2016-05-07',
    name: 'Tom',
    address: 'No. 189, Grove St, Los Angeles',
  },
])
</script>


<template>
  <div class="my_project">
    <div class="project">
      <el-table
        ref="multipleTable"
        :data="tableData"
        style="width: 1000px"
        @select="select"
        @selection-change="handleSelectionChange"
        :row-class-name="tableRowClassName"
      >
        <el-table-column type="selection" width="55" />
        <el-table-column label="Date" width="120">
          <template #default="scope">{{ scope.row.date }}</template>
        </el-table-column>
        <el-table-column property="name" label="Name" width="120" />
        <el-table-column property="address" label="Address" show-overflow-tooltip />
      </el-table>
    </div>
  </div>
</template>

<style lang="scss" scoped>
.my_project {
  margin: 30px auto;
  background-color: #c7cacf;  // 设置整体的背景色(即:表格外的背景颜色);
  box-shadow: rgba(0, 0, 0, 0.15) 0px 0px 40px 0px;
  ::v-deep .el-table__body td.el-table__cell {
    border: 1px solid #557A95;  // 此时是设置表格每一个 cell 的边框颜色(但不包括最外的上下左右边框);
    // background-color: blue;    // 此时是设置表格的每一个 cell 的背景颜色;
  }
  ::v-deep(.el-table th.el-table__cell) {
    // background-color: #e6f1f9;
    // background-color: red;     // 此时是设置表格头的每一个 cell 的背景颜色;
    border: 1px solid #557A95;  // 此时是设置表格头的每一个 cell 的边框颜色(但不包括最外的上下左右边框);
  }
  .project {
    margin: 20px;
  }
}
</style>
B、页面展示为:
// 上右左边框,都有了;

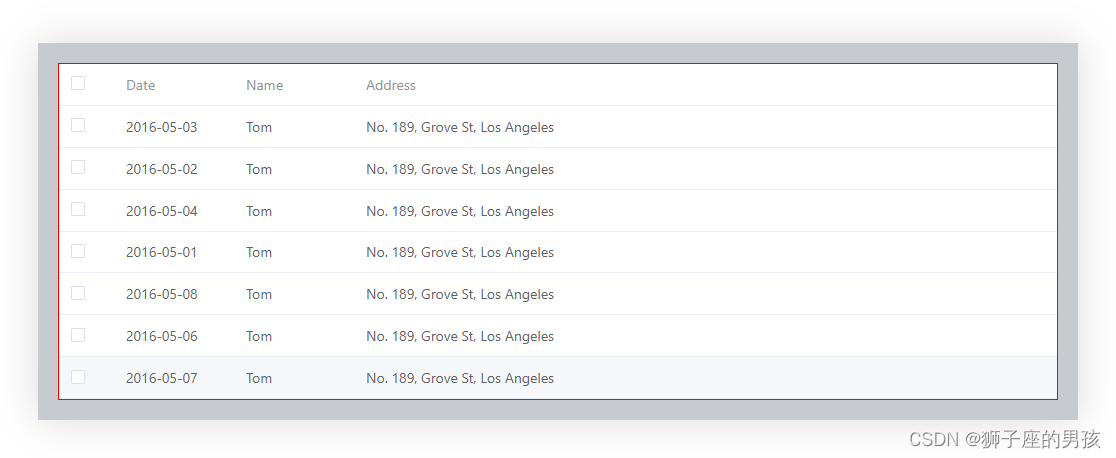
其三、给整个表格添加边框:
A、代码为:
<script setup>
import { ref } from 'vue'

const multipleTable = ref('')

// do not use same name with ref
const tableData = ref([
  {
    date: '2016-05-03',
    name: 'Tom',
    address: 'No. 189, Grove St, Los Angeles',
  },
  {
    date: '2016-05-02',
    name: 'Tom',
    address: 'No. 189, Grove St, Los Angeles',
  },
  {
    date: '2016-05-04',
    name: 'Tom',
    address: 'No. 189, Grove St, Los Angeles',
  },
  {
    date: '2016-05-01',
    name: 'Tom',
    address: 'No. 189, Grove St, Los Angeles',
  },
  {
    date: '2016-05-08',
    name: 'Tom',
    address: 'No. 189, Grove St, Los Angeles',
  },
  {
    date: '2016-05-06',
    name: 'Tom',
    address: 'No. 189, Grove St, Los Angeles',
  },
  {
    date: '2016-05-07',
    name: 'Tom',
    address: 'No. 189, Grove St, Los Angeles',
  },
])
</script>


<template>
  <div class="my_project">
    <div class="project">
      <el-table
        ref="multipleTable"
        :data="tableData"
        style="width: 1000px"
        @select="select"
        @selection-change="handleSelectionChange"
        :row-class-name="tableRowClassName"
      >
        <el-table-column type="selection" width="55" />
        <el-table-column label="Date" width="120">
          <template #default="scope">{{ scope.row.date }}</template>
        </el-table-column>
        <el-table-column property="name" label="Name" width="120" />
        <el-table-column property="address" label="Address" show-overflow-tooltip />
      </el-table>
    </div>
  </div>
</template>

<style lang="scss" scoped>
.my_project {
  margin: 30px auto;
  background-color: #c7cacf;  // 设置整体的背景色(即:表格外的背景颜色);
  box-shadow: rgba(0, 0, 0, 0.15) 0px 0px 40px 0px;
  // 此时可以设置整个表格(即:表格最外面)的 border 的值、类型和颜色;
  ::v-deep(.el-table) {
    border: 1px solid red;
  }
  .project {
    margin: 20px;
  }
}
</style>
B、页面展示为:
// 此时是通过 border 值将表格外面的颜色发生了变化;
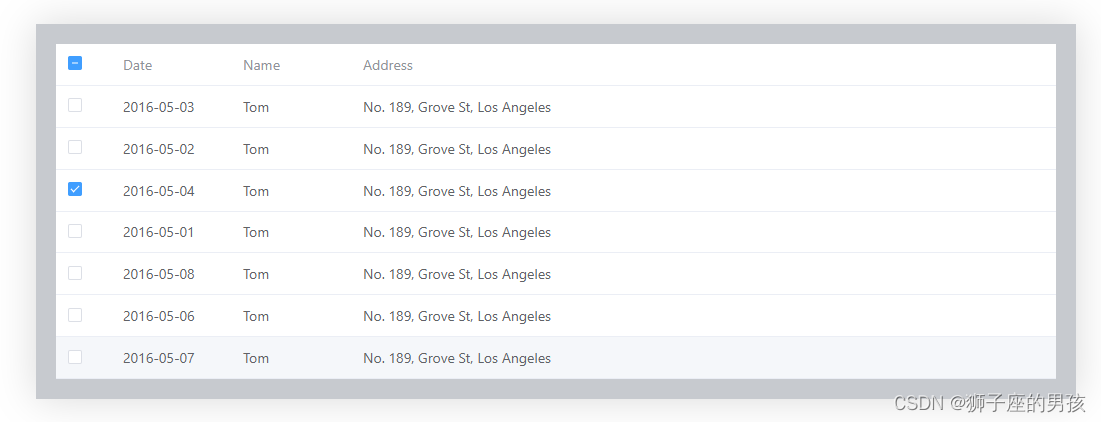
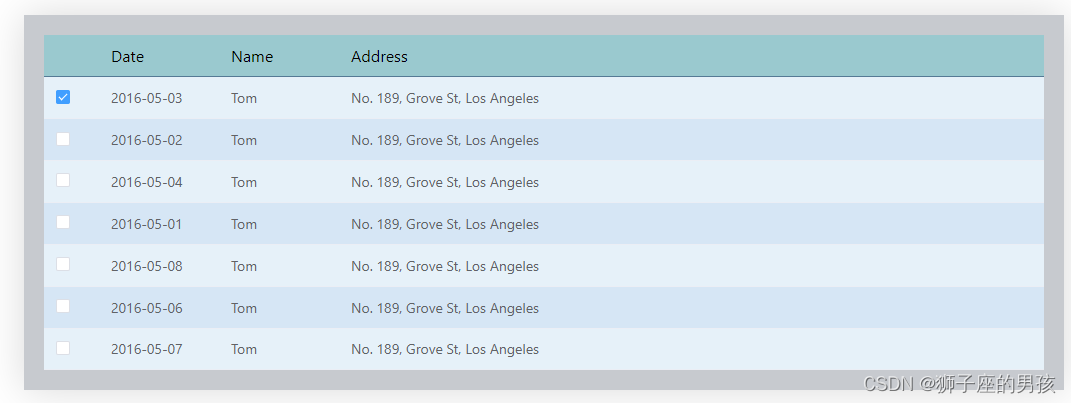
Ⅲ、修改 Table 表格组件达到目标效果的展示(即:多选修改成单选):
1、整体的代码(即:总的代码):
<script setup>
import { ref } from 'vue'

const selectData = ref('')
const multipleTable = ref('')
const isDelete = ref(true)

// do not use same name with ref
const tableData = ref([
  {
    date: '2016-05-03',
    name: 'Tom',
    address: 'No. 189, Grove St, Los Angeles',
  },
  {
    date: '2016-05-02',
    name: 'Tom',
    address: 'No. 189, Grove St, Los Angeles',
  },
  {
    date: '2016-05-04',
    name: 'Tom',
    address: 'No. 189, Grove St, Los Angeles',
  },
  {
    date: '2016-05-01',
    name: 'Tom',
    address: 'No. 189, Grove St, Los Angeles',
  },
  {
    date: '2016-05-08',
    name: 'Tom',
    address: 'No. 189, Grove St, Los Angeles',
  },
  {
    date: '2016-05-06',
    name: 'Tom',
    address: 'No. 189, Grove St, Los Angeles',
  },
  {
    date: '2016-05-07',
    name: 'Tom',
    address: 'No. 189, Grove St, Los Angeles',
  },
])

// 设置 table 表格中不同行的背景颜色;
const tableRowClassName = (val) => {
  if(val.rowIndex %2 === 0){
    return 'double-row'
  } else {
    return 'single-row'
  }
}


const select = ((selection, row) => {

    // 清除所有勾选项的操作;

    // 注意:this.$refs.multipleTable 是 vue2 的语法;
    // this.$refs.multipleTable.clearSelection()
    multipleTable.value.clearSelection()


    // 主要用于将当前勾选的表格状态清除;
    // 当表格数据都没有被勾选的时候就返回;
    if(selection.length == 0)  {
      isDelete.value = true
      return
    }


    // 注意:this.$refs.multipleTable 是 vue2 的语法;
    // this.$refs.multipleTable.toggleRowSelection(row, true);
    multipleTable.value.toggleRowSelection(row, true);
    console.log(selection,1111111);
    console.log(row,22222222);
    isDelete.value = false
})


// 表格的选中 可以获得当前选中的数据
const handleSelectionChange = ((val) => {
  selectData.value = val
})
</script>

<template>
  <div class="my_project">
    <div class="project">
      <el-table
        ref="multipleTable"
        :data="tableData"
        style="width: 1000px"
        @select="select"
        @selection-change="handleSelectionChange"
        :row-class-name="tableRowClassName"
      >
        <el-table-column type="selection" width="55" />
        <el-table-column label="Date" width="120">
          <template #default="scope">{{ scope.row.date }}</template>
        </el-table-column>
        <el-table-column property="name" label="Name" width="120" />
        <el-table-column property="address" label="Address" show-overflow-tooltip />
      </el-table>
    </div>
  </div>
</template>

<style lang="scss" scoped>
.my_project {
  margin: 30px auto;
  background-color: #c7cacf;  // 设置整体的背景色(即:表格外的背景颜色);
  box-shadow: rgba(0, 0, 0, 0.15) 0px 0px 40px 0px;
  // 设置表格表头的背景色;
  ::v-deep(.el-table th) {
    background-color: rgb(154, 201, 207);
  }
  // 表格表头的下边框;
  ::v-deep(.el-table th.is-leaf) {
    border-bottom: 1px solid #557A95;
    font-weight: 700;
    font-size: 16px;
    color: black;
  }
  // 取消多选第一列的展示(即:将多选变成单选的第一步);
  ::v-deep(.el-table th.el-table__cell:nth-child(1) .cell) {
    visibility: hidden;
  }
  // 将表格的每一行悬停的背景色都设置为:transparent(即:没有其他展示),或其它颜色(如:yellowgreen) ;
  ::v-deep(.el-table--enable-row-hover .el-table__body tr:hover > td) {
    background-color: yellowgreen;
  }
  // 设置表格内双行的背景色(如:0,2,4........)
  ::v-deep(.el-table .double-row) {
    background-color: #e6f1f9;
  }
  // 设置表格内单行的背景色(如:1,3,5.......)
  ::v-deep(.el-table .single-row) {
    background-color: #d6e6f5;
  }
  .project {
    margin: 20px;
  }
}
</style>
2、整体效果的展示:
Ⅳ、小结:
其一、哪里有不对或不合适的地方,还请大佬们多多指点和交流!
其二、若有转发或引用本文章内容,请注明本博客地址(直接点击下面 url 跳转) https://blog.csdn.net/weixin_43405300,创作不易,且行且珍惜!
其三、有兴趣的话,可以多多关注这个专栏(Vue(Vue2+Vue3)面试必备专栏)(直接点击下面 url 跳转):https://blog.csdn.net/weixin_43405300/category_11525646.html?spm=1001.2014.3001.5482