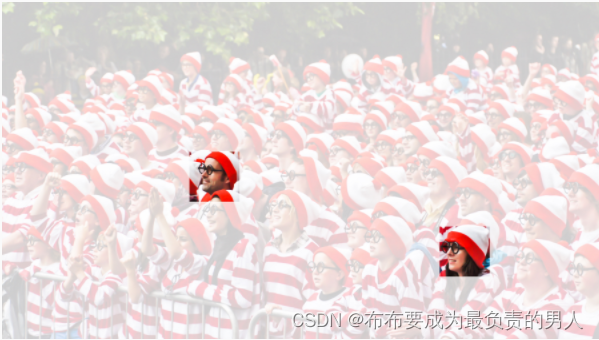
先来个效果图(demo没那么仔细)

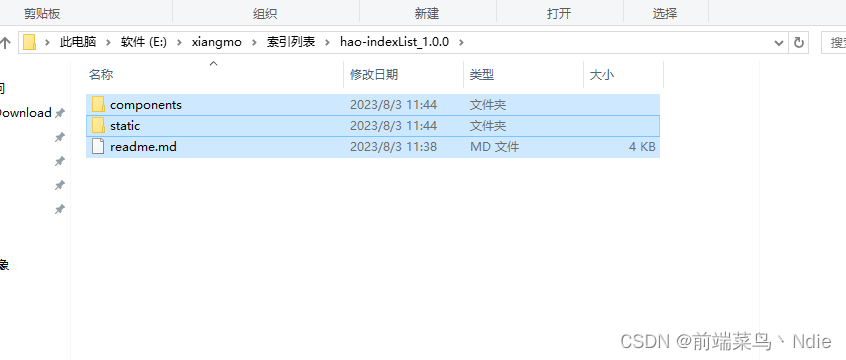
现在下载资源包文件放至static文件内
如果需要新的瓦片则添加至static/tiles(我用的是png也可以是jpg)
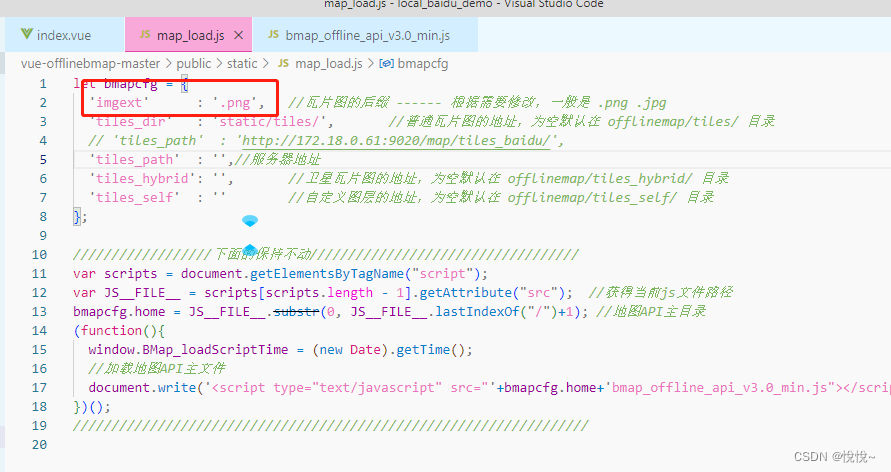
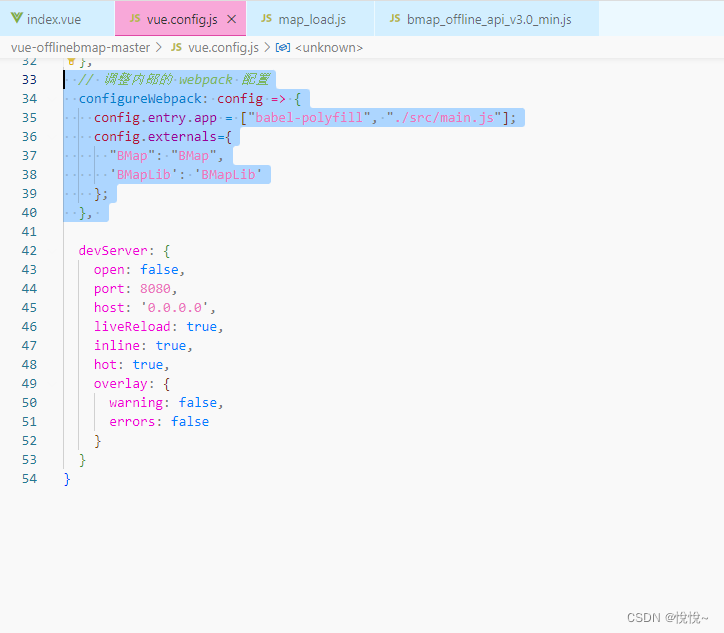
在此处修改即可
但是,最好还是放在服务器内,因为瓦片很多,项目是无法运行的,真实项目上瓦片量越大效果越好
这些东西配置好以后就剩下使用了(一个类解决战斗)
<template>
  <div id="MapBox">
    <button @click="addFn">添加轨迹</button>
    <div id="mapShow"> </div>
  </div>
</template>
<script>
  export default {
    name: 'baiduMap',
    data() {
      return {
        points: [
          { lng: 117.815, lat: 39.005 },
          { lng: 117.75, lat: 39.051 },
          { lng: 117.806, lat: 39.011 },
        ],
        center: { lng: 117.815, lat: 39.005 },
        zoom: 5,
        showLocalMap: true,
        map: undefined,
        overView: undefined,
        marker: undefined,
        BMap: undefined,
        iconPath: require('../../assets/marker_red_hd.png'),
        colle: [],
      }
    },
    methods: {
      baiduMap() {
        console.log(11111111111)
        this.BMap = BMap
        // 创建地图实例
        this.map = new BMap.Map('mapShow')
        // 创建点坐标
        let point = new BMap.Point(this.center.lng, this.center.lat)
        var myIcon = new BMap.Icon(this.iconPath, new BMap.Size(52, 26))
        // 创建Marker标注,使用小车图标
        var pt = new BMap.Point(116.417, 39.909)
        var marker = new BMap.Marker(pt, {
          icon: myIcon,
        })

        // marker.setAnimation(BMAP_ANIMATION_BOUNCE)
        this.colle.push(marker)
        this.map.addOverlay(marker)
        //缩略地图控件。
        this.overView = new BMap.OverviewMapControl({ isOpen: true })
        //添加控件
        this.map.addControl(this.overView)

        // 初始化地图,设置中心点坐标和地图级别
        this.map.centerAndZoom(point, this.zoom)

        //开启鼠标滚轮缩放
        this.map.enableScrollWheelZoom(true)
      },
      addFn() {
        const points = [
          new BMap.Point(123.404, 41.615),
          new BMap.Point(123.415, 41.915),
          new BMap.Point(123.425, 41.705),
          new BMap.Point(123.435, 41.805),
          new BMap.Point(123.445, 41.515)
        ];
        var myIcon = new BMap.Icon(this.iconPath, new BMap.Size(52, 26))
        // 创建Marker标注,使用小车图标
        // var pt = new BMap.Point(123.447111, 41.735111)
        for (const i in points) {
          var marker = new BMap.Marker(points[i], {
            icon: myIcon,
          })
          this.map.addOverlay(marker)
        }
        const polyline = new BMap.Polyline(points, { strokeColor: "blue", strokeWeight: 3, strokeOpacity: 0.5 });
        this.map.addOverlay(polyline);
        // marker.setAnimation(BMAP_ANIMATION_BOUNCE)
      },
      cleanFn() {
        this.map.clearOverlays()
        var myIcon = new BMap.Icon(this.iconPath, new BMap.Size(52, 26))
        // 创建Marker标注,使用小车图标
        var pt = new BMap.Point(41.701, 123.447)
        var marker = new BMap.Marker(pt, {
          icon: myIcon,
        })
        var content = 'label'
        var label = new BMap.Label(content, {
          // 创建文本标注
          position: pt, // 设置标注的地理位置
          offset: new BMap.Size(1, 2), // 设置标注的偏移量
        })
        this.map.addOverlay(label)
        this.map.addOverlay(marker)
        marker.setAnimation(BMAP_ANIMATION_BOUNCE)


      },
      handler({ BMap, map }) {
        this.points = [
          { lng: 117.815, lat: 39.005 },
          { lng: 117.75, lat: 39.051 },
          { lng: 117.806, lat: 39.011 },
        ]
        this.center.lng = 117.815315
        this.center.lat = 39.005182
        this.zoom = 16
      },
    },
    mounted() {
      //   this.handler()
      this.baiduMap()
    },
  }
</script>
<style>
  .text {
    background-color: rgb(89, 233, 144);
  }

  #mapShow {
    width: 100vw;
    height: 100vh;
    padding: 10px;
    position: relative;
  }

  /* 地图 */
  .baiduMap {
    height: 80%;
    width: 100%;
  }

  /* 去除地图上,左下字体标注 */
  .anchorBL {
    display: none;
  }

  .info {
    z-index: 999;
    width: auto;
    min-width: 22rem;
    padding: 0.75rem 1.25rem;
    margin-left: 1.25rem;
    position: fixed;
    top: 1rem;
    background-color: rgba(265, 265, 265, 0.9);
    border-radius: 0.25rem;
    font-size: 14px;
    color: #666;
    box-shadow: 0 2px 6px 0 rgba(27, 142, 236, 0.3);
  }

  #zoominput {
    height: 24px;
    width: 80px;
    padding-left: 8px;
  }

  #change-btn {
    height: 30px;
    background: #5679ea;
    border: 0;
    padding: 0 10px 0 10px;
    margin: 10px 8px 0 0;
    cursor: pointer;
    border-radius: 2px;
    color: #fff;
    font-size: 14px;
  }
</style>
我使用的bmap初始化
