Research Your Favorite Bobblehead 摇头娃娃
Project Overview: 项目概况:
Design and create your favorite Minecraft 3D bobble head. All you need is a computer, 3D printer, spring and your creativity to your favorite Minecraft character in the form of a bobble head.
设计并创建您最喜爱的《我的世界》3D 摇头。您所需要的只是一台电脑、3D 打印机、弹簧和您以摇头形式对您最喜欢的 Minecraft 角色的创造力。
In order to begin this project you will need to select a Minecraft character you would like to turn into a bobblehead.
为了开始这个项目,你需要选择一个你想变成摇头的《我的世界》角色。
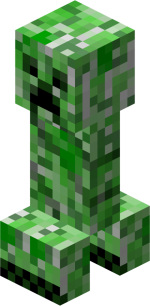
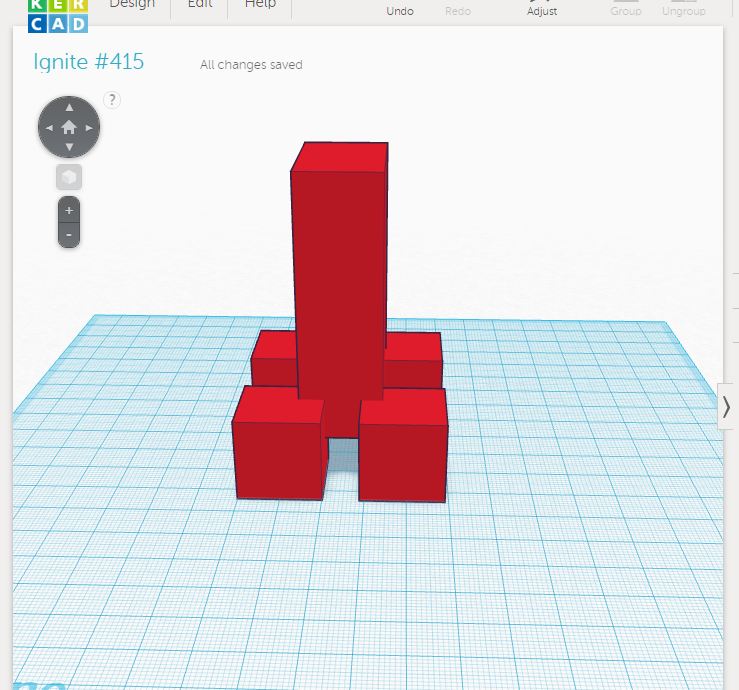
As you follow along in the project, we will be building a creeper bobblehead, but any character will work just fine. Let’s get started!
在这个项目中,我们将制作一个爬山虎公仔,但任何角色都可以。让我们开始吧!
Instructions 指示
说明
-
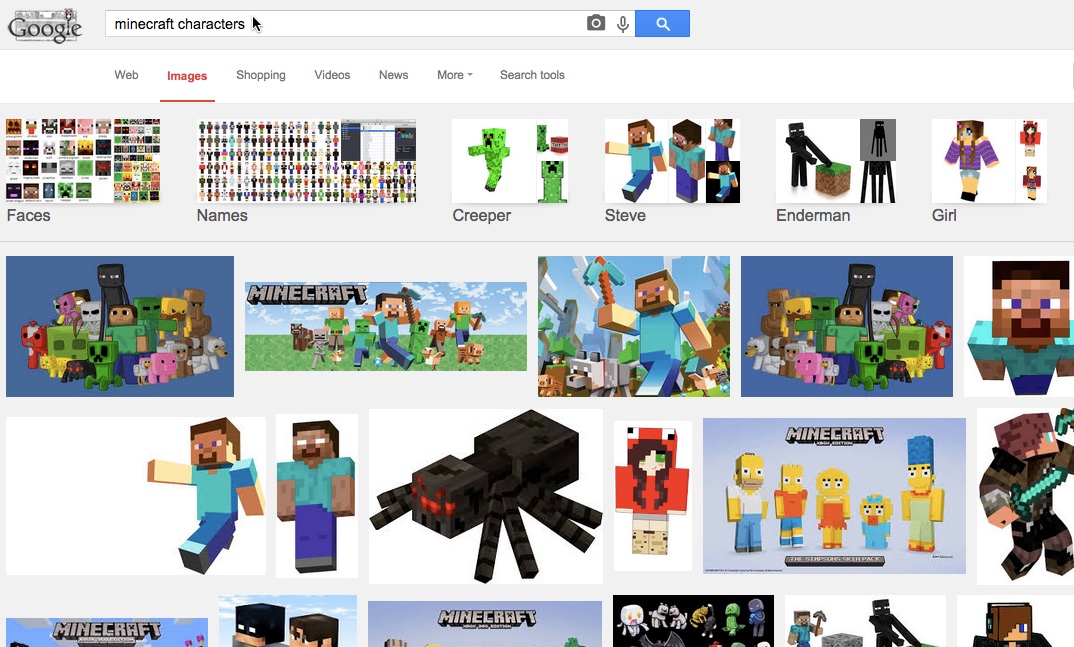
Open another tab in your chrome browser, use your favorite search engine such as “Google” find a 3D picture of your favorite Minecraft characters.
在Chrome浏览器中打开另一个标签页,使用您喜欢的搜索引擎(例如“Google”)查找您最喜欢的Minecraft角色的3D图片。
-
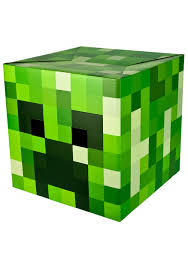
Either print or keep this on your screen for reference when creating your Minecraft characters. A creeper is a great first character to create. However, you can build any character you would like!
打印或将其保留在屏幕上,以便在创建 Minecraft 角色时参考。爬行者是第一个伟大的角色。但是,您可以构建任何您想要的角色!
step 1
Now we’re going to make the actual bobble!
现在我们要做真正的泡泡!
step 2
Using your picture from the Internet of your favorite Minecraft Character start to design the head of your character.
使用您最喜欢的 Minecraft 角色的互联网图片开始设计角色的头部。
If you are not familiar with how to use Tinkercad shapes please see an introduction lesson to practice these skills.
如果您不熟悉如何使用 Tinkercad 形状,请参阅入门课程来练习这些技能。
Instructions 指示
说明
-
Drag a shape for your head from the Geometric shape area.
从“几何形状”区域拖动头部形状。
-
Add the features you want to the head and group shapes together.
将所需的功能添加到头部并将形状组合在一起。
-
Click on the home button to return to your default Home view.
单击主页按钮以返回到默认的主视图。
step 3
Now you get to design the body of your character. As you move forward consider the positive and negative shapes that will make up the character. It may be helpful to sketch out the shapes on a piece of paper before you start.
现在,您可以设计角色的身体。当你继续前进时,考虑将构成角色的正向和负形。在开始之前,在一张纸上勾勒出形状可能会有所帮助。
*Remember, if you plan to 3D print your character, all shapes must be touching one another, so the parts will stay connected after printing.
请记住,如果您打算3D打印角色,则所有形状必须相互接触,因此零件在打印后将保持连接。*
Instructions 指示
说明
-
Design the body of your character using the shapes found on the right side of the screen.
使用屏幕右侧的形状设计角色的身体。
-
Once your body design is complete, make sure you group all the shapes together.
完成车身设计后,请确保将所有形状组合在一起。
step 4
You have now completed the bobble head and bobble body, now you need to connect the two. We will do this by creating a hole for a small spring on each part, so we can connect the two together and make the head actually bobble.
您现在已经完成了泡泡头和泡泡体,现在您需要将两者连接起来。为此,我们将在每个部分上为一个小弹簧创建一个孔,这样我们就可以将两者连接在一起,使头部真正摆动。
Instructions 指示

说明
-
Find a spring you would like to use. Spring selection is important because a spring that is too weak will not hold the head up and a spring that is too strong will prevent the head from bobbling. I have found pen springs work great for this project as long as the head is not to big.
找到您想使用的弹簧。弹簧的选择很重要,因为太弱的弹簧不会支撑头部,而太强的弹簧会防止头部晃动。我发现笔簧对这个项目很有用,只要头部不大。
-
To make this small change you will need to change the size of the snap grid from the default value of 1mm to .1mm. Remember after making this change you may want to reset the snap grid back to 1mm for other edits. You can change the snap grid at any time during the design process.
要进行此小更改,您需要将捕捉网格的大小从默认值 1mm 更改为 .1mm。请记住,进行此更改后,您可能希望将捕捉网格重置回 1mm 以进行其他编辑。您可以在设计过程中随时更改捕捉栅格。
-
Make a hole the size of your spring. The example we are using has a dimension of 5 cm. We will use a hole with a size of 5.03. This will allow the spring to fit when printed. If it is too snug then use file to smooth hole or pliers to adjust spring. The length of the hole should be 7 cm. Group this together when it is set correctly for the character.
打一个弹簧大小的孔。我们使用的示例尺寸为 5 厘米。我们将使用大小为 5.03 的孔。这将使弹簧在打印时适合。如果太贴合,则使用锉刀使孔光滑或钳子调整弹簧。孔的长度应为 7 厘米。当为角色正确设置时,将其组合在一起。
-
Now you need to repeat the steps you just completed for the body, but this time on the head shape. Remember: you want the spring hole on the top of the body and the bottom of the head, so they connect properly.
现在你需要重复你刚刚为身体完成的步骤,但这次是在头部形状上。请记住:您希望弹簧孔位于身体顶部和头部底部,以便它们正确连接。
step 5
Before downloading the file for 3D printing there are a few items to review to make sure everything will print correctly.
在下载文件进行3D打印之前,需要检查一些项目,以确保所有内容都能正确打印。
Instructions 指示
[外链图片转存失败,源站可能有防盗链机制,建议将图片保存下来直接上传(img-hjHjsN9T-1690859281901)(https://ibles-content.tinkercad.com/FUE/MFIF/IRXSUX84/FUEMFIFIRXSUX84.jpg?width=320)]
说明
-
Make sure the head and body are both sitting flat on the workplane. To do this, select the head and press D on the keyboard then select the body and press D on the keyboard. Pressing D while a shape is selected will place it flat of the Workplane.If either shape is even 1mm off the Workplane it will could cause problem when printing.
确保头部和身体都平放在工作平面上。为此,请选择头部并按键盘上的 D,然后选择主体并按键盘上的 D。在选择形状时按 D 会使其与工作平面平放。如果任一形状离工作平面 1 毫米,则在打印时可能会导致问题。
-
Does each shape have a good support base for the printer. If not then you must use support or raft to help with printing.
每个形状是否对打印机有良好的支撑基础。如果没有,那么您必须使用支撑或木筏来帮助打印。
-
Instruction image When grouped can you see a hole in the head and body for the spring. If not then ungroup and make adjustments to the hole.
说明图像 分组后,您可以看到头部和身体上的弹簧孔。如果没有,则取消分组并对孔进行调整。
Bring your creation to life!
让您的创作栩栩如生!
Instructions 指示

说明
-
To download for 3D printing go to Design then Download for 3D printing
要下载 3D 打印,请转到设计,然后下载 3D 打印
-
Add your file your 3D printer software file and then print!
将您的文件添加到您的 3D 打印机软件文件,然后打印!
-
Fit spring in body and then add to head!
将弹簧装在身体中,然后添加到头部!
-
Stuck