1. 环境准备
1.1 安装JDK:jdk1.8.0_112
1.2 安装Android SDK
SDK可以安装指定的platforms和ndk-bundle。为了兼容性考虑,单独安装了版本比较老的android-ndk-r10b
1.3 安装VS2019
安装VS2019并选择:使用C++的移动开发。
1.4 连接开发手机
使用USB数据线连接开发手机并打开开发手机的USB调试选项。
2. 创建Android动态库工程
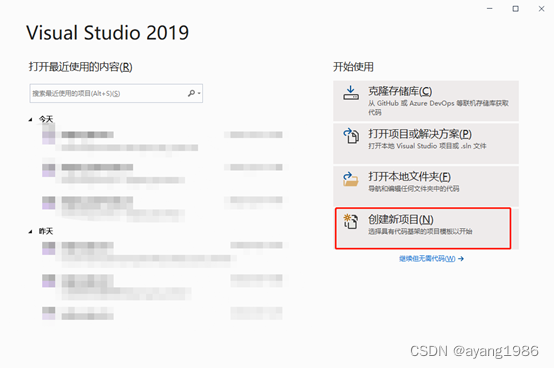
2.1 创建新项目
启动VS2019,选择创建新项目
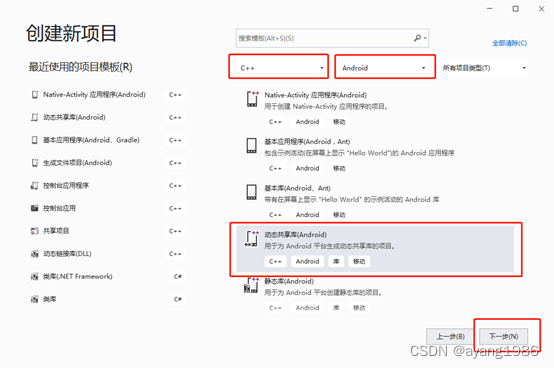
2.2 选择项目类型
下拉框选择C++、Android,列表选择动态共享库(Android),单击下一
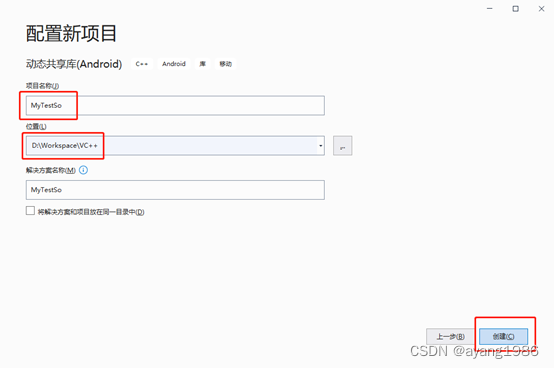
2.3 填写项目属性
填写项目名称:MyTestSo,选择创建位置,单击创
2.4 项目创建完成
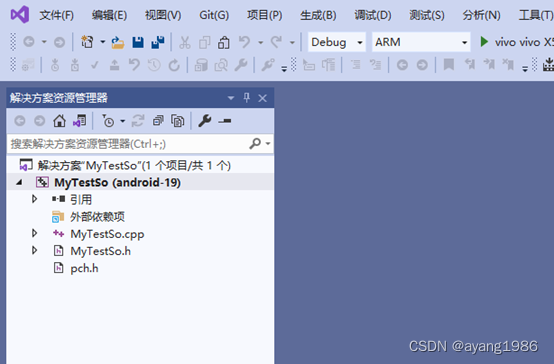
3. 创建动态库测试项目
3.1 新建Android项目
在解决方案上单击鼠标右键,选择弹出菜单中的添加->新建项目菜单项。

3.2 选择项目类型
下拉框选择C++、Android,列表选择Native-Activity应用程序(Android),单击下一步

3.3 填写项目属性
填写项目名称:Test,单击创建
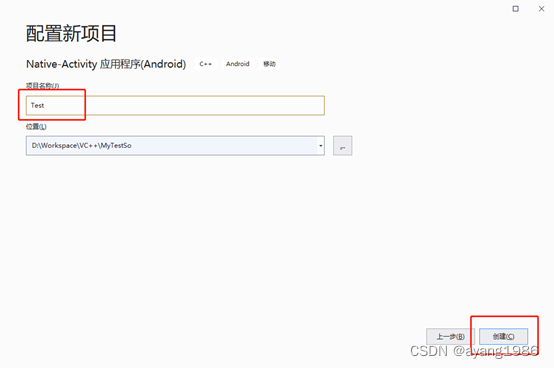
3.4 项目创建完成
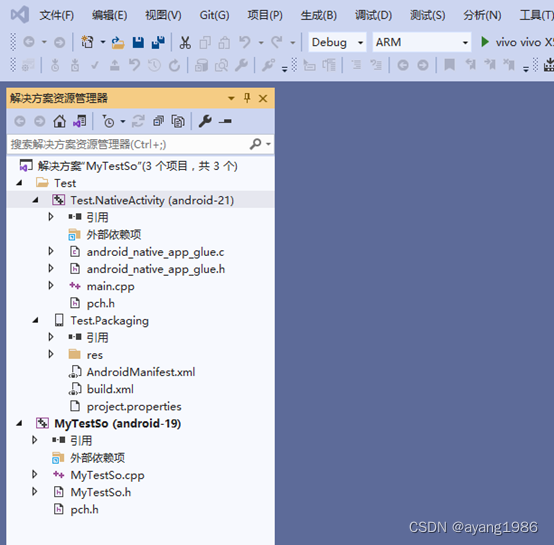
3.5 添加引用
在左侧Test.NativeActivity项目下的引用上单击鼠标右键,选择弹出菜单:添加引用(R)…
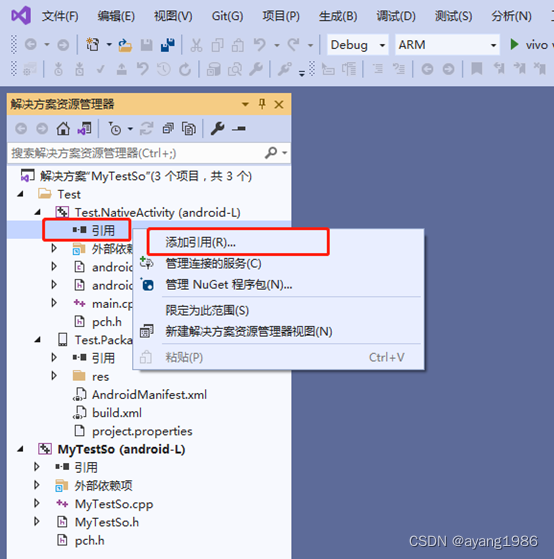
选中MyTestSo,单击确定完成设置。

-
4. 设置IDE属性
选择VS2019菜单项:工具 -> 选项,打开选项设置页面。
选择跨平台 –> C++ -> Android,填写右边的开发工具目录。

-
5. 设置项目属性
直接编译创建出来的项目会出现一些如下所示的错误:

需要设置MyTestSo项目和Test.NativeActivity两个项目的编译属性,以下以MyTestSo项目为例。
打开MytestSo项目属性,选择左侧常规,修改右边的平台工具集为:GCC 4.9,目标API级别为android-L。

-
6. 编译运行
6.1 修改动态库项目代码
在MyTestSo.cpp源码文件中增加测试函数test,代码如下:
void test()
{
	LOGI("Hello World From MyTestSo");
}

6.2 修改测试项目代码
在main.cpp源码文件中调用测试函数test,代码如下:
extern "C" void test();
test();

6.3 编译运行项目
设置Test.Packaging项目为启动项目,选择编译并运行Test.Packaging项目,查看Logcat输出日志。
项目在有些低版本Android平台上运行可能会崩溃,解决方案参考第7节。

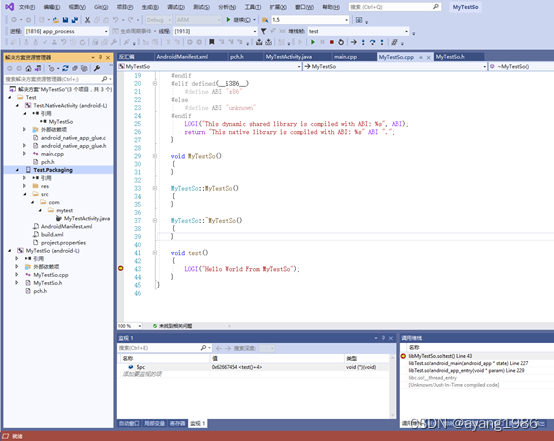
6.4 调试代码
在main.cpp或者MyTestSo.cpp中设置好断点,调试启动Test.Packaging项目,将会在设置的断点处中断,效果如下图所示:
7. 崩溃问题解决
项目在有些低版本Android平台上运行可能会崩溃,出现如下错误:

原因在于libTest.so库依赖了libMyTestSo.so库,项目在运行时加载libTest.so库之前并没有加载libMyTestSo.so库,从而导致了崩溃。解决方案为自定义项目启动类,在启动类里加载so库。
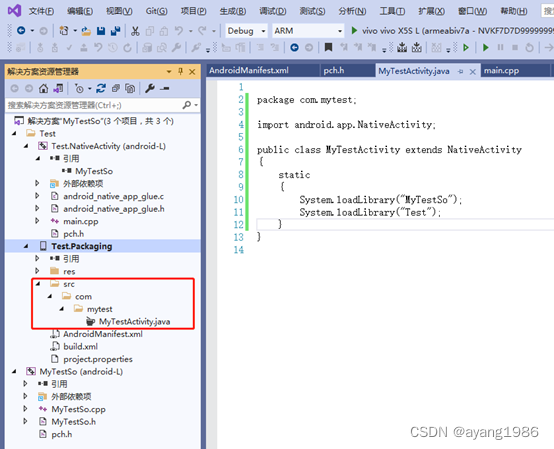
7.1 自定义项目启动类
在项目Test.Packaging中添加目录结构:src/com/mytest,在mytest目录下创建java源文件MyTestActivity.java,内容如下:
package com.mytest;

import android.app.NativeActivity;

public class MyTestActivity extends NativeActivity
{
    static
    {
	    System.loadLibrary("MyTestSo");
        System.loadLibrary("Test");
	}
}
7.2 修改AndroidManifest.xml
打开AndroidManifest.xml编辑内容,
- android:hasCode 属性修改为:true
- android:name 属性修改为:com.mytest.MyTestActivity

7.3 重新编译运行项目
附录:使用jar包
原文链接:https://retroscience.net/visual-studio-android-ndk-jar-files.html
Android NDK, JAR files, JNI, and Visual Studio
For those of you who don’t know, I have been a Visual Studio user for a long time now, amoung other forms of IDEs I’ve used Visual Studio the most. Something else I also love to use is the C programming language (I wish VS was more up to date for C but it’s good enough). One of the things you can do is develop for Android using NDK and Visual Studio which works fairly well, even though it is using Ant instead of Gradle, I find that it has suited all of my needs so far. That being said, I’m going to drop some tips here on how to make the development process a bit more friendly to be able to interact via JNI and native code.
Note: I am assuming you’ve setup Visual Studio and installed native android development
Update Ant
If you’ve installed Android native development through Visual Studio, you should have everything you need (NDK & SDK) inside of the C:/Microsoft folder. Something we need to do is tell the Ant build system to use a more modern version of JDK (OpenJDK) for building java code. To do this, open the C:/Microsoft/AndroidSDK/25/tools/ant/build.xml file in a text editor and locate the line that starts with <property name="java.target". Change the value of this to 1.7. Do the same thing for <property name="java.source". At this point you should see something like the following:
<!-- compilation options -->
<property name="java.encoding" value="UTF-8" />
<property name="java.target" value="1.7" />
<property name="java.source" value="1.7" />
<property name="java.compilerargs" value="" />
<property name="java.compiler.classpath" value="" />
project.properties
My project properties file in the .sln looks like the following:
# Project target
target=$(androidapilevel)
# Provide path to the directory where prebuilt external jar files are by setting jar.libs.dir=
jar.libs.dir=libs
AndroidManifest.xlm
Since we are going to be writing .jar files and possibly loading in external libraries at runtime, we will need to setup our project to have our own custom native activity code. Inside the AndroidManifest.xlm file you will need to find the android:hasCode="" value in the <application> tag and set it’s value to true. It should look similar to the following:
<application android:label="@string/app_name" android:hasCode="true">
	<!-- ... -->
</application>
Next we will want to set the <activity android:name="" value to our package and activity name that we will be creating. So if your activity class name is going to be FancyActivity then you should have something similar to the following:
<activity android:name="com.PackageName.FancyActivity" android:label="@string/app_name">
	<!-- ... -->
</activity>
Creating our custom activity
Since our full class path will be com.PackageName.FancyActivity we will need to create a few folders inside of our *.Packaging project in Visual studio. Create a folder path named src/com/PackageName/. Next create a file inside of the PackageName folder named FancyActivity.java. Below is the code you should have inside of FancyActivity.java:
package com.PackageName;
import android.app.NativeActivity;
public class FancyActivity extends NativeActivity
{
	static
	{
		//System.loadLibrary("other_lib");
	}
}
Notice the commented out line System.loadLibrary. You can call this as many times as needed, but all you need to do is replace "other_lib" with the name of your library, like System.loadLibrary("fmod"); or something similar. At this point you should be able to build without any issues.
Pro tip: You should always add System.loadLibrary("ProjectName"); where ProjectName is the name of the .so file that is generated for your NDK project build. This will allow you to call native functions from within your Java code (great for callbacks and the like).
Custom JAR files
Now that we’ve setup our activity to better interact with JNI and load other libraries, we are going to look at how to add our own .jar files and access the types within them from native code.
Building .jar files
Make sure and compile your code with -source 1.7 -target 1.7 so that it is matching Ant’s versions we setup earlier. After you’ve built your .class files, ensure your folder structure is correct as it relates to the package path. If your package path for your class(es) is package com.PackageName; then you should have the .class file within a folder structure com/PackageName/*.class. When you build your .jar file it should be for the whole folder structure.
Including .jar files in project
Now that you have your .jar file, you should create a folder named libs in your *.Packaging project. Place your .jar file into this folder and make sure to right click it and select Include In Project.
Accessing your code inside the .jar file
Lets assume for this part you’ve created a class named Dummy with a function that has the signature void SayHi(string name) which will print out “Hello, %s!” (%s = name input string of function). We will use JNI to access your code and invoke your method. Below is the code we will use to call our function. You can place it directly inside of your void android_main(struct android_app* state) function:
JNIEnv* env = NULL;
const ANativeActivity* activity = state->activity;
(*activity->vm)->AttachCurrentThread(activity->vm, &env, 0);

jobject jobj = activity->clazz;
jclass clazz = (*env)->GetObjectClass(env, jobj);
jmethodID getClassLoader = (*env)->GetMethodID(env, clazz, "getClassLoader", "()Ljava/lang/ClassLoader;");
jobject cls = (*env)->CallObjectMethod(env, jobj, getClassLoader);
jclass classLoader = (*env)->FindClass(env, "java/lang/ClassLoader");
jmethodID findClass = (*env)->GetMethodID(env, classLoader, "loadClass", "(Ljava/lang/String;)Ljava/lang/Class;");
jstring strClassName = (*env)->NewStringUTF(env, "com.PackageName.Dummy");
jclass fancyActivityClass = (jclass)((*env)->CallObjectMethod(env, cls, findClass, strClassName));
(*env)->DeleteLocalRef(env, strClassName);
jmethodID sayHi = (*env)->GetStaticMethodID(env, fancyActivityClass, "SayHi", "(Ljava/lang/String;)V");
jstring words = (*env)->NewStringUTF(env, "Brent");
(*env)->CallStaticVoidMethod(env, fancyActivityClass, sayHi, words);
(*env)->DeleteLocalRef(env, words);
Now those who have had a little exposure with JNI might say “Can’t we just use the (*env)->FindClass method? While this may be true for normal Android built in classes, it is not true for our own custom class. The reasoning is that JNI can only look through what is currently on the stack, and believe it or not, even though our FancyActivity is running our code, it isn’t on the stack so we can’t even find it. So what we need to do is get the current activity, then find a method on it called getClassLoader. Once we have this function, we are free to load any class from anywhere that is loaded, even inside our .jar code.
Hope this helps people who are having trouble. It tooke me a full day to figure out all of this stuff because there isn’t anything straight forward on the internet, I had to dig really deep to find all the pieces to put this together!