网站快速成型工具Element,一套为开发者、设计师和产品经理准备的基于vue2.0的桌面端组件库
安装
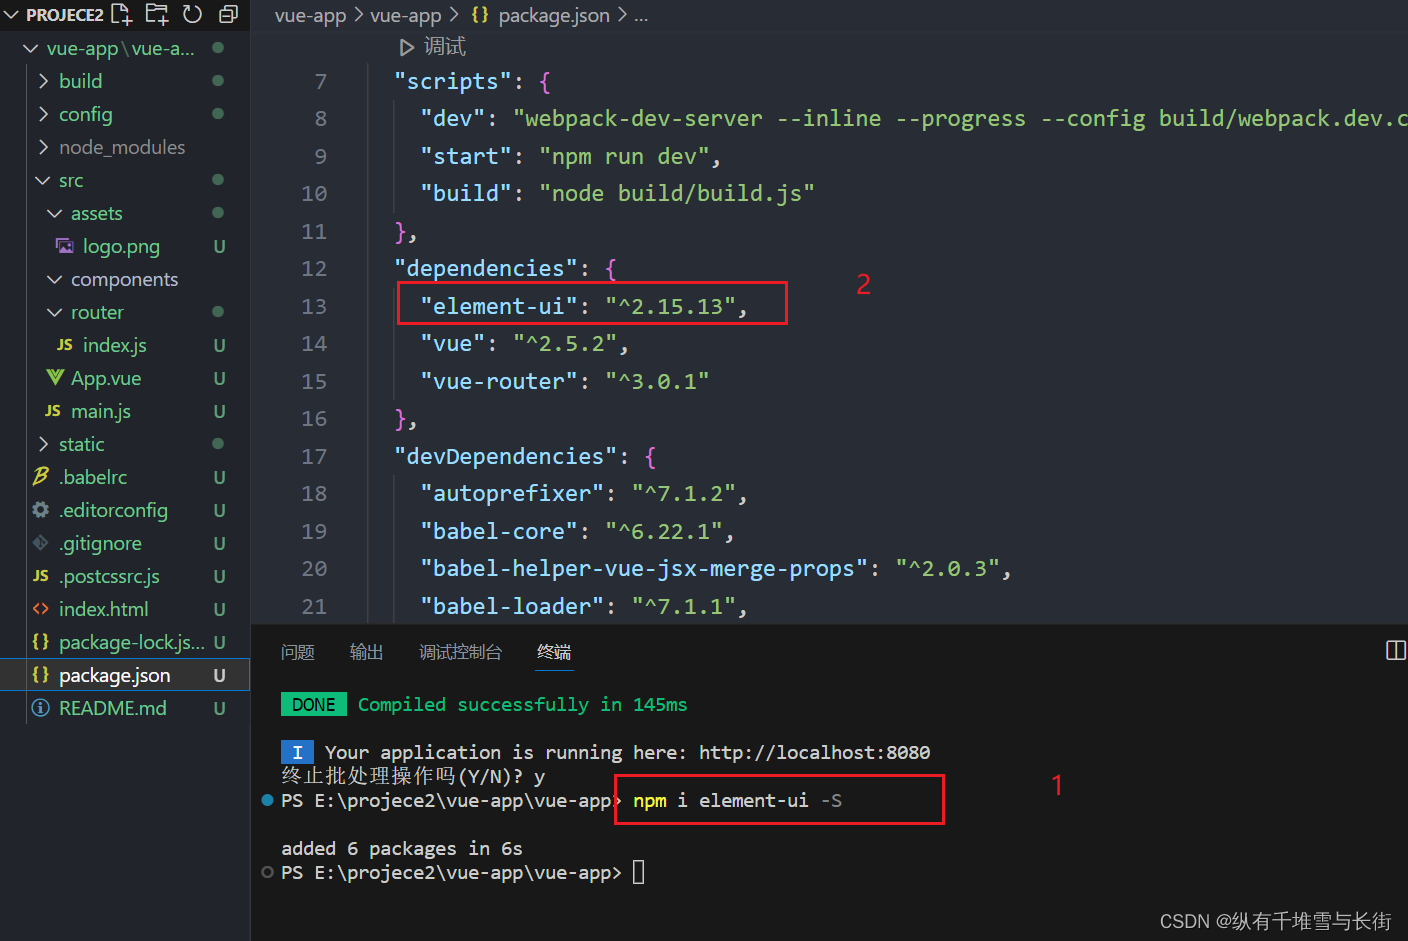
npm i element-ui -S
在项目中安装element-ui,安装了以后查看package.json中的依赖中有没有element-ui的版本,如果有,则说明安装成功,接下来就可以正式使用这个组件库了。
使用
引入 Element
你可以引入整个 Element,或是根据需要仅引入部分组件。我们先介绍如何引入完整的 Element。
- 完整引入
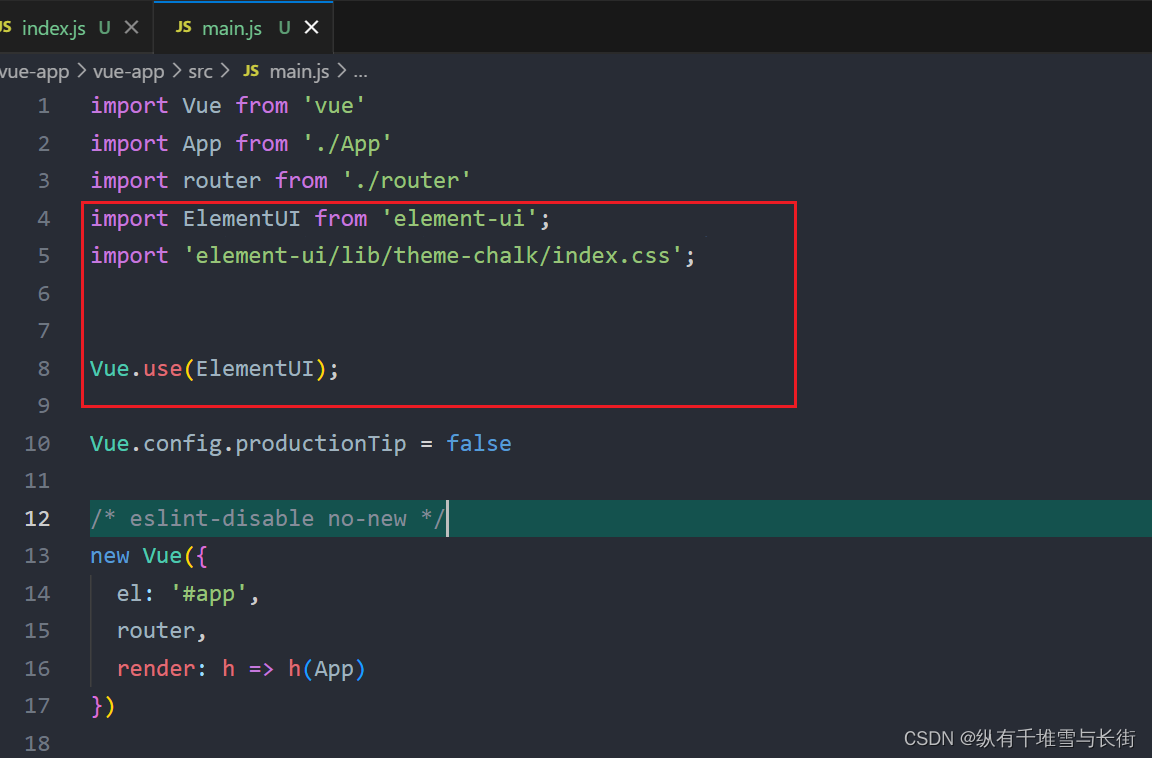
在 main.js 中写入以下内容:
import Vue from 'vue';
import ElementUI from 'element-ui';
import 'element-ui/lib/theme-chalk/index.css';
import App from './App.vue';

Vue.use(ElementUI);

new Vue({
  el: '#app',
  render: h => h(App)
});
浅试一下
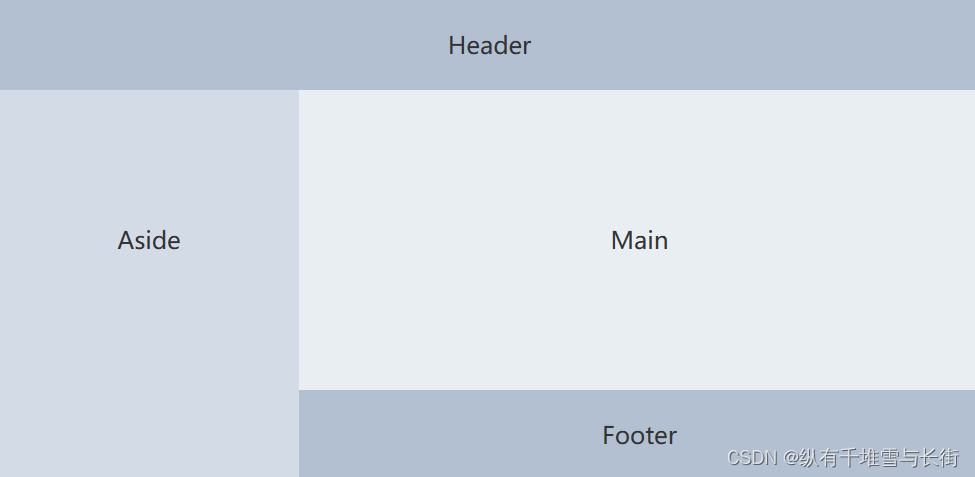
想要这样的页面布局,复制这个组件代码到我们需要的组件中去
 <el-container>
    <el-header>Header</el-header>
    <el-container>
      <el-aside width="200px">Aside</el-aside>
      <el-container>
        <el-main>Main</el-main>
        <el-footer>Footer</el-footer>
      </el-container>
    </el-container>
  </el-container>
  .el-header, .el-footer {
    background-color: #B3C0D1;
    color: #333;
    text-align: center;
    line-height: 60px;
  }

  .el-aside {
    background-color: #D3DCE6;
    color: #333;
    text-align: center;
    line-height: 200px;
  }

  .el-main {
    background-color: #E9EEF3;
    color: #333;
    text-align: center;
    line-height: 160px;
  }

  body > .el-container {
    margin-bottom: 40px;
  }

  .el-container:nth-child(5) .el-aside,
  .el-container:nth-child(6) .el-aside {
    line-height: 260px;
  }

  .el-container:nth-child(7) .el-aside {
    line-height: 320px;
  }
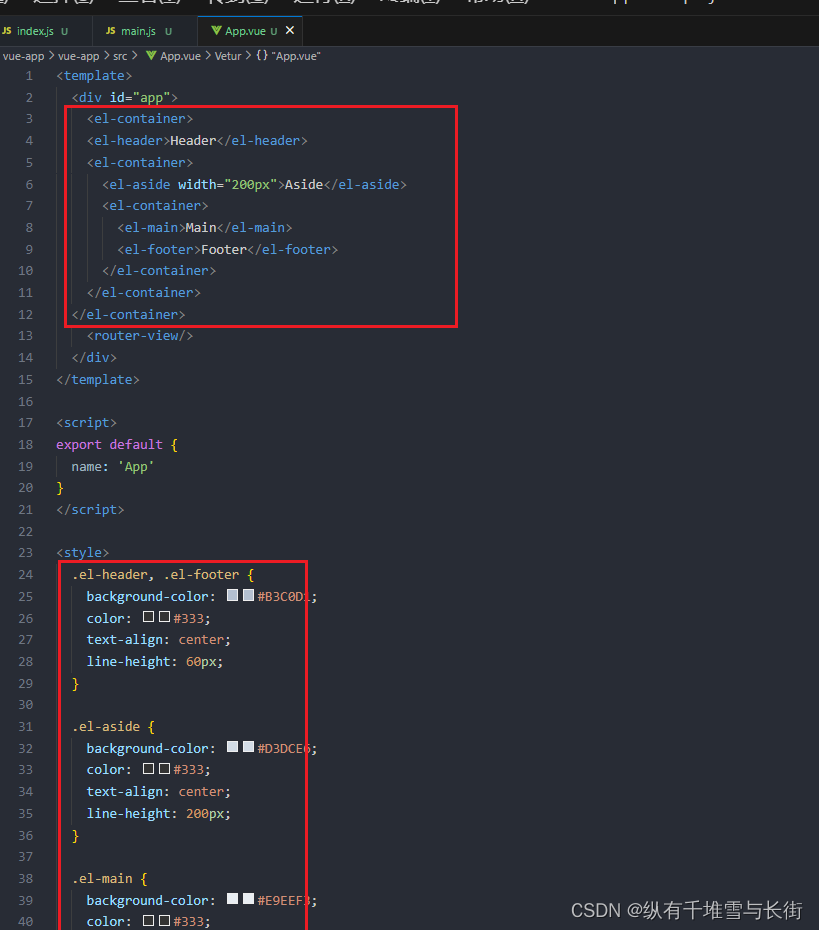
执行一下就能得到以上想要的效果。
项目实战
易购后台管理系统


![[ELK使用篇]:SpringCloud整合ELK服务](https://img-blog.csdnimg.cn/08550c774c5c4c64ac3ed88e7b92adfc.png)
