1.ChatGLM2-6B 部署
更新系统
apt-get update安装git
apt-get install git-lfs
git init
git lfs install
克隆 ChatGLM2-6B 源码
git clone https://github.com/THUDM/ChatGLM2-6B.git克隆 chatglm2-6b 模型
#进入目录
cd ChatGLM2-6B
#创建目录
mkdir model
#进入目录
cd model
#克隆
git clone https://huggingface.co/THUDM/chatglm2-6b
安装 ChatGLM2-6B 依赖
cd ../
pip install -r requirements.txt
修改模型的路径
tokenizer = AutoTokenizer.from_pretrained("THUDM/chatglm2-6b", trust_remote_code=True)
model = AutoModel.from_pretrained("THUDM/chatglm2-6b", trust_remote_code=True).cuda()
修改成
tokenizer = AutoTokenizer.from_pretrained("model/chatglm2-6b", trust_remote_code=True)
model = AutoModel.from_pretrained("model/chatglm2-6b", trust_remote_code=True).cuda()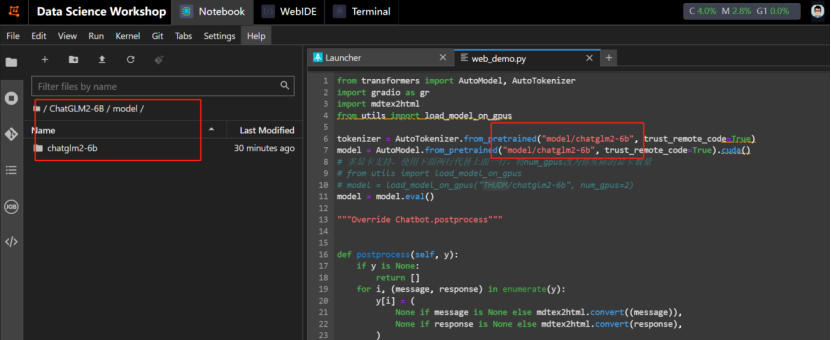
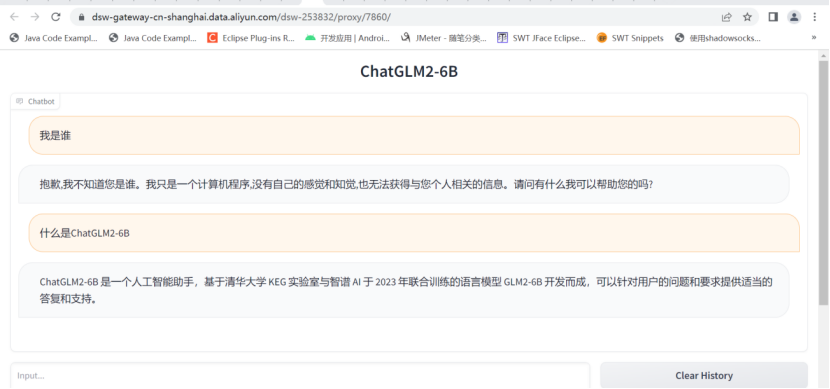
启动服务
python web_demo.py启动成功后
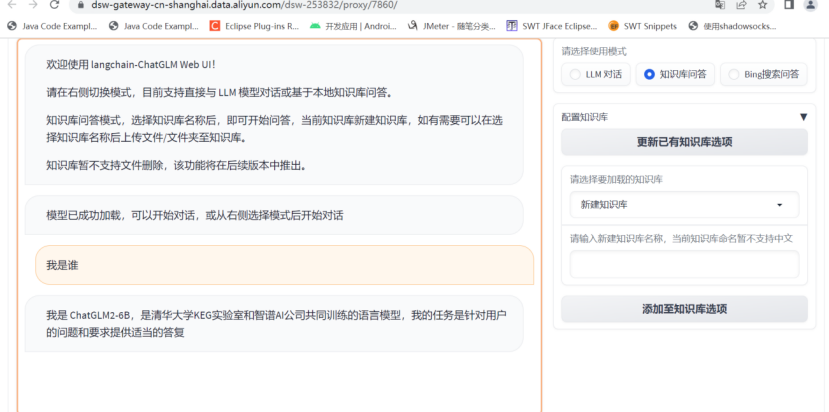
2.langchain+chatGLM 部署
克隆 langchain-ChatGLM 源码
git clone https://github.com/imClumsyPanda/langchain-ChatGLM.git
克隆模型
#进入目录
cd langchain-ChatGLM
#创建目录
mkdir text2vec-large-chinese
#进入目录
cd text2vec-large-chinese
#克隆
git clone https://huggingface.co/GanymedeNil/text2vec-large-chinese
安装 langchain-ChatGLM 依赖
cd ../
pip install -r requirements.txt
修改配置
修改一
"text2vec": "GanymedeNil/text2vec-large-chinese"修改成
"text2vec": "text2vec-large-chinese/text2vec-large-chinese"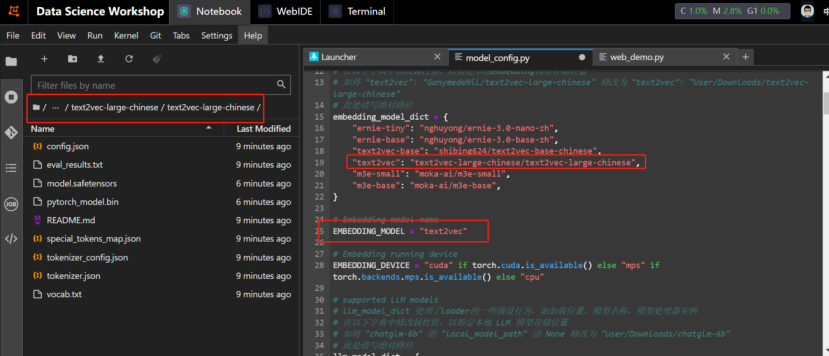
修改二
"pretrained_model_name": "THUDM/chatglm2-6b"修改成
"pretrained_model_name": "../ChatGLM2-6B/model/chatglm2-6b"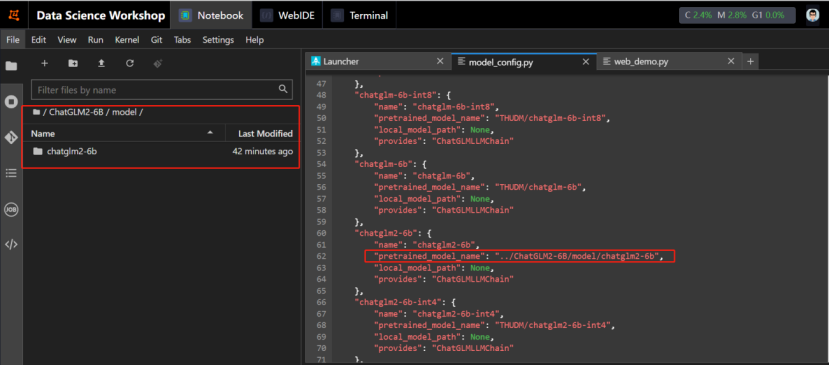
修改三
# LLM 名称
LLM_MODEL = "chatglm-6b"
# 量化加载8bit 模型
LOAD_IN_8BIT = False
修改成
# LLM 名称
LLM_MODEL = "chatglm2-6b"
# 量化加载8bit 模型
LOAD_IN_8BIT = True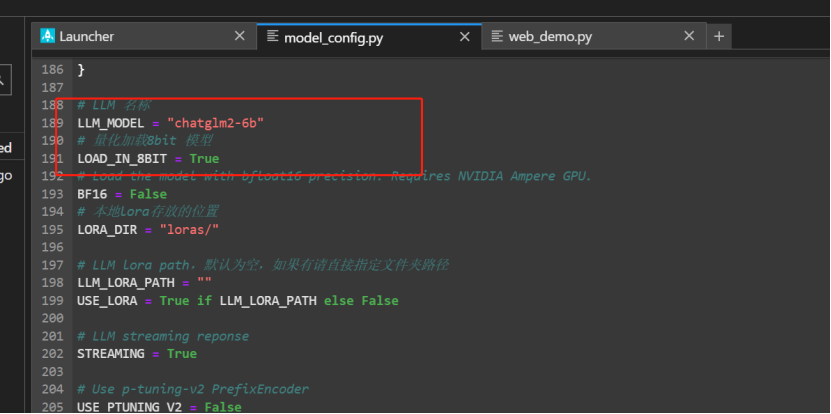
安装依赖 (启动langchain+chatGLM时,报错提示要安装的依赖)
pip install accelerate
pip install bitsandbytes
启动服务
python webui.py启动成功后