文章目录
一、ViT-S/14 二、ViT-B/14 三、ViT-L/14 四、ViT-g/14
import torch
import torchvision. transforms as T
import matplotlib. pyplot as plt
import numpy as np
import matplotlib. image as mpimg
from PIL import Image
from sklearn. decomposition import PCA
import matplotlib
patch_h = 28
patch_w = 28
feat_dim = 384
transform = T. Compose( [
T. GaussianBlur( 9 , sigma= ( 0.1 , 2.0 ) ) ,
T. Resize( ( patch_h * 14 , patch_w * 14 ) ) ,
T. CenterCrop( ( patch_h * 14 , patch_w * 14 ) ) ,
T. ToTensor( ) ,
T. Normalize( mean= ( 0.485 , 0.456 , 0.406 ) , std= ( 0.229 , 0.224 , 0.225 ) ) ,
] )
dinov2_vits14 = torch. hub. load( '' , 'dinov2_vits14' , source= 'local' ) . cuda( )
features = torch. zeros( 4 , patch_h * patch_w, feat_dim)
imgs_tensor = torch. zeros( 4 , 3 , patch_h * 14 , patch_w * 14 ) . cuda( )
img_path = f'/kaggle/input/demo-image/1 (4).png' = Image. open ( img_path) . convert( 'RGB' )
imgs_tensor[ 0 ] = transform( img) [ : 3 ]
with torch. no_grad( ) :
features_dict = dinov2_vits14. forward_features( imgs_tensor)
features = features_dict[ 'x_norm_patchtokens' ]
features = features. reshape( 4 * patch_h * patch_w, feat_dim) . cpu( )
pca = PCA( n_components = 3 )
pca. fit( features)
pca_features = pca. transform( features)
pca_features[ : , 0 ] = ( pca_features[ : , 0 ] - pca_features[ : , 0 ] . min ( ) ) / ( pca_features[ : , 0 ] . max ( ) - pca_features[ : , 0 ] . min ( ) )
pca_features_fg = pca_features[ : , 0 ] > 0.3
pca_features_bg = ~ pca_features_fg
b = np. where( pca_features_bg)
pca. fit( features[ pca_features_fg] )
pca_features_rem = pca. transform( features[ pca_features_fg] )
for i in range ( 3 ) :
pca_features_rem[ : , i] = ( pca_features_rem[ : , i] - pca_features_rem[ : , i] . min ( ) ) / ( pca_features_rem[ : , i] . max ( ) - pca_features_rem[ : , i] . min ( ) )
pca_features_rgb = pca_features. copy( )
pca_features_rgb[ pca_features_fg] = pca_features_rem
pca_features_rgb[ b] = 0
pca_features_rgb = pca_features_rgb. reshape( 4 , patch_h, patch_w, 3 )
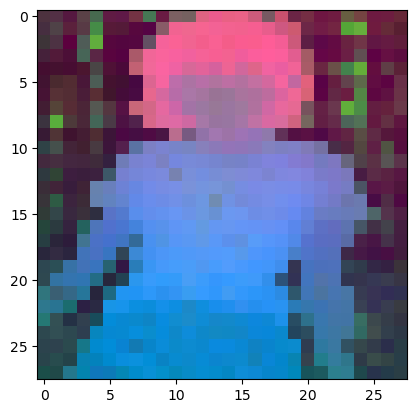
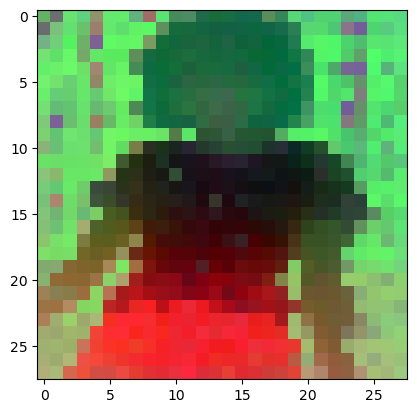
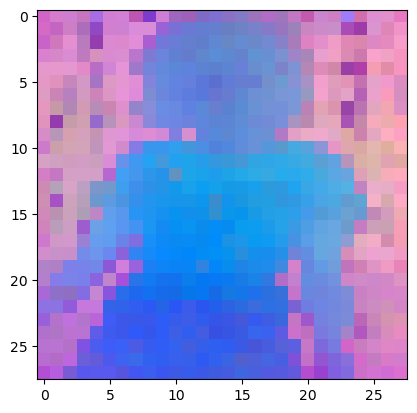
plt. imshow( pca_features_rgb[ 0 ] [ . . . , : : - 1 ] )
plt. savefig( 'features_s14.png' )
plt. show( )
plt. close( )
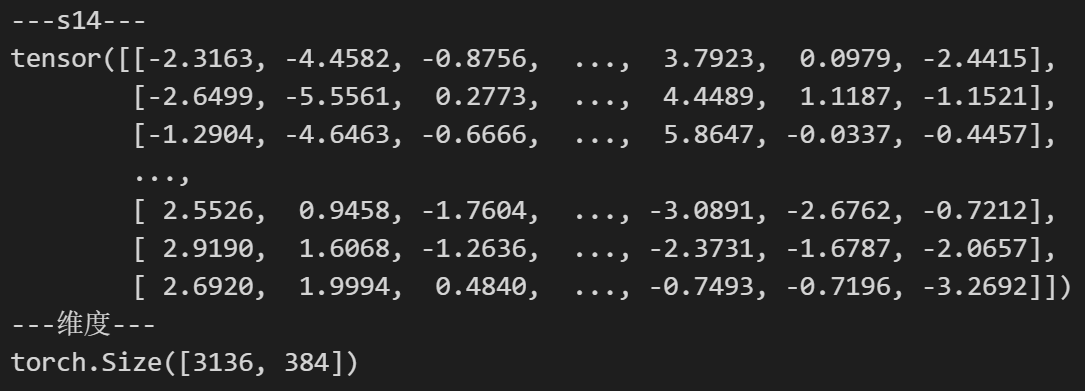
print ( '---s14---' )
print ( features)
print ( '---维度---' )
print ( features. shape)
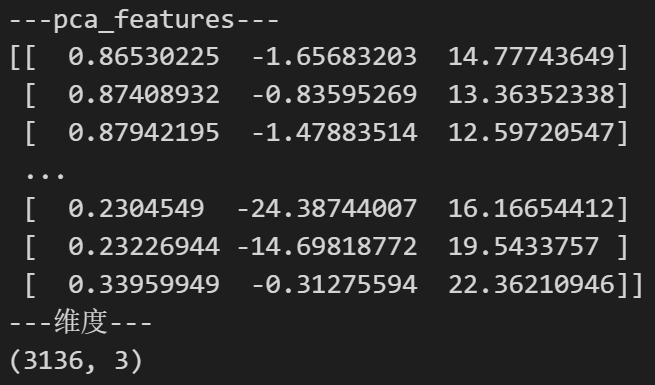
print ( '---pca_features---' )
print ( pca_features)
print ( '---维度---' )
print ( pca_features. shape)
patch_h = 28
patch_w = 28
feat_dim = 768
transform = T. Compose( [
T. GaussianBlur( 9 , sigma= ( 0.1 , 2.0 ) ) ,
T. Resize( ( patch_h * 14 , patch_w * 14 ) ) ,
T. CenterCrop( ( patch_h * 14 , patch_w * 14 ) ) ,
T. ToTensor( ) ,
T. Normalize( mean= ( 0.485 , 0.456 , 0.406 ) , std= ( 0.229 , 0.224 , 0.225 ) ) ,
] )
dinov2_vitb14 = torch. hub. load( '' , 'dinov2_vitb14' , source= 'local' ) . cuda( )
features_b14 = torch. zeros( 4 , patch_h * patch_w, feat_dim)
imgs_tensor_b14 = torch. zeros( 4 , 3 , patch_h * 14 , patch_w * 14 ) . cuda( )
img_path = f'/kaggle/input/demo-image/1 (4).png' = Image. open ( img_path) . convert( 'RGB' )
imgs_tensor_b14[ 0 ] = transform( img) [ : 3 ]
with torch. no_grad( ) :
features_dict_b14 = dinov2_vitb14. forward_features( imgs_tensor_b14)
features_b14 = features_dict_b14[ 'x_norm_patchtokens' ]
features_b14 = features_b14. reshape( 4 * patch_h * patch_w, feat_dim) . cpu( )
pca = PCA( n_components = 3 )
pca. fit( features_b14)
pca_features_b14 = pca. transform( features_b14)
pca_features_b14[ : , 0 ] = ( pca_features_b14[ : , 0 ] - pca_features_b14[ : , 0 ] . min ( ) ) / ( pca_features_b14[ : , 0 ] . max ( ) - pca_features_b14[ : , 0 ] . min ( ) )
pca_features_fg_b14 = pca_features_b14[ : , 0 ] > 0.3
pca_features_bg_b14 = ~ pca_features_fg_b14
b = np. where( pca_features_bg_b14)
pca. fit( features_b14[ pca_features_fg_b14] )
pca_features_rem_b14 = pca. transform( features_b14[ pca_features_fg_b14] )
for i in range ( 3 ) :
pca_features_rem_b14[ : , i] = ( pca_features_rem_b14[ : , i] - pca_features_rem_b14[ : , i] . min ( ) ) \
/ ( pca_features_rem_b14[ : , i] . max ( ) - pca_features_rem_b14[ : , i] . min ( ) )
pca_features_rgb_b14 = pca_features_b14. copy( )
pca_features_rgb_b14[ pca_features_fg_b14] = pca_features_rem_b14
pca_features_rgb_b14[ b] = 0
pca_features_rgb_b14 = pca_features_rgb_b14. reshape( 4 , patch_h, patch_w, 3 )
plt. imshow( pca_features_rgb_b14[ 0 ] [ . . . , : : - 1 ] )
plt. savefig( 'features_b14.png' )
plt. show( )
plt. close( )
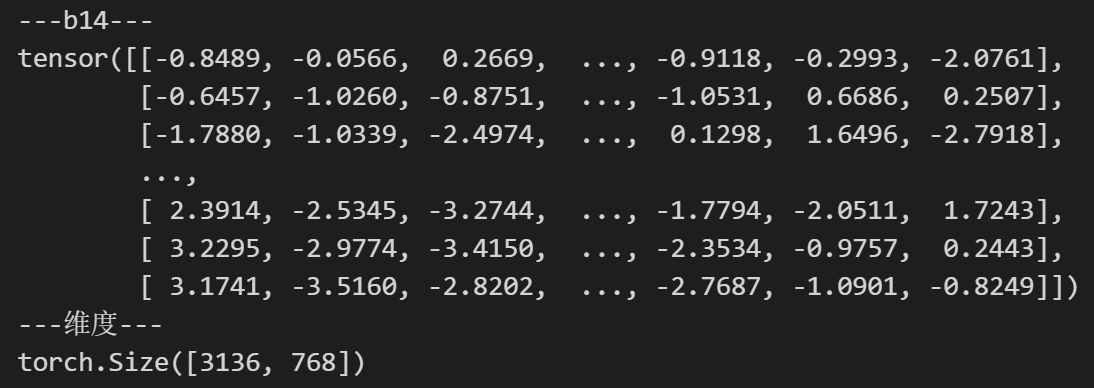
print ( '---b14---' )
print ( features_b14)
print ( '---维度---' )
print ( features_b14. shape)
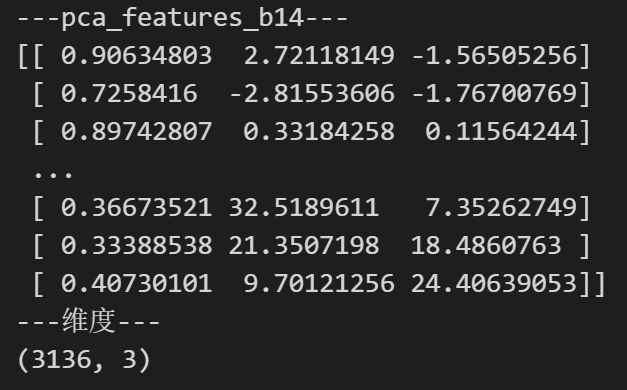
print ( '---pca_features_b14---' )
print ( pca_features_b14)
print ( '---维度---' )
print ( pca_features_b14. shape)
patch_h = 28
patch_w = 28
feat_dim = 1024
transform = T. Compose( [
T. GaussianBlur( 9 , sigma= ( 0.1 , 2.0 ) ) ,
T. Resize( ( patch_h * 14 , patch_w * 14 ) ) ,
T. CenterCrop( ( patch_h * 14 , patch_w * 14 ) ) ,
T. ToTensor( ) ,
T. Normalize( mean= ( 0.485 , 0.456 , 0.406 ) , std= ( 0.229 , 0.224 , 0.225 ) ) ,
] )
dinov2_vitl14 = torch. hub. load( '' , 'dinov2_vitl14' , source= 'local' ) . cuda( )
features_l14 = torch. zeros( 4 , patch_h * patch_w, feat_dim)
imgs_tensor_l14 = torch. zeros( 4 , 3 , patch_h * 14 , patch_w * 14 ) . cuda( )
img_path = f'/kaggle/input/demo-image/1 (4).png' = Image. open ( img_path) . convert( 'RGB' )
imgs_tensor_l14[ 0 ] = transform( img) [ : 3 ]
with torch. no_grad( ) :
features_dict_l14 = dinov2_vitl14. forward_features( imgs_tensor_l14)
features_l14 = features_dict_l14[ 'x_norm_patchtokens' ]
features_l14 = features_l14. reshape( 4 * patch_h * patch_w, feat_dim) . cpu( )
pca = PCA( n_components = 3 )
pca. fit( features_l14)
pca_features_l14 = pca. transform( features_l14)
pca_features_l14[ : , 0 ] = ( pca_features_l14[ : , 0 ] - pca_features_l14[ : , 0 ] . min ( ) ) \
/ ( pca_features_l14[ : , 0 ] . max ( ) - pca_features_l14[ : , 0 ] . min ( ) )
pca_features_fg_l14 = pca_features_l14[ : , 0 ] > 0.3
pca_features_bg_l14 = ~ pca_features_fg_l14
b = np. where( pca_features_bg_l14)
pca. fit( features_l14[ pca_features_fg_l14] )
pca_features_rem_l14 = pca. transform( features_l14[ pca_features_fg_l14] )
for i in range ( 3 ) :
pca_features_rem_l14[ : , i] = ( pca_features_rem_l14[ : , i] - pca_features_rem_l14[ : , i] . min ( ) ) \
/ ( pca_features_rem_l14[ : , i] . max ( ) - pca_features_rem_l14[ : , i] . min ( ) )
pca_features_rgb_l14 = pca_features_l14. copy( )
pca_features_rgb_l14[ pca_features_fg_l14] = pca_features_rem_l14
pca_features_rgb_l14[ b] = 0
pca_features_rgb_l14 = pca_features_rgb_l14. reshape( 4 , patch_h, patch_w, 3 )
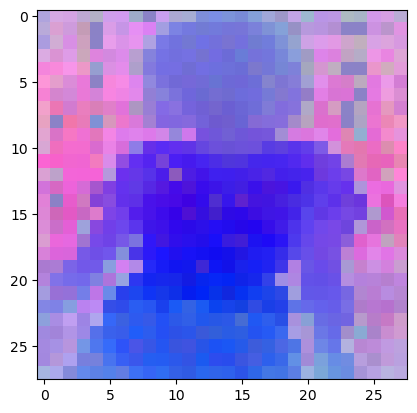
plt. imshow( pca_features_rgb_l14[ 0 ] [ . . . , : : - 1 ] )
plt. savefig( 'features_l14.png' )
plt. show( )
plt. close( )
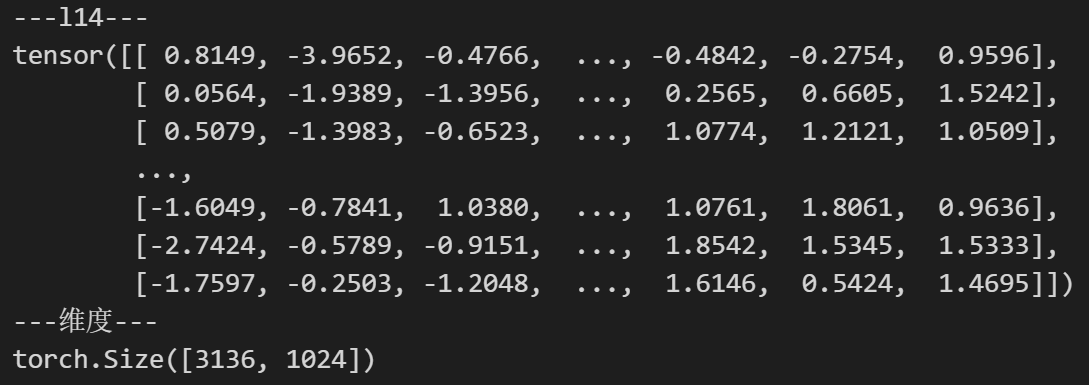
print ( '---l14---' )
print ( features_l14)
print ( '---维度---' )
print ( features_l14. shape)
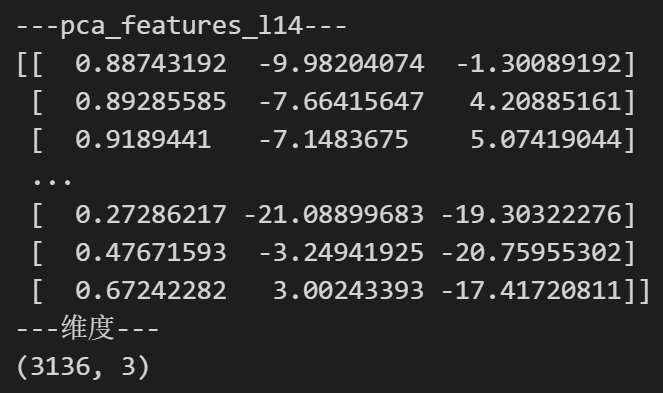
print ( '---pca_features_l14---' )
print ( pca_features_l14)
print ( '---维度---' )
print ( pca_features_l14. shape)
patch_h = 28
patch_w = 28
feat_dim = 1536
transform = T. Compose( [
T. GaussianBlur( 9 , sigma= ( 0.1 , 2.0 ) ) ,
T. Resize( ( patch_h * 14 , patch_w * 14 ) ) ,
T. CenterCrop( ( patch_h * 14 , patch_w * 14 ) ) ,
T. ToTensor( ) ,
T. Normalize( mean= ( 0.485 , 0.456 , 0.406 ) , std= ( 0.229 , 0.224 , 0.225 ) ) ,
] )
dinov2_vitg14 = torch. hub. load( '' , 'dinov2_vitg14' , source= 'local' ) . cuda( )
features_g14 = torch. zeros( 4 , patch_h * patch_w, feat_dim)
imgs_tensor_g14 = torch. zeros( 4 , 3 , patch_h * 14 , patch_w * 14 ) . cuda( )
img_path = f'/kaggle/input/demo-image/1 (4).png' = Image. open ( img_path) . convert( 'RGB' )
imgs_tensor_g14[ 0 ] = transform( img) [ : 3 ]
with torch. no_grad( ) :
features_dict_g14 = dinov2_vitg14. forward_features( imgs_tensor_g14)
features_g14 = features_dict_g14[ 'x_norm_patchtokens' ]
features_g14 = features_g14. reshape( 4 * patch_h * patch_w, feat_dim) . cpu( )
pca = PCA( n_components = 3 )
pca. fit( features_g14)
pca_features_g14 = pca. transform( features_g14)
pca_features_g14[ : , 0 ] = ( pca_features_g14[ : , 0 ] - pca_features_g14[ : , 0 ] . min ( ) ) \
/ ( pca_features_g14[ : , 0 ] . max ( ) - pca_features_g14[ : , 0 ] . min ( ) )
pca_features_fg_g14 = pca_features_g14[ : , 0 ] > 0.3
pca_features_bg_g14 = ~ pca_features_fg_g14
b = np. where( pca_features_bg_g14)
pca. fit( features_g14[ pca_features_fg_g14] )
pca_features_rem_g14 = pca. transform( features_g14[ pca_features_fg_g14] )
for i in range ( 3 ) :
pca_features_rem_g14[ : , i] = ( pca_features_rem_g14[ : , i] - pca_features_rem_g14[ : , i] . min ( ) ) \
/ ( pca_features_rem_g14[ : , i] . max ( ) - pca_features_rem_g14[ : , i] . min ( ) )
pca_features_rgb_g14 = pca_features_g14. copy( )
pca_features_rgb_g14[ pca_features_fg_g14] = pca_features_rem_g14
pca_features_rgb_g14[ b] = 0
pca_features_rgb_g14 = pca_features_rgb_g14. reshape( 4 , patch_h, patch_w, 3 )
plt. imshow( pca_features_rgb_g14[ 0 ] [ . . . , : : - 1 ] )
plt. savefig( 'features_g14.png' )
plt. show( )
plt. close( )
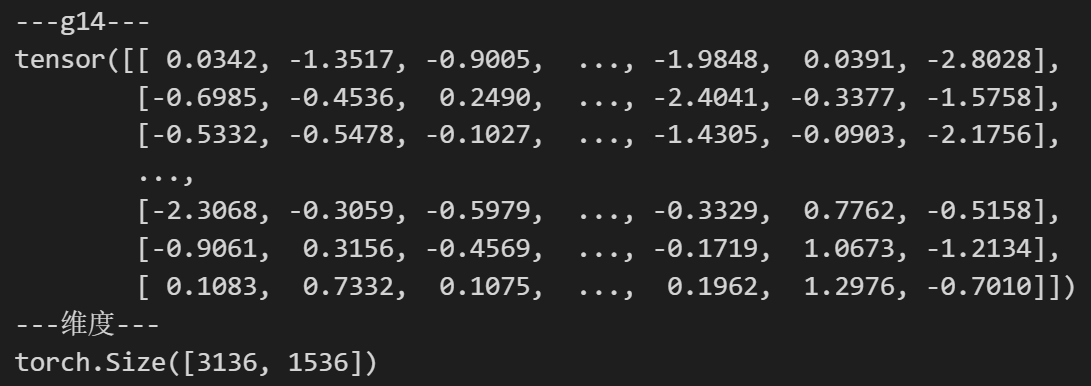
print ( '---g14---' )
print ( features_g14)
print ( '---维度---' )
print ( features_g14. shape)
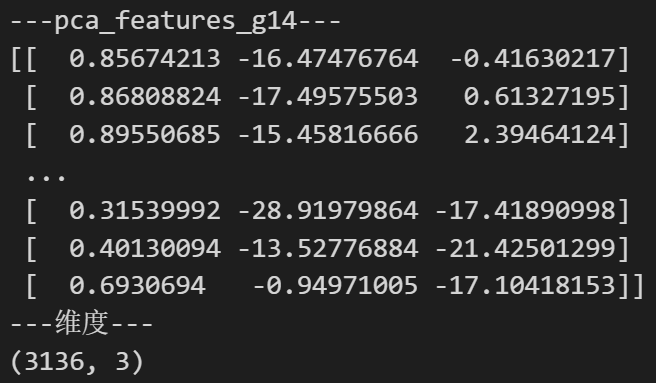
print ( '---pca_features_g14---' )
print ( pca_features_g14)
print ( '---维度---' )
print ( pca_features_g14. shape)






![[读论文]---On Distillation of Guided Diffusion Models](https://img-blog.csdnimg.cn/5c5a8cce88a849c3abd63d7059aca18d.png)


