图像入门
这是将在本教程中使用的图像

borz.jpg
import cv2 as cv
import sys

img = cv.imread('borz.jpg')
if img is None:
    sys.exit("Could not read the file.")
cv.imshow("Display Window", img)
k = cv.waitKey(0)
if k == ord("s"):
    cv.imwrite("Khamzat Chimaev.jpg", img)
此代码显示图像 borz.jpg
我们逐行看一下代码
import cv2 as cv
import sys
我们导入必要的库
img = cv.imread('borz.jpg')读取图像文件'borz.jpg'
if img is None:
  sys.exit("Could not read the file.")
如果由于某种原因无法读取文件,请退出。
cv.imshow("Display Window", img)显示图像。“Display Window”将是窗口的标题。
k = cv.waitKey(0)由于我们想在按键时关闭窗口,所以 cv.waitKey(0) 将等待我们的按键输入。参数是毫秒。
例如 cv.waitKey(10000) 将等待用户输入 10 秒并自动关闭窗口。0 表示永远等待。
if k == ord("s"):
  cv.imwrite("Khamzat Chimaev.jpg", img)
如果键输入是“s”,我们会将图像保存为“Khamzat chimaev.jpg”。

视频入门
现在让我们转到视频。
import numpy as np
import cv2 as cv

cap = cv.VideoCapture(0)
if not cap.isOpened():
    print("Cannot open camera")
    exit()
while True:
    # Capture frame-by-frame
    ret, frame = cap.read()
    # if frame is read correctly ret is True
    if not ret:
        print("Can't receive frame (stream end?). Exiting ...")
        break
    # Our operations on the frame come here
    gray = cv.cvtColor(frame, cv.COLOR_BGR2GRAY)
    # Display the resulting frame
    cv.imshow('frame', gray)
    if cv.waitKey(1) == ord('q'):
        break
# When everything done, release the capture
cap.release()
cv.destroyAllWindows()
此代码将打开相机的网络摄像头并将其显示为黑白视频。
让我们分解这段代码。
cap = cv.VideoCapture(0)捕获摄像机。参数是视频设备的索引。
if not cap.isOpened():
  print("Cannot open camera")
  exit()
如果捕获失败,则退出。
while True:
  # Capture frame-by-frame
  ret, frame = cap.read()
逐帧捕捉
# if frame is read correctly ret is True
if not ret:
  print("Can't receive frame (stream end?). Exiting ...")
  break
如果没有正确读取帧,则中断循环。
gray = cv.cvtColor(frame, cv.COLOR_BGR2GRAY)将颜色设置为灰度。
cv.imshow('frame', gray)
if cv.waitKey(1) == ord('q'):
  break
显示视频,直到用户按下“q”。如果 cv.waitKey() 的参数未设置为 1,假设为 0,则帧将冻结并无限期地等待用户输入。
# When everything done, release the capture
cap.release()
cv.destroyAllWindows()
cap.release() 释放硬件和软件资源。
决定不上传我们的网络摄像头结果。
现在让我们将网络摄像头输出保存到一个文件中。环境是macbook。如果尝试官方的 opencv 教程,文件已创建但长度为 00:00 并且为空。通过艰苦的检查错误,发现应该将输出视频的大小设置为输入视频的大小。
frame_width = int(cap.get(3))
frame_height = int(cap.get(4))
size = (frame_width, frame_height)
如果没有此参数,文件将不记录任何内容。
import cv2

# Create an object to read
# from camera
video = cv2.VideoCapture(0)

# We need to check if camera
# is opened previously or not
if (video.isOpened() == False):
 print("Error reading video file")

# We need to set resolutions.
# so, convert them from float to integer.
frame_width = int(video.get(3))
frame_height = int(video.get(4))

size = (frame_width, frame_height)
print(size)

# Below VideoWriter object will create
# a frame of above defined The output
# is stored in 'filename.avi' file.
result = cv2.VideoWriter('filename.avi',
      cv2.VideoWriter_fourcc(*'MJPG'),
      20, size)

while(True):
 ret, frame = video.read()

 if ret == True:

  # Write the frame into the
  # file 'filename.avi'
  result.write(frame)

  # Display the frame
  # saved in the file
  cv2.imshow('Frame', frame)

  # Press S on keyboard
  # to stop the process
  if cv2.waitKey(1) & 0xFF == ord('s'):
   break

 # Break the loop
 else:
  break

# When everything done, release
# the video capture and video
# write objects
video.release()
result.release()

# Closes all the frames
cv2.destroyAllWindows()

print("The video was successfully saved")
这是工作代码。
播放视频文件的工作方式与打开图像文件非常相似。
OpenCV 中的绘图函数
import numpy as np
import cv2 as cv

# Create a black image
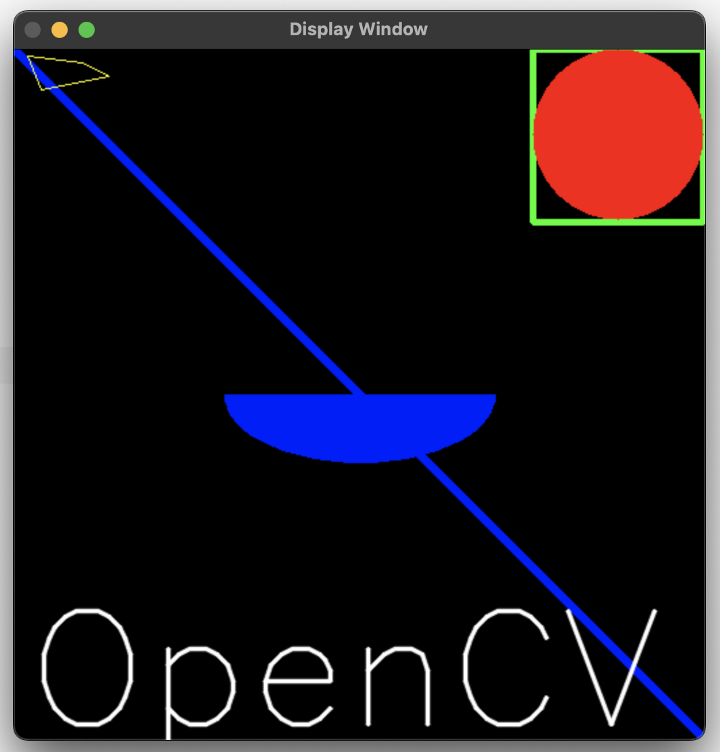
img = np.zeros((512,512,3), np.uint8)

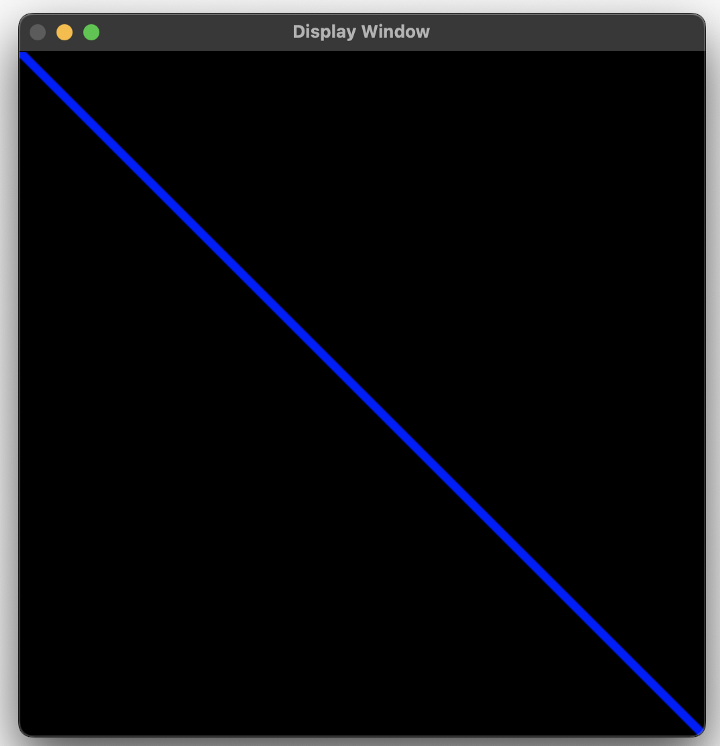
# Draw a diagonal blue line with thickness of 5 px
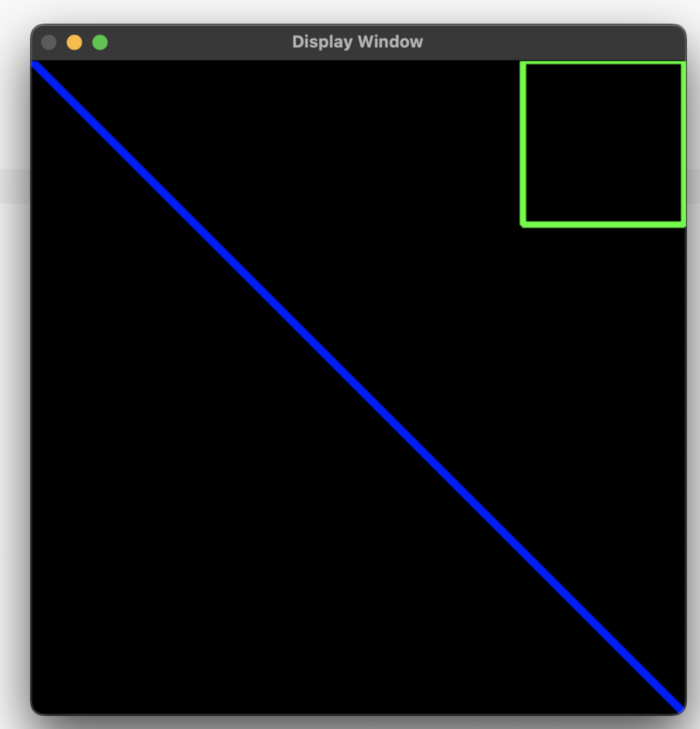
cv.line(img,(0,0),(511,511),(255,0,0),5)
cv.imshow("Display Window", img)
cv.waitKey(0)
输出图像
cv.rectangle(img,(384,0),(510,128),(0,255,0),3)你可以添加一个矩形
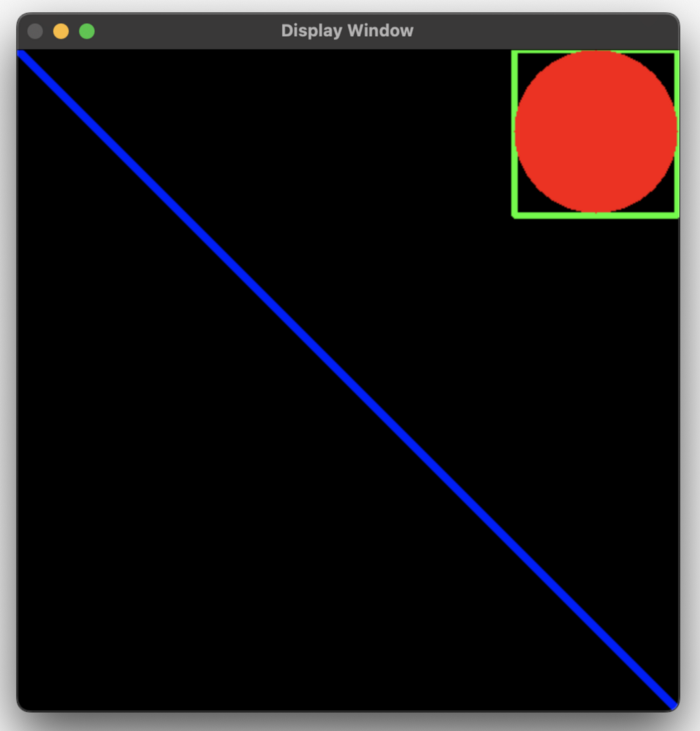
cv.circle(img,(447,63), 63, (0,0,255), -1)一个圆圈
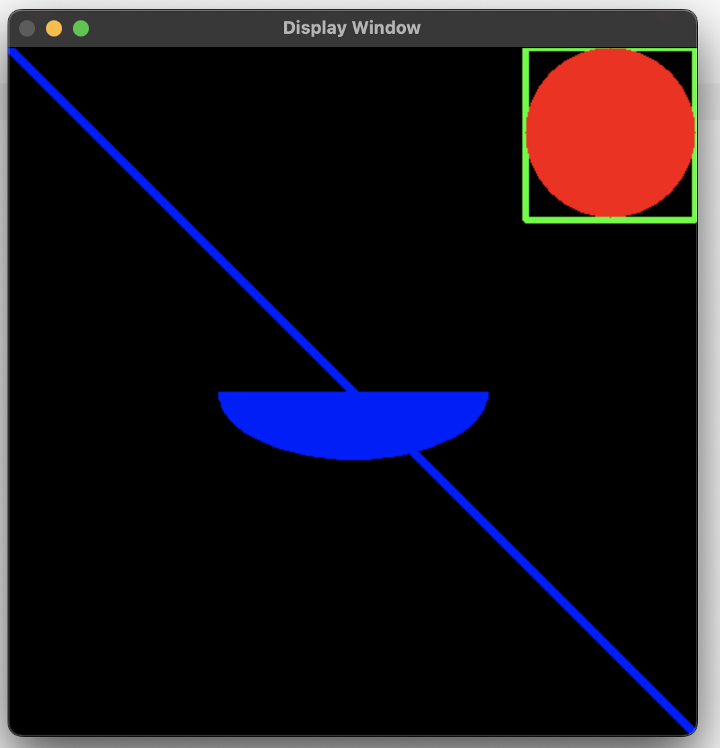
cv.ellipse(img,(256,256),(100,50),0,0,180,255,-1)一个椭圆
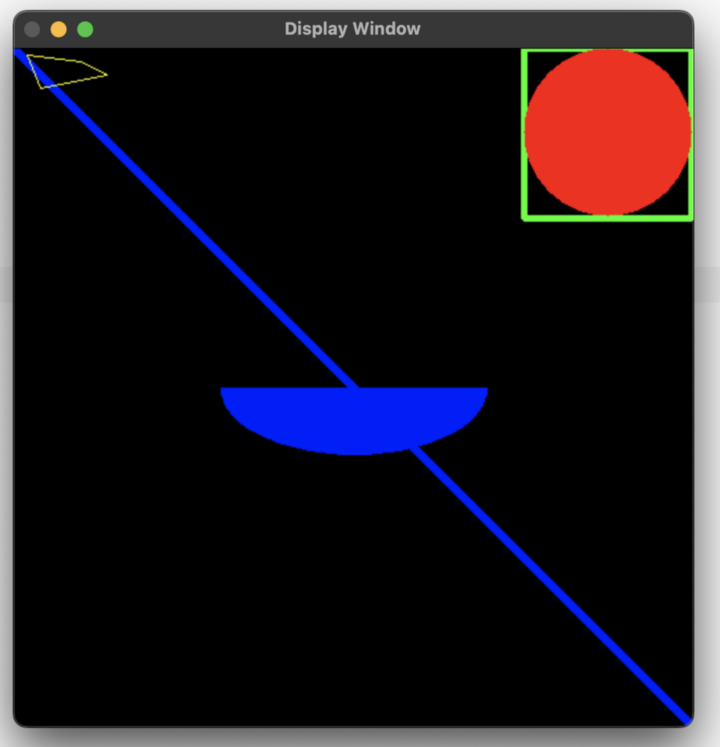
pts = np.array([[10,5],[20,30],[70,20],[50,10]], np.int32)
pts = pts.reshape((-1,1,2))
cv.polylines(img,[pts],True,(0,255,255))
一个多边形
font = cv.FONT_HERSHEY_SIMPLEX
cv.putText(img,'OpenCV',(10,500), font, 4,(255,255,255),2,cv.LINE_AA)
你甚至可以在图像中添加文本。
练习
尝试使用 OpenCV 中可用的绘图功能创建 OpenCV 的徽标。
我们的目标

img = np.full((512,512,3), 255, np.uint8)这将使 img 成为白色 512 x 512 图像
cv.ellipse(img,(256,256),(50,50),60,60,360,(0,0,255),-1)这将在 (256,256) 处绘制一个椭圆。它的半径将是 (50,50)。它将在 60 度(顺时针)停止绘制 60 度。
它显示所有椭圆(360)。它是红色的 (0,0,255)。它将被填充(-1)
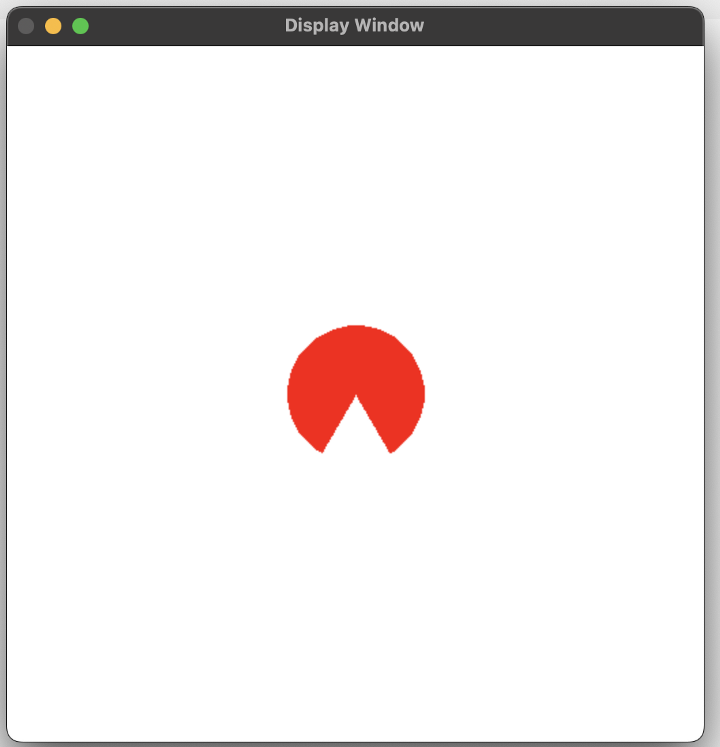
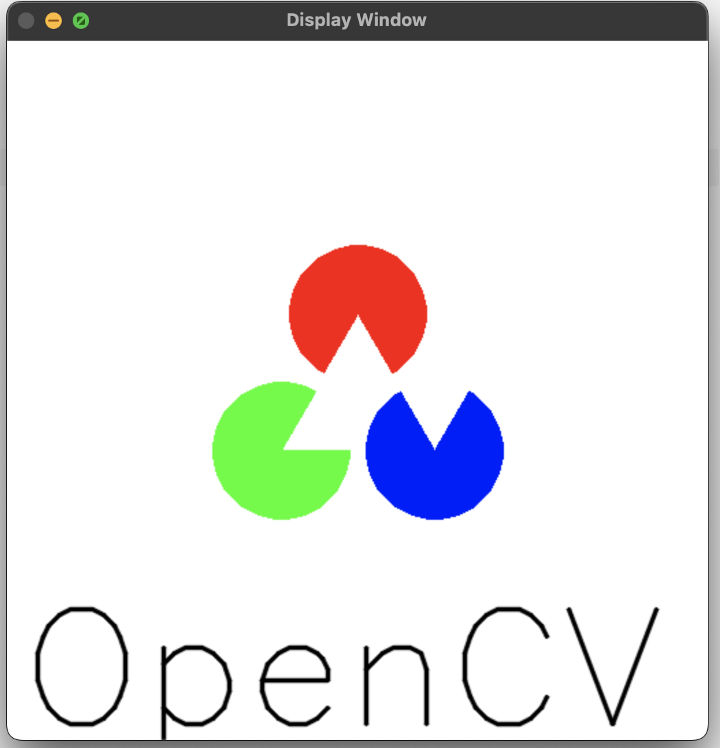
我们可以调整角度和位置,并添加蓝色和绿色椭圆的代码。并添加文字。
cv.ellipse(img,(256,200),(50,50),60,60,360,(0,0,255),-1)
cv.ellipse(img,(200,300),(50,50),300,60,360,(0,255,0),-1)
cv.ellipse(img,(256+56,300),(50,50),240,60,360,(255,0,0),-1)

font = cv.FONT_HERSHEY_SIMPLEX
cv.putText(img,'OpenCV',(10,500), font, 4,(0,0,0),2,cv.LINE_AA)
最终结果
完整代码
import numpy as np
import cv2 as cv

# Create a white image
img = np.full((512,512,3), 255, np.uint8)
cv.ellipse(img,(256,200),(50,50),60,60,360,(0,0,255),-1)
cv.ellipse(img,(200,300),(50,50),300,60,360,(0,255,0),-1)
cv.ellipse(img,(256+56,300),(50,50),240,60,360,(255,0,0),-1)
font = cv.FONT_HERSHEY_SIMPLEX
cv.putText(img,'OpenCV',(10,500), font, 4,(0,0,0),2,cv.LINE_AA)
cv.imshow("Display Window", img)
cv.waitKey(0)
鼠标作为画笔
opencv 官方教程几乎没有用。这是弄清楚的代码。
import numpy as np
import cv2 as cv

img = np.zeros((512,512,3), np.uint8)

def draw_circle(event, x, y, flags, param):
    if event == cv.EVENT_LBUTTONDOWN:
        cv.circle(img,(x,y),40,(255,255,255),-1)

cv.namedWindow('image')
while True:
    cv.setMouseCallback('image',draw_circle)
    cv.imshow('image', img)
    k = cv.waitKey(1)
    if k == 27: # if input is esc key
        break
无论何时何地点击它都会画一个圆圈。
Trackbar 作为调色板
出于某种原因,当尝试移动 Trackbar 时,它会崩溃并显示以下消息:zsh: segmentation fault.
opencv和macOS的版本似乎有问题。
而我们对此无能为力。
☆ END ☆
如果看到这里,说明你喜欢这篇文章,请转发、点赞。微信搜索「uncle_pn」,欢迎添加小编微信「 woshicver」,每日朋友圈更新一篇高质量博文。
↓扫描二维码添加小编↓

