发布订阅模式(三种方式)
发布订阅模式上一篇我们已经介绍了,这里就不做介绍了,想要看的可以点此链接 在SpringBoot中对RabbitMQ三种使用方式_流殇꧂的博客-CSDN博客
Routing(路由模式)(基于注解的方式)
1.创建交换机和消息队列,类型要为direct(不设置也是默认的配置)
    //路由模式:绑定交换机和队列   根据不同的日志级别,接收日志
    @RabbitListener(bindings = @QueueBinding(
            value = @Queue("routing_queue_error"),
            exchange = @Exchange(value = "routing_exchange",type = "direct"),
            key = "error_routing_key"//路由键:对当前的队列进行标记
            //将来交换机发送的数据也会绑定一个路由键,如果这两个路由键相同,则表示消息会被发送给当前的这个消息队列
    ))
    public void routingConsumerError(String message){
        System.out.println("接收error级别的日志"+message);

    }


    //路由模式:绑定交换机和队列   根据不同的日志级别,接收日志
    @RabbitListener(bindings = @QueueBinding(
            value = @Queue("routing_queue_all"),
            exchange = @Exchange(value = "routing_exchange",type = "direct"),
            key = {"error_routing_key","info_routing_key","waring_routing_key"
            ,"debug_routing_key"}//路由键:对当前的队列进行标记
            //将来交换机发送的数据也会绑定一个路由键,如果这两个路由键相同,则表示消息会被发送给当前的这个消息队列
    ))
    public void routingConsumerAll(String message){
        System.out.println("接收all级别的日志"+message);
    }
2.消息发送者
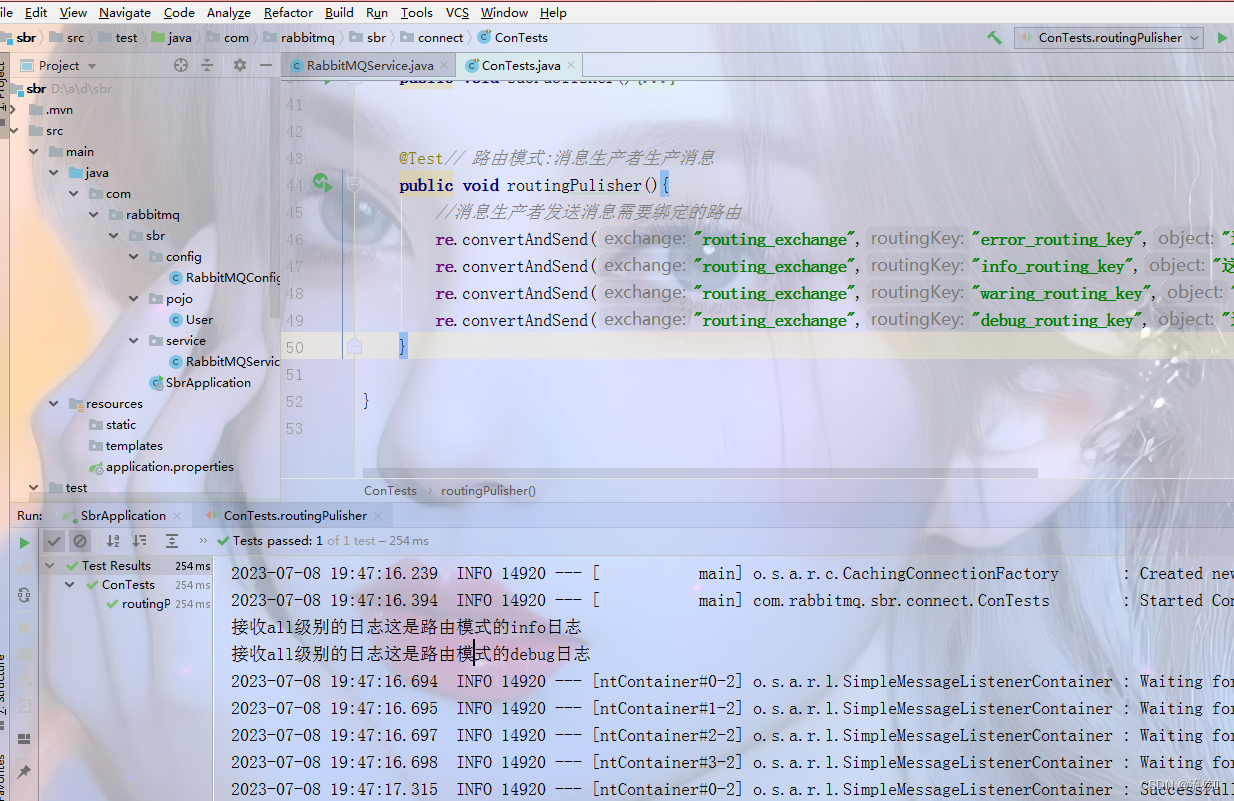
   @Test// 路由模式:消息生产者生产消息
    public void routingPulisher(){
        //消息生产者发送消息需要绑定的路由
        re.convertAndSend("routing_exchange","error_routing_key","这是路由模式的error日志");
        re.convertAndSend("routing_exchange","info_routing_key","这是路由模式的info日志");
        re.convertAndSend("routing_exchange","waring_routing_key","这是路由模式的waring日志");
        re.convertAndSend("routing_exchange","debug_routing_key","这是路由模式的debug日志");
    }
可以将我们指定的消息发送到指定的队列里并读取
Hello World(简单模式)(基于配置类的方式)
1. 创建队列
    @Bean//简单模式
    public Queue simpleQueueLog(){
        return new Queue("simple_queue_log");
    }
2.创建接收业务
    //简单消息模式
    @RabbitListener(queues= ("simple_queue_log"))
    public void simpleQueue(Object message){
        System.out.println("简单模式:"+message);
    }
3.发送消息
  @Test
    public void simpleConsumerPublisher(){
        re.convertAndSend("simple_queue_log","Hello World,简单模式");
    }
Work queues(工作队列模式)(基于配置类的方式)
1.创建队列
       @Bean//工作队列模式
    public Queue workQueueLog(){
        return new Queue("work_queue_log");
    }
2.消费业务
    //消息队列模式
    @RabbitListener(queues = "work_queue_log")
    public void workConsumer01(String message){
        System.out.println("01消费者:"+message);
    }
    //消息队列模式
    @RabbitListener(queues = "work_queue_log")
    public void workConsumer02(String message){
        System.out.println("02消费者:"+message);
    }
3.发送消息
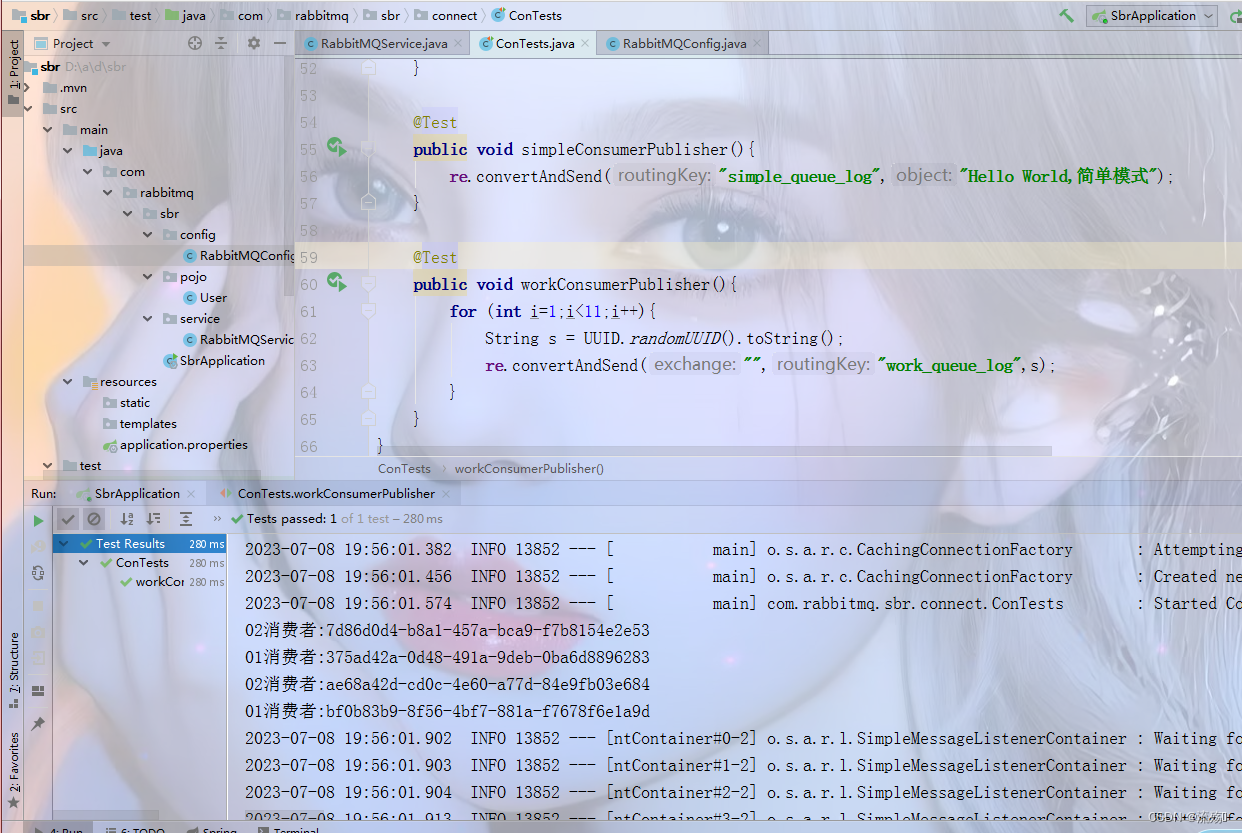
  @Test
    public void workConsumerPublisher(){
          for (int i=1;i<11;i++){
              String s = UUID.randomUUID().toString();
              re.convertAndSend("work_queue_log",s);
          }
    }
我们可以看到消息交替被消费
Topics(主题模式)(基于注解的方式)
1.创建交换机和队列 #多 *一 .连接
    //主题模式
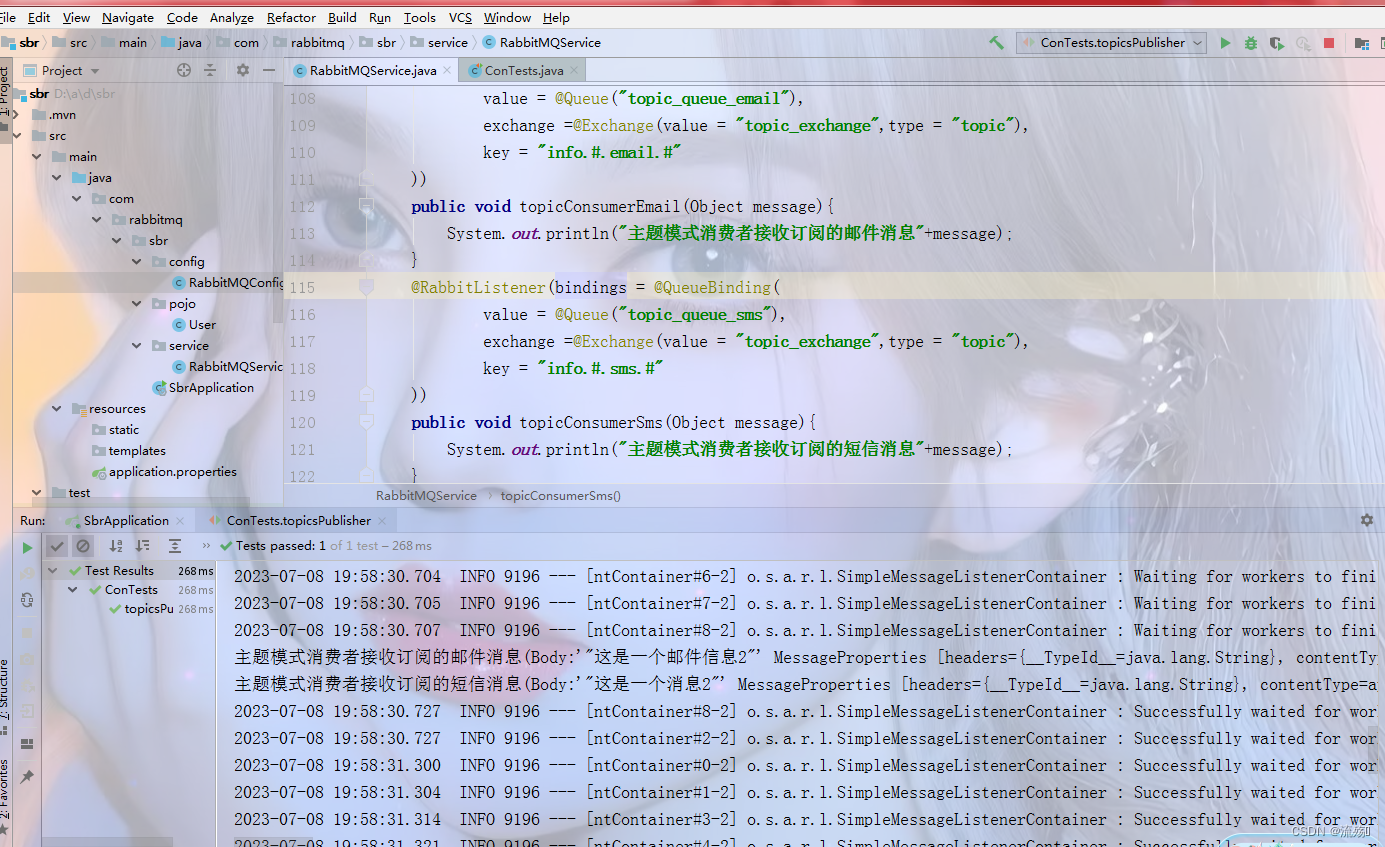
    @RabbitListener(bindings = @QueueBinding(
            value = @Queue("topic_queue_email"),
            exchange =@Exchange(value = "topic_exchange",type = "topic"),
            key = "info.#.email.#"
            ))
    public void topicConsumerEmail(Object message){
        System.out.println("主题模式消费者接收订阅的邮件消息"+message);
    }
    @RabbitListener(bindings = @QueueBinding(
            value = @Queue("topic_queue_sms"),
            exchange =@Exchange(value = "topic_exchange",type = "topic"),
            key = "info.#.sms.#"
    ))
    public void topicConsumerSms(Object message){
        System.out.println("主题模式消费者接收订阅的短信消息"+message);
    }
2.发送消息
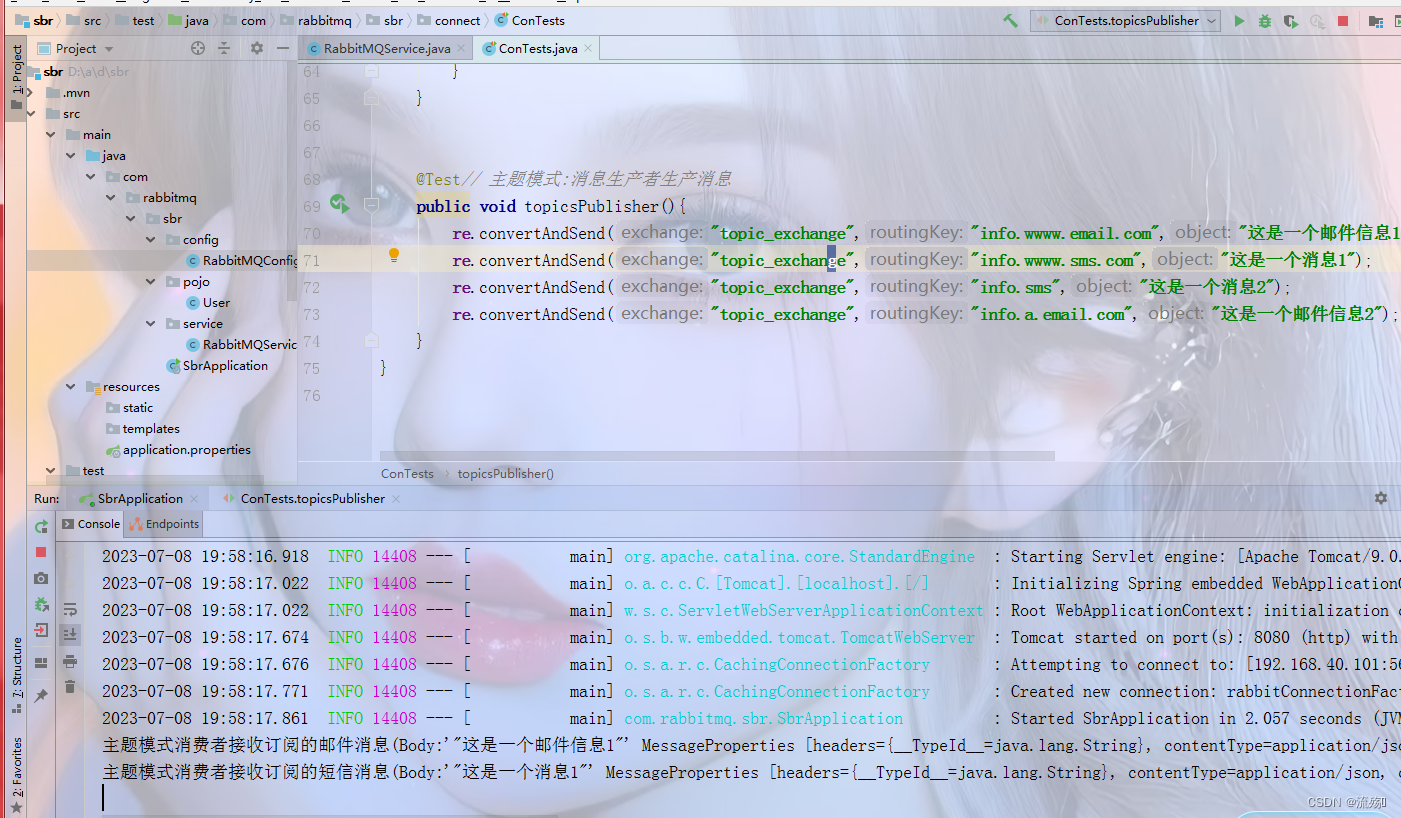
  @Test// 主题模式:消息生产者生产消息
    public void topicsPublisher(){
        re.convertAndSend("topic_exchange","info.wwww.email.com","这是一个邮件信息1");
        re.convertAndSend("topic_exchange","info.wwww.sms.com","这是一个消息1");
        re.convertAndSend("topic_exchange","info.w.sms.com","这是一个消息2");
        re.convertAndSend("topic_exchange","info.a.email.com","这是一个邮件信息2");
    }
自定义key来消费消息
