2.1 创建springboot项目
有两种方法:一种是从官网上下载jar包,然后使用idea的import导入。另一种是直接在idea创建springboot项目。
2.1.1 方法一
进入spring官网(Spring | Home)。
点击projects的spring boot。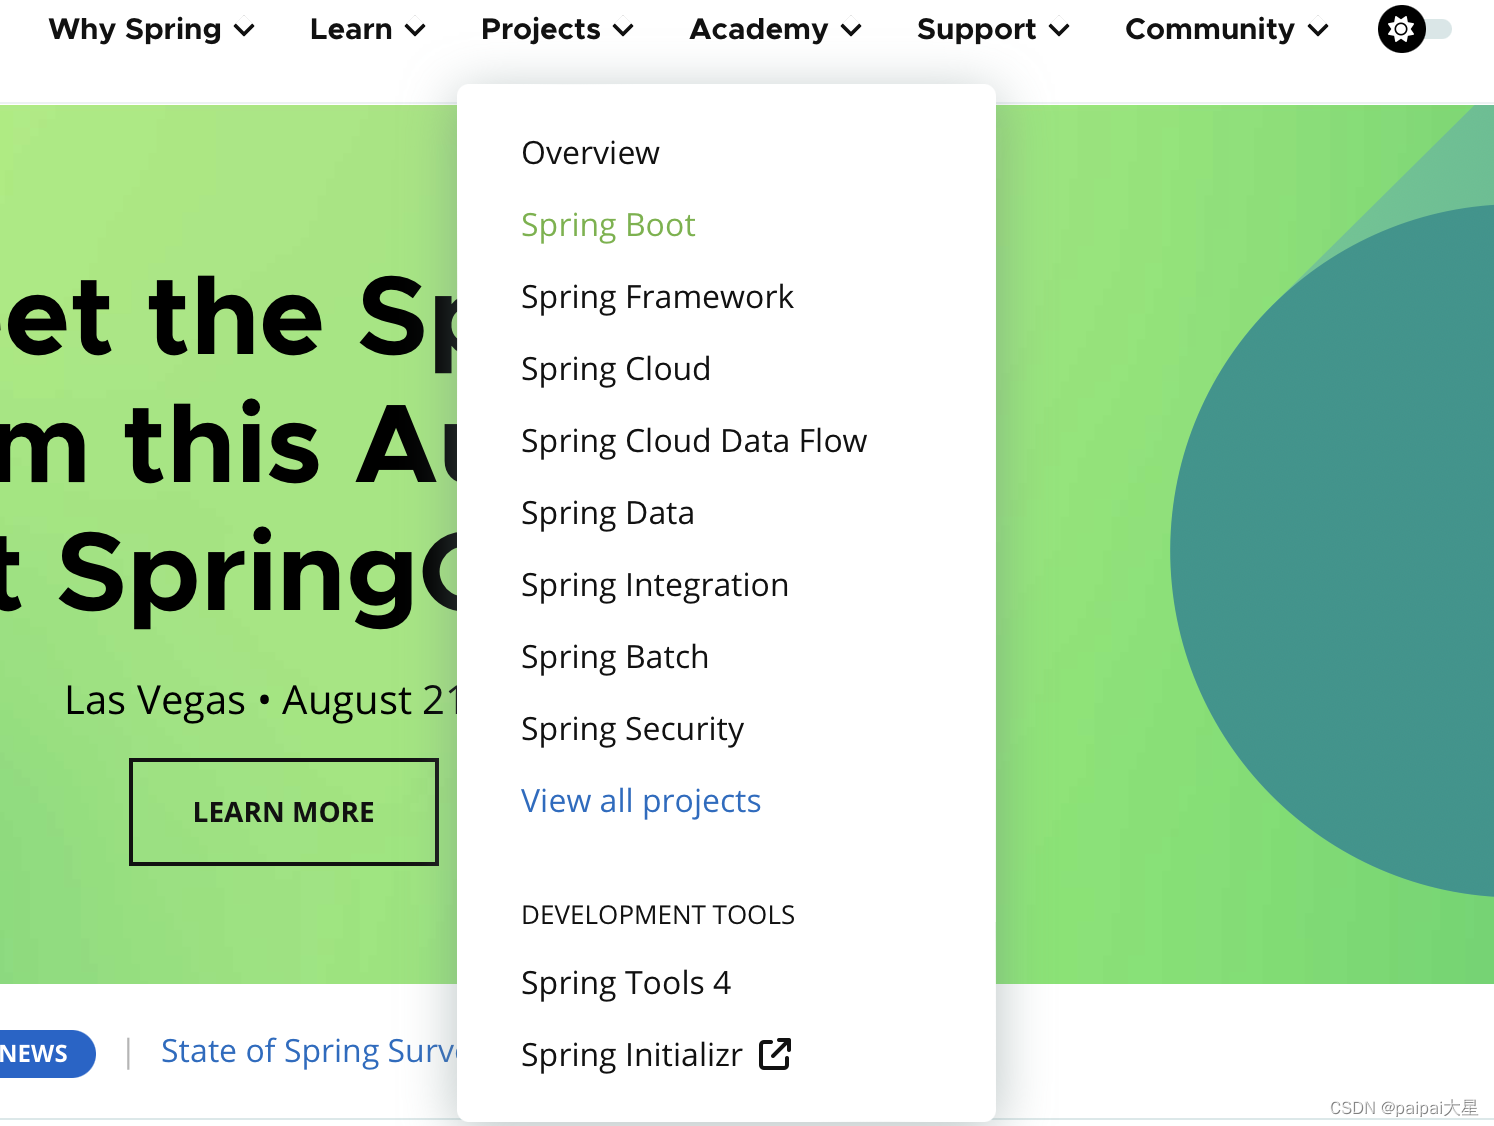
点击overview。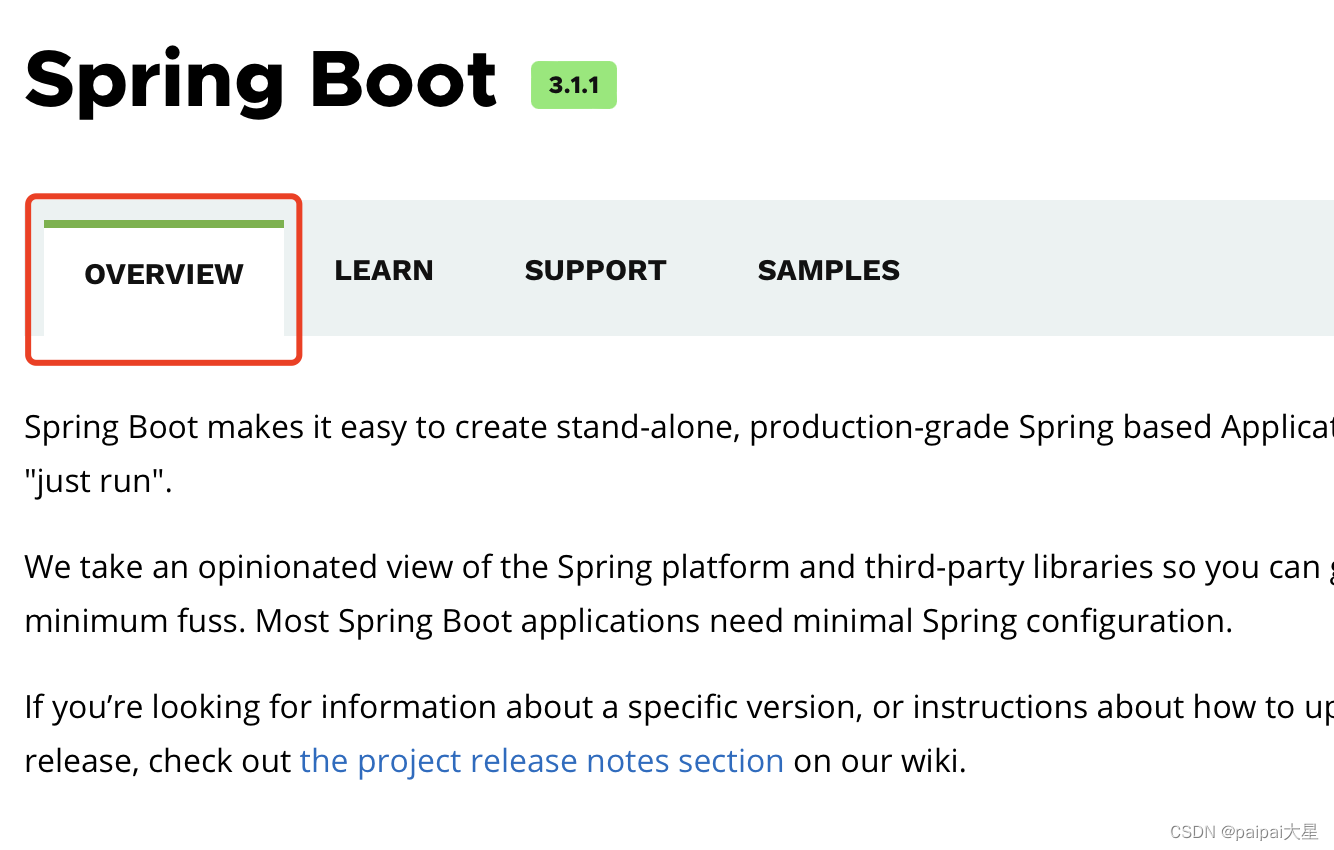
然后往下拉,点击spring initializr。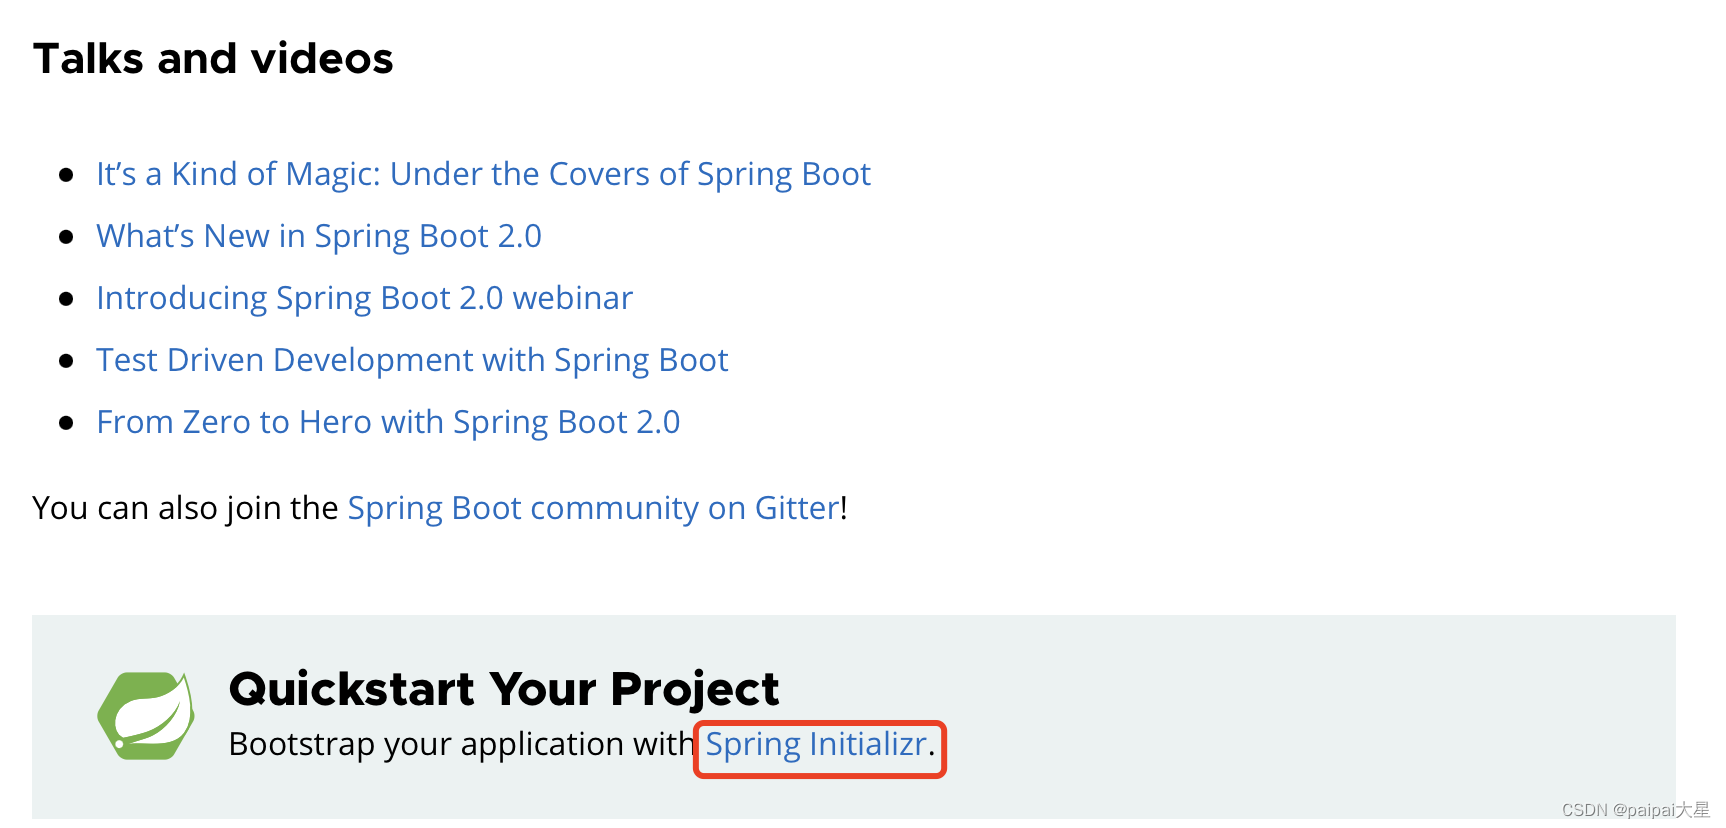
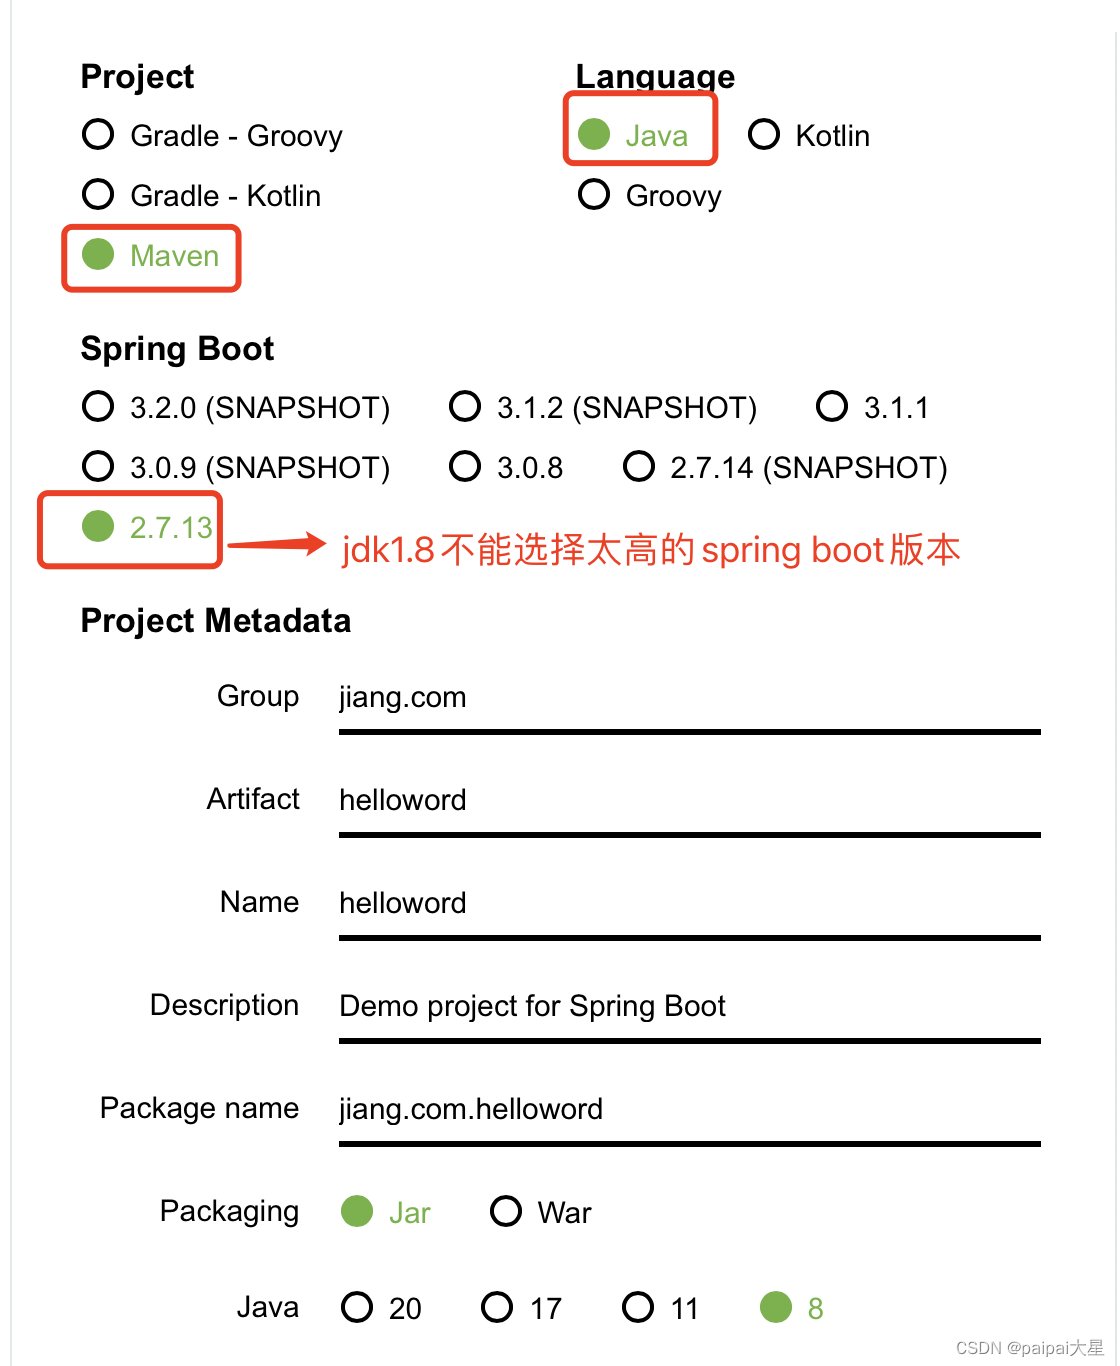
左边的配置可以参考下图:
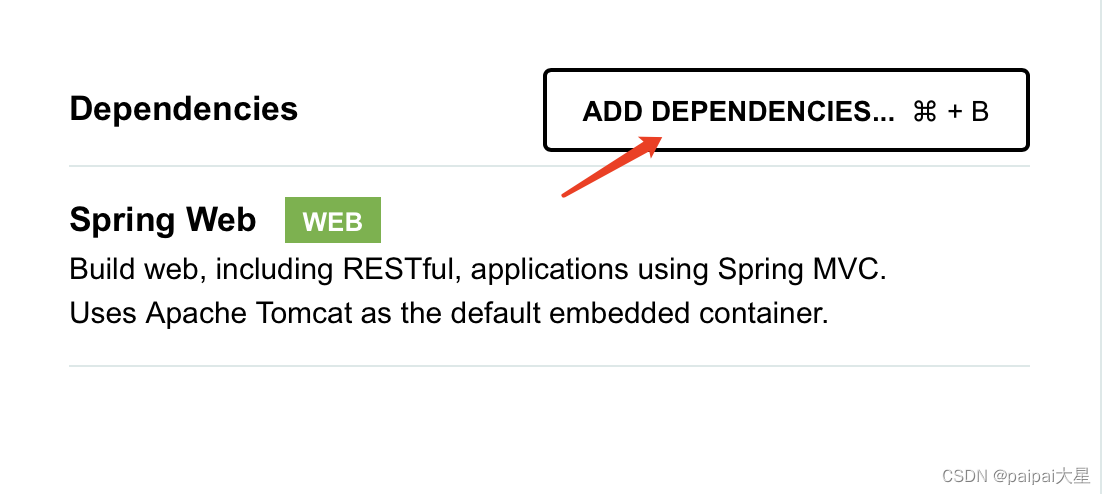
右边的依赖点击ADD。。。
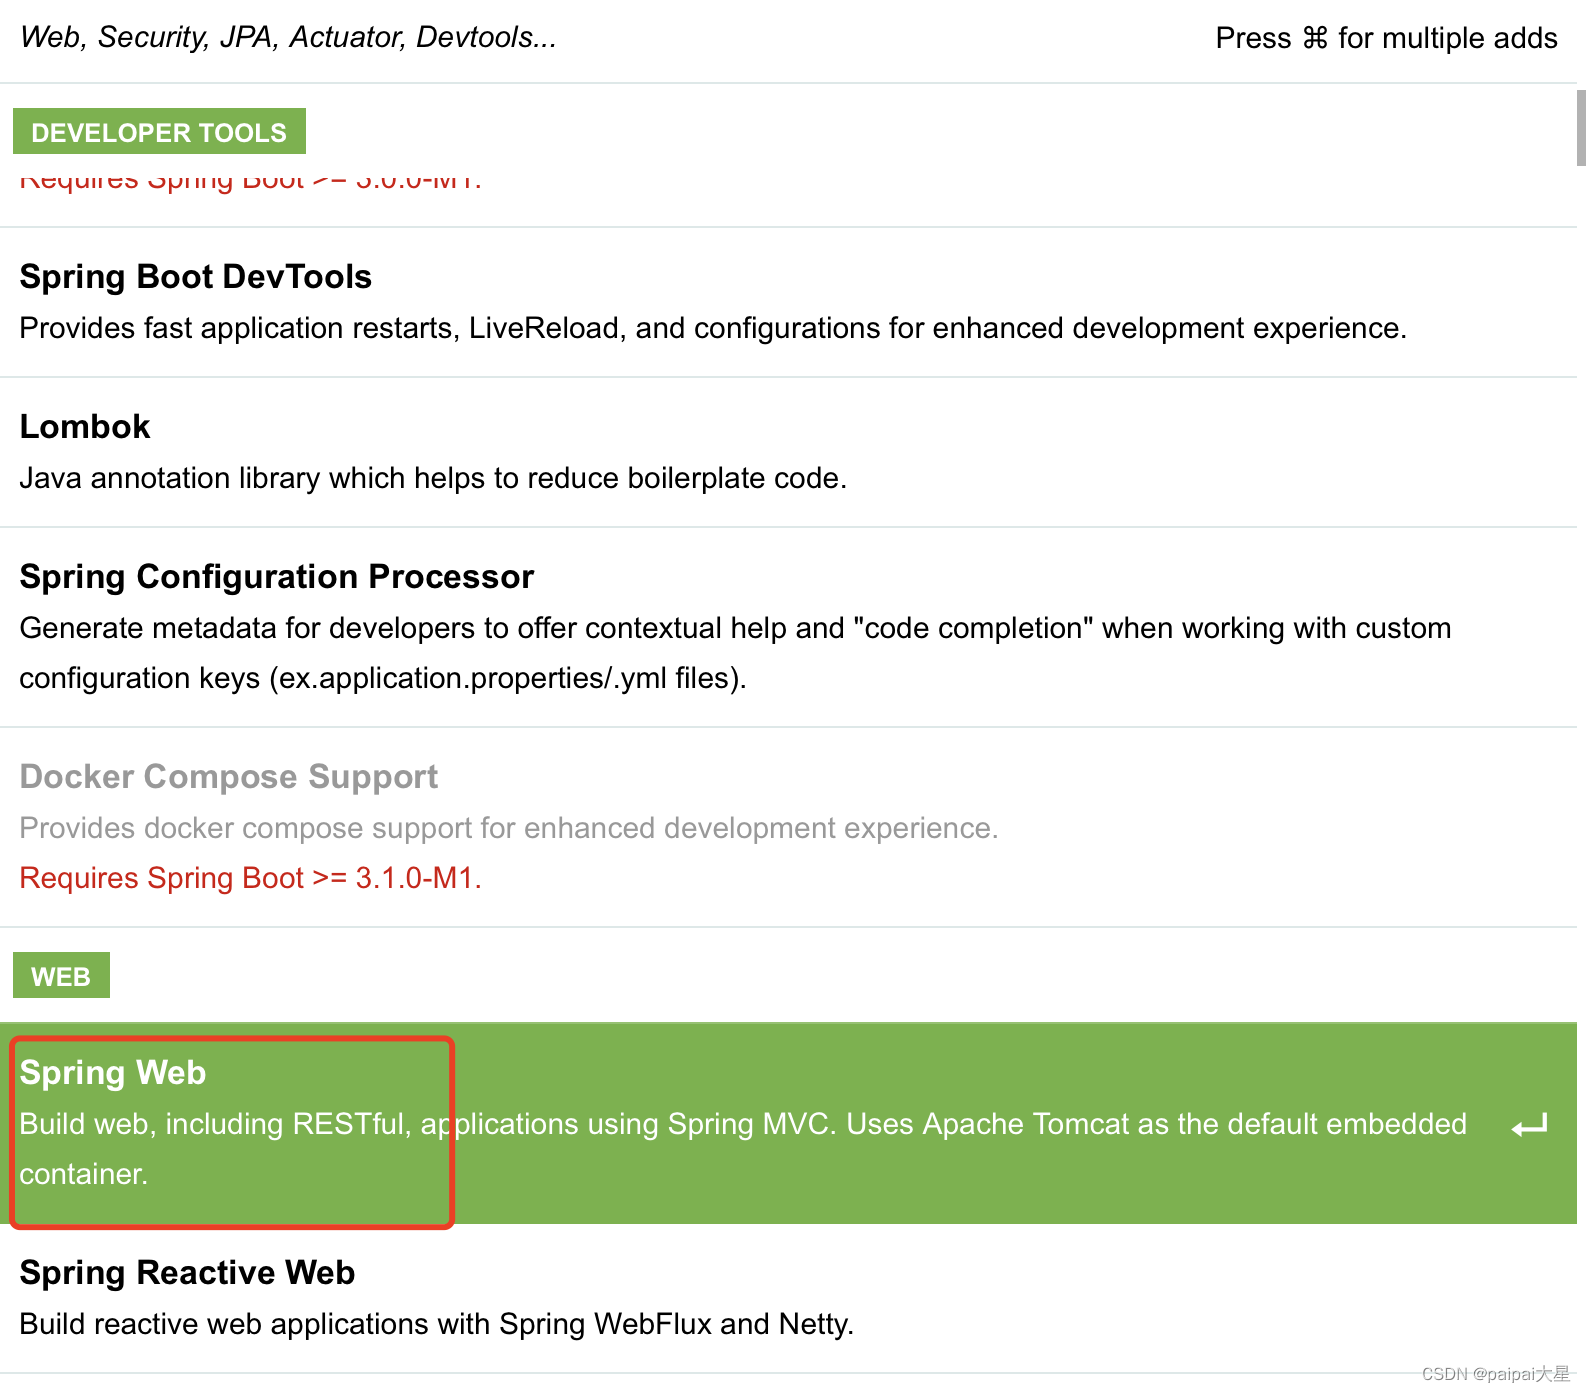
然后选择spring web依赖。
然后点击下方的generate下载即可。

下载下来是zip格式。解压后的目录如下:

然后开始导入。
点击idea的File-->New-->Project from Existing Sources。然后选择helloworld文件夹。

选择maven,点击finish。
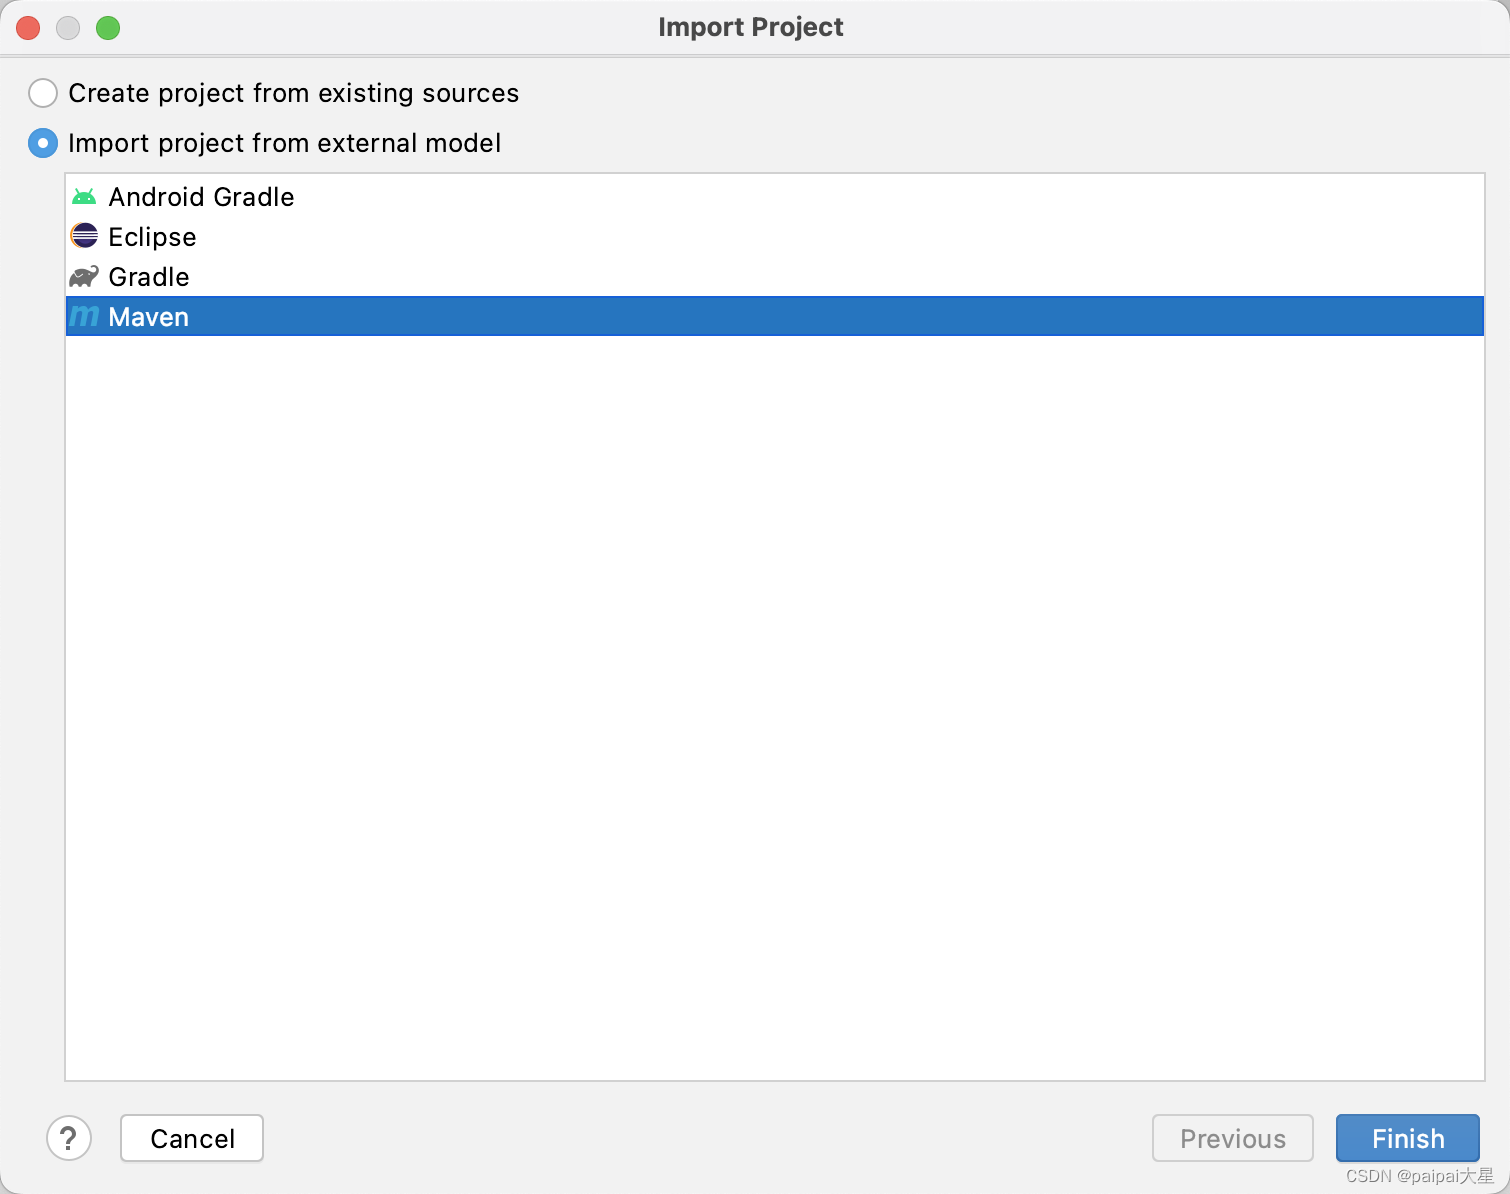
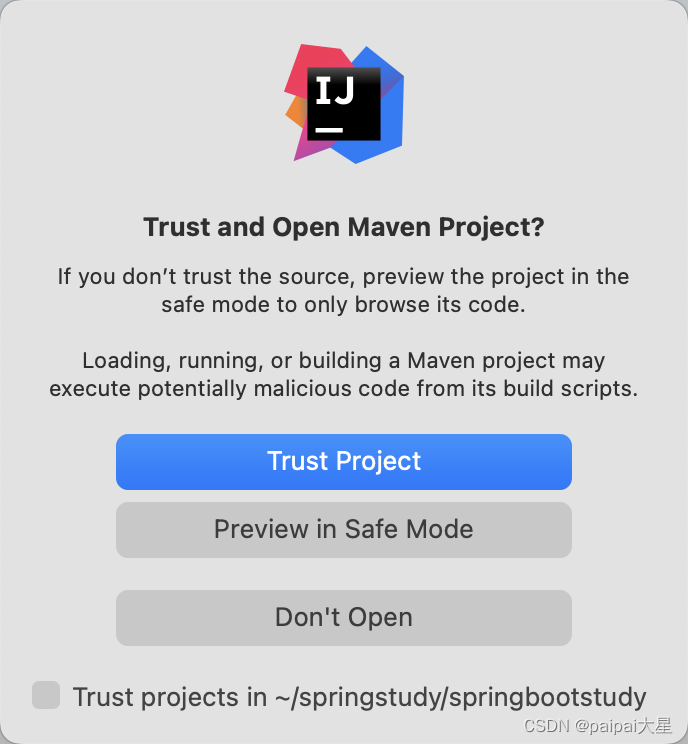
选择信任Trust,等待片刻,即可创建成功。
2.1.2 方法二
打开idea,点击File-->New-->Project。

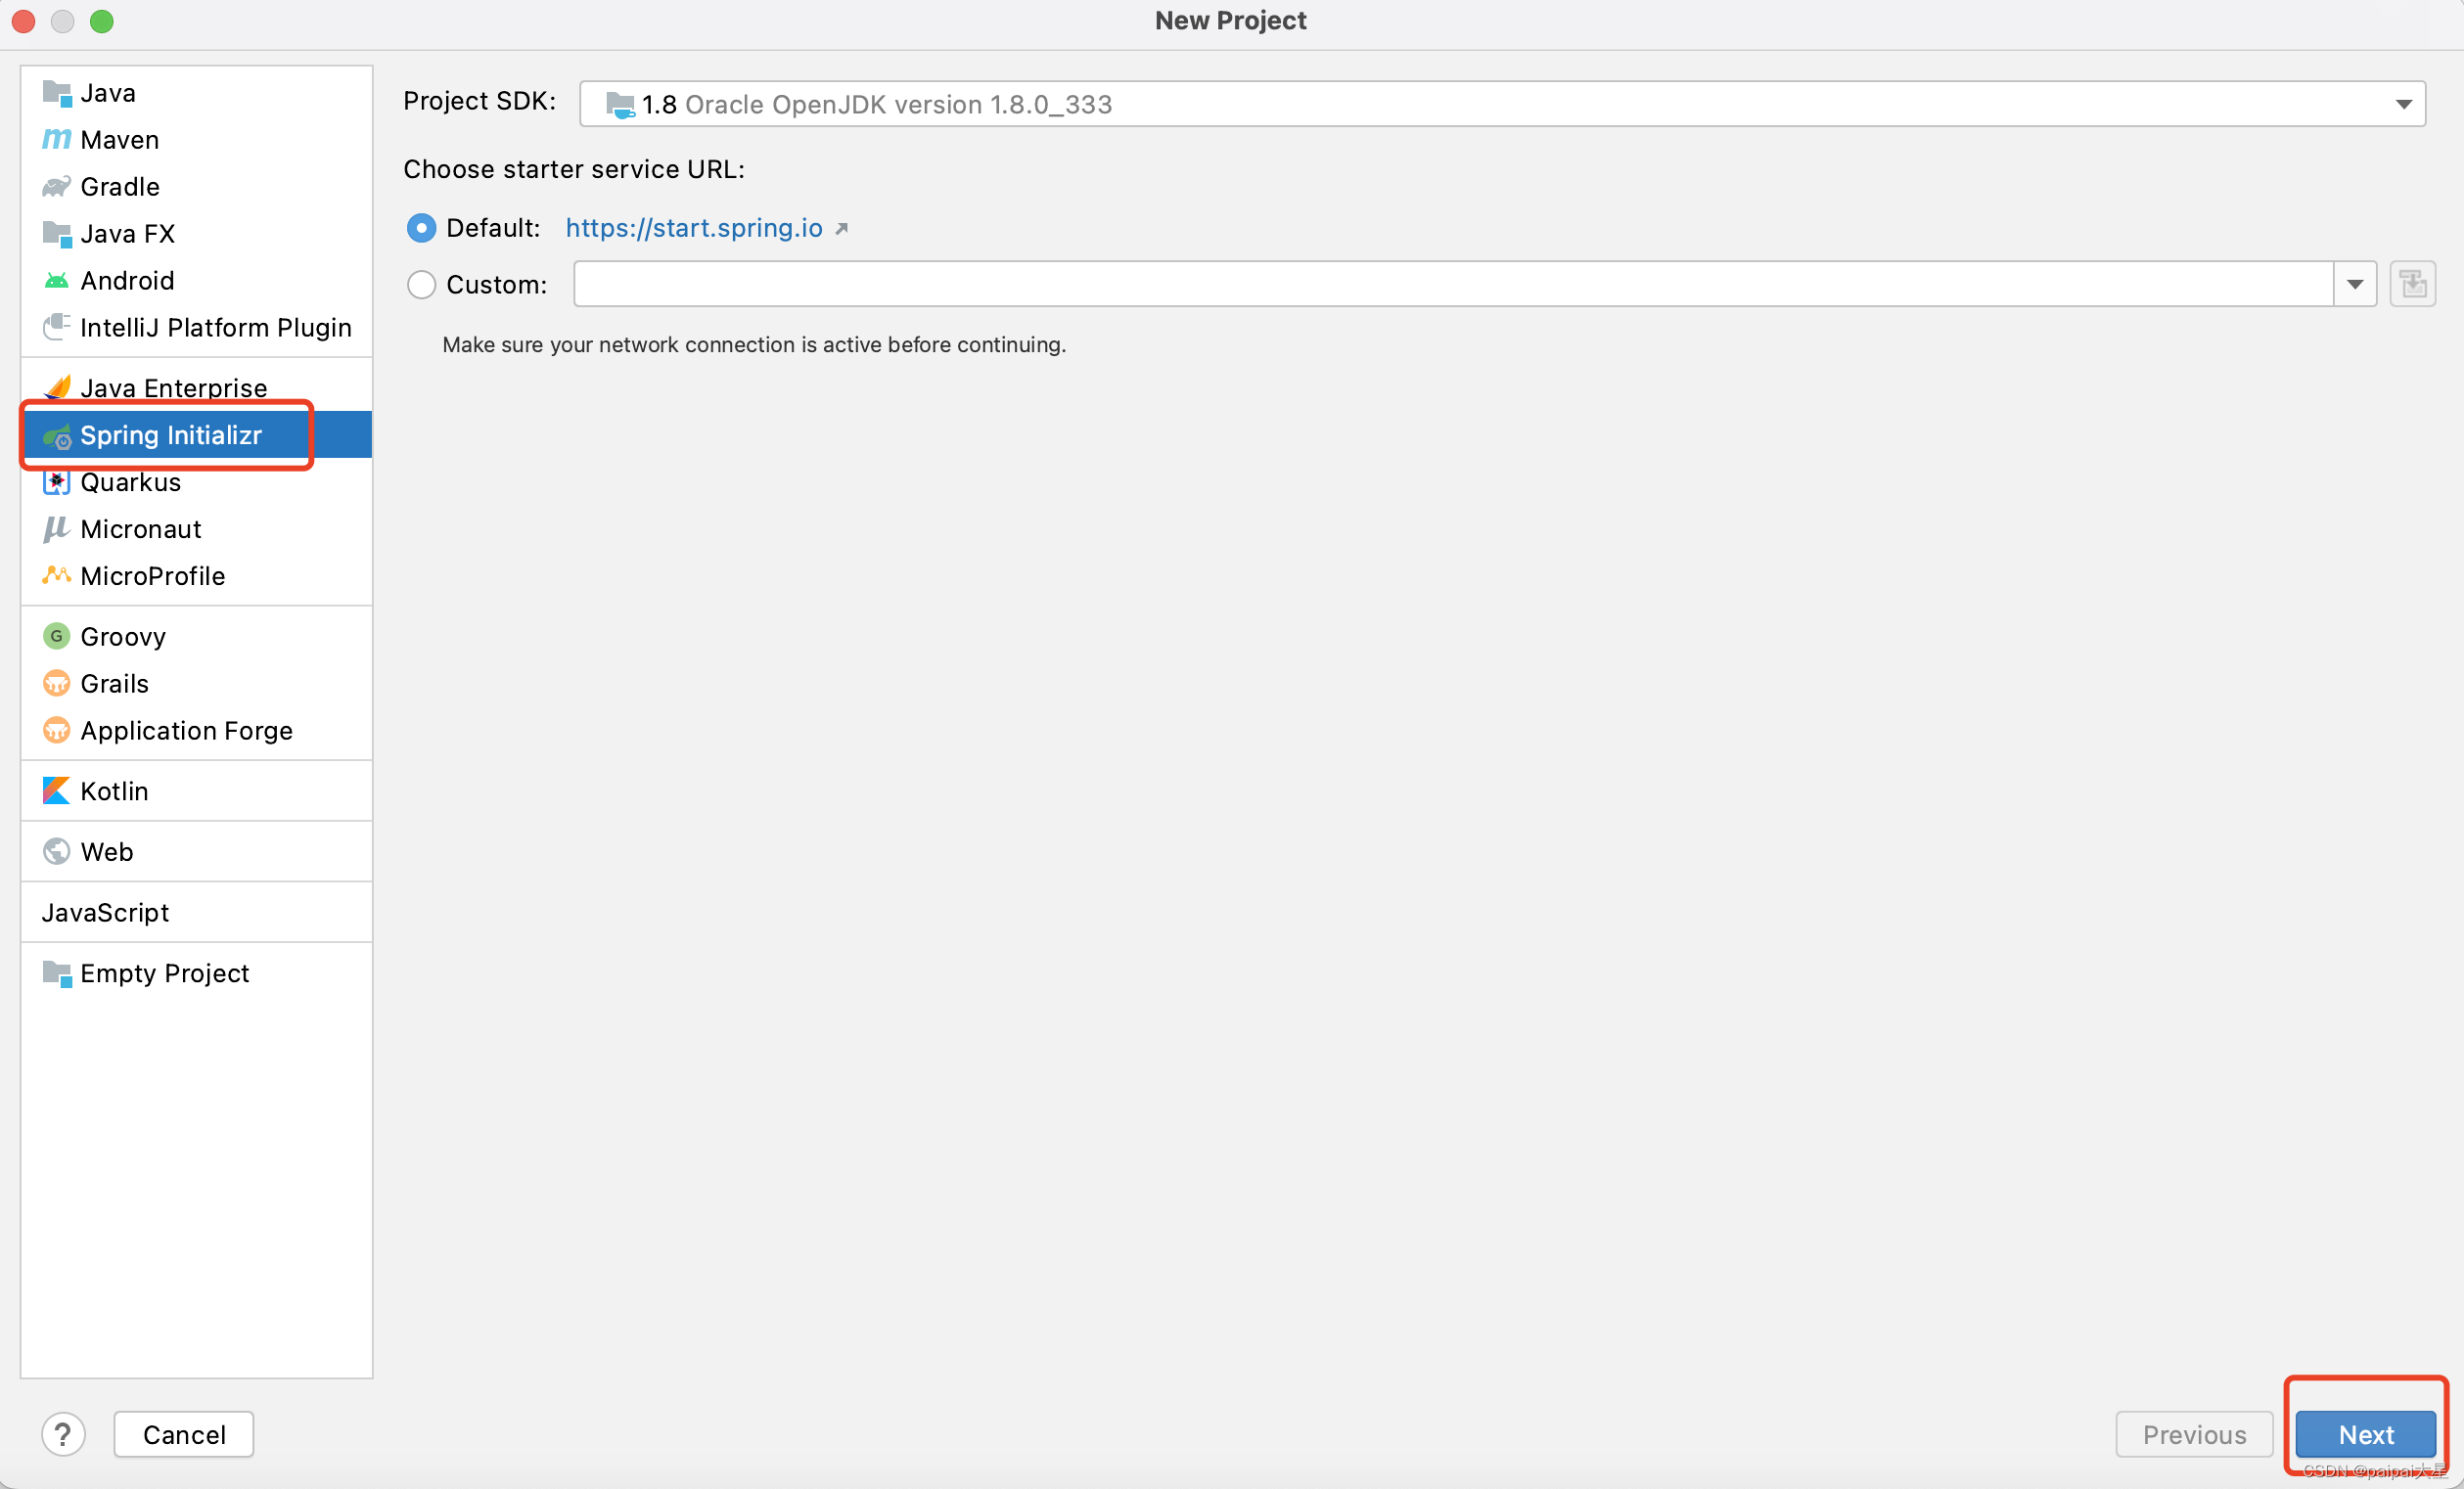
选择spring initializr,然后点击Next。
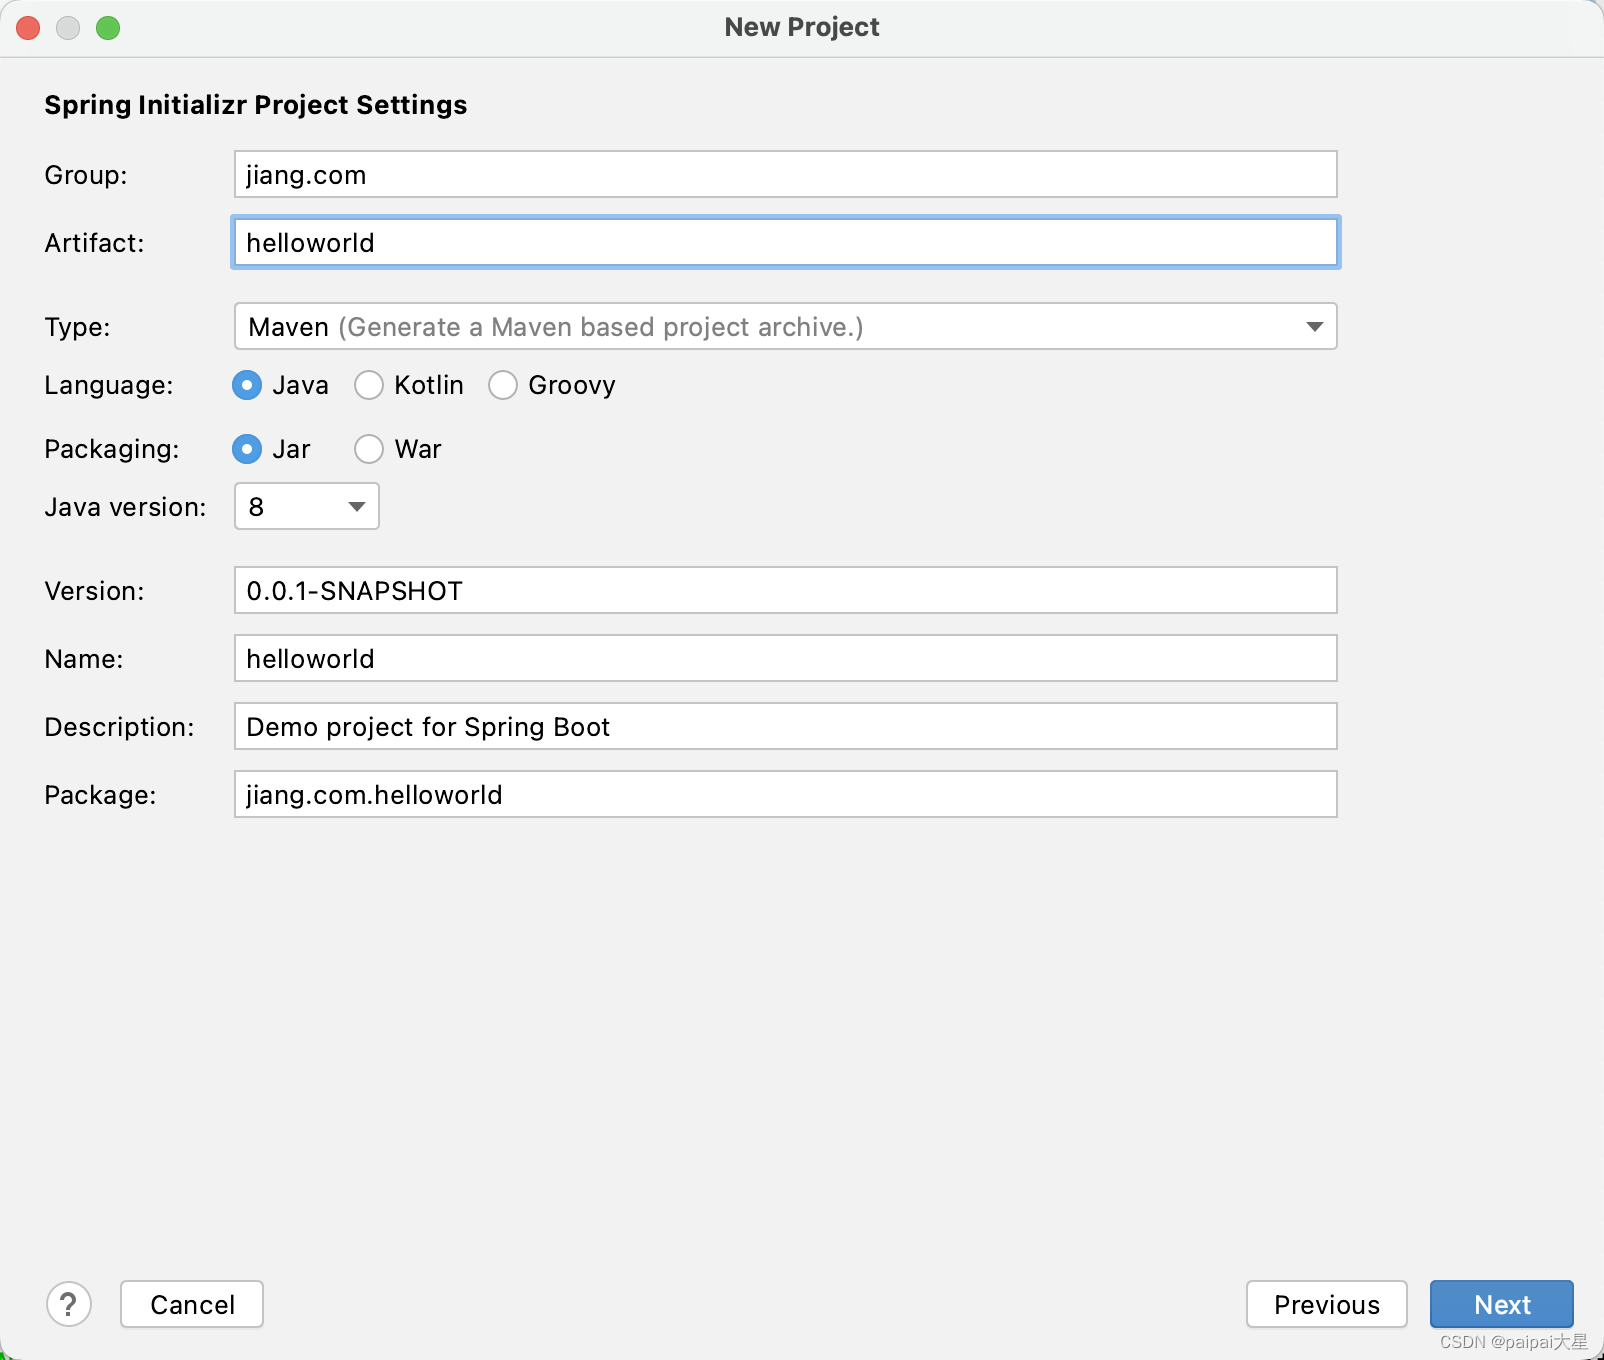
然后进行和maven一样的配置,点击next。
然后选择web-->spring web-->选择spring boot的版本(版本选择最低的,因为太高会和jdk1.8不兼容),然后点击next即可完成创建。
2.2 运行spring boot项目
运行HelloWorldApplication。

在浏览器输入local:8080,出现一个Whitelabel Error Page,说明运行成功了。

然后在helloworld包下创建contrller包。注意,这个包必须和HelloWorldApplication在同一级目录下!

然后在controller包里创建一个叫做HelloController的类。
package jiang.com.helloworld.controller;

import org.springframework.web.bind.annotation.RequestMapping;
import org.springframework.web.bind.annotation.RestController;

@RestController
public class HelloContrller {
    @RequestMapping("/hello")
    public String hello(){
        return "helloWorld!";
    }
}
或者可以这样写这个类。这时就需要访问local:8080/hello/hello这个地址才行。
@RestController
@RequestMapping("/hello")
public class HelloContrller {
    @GetMapping("/hello")
    @ResponseBody
    public String hello(){
        return "helloWorld!";
    }
}
重新运行HelloWorldApplication类,然后在浏览器输入localhost:8080/hello,出现"helloWorld"则证明运行成功!

2.3 各依赖和插件的作用
注意,版本号可以不用写,因为会继承父依赖!
    <!--父依赖-->
    <parent>
        <groupId>org.springframework.boot</groupId>
        <artifactId>spring-boot-starter-parent</artifactId>
        <version>2.7.13</version>
        <relativePath/> <!-- lookup parent from repository -->
    </parent>

    <dependencies>
        <!--启动器-->
        <dependency>
            <groupId>org.springframework.boot</groupId>
            <artifactId>spring-boot-starter</artifactId>
        </dependency>
        <!--web依赖:集成tomcat,配置dispatcherServlet,xml-->
        <dependency>
            <groupId>org.springframework.boot</groupId>
            <artifactId>spring-boot-starter-web</artifactId>
        </dependency>

        <!--所有的springboot依赖都是spring-boot-starter开头的-->
        <!--单元测试-->
        <dependency>
            <groupId>org.springframework.boot</groupId>
            <artifactId>spring-boot-starter-test</artifactId>
            <scope>test</scope>
        </dependency>

    </dependencies>

    <build>
        <!--打jar包插件-->
        <plugins>
            <plugin>
                <groupId>org.springframework.boot</groupId>
                <artifactId>spring-boot-maven-plugin</artifactId>
            </plugin>
        </plugins>
    </build>
2.4 将springboot程序打包成jar包,并在终端运行
双击maven的生命周期中的package。

打包完后,会在target文件夹中生成对应的jar包,helloworld-0.0.1-SNAPSHOT.jar。
只需进入target目录,然后输入java -jar helloworld-0.0.1-SNAPSHOT.jar,即可运行。


![(文件[夹]批量分类整理_多级匹配_交叉匹配_路径结构交叉调整)文件[夹]批量复制](https://img-blog.csdnimg.cn/481ae9f3e5174a4a8d3777dc62f4814b.png)


