在开发 Android 应用时,对话框是一个常见的 UI 元素,用于向用户显示信息或获取用户的反馈。在 Jetpack Compose 中,我们可以使用 AlertDialog 组件来创建对话框。在这篇博客中,我们将深入了解如何使用 Jetpack Compose 的 AlertDialog 组件。
一、什么是 Jetpack Compose?
Jetpack Compose 是一个现代的、功能齐全的 Android UI 工具包,它使用 Kotlin 编程语言的强大功能,简化了 UI 设计和实现的过程。
二、开始使用 AlertDialog
首先,在你的 Compose 函数中,你需要一个状态变量来控制 AlertDialog 的显示。
val showDialog by remember { mutableStateOf(true) }
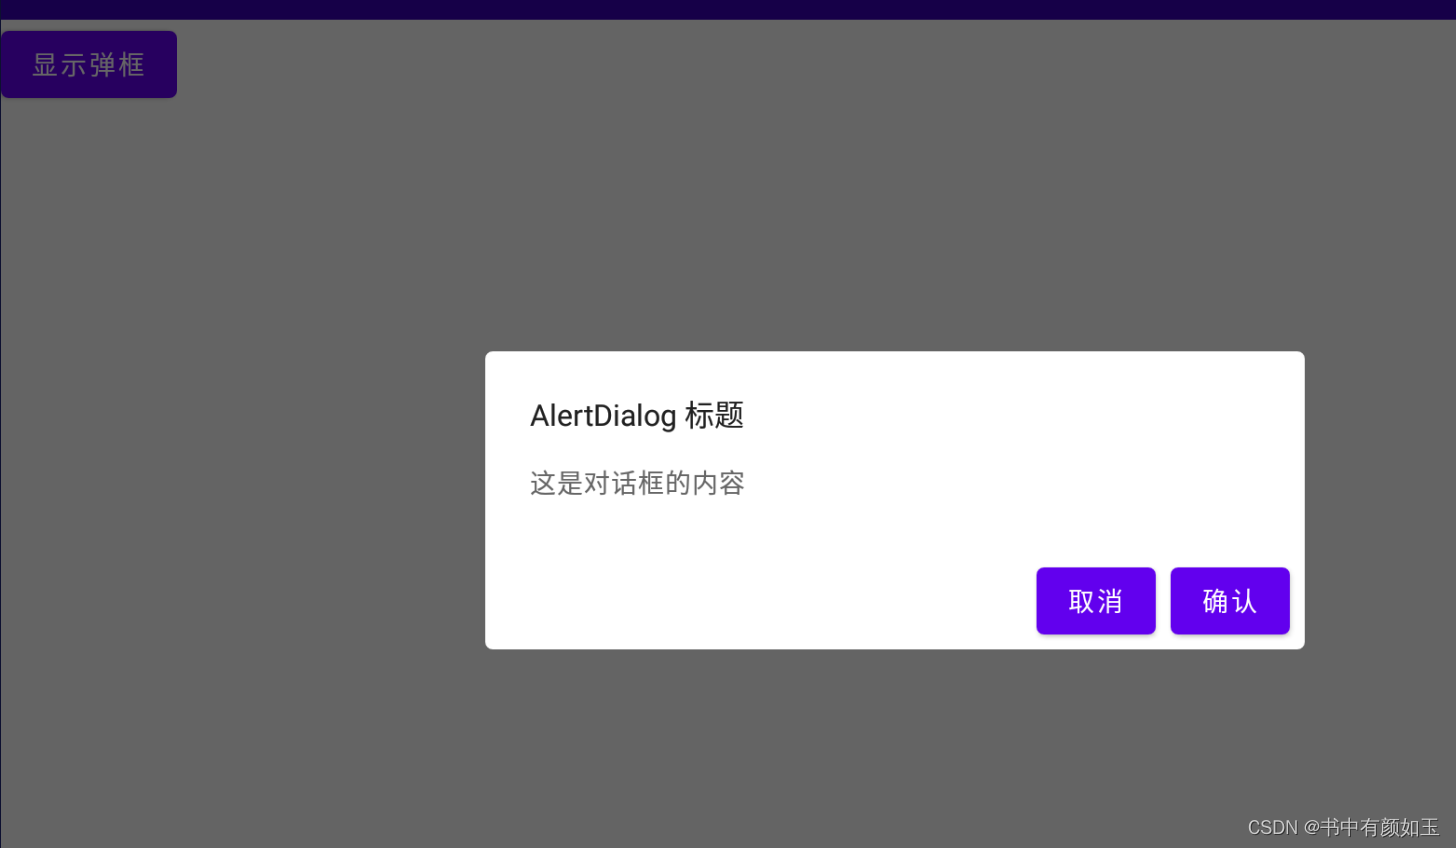
然后,你可以使用 AlertDialog 组件,并使用参数来定制它的外观和行为。
@Preview
@Composable
fun alertDialog(){
    var showDialog by remember {
        mutableStateOf(true)
    }
    Button(onClick = {  showDialog=true}) {
        Text(text = "显示弹框")
    }
    if(showDialog){
        AlertDialog(onDismissRequest = { /*TODO*/ },
        title = {
            Text(text = "AlertDialog 标题")
        },
            text = {
                Text(text = "这是对话框的内容")
            },
            confirmButton = {
                Button(onClick = { showDialog=false }) {
                    Text(text = "确认")
                }
            },
            dismissButton = {
                Button(onClick = { showDialog=false }) {
                    Text(text = "取消")
                }
            }
        )
    }
}
三、定制 AlertDialog
1.改变背景颜色
你可以通过设置 backgroundColor 参数来改变对话框的背景颜色。
AlertDialog(
// ...
backgroundColor = Color.Red
)
2.添加自定义视图
如果你需要在对话框中添加自定义视图,你可以使用 buttons 参数。
AlertDialog(
// ...
buttons = {
Column {
// 在这里添加你的自定义视图
}
}
)
3.高级用法 - 创建一个可复用的 AlertDialog 组件
在大型项目中,你可能希望创建一个可复用的 AlertDialog 组件,以保持代码的整洁和一致性。
@Composable
fun CustomAlertDialog(
    title:String,
    message:String,
    onConfirm:() -> Unit,
    onDismiss:() -> Unit
){
    AlertDialog(
        onDismissRequest = onDismiss,
        title = {
            Text(text = title)
        },
        text = { Text(text = message)},
        confirmButton = {
            Button(onClick =  onConfirm) {
                Text(text = "确认")
            }
        },
        dismissButton = {
            Button(onClick = onDismiss) {
                Text(text = "取消")
            }
        }
    )
}
四、完整Demo
@Preview
@Composable
fun alertDialog(){
    Column(){
        var showDialog by remember {
            mutableStateOf(true)
        }
        Button(onClick = {  showDialog=true}) {
            Text(text = "显示弹框")
        }
        if(showDialog){
            AlertDialog(
                onDismissRequest = { /*TODO*/ },
                title = {
                    Text(text = "AlertDialog 标题")
                },
                text = {
                    Text(text = "这是对话框的内容")
                },
                confirmButton = {
                    Button(onClick = { showDialog=false }) {
                        Text(text = "确认")
                    }
                },
                dismissButton = {
                    Button(onClick = { showDialog=false }) {
                        Text(text = "取消")
                    }
                },
                backgroundColor = Color.Red
            )
        }
        Spacer(modifier = Modifier.height(50.dp))
        var showDialog1 by remember {
            mutableStateOf(false)
        }
        Button(onClick = { showDialog1=true }) {
            Text(text = "弹框1")
        }
        if(showDialog1){
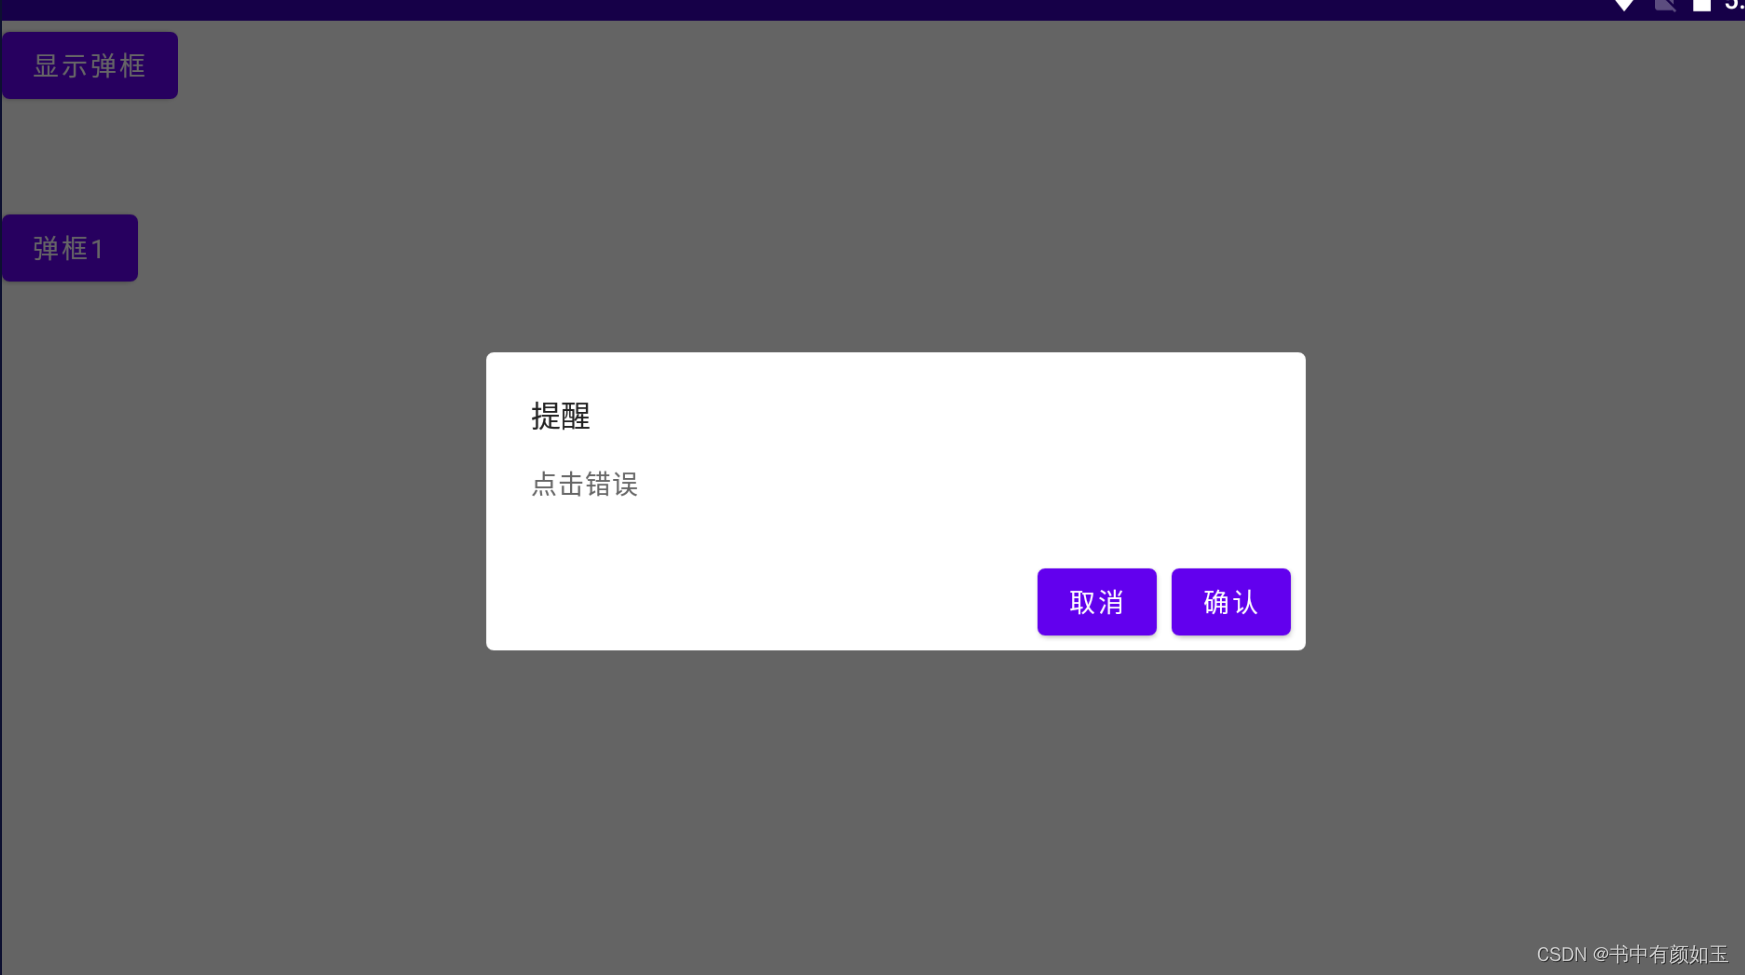
            CustomAlertDialog(title ="提醒" , message = "点击错误", onConfirm = { showDialog1=false}, onDismiss = {showDialog1=false})
        }
    }


}

@Composable
fun CustomAlertDialog(
    title:String,
    message:String,
    onConfirm:() -> Unit,
    onDismiss:() -> Unit
){
    AlertDialog(
        onDismissRequest = onDismiss,
        title = {
            Text(text = title)
        },
        text = { Text(text = message)},
        confirmButton = {
            Button(onClick =  onConfirm) {
                Text(text = "确认")
            }
        },
        dismissButton = {
            Button(onClick = onDismiss) {
                Text(text = "取消")
            }
        }
    )
}
然后,你可以在你的项目中反复使用这个自定义的 AlertDialog 组件。
结论
AlertDialog 是 Jetpack Compose 中一个非常有用的组件,允许开发者以声明式的方式创建对话框。通过灵活使用其属性和参数,我们可以创建出丰富多样的对话框来满足各种需求。
在你的下一个 Android 项目中,尝试使用 Jetpack Compose 的 AlertDialog 组件,你会发现它比传统的 Android 对话框更加简单、灵活。

