环境准备
项目地址:https://github.com/imClumsyPanda/langchain-ChatGLM
下载chatglm-6b模型到本地,大约13G:
https://huggingface.co/THUDM/chatglm-6b
里面的文件需要一个个手动点击下载,点击下载时,可能需要多次点击才有响应,下载中断也需要重新多次点击:

查看服务器cuda版本:
(base) ml@amax:~/anaconda3/envs/python311/bin$ nvidia-smi
Thu Jun 15 09:54:08 2023
+-----------------------------------------------------------------------------+
| NVIDIA-SMI 470.57.02    Driver Version: 470.57.02    CUDA Version: 11.4     |
|-------------------------------+----------------------+----------------------+
安装python,官方测试了python3.8~3.10,于是我安装了Python 3.9.16:
conda create --name langchain_chatglm python=3.9
下载langchain_chatglm代码:
git clone https://github.com/imClumsyPanda/langchain-ChatGLM.git
切换到刚安装python环境,安装langchain_chatglm所依赖的模块:
cd langchain-ChatGLM-master
pip install -r requirements.txt
FastChat部署大模型服务
下载FastChat代码:
git clone https://github.com/lm-sys/FastChat.git
切换到FastChat目录,执行下列操作安装fschat模块:
cd FastChat
pip3 install --upgrade pip
pip3 install -e .
在任意路径下开启三个终端界面,分别执行执行:
终端1:python3 -m fastchat.serve.controller
终端2:CUDA_VISIBLE_DEVICES=0 python3 -m fastchat.serve.model_worker --model-name 'chatglm-6b' --model-path /data/nlp/wen/llm_experiment/chatglm-6b-v1-1
终端3:python3 -m fastchat.serve.openai_api_server --host 0.0.0.0 --port 8001
如上命令执行出现以下类似错误的信息,可以不用管,只要进程不退出即可:
2023-06-15 13:49:11 | ERROR | stderr | INFO:     Started server process [1385464]
2023-06-15 13:49:11 | ERROR | stderr | INFO:     Waiting for application startup.
2023-06-15 13:49:11 | ERROR | stderr | INFO:     Application startup complete.
2023-06-15 13:49:11 | ERROR | stderr | INFO:     Uvicorn running on http://localhost:21001 (Press CTRL+C to quit)
交互方式1-Web_UI
新开第4个终端窗口,切换到langchain-ChatGLM-master目录,修改配置代码:
cd ./langchain-ChatGLM-master/configs/
修改配置文件model_config.py中字典llm_model_dict内"fastchat-chatglm-6b"的值,如下:
    "fastchat-chatglm-6b": {
        "name": "chatglm-6b",  # "name"修改为fastchat服务中的"model_name"
        "pretrained_model_name": "chatglm-6b",
        "local_model_path": None,
        "provides": "FastChatOpenAILLM",  # 使用fastchat api`在这里插入代码片`时,需保证"provides"为"FastChatOpenAILLM"
        "api_base_url": "http://localhost:8001/v1"  # "name"修改为fastchat服务中的"api_base_url"
    }
同上修改文件model_config.py中的:
# LLM 名称
LLM_MODEL = "fastchat-chatglm-6b"
运行对话界面:
cd ./langchain-ChatGLM-master/
mkdir vector_store   # 创建存放知识文档的目录,名字必须是这个,否则要针对性改其他代码
python3 webui.py
报错:
requests.exceptions.ConnectionError: ('Connection aborted.', ConnectionResetError(104, 'Connection reset by peer'))
经定位,是词向量模型未能从Hugging Face网站上下载到的问题,于是从配置文件找到所使用的模型名,找到模型所在网址:
https://www.huggingface.co/GanymedeNil/text2vec-large-chinese
下载到词向量生成模型,传到服务器,然后修改配置文件model_config.py,将词向量模型路径改成服务器本地的词向量模型路径:

之后运行webui.py代码还是出错,说无法找到本地语言模型路径,这个很奇怪,我配置的fastchat已经启用了大语言模型,怎么还会去加载本地语言模型,最后发现同一台服务器因另一个成员也在运行langchain_chatglm,他跑的config文件已经常驻内存中,导致我配置的config文件无法生效!!后面我干脆修改我自己的配置文件目录名,确保导入的配置文件是我自己的,最终跑通了整个流程。
访问到的页面效果:
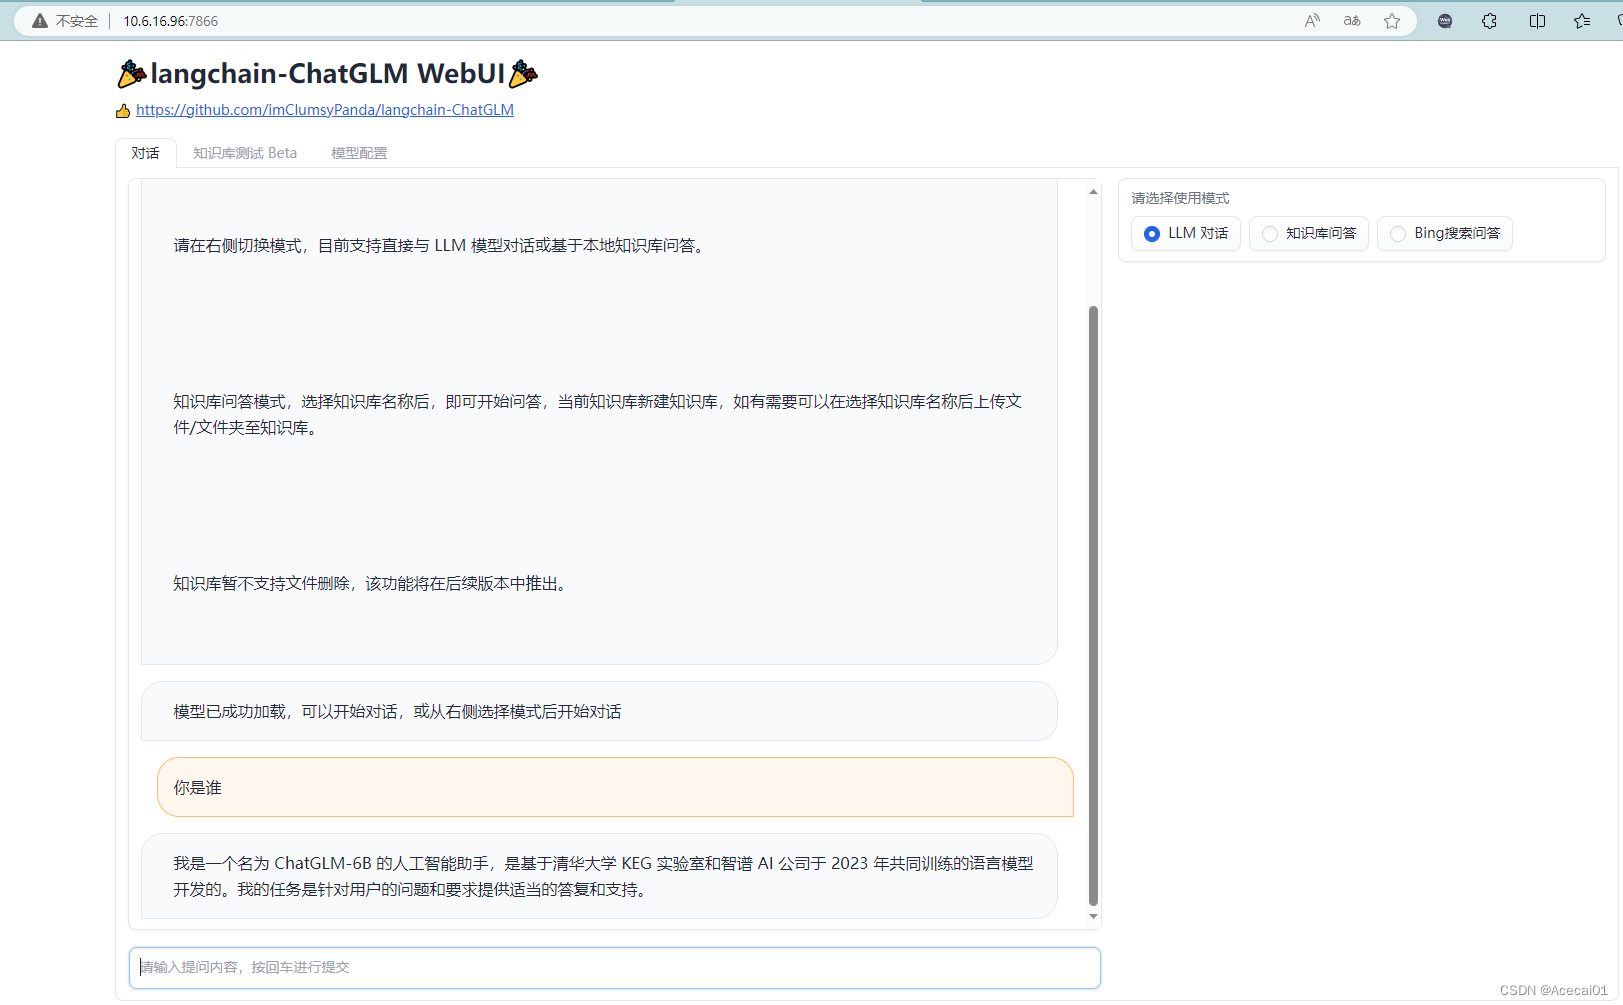
最后需要注意的是FastChat支持启动的模型如下:
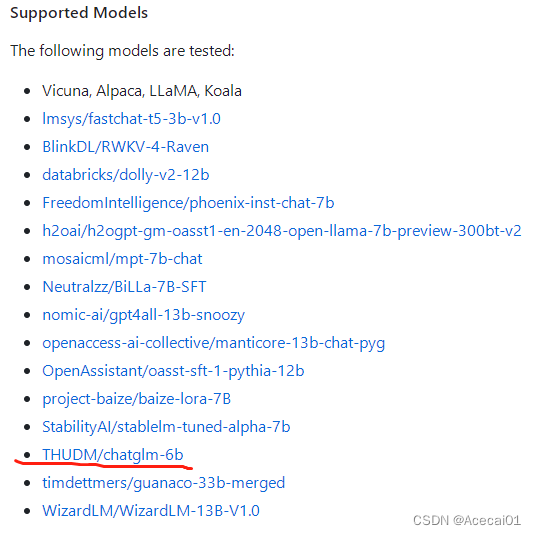
chatglm-6b的量化模型"THUDM/chatglm-6b-int4"还不能被FastChat支持,服务启动不会报错,但访问会报错。
交互方式2-VUE 前端页面
新开第4个终端窗口,参考上一节配置词向量模型参数后,不执行web_ui.py,而是执行:
python3 api.py
新开第5个终端窗口,启动了api服务,之后执行以下脚本体验基于 VUE 的前端页面:
$ cd views
$ pnpm i
$ npm run dev
注意执行以上命令需要安装nodejs,npm,pnpm,其中nodejs必须是18版本以上的。
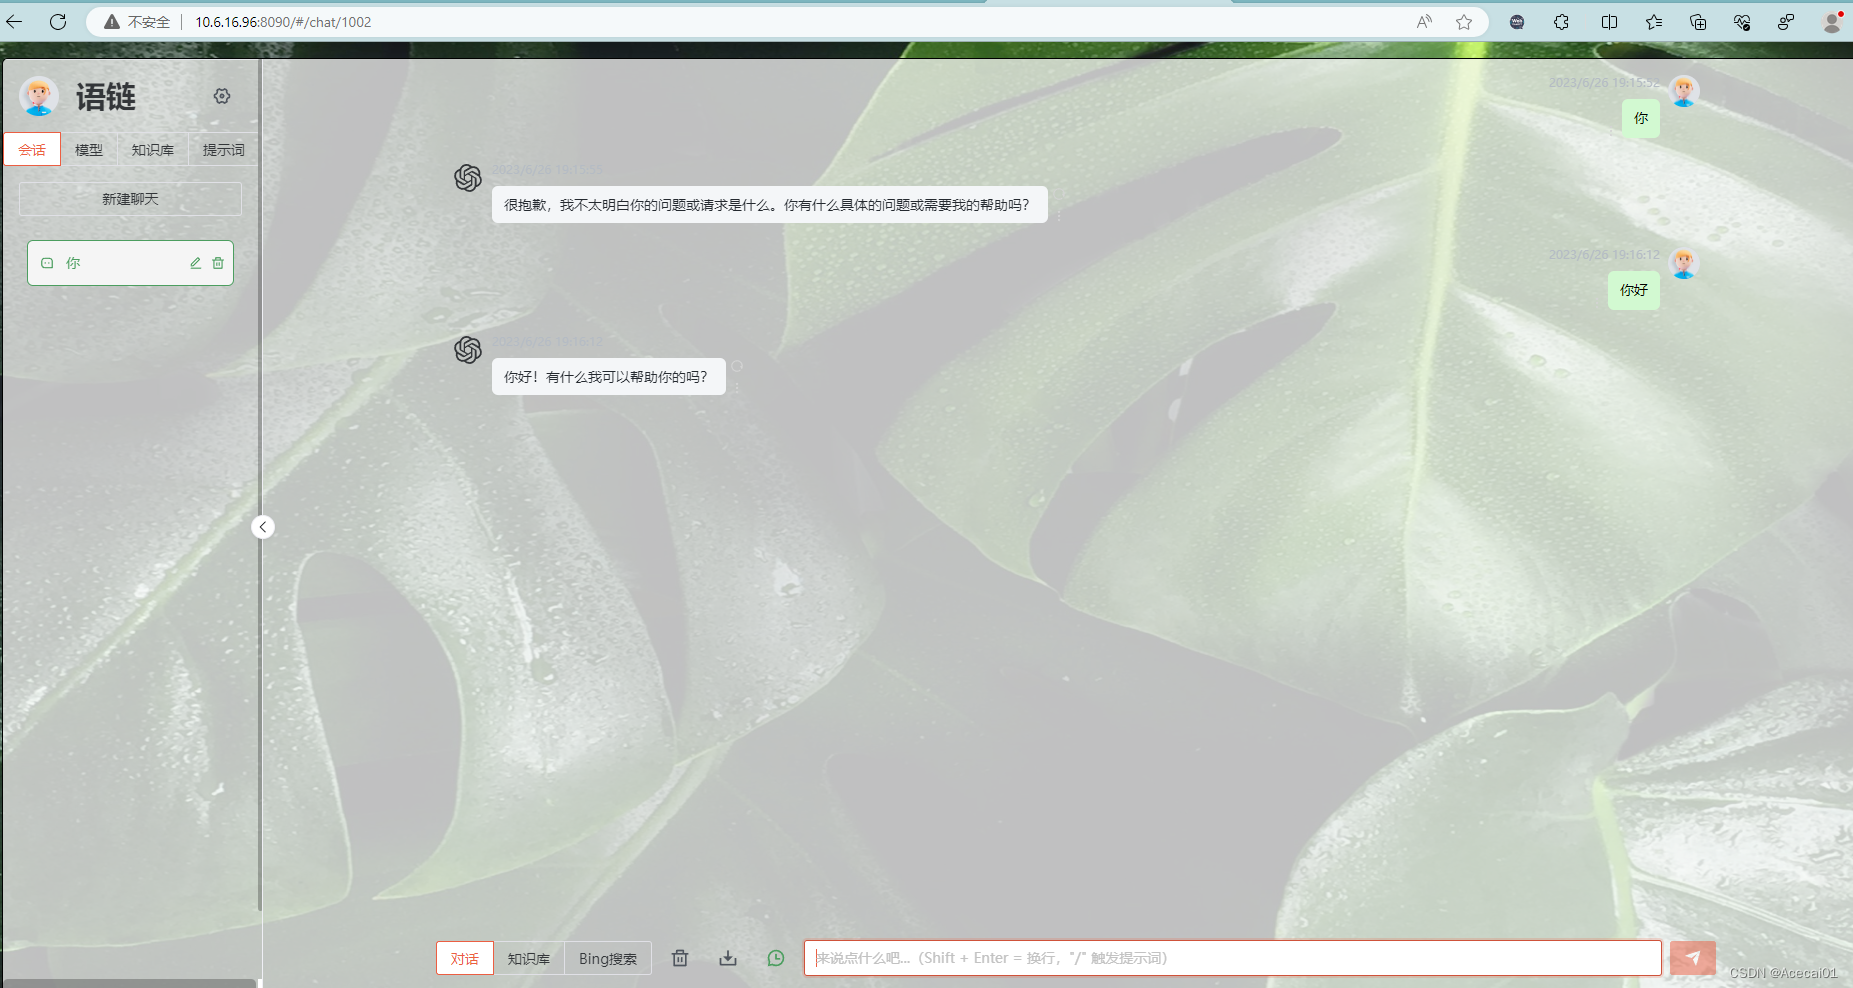
本地浏览器访问页面如下:

![[Arduino] ESP32开发 - LCD1602显示实验](https://img-blog.csdnimg.cn/06850c0031af496c9de8b4c3cbb0e196.png)

