- "Request sign ln Initiate failed with message:read ECONNRESET, request id: 6, error code:-32603 " .在获得github认证后的登录设备验证阶段弹出。此处应该为login

- 弹出异常,方法一:先使用Github 520进行动态替换,打开自己hosts进行手动替换,查看在没有代理(工具)的情况下能否打开gtihub,我一直能ping通github连接,但打不开。这个办法对我无效。
# GitHub520 Host Start
140.82.112.25                 alive.github.com
140.82.114.6                  api.github.com
185.199.110.153               assets-cdn.github.com
185.199.108.133               avatars.githubusercontent.com
185.199.108.133               avatars0.githubusercontent.com
185.199.108.133               avatars1.githubusercontent.com
185.199.108.133               avatars2.githubusercontent.com
185.199.108.133               avatars3.githubusercontent.com
185.199.108.133               avatars4.githubusercontent.com
185.199.108.133               avatars5.githubusercontent.com
185.199.108.133               camo.githubusercontent.com
140.82.113.22                 central.github.com
185.199.108.133               cloud.githubusercontent.com
140.82.113.9                  codeload.github.com
140.82.112.22                 collector.github.com
185.199.108.133               desktop.githubusercontent.com
185.199.108.133               favicons.githubusercontent.com
140.82.112.4                  gist.github.com
52.216.146.155                github-cloud.s3.amazonaws.com
52.217.204.137                github-com.s3.amazonaws.com
54.231.163.81                 github-production-release-asset-2e65be.s3.amazonaws.com
52.217.44.156                 github-production-repository-file-5c1aeb.s3.amazonaws.com
52.216.54.145                 github-production-user-asset-6210df.s3.amazonaws.com
192.0.66.2                    github.blog
140.82.112.4                  github.com
140.82.114.17                 github.community
185.199.109.154               github.githubassets.com
151.101.65.194                github.global.ssl.fastly.net
185.199.110.153               github.io
185.199.108.133               github.map.fastly.net
185.199.110.153               githubstatus.com
140.82.112.25                 live.github.com
185.199.108.133               media.githubusercontent.com
185.199.108.133               objects.githubusercontent.com
13.107.43.16                  pipelines.actions.githubusercontent.com
185.199.108.133               raw.githubusercontent.com
185.199.108.133               user-images.githubusercontent.com
13.107.238.40                 vscode.dev


# Update time: 2022-12-07T08:20:22+08:00
# Update url: https://raw.hellogithub.com/hosts
# Star me: https://github.com/521xueweihan/GitHub520
# GitHub520 Host End方法2:最快的解决方法就是去装一个代理软件,把 IDEA 配了,让 Copilot 强制走代理。我用的是 proxifier。下载连接(迅雷)这是汉化过的,也可以去官网下载:Proxifier Downloads。
1.下载并安装好 Proxifier
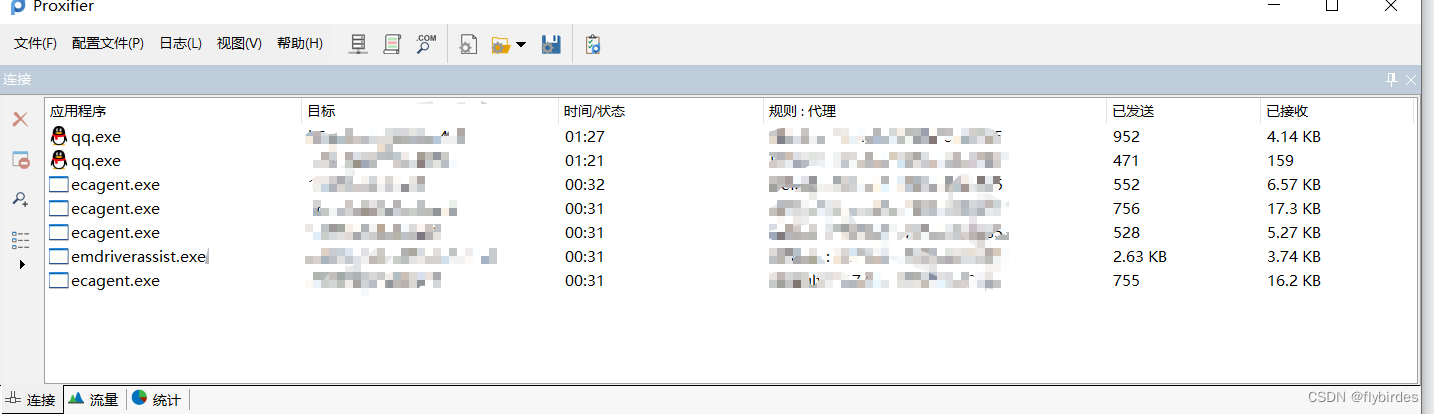
2.添加代理服务器

此处为我已经添加的。

这里怎么填呢
Address填127.0.0.1
Port 端口就具体填你的代理软件的端口号。(代理软件中可以查看端口号)
(比如你是 V2Ray 用户,就填10808。如果你是 Clash 用户,就填7890。)
Protocol 选择 SOCKS5
填写好之后选择 OK。
4.添加代理规则

然后点击确定,确保你的代理规则跟我类似,你的 IDE 软件选择的 Action 是我们刚才创建的 server 就行。
接下来再进入 IDE 进行 Copilot 的登陆。发现问题成功解决!


好的可以美美的开始使用copilot了。
博客灵感来源:如何解决最新版本Github Copilot国内用户配置一直显示 waiting for Github authentication | ELIAS`s BLOG (eliaszon.com)