Elasticsearch设置密码
- 概述
- ES开启认证
- 配置密码
- 访问开启安全认证的ES
- curl
- 浏览器直接访问
- Kibana 配置 es认证
- 直接配置用户名密码到 kibana.yml
- 以kibana密钥的形式
- 使用命令行启动参数形式指定用户名密码
- 使用kibana 查看es用户
概述
ES默认没有开启安全组件,如果我们的es直接暴露在公网,那么开启认证是很有必要的。
ES开启认证
- 修改 elasticsearch.yml
# 要么设置为单节点
discovery.type: single-node
# 要么按照错误提示,开启节点间ssl (肯定更推荐)
xpack.security.transport.ssl.enabled: true

# 开启安全认证
xpack.security.enabled: true
如果只开启 xpack 安全认证,会出现以下错误
bootstrap check failure [1] of [1]: Transport SSL must be enabled if security is enabled on a [basic] license.
Please set [xpack.security.transport.ssl.enabled] to [true]
or disable security by
setting [xpack.security.enabled] to [false]
配置密码
- 启动es
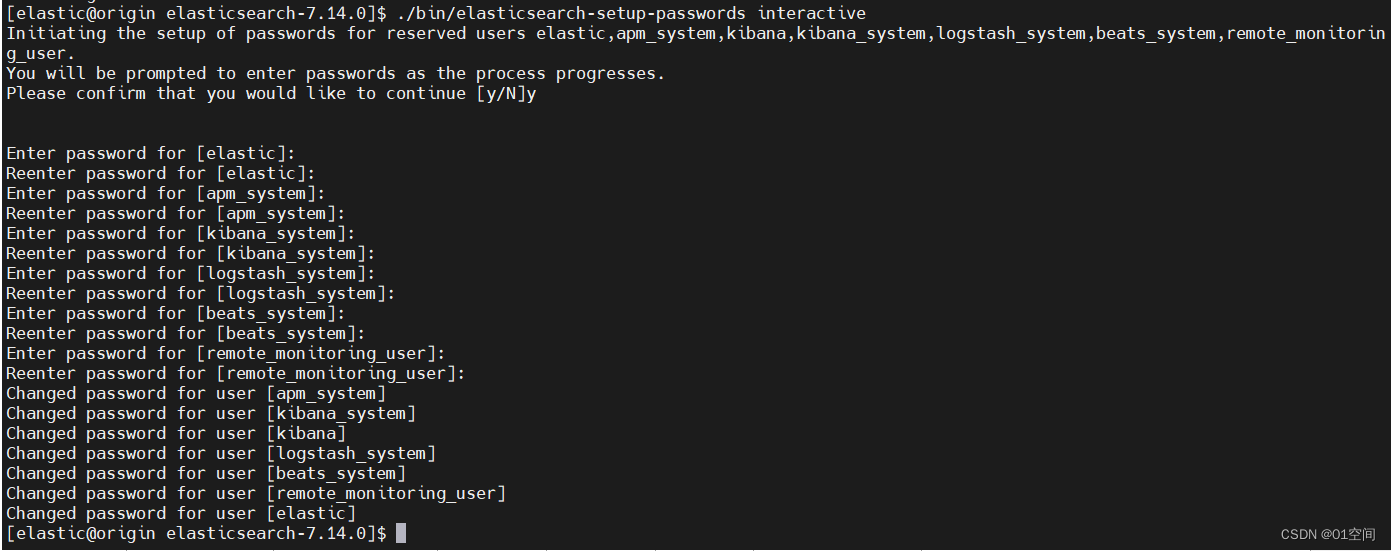
- 执行es提供的脚本,es会提示,给各个系统预留的用户设置密码,根据提示进行即可。
Initiating the setup of passwords for reserved users elastic,apm_system,kibana,kibana_system,logstash_system,beats_system,remote_monitoring_user
# 根据提示,输入各个用户的密码
./bin/elasticsearch-setup-passwords interactive

# 也可以让es,生成随机密码
./bin/elasticsearch-setup-passwords auto
访问开启安全认证的ES
curl
# 直接访问
[elastic@origin elasticsearch-7.14.0]$ curl 192.168.0.101:9200
{"error":{"root_cause":[{"type":"security_exception","reason":"missing authentication credentials for REST request [/]","header":{"WWW-Authenticate":"Basic realm=\"security\" charset=\"UTF-8\""}}],"type":"security_exception","reason":"missing authentication credentials for REST request [/]","header":{"WWW-Authenticate":"Basic realm=\"security\" charset=\"UTF-8\""}},"status":401}[elastic@origin elasticsearch-7.14.0]$

# 带上 用户名密码 (Http Basic 认证)
[elastic@origin elasticsearch-7.14.0]$ curl -u elastic:elastic 192.168.0.101:9200
{
  "name" : "origin.centos",
  "cluster_name" : "elasticsearch",
  "cluster_uuid" : "XVgPBZ78RdWRssPtuSeJTg",
  "version" : {
    "number" : "7.14.0",
    "build_flavor" : "default",
    "build_type" : "tar",
    "build_hash" : "dd5a0a2acaa2045ff9624f3729fc8a6f40835aa1",
    "build_date" : "2021-07-29T20:49:32.864135063Z",
    "build_snapshot" : false,
    "lucene_version" : "8.9.0",
    "minimum_wire_compatibility_version" : "6.8.0",
    "minimum_index_compatibility_version" : "6.0.0-beta1"
  },
  "tagline" : "You Know, for Search"
}
浏览器直接访问
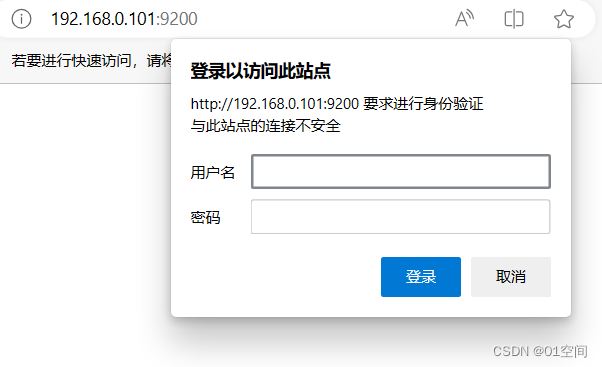
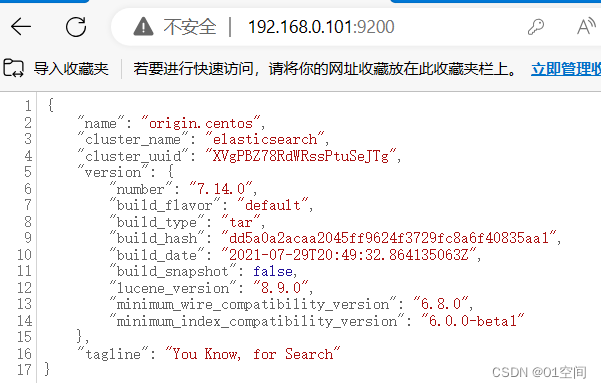
输入用户名,密码后
Kibana 配置 es认证
直接配置用户名密码到 kibana.yml
编辑 kibana.yml
elasticsearch.username: "kibana_system"
elasticsearch.password: "kibana_system"
启动kibana,访问。
测试时,kibana.yml 中配置的用户,kibana_system 提示没有权限
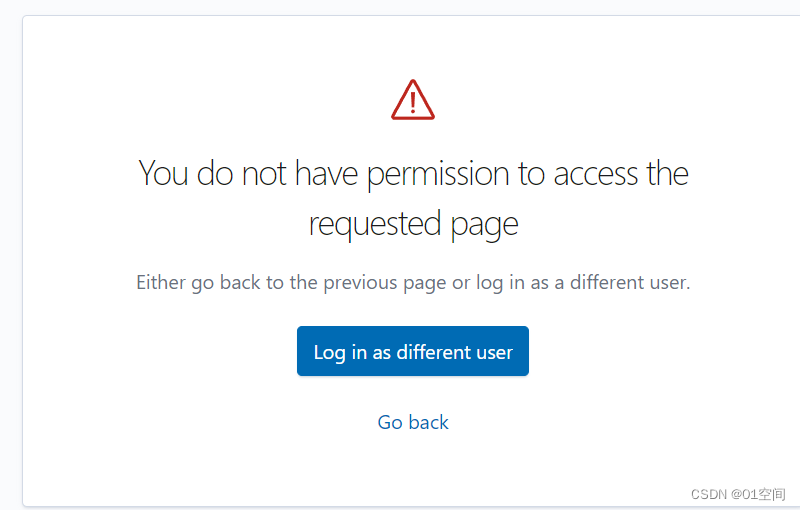
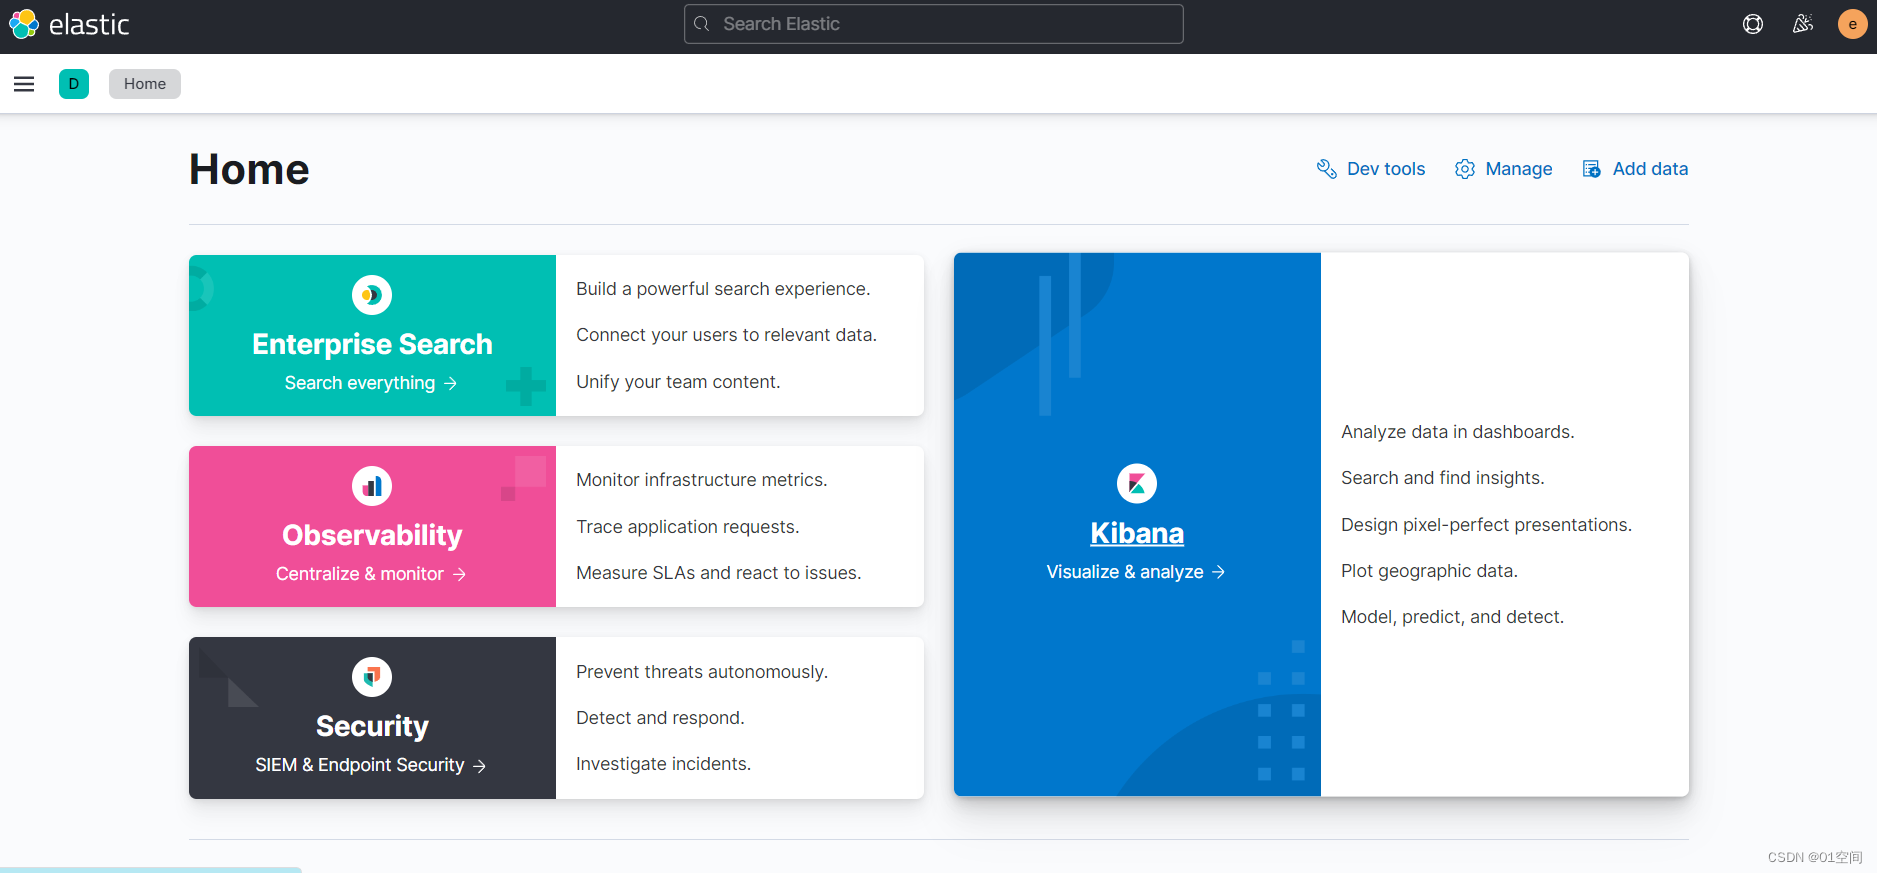
直接用 kibana 更是提示用户名密码错误(后面才看到这个用户是过时内置用户),后面直接使用 elastic 用户登录成功。
以kibana密钥的形式
此种方式,无需用户名密码配置到kibana.yml 中。
# 创建密钥存储库
[elastic@origin kibana-7.14.0-linux-x86_64]$ ./bin/kibana-keystore create
Created Kibana keystore in /opt/kibana-7.14.0-linux-x86_64/config/kibana.keystore

# 将 elasticsearch.username 添加到密钥库
[elastic@origin kibana-7.14.0-linux-x86_64]$ ./bin/kibana-keystore add elasticsearch.username
Enter value for elasticsearch.username: *******

# 将 elasticsearch.password 添加到密钥库
[elastic@origin kibana-7.14.0-linux-x86_64]$ ./bin/kibana-keystore add elasticsearch.password
Enter value for elasticsearch.password: *******
使用命令行启动参数形式指定用户名密码
./bin/kibana --elasticsearch.username=elastic --elasticsearch.password=elastic
使用kibana 查看es用户
首页 Stack Management > Security > Users
可以创建用户。
要使用kibana 面板的用户,至少需要 kibana admin 角色
