Ansible概述
Ansible介绍
Ansible是一个基于Python开发的配置管理和应用部署工具,现在也在自动化管理领域大放异彩。它融合了众多老牌运维工具的优点,Pubbet和Saltstack能实现的功能,Ansible基本上都可以实现。
Ansible能做什么
Ansible能批量配置、部署、管理上千台主机。比如以前需要切换到每个主机上执行的一或多个操作,使用Ansible只需在固定的一台Ansible控制节点上去完成所有主机的操作。
Ansible是基于模块工作的,它只是提供了一种运行框架,它本身没有完成任务的能力,真正执行操作的是Ansible的模块, 比如copy模块用于拷贝文件到远程主机上,service模块用于管理服务的启动、停止、重启等。
为什么选择Ansible
Ansible自2012年发布以来,没多久便在美国开始流行。快速被IT人员接受的原因较大方面得益于Michael DeHaan在美国IT圈的名气和影响力。随后它逐步在各国流行。而笔者选择Ansible的原因主要有如下几个方面:
Ansible完全基于Python开发,而DevOps在国内已然是一种趋势,Python被逐步普及,运维人员自己开发工具的门槛逐步降低,得益于此,方便对Ansible二次开发;
Ansible丰富的内置模块,甚至还有专门为商业平台开发的功能模块,近600个模块完全可以满足日常功能所需;
在Ansible去中心化概念下,一个简单的复制操作即可完成管理配置中心的迁移;
Agentless(无客户端),客户端无需任何配置,由管理端配置好后即可使用,这点非常诱人。在第10章会介绍如何部署配置Windows系统的主机端,用后会有深切的感受。
自Ansible发布后,也陆续被AWS、Google CloudPlatform、Microsoft Azure、Cisco、HP、VMware、Twitter等大公司接纳并投入使用。
两大特性
- agentless:不需要额外安装客户端软件,只要在一台主机上安装anaible即可通过ash控制远程主机ansib1c是通过模块来执行操作的
- 幂等性;ansible很多模块在执行时会判断远程主机是否已执行过这个任务,如果已执行且操作没有发生任何改变,则不会再去执行改变结果
Ansible架构
Ansible 管理节点和远程主机节点间通过SSH协议进行通信。所以配置Ansible的时候,只需保证从Ansible 管理节点通过SSH协议能够连接到被管理的远程节点即可。注意,SSH必须配置为公钥认证登录方式,而非密码认证。
Ansible 环境安装部署
安装ansible服务
//管理端安装 ansible
yum install -y epel-release			//先安装 epel 源
yum install -y ansible


[root@localhost ~]# cd /etc/ansible/
[root@localhost ansible]# ls
ansible.cfg  hosts  roles
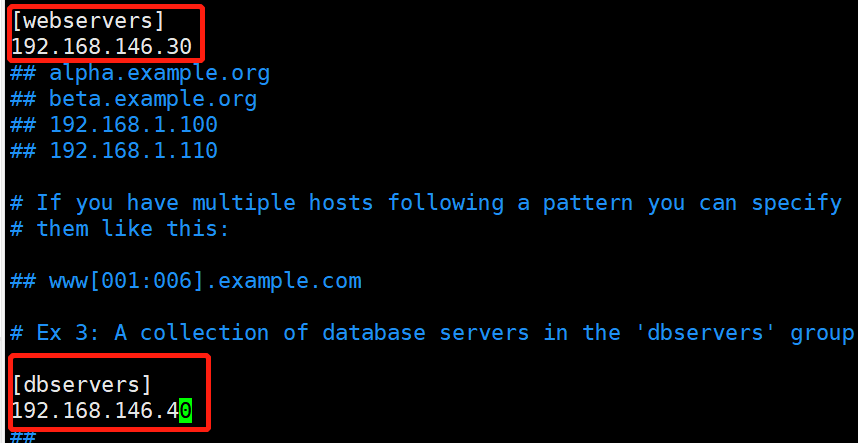
配置主机清单
cd /etc/ansible
vim hosts
[webservers]			#配置组名
192.168.146.30			#组里包含的被管理的主机IP地址或主机名(主机名需要先修改/etc/hosts文件)

[dbservers]
192.168.146.40
配置密钥对验证,设置免交互免密登录
ansible默认使用ssh连接,所以管理前要设置免密登录
#配置密钥对验证
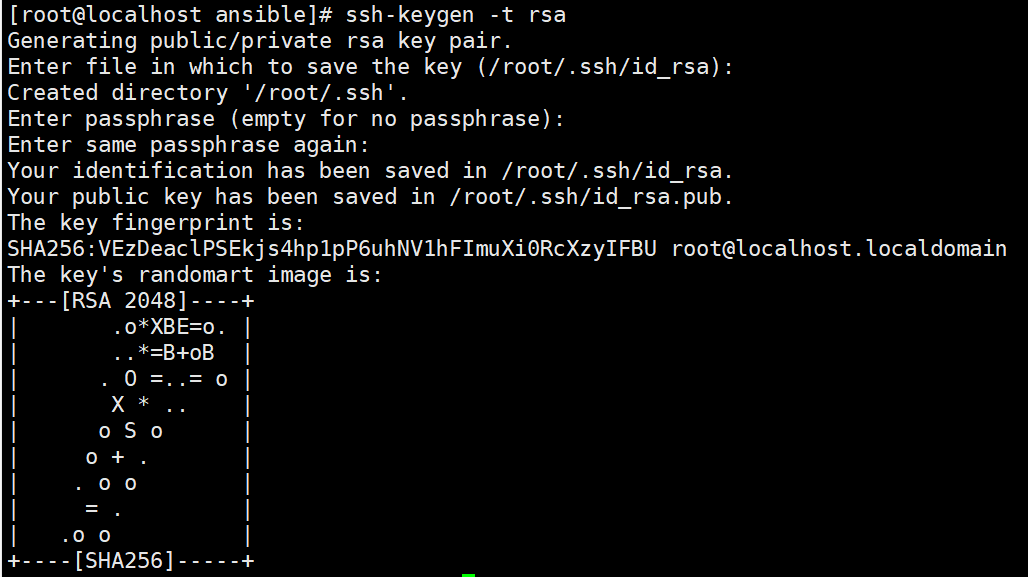
ssh-keygen -t rsa #一路回车,生成密钥文件
vim /etc/ssh/ssh_config #修改ssh服务端和ssh客户端配置文件
StrictHostKeyChecking no #35行,取消注释,将ask修改为no,开启免交互
systemctl restart sshd #重启sshd
//配置密钥对验证
ssh-keygen -t rsa #一路回车,使用免密登录
sshpass -p 'root的密码' ssh-copy-id root@192.168.73.106
sshpass -p 'root的密码' ssh-copy-id root@192.168.73.107
或者
yum install -y sshpass
sshpass -p 'qzz1314' ssh-copy-id -o StrictHostKeyChecking=no root@192.168.146.30
sshpass -p 'qzz1314' ssh-copy-id -o StrictHostKeyChecking=no root@192.168.146.40

ansible 命令行模块
命令格式:ansible <组名> -m <模块> -a <参数列表>
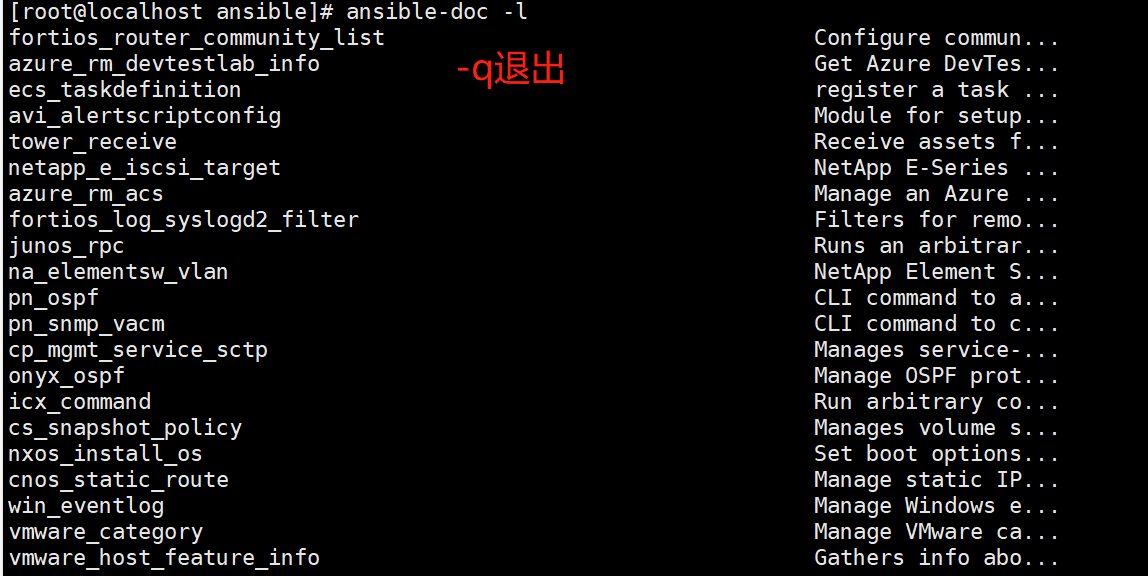
ansible-doc -l #列出所有已安装的模块,按q退出
command 模块
//在远程主机执行命令,不支持管道,重定向等shell的特性。
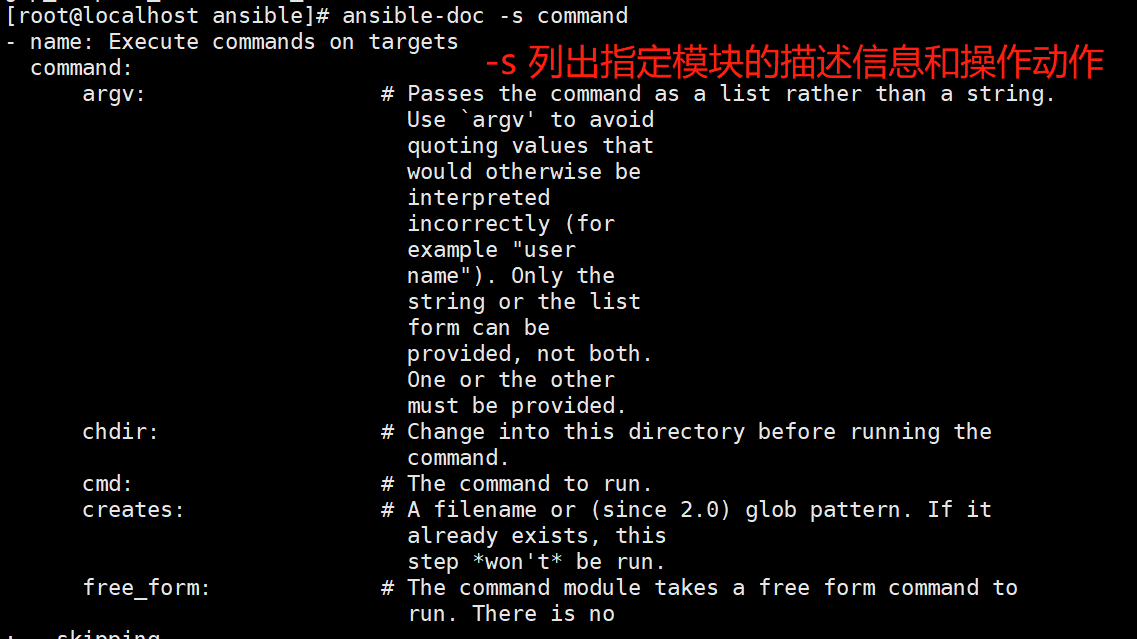
ansible-doc -s command #-s 列出指定模块的描述信息和操作动作
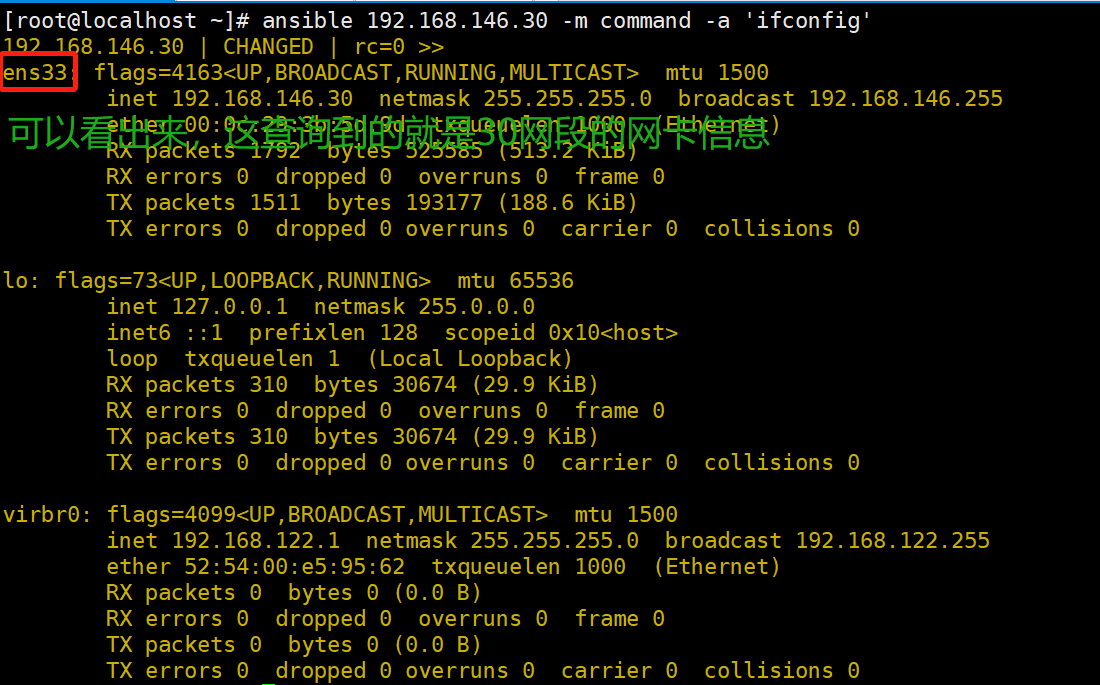
ansible 192.168.146.30 -m command -a 'ifconfig' #指定 ip 执行 ifconfig
ansible webservers -m command -a 'ifconfig'			#指定组执行 ifconfig
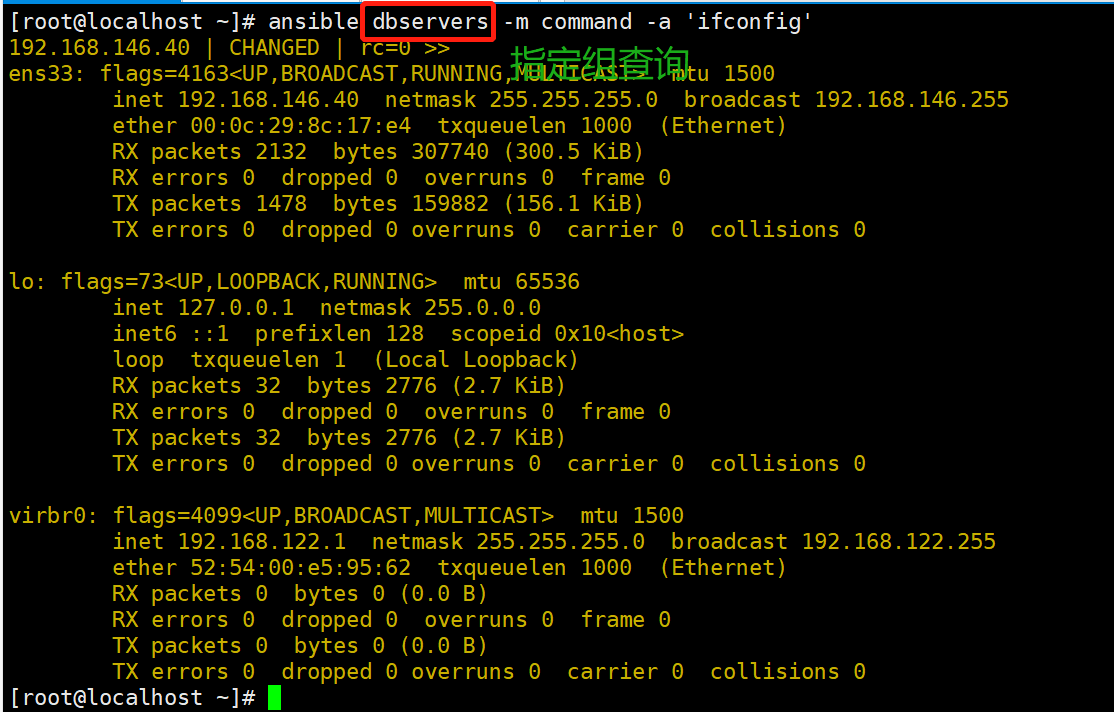
ansible dbservers -m command -a 'ifconfig'
ansible all -m command -a 'date'				#all 代表所有 hosts 主机

ansible all -a 'date'   #如省略 -m 模块,则默认运行 command 模块
ansible all -a 'ls /' #在远程主机执行命令,不支持管道,重定向等shell的特性。
//常用的参数:
chdir:在远程主机上运行命令前提前进入目录
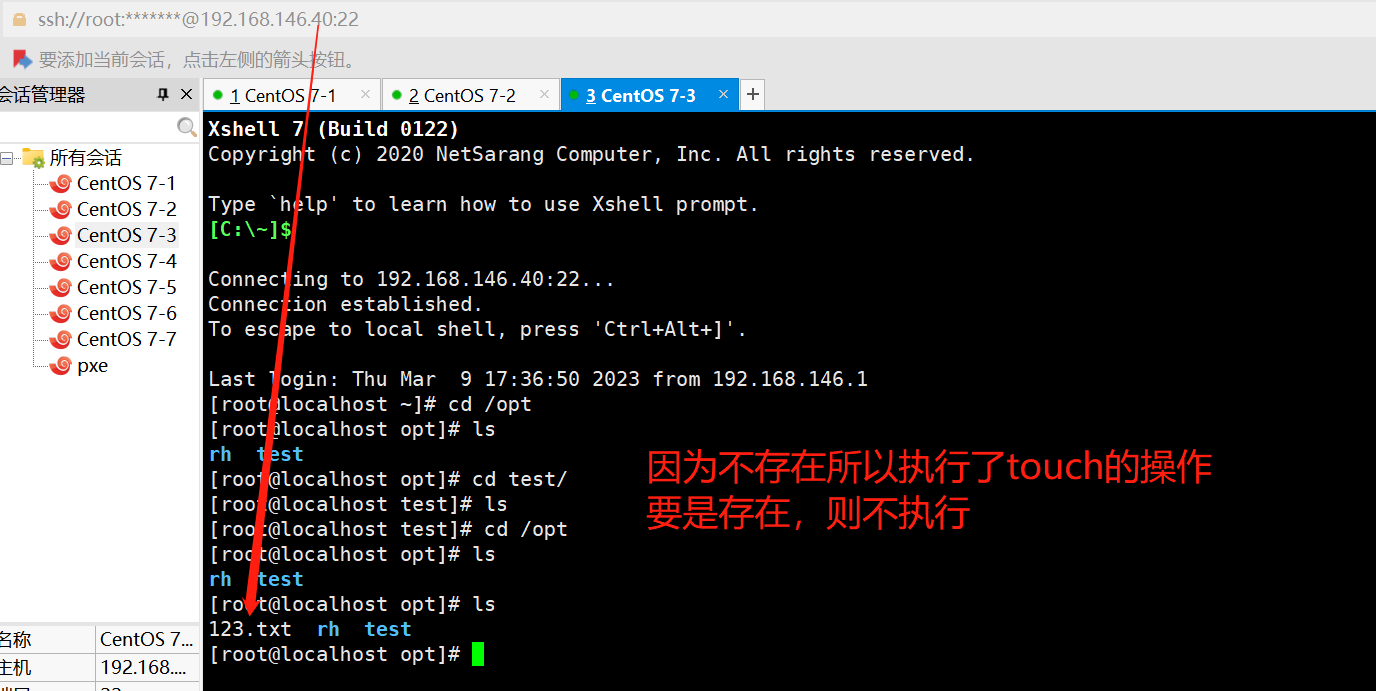
creates:判断指定文件是否存在,如果存在,不执行后面的操作
removes:判断指定文件是否存在,如果存在,执行后面的操作
chdir
#在远程主机上运行命令前提前进入目录
ansible all -m command -a "chdir=/home  ls ./"

creates
#判断指定文件是否存在,如果存在,不执行后面的操作
ansible dbservers -m command -a 'creates=/opt/123.txt touch /opt/123.txt' 
 removes
#判断指定文件是否存在,如果存在,执行后面的操作
ansible dbservers -m command -a 'removes=/opt/123.txt rm -f /opt/123.txt'


shell 模块
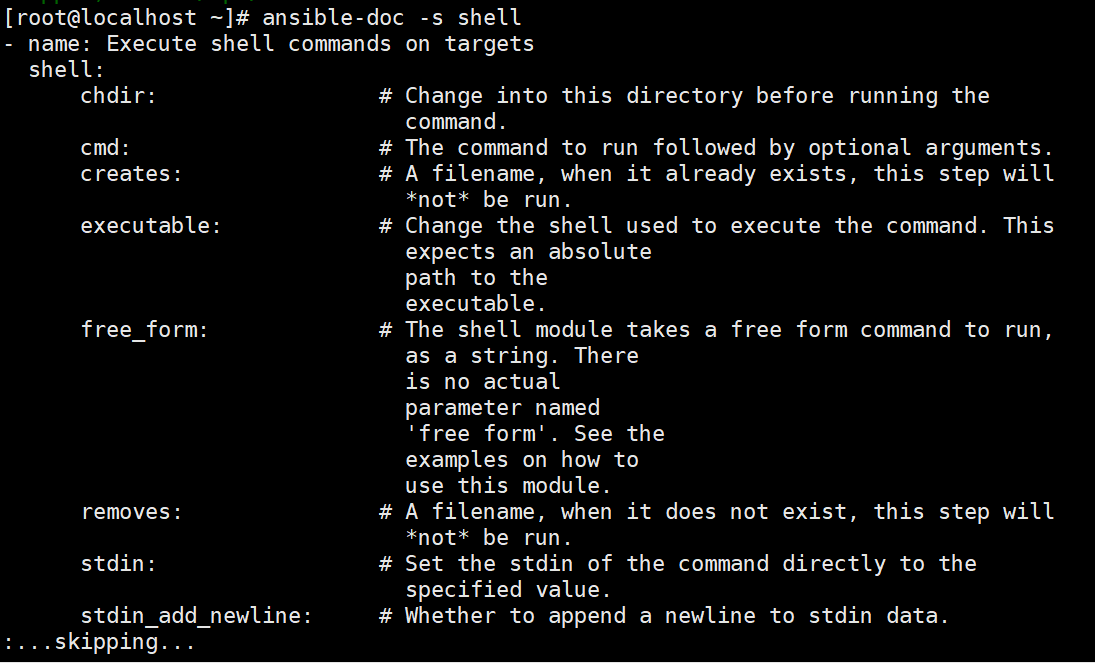
//在远程主机执行命令,相当于调用远程主机的shell进程,然后在该shell下打开一个子shell运行命令(支持管道符号等功能)
ansible-doc -s shell #-s 列出指定模块的描述信息和操作动作
ansible dbservers -m shell -a 'echo 123 >/opt/123.txt'

#过滤IP
ansible dbservers -m shell -a 'echo $(ifconfig ens33 | awk "NR==2 {print $2}") | cut -d " " -f2'
ansible dbservers -m shell -a 'echo $(ifconfig ens33 | awk "NR==2 {print \$2}")'

cron 模块
//在远程主机定义任务计划。
其中有两种状态(state):、
present表示添加(可以省略),absent表示移除。

ansible-doc -s cron				#按 q 退出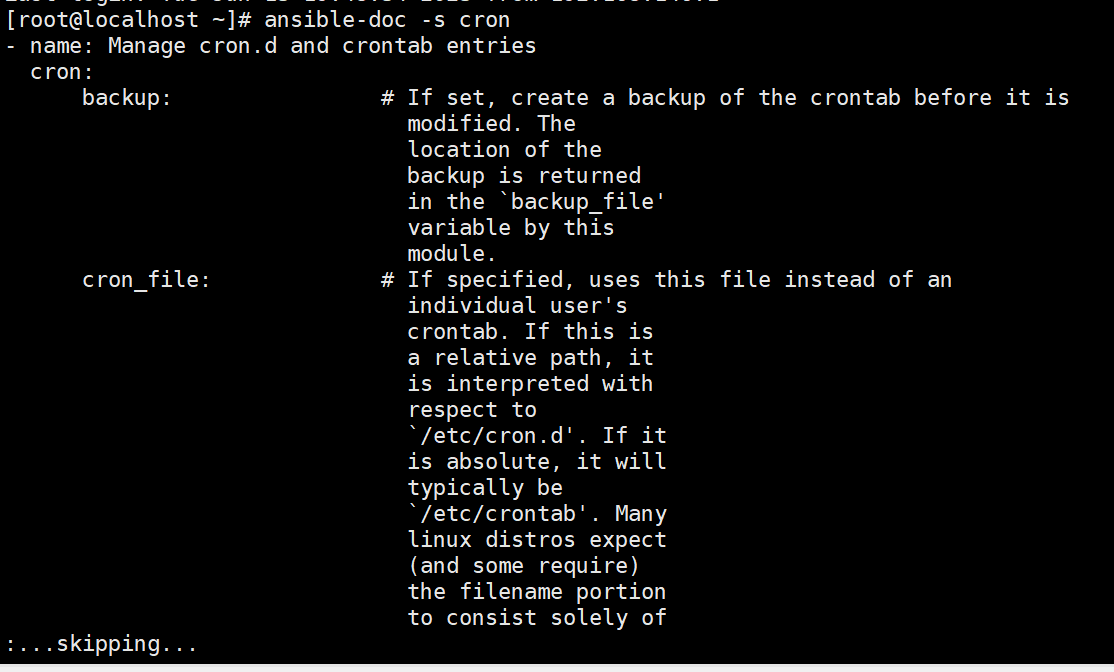
常用的参数:
minute/hour/day/month/weekday:分/时/日/月/周
job:任务计划要执行的命令
name:任务计划的名称
user:指定计划任务属于哪个用户,默认是root用户
ansible webservers -m cron -a 'minute="*/1" job="/opt/echo hello world" name="test crontab"'
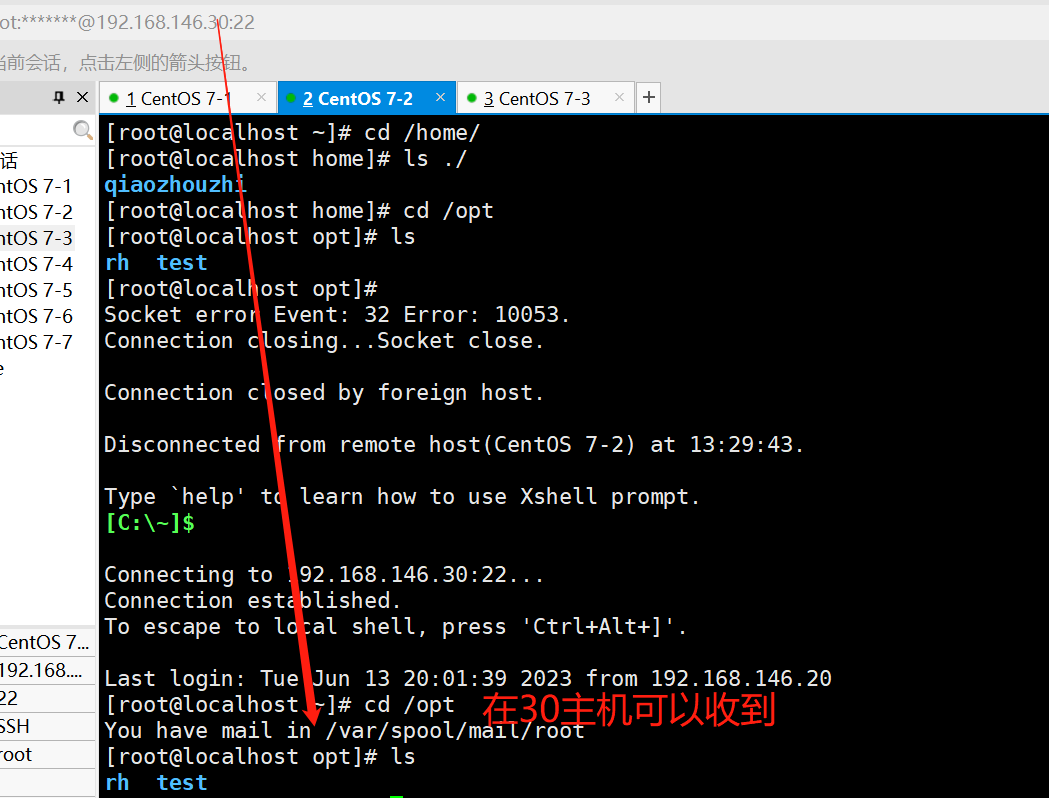
#查看webservers服务器的定时任务
ansible webservers -a 'crontab -l'
 #从30主机,将定时任务移除
ansible webservers -m cron -a 'name="test crontab" state=absent


user 模块
//用户管理的模块
ansible-doc -s user
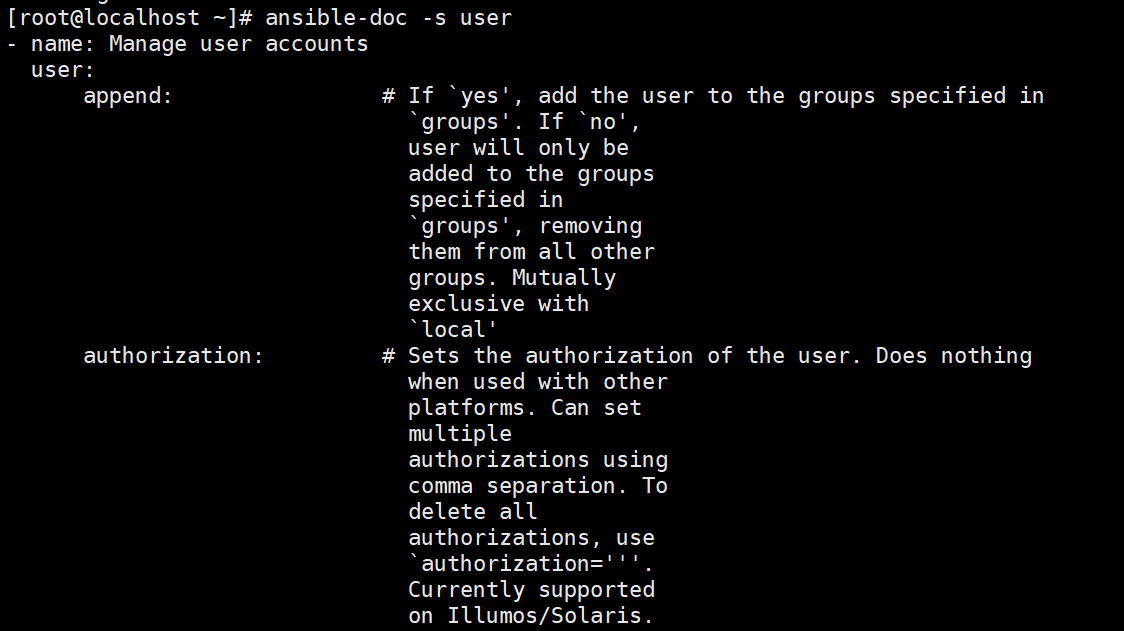
//常用的参数:
name:用户名,必选参数
state=present|absent:创建账号或者删除账号,present表示创建,absent表示删除
system=yes|no:是否为系统账号
uid:用户uid
group:用户基本组
groups: 用户所属附加组
shell:默认使用的shell
create_home=yse|no: 是否创建家目录
password:用户的密码,建议使用加密后的字符串
remove=yes|no:当state=absent时,是否删除用户的家目录
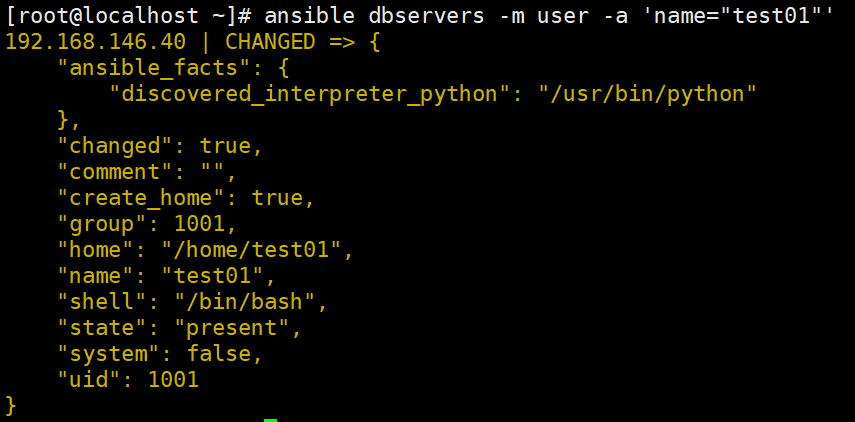
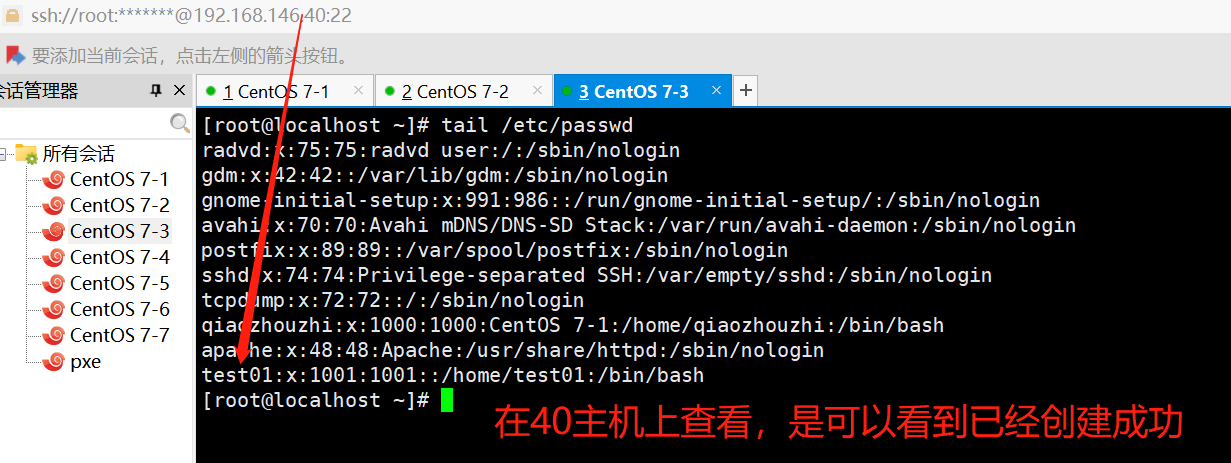
ansible dbservers -m user -a 'name="test01"' #创建用户test01
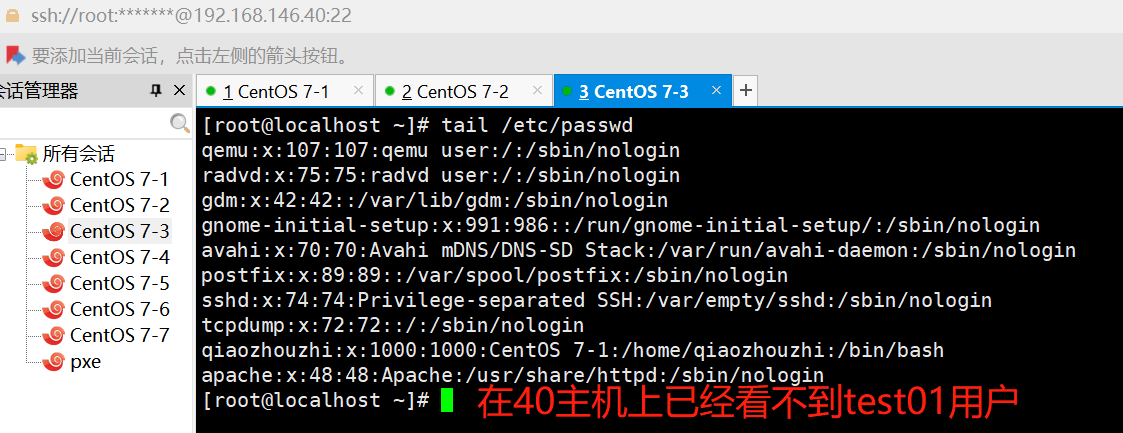
ansible dbservers -m user -a 'name="test01" state=absent' #删除用户test01

group 模块
//用户组管理的模块
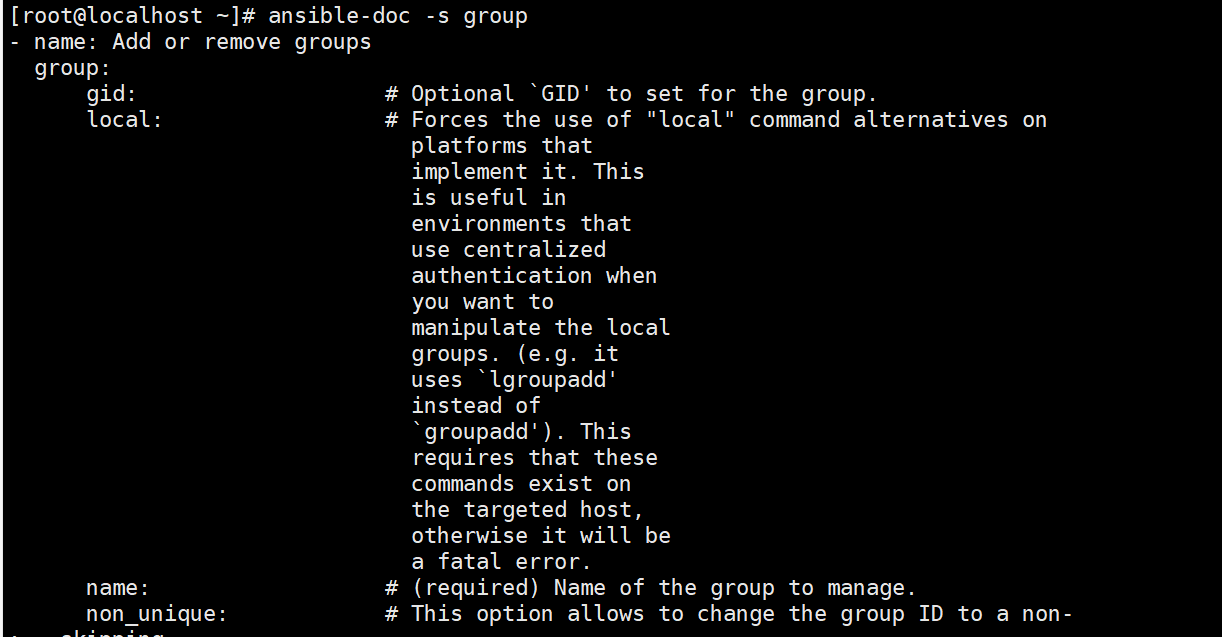
ansible-doc -s group
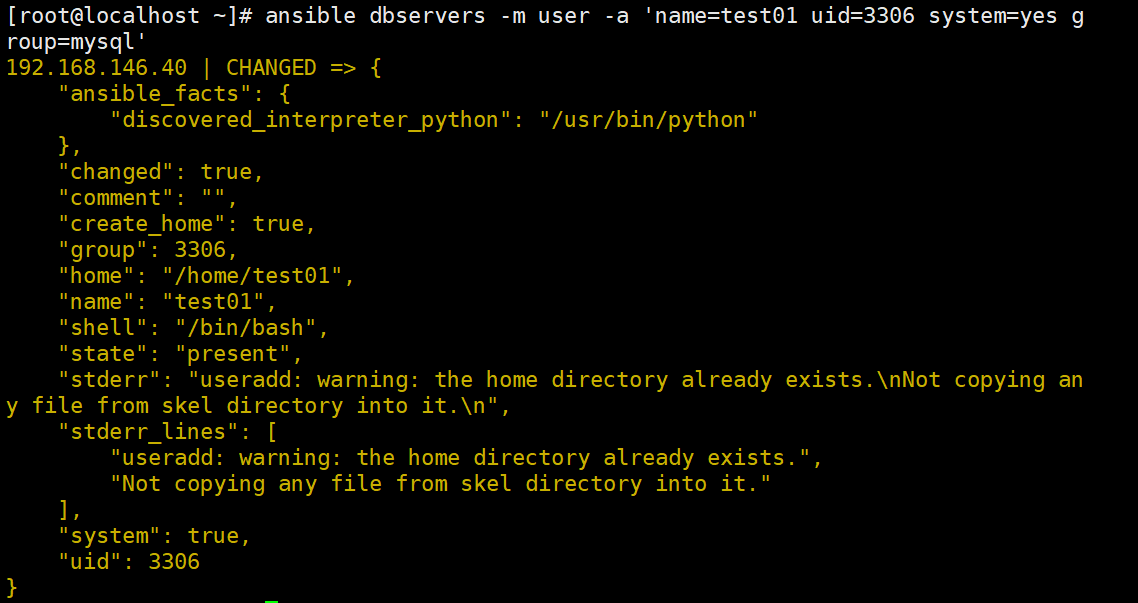
ansible dbservers -m group -a 'name=mysql gid=306 system=yes' #创建mysql组

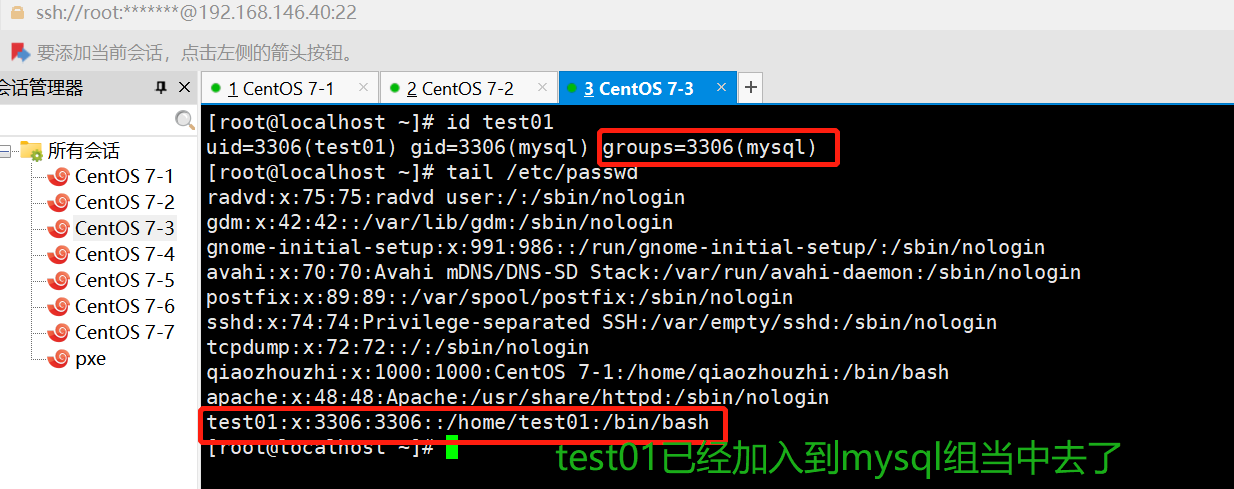
ansible dbservers -m user -a 'name=test01 uid=306 system=yes group=mysql'
#将test01用户添加到mysql组中
copy 模块
//用于复制指定主机文件到远程主机的
ansible-doc -s copy

//常用的参数:
dest:指出复制文件的目标及位置,使用绝对路径,如果源是目录,指目标也要是目录,
      如果目标文件已经存在会覆盖原有的内容
src:指出源文件的路径,可以使用相对路径或绝对路径,支持直接指定目录,
     如果源是目录则目标也要是目录
mode:指出复制时,目标文件的权限
owner:指出复制时,目标文件的属主
group:指出复制时,目标文件的属组
content:指出复制到目标主机上的内容,不能与src一起使用
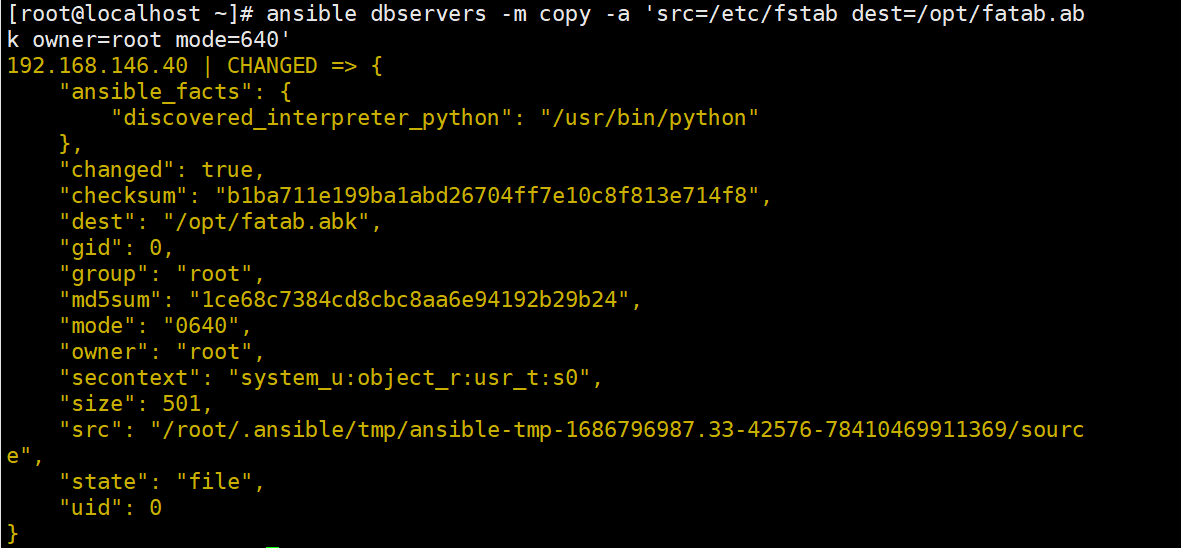
ansible dbservers -m copy -a 'src=/etc/fstab dest=/opt/fstab.bak owner=root mode=640'

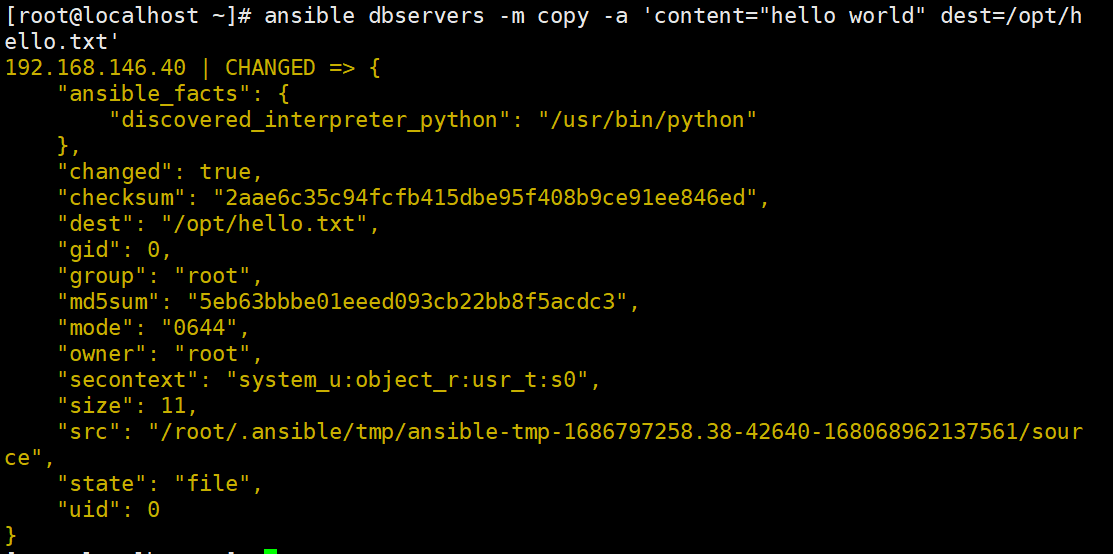
ansible dbservers -m copy -a 'content="helloworld" dest=/opt/hello.txt'
#将helloworld写入/opt/hello.txt文件中

ansible dbservers -a 'cat /opt/hello.txt'


file 模块
//设置文件属性
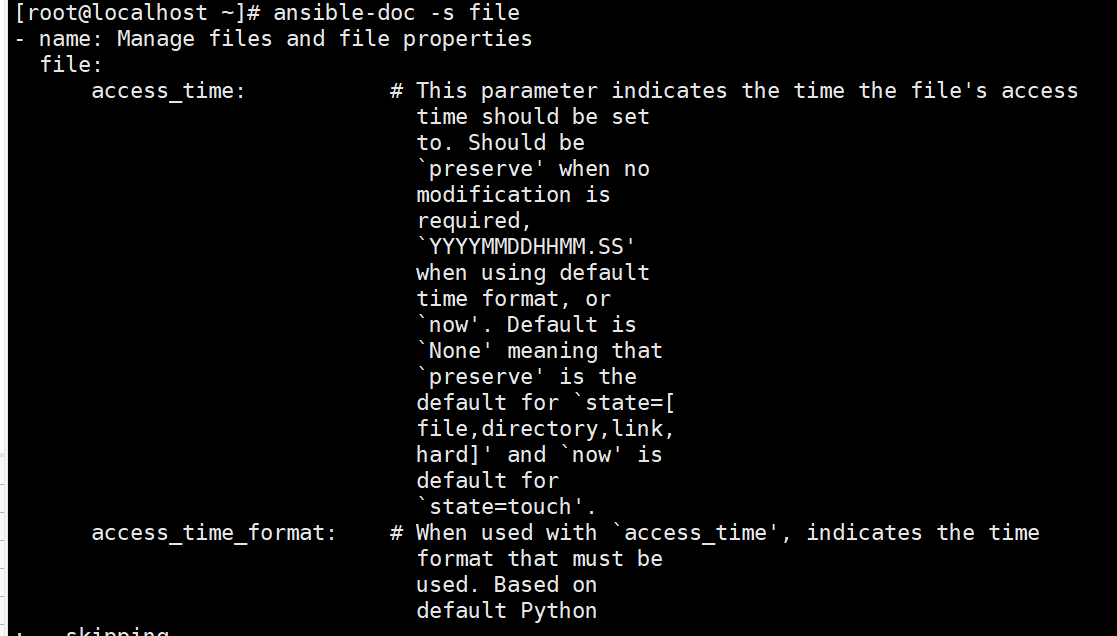
ansible-doc -s file
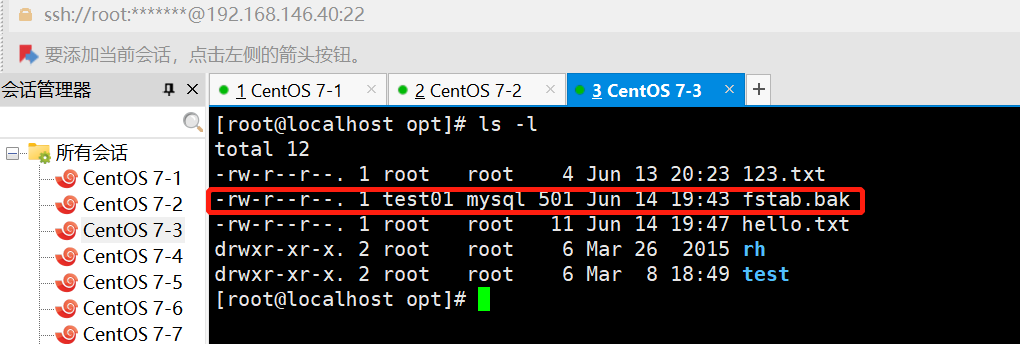
ansible dbservers -m file -a 'owner=test01 group=mysql mode=644 path=/opt/fstab.bak'
#修改文件的属主属组权限等
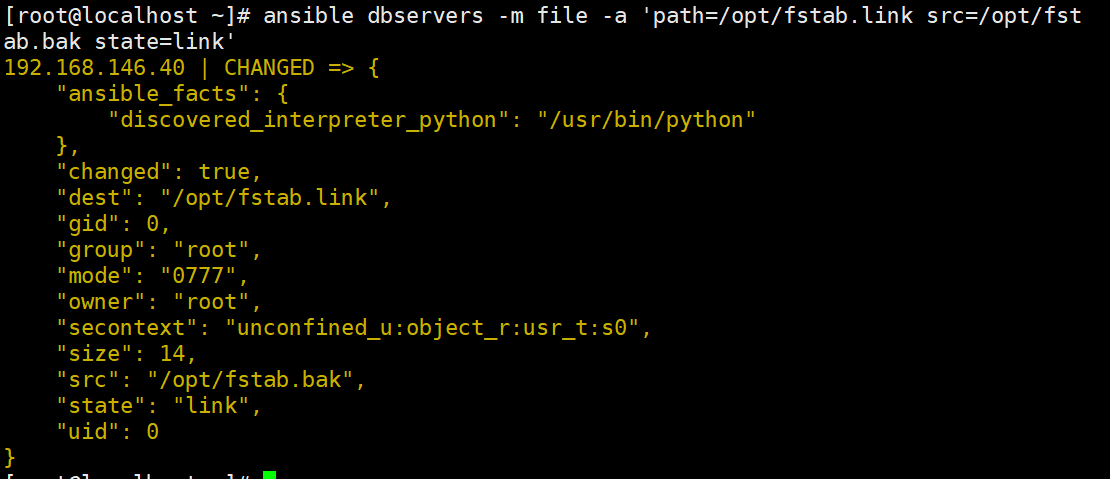
ansible dbservers -m file -a 'path=/opt/fstab.link src=/opt/fstab.bak state=link'
#设置/opt/fstab.link为/opt/fstab.bak的链接文件

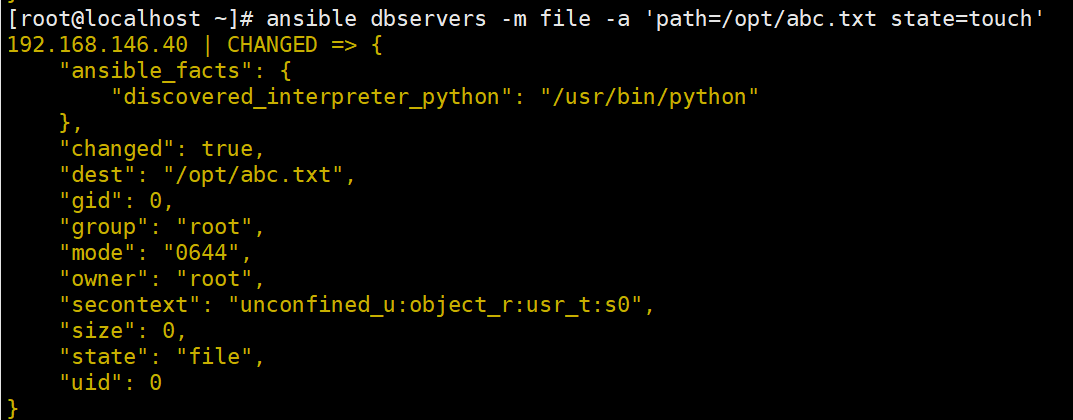
ansible dbservers -m file -a "path=/opt/abc.txt state=touch"
#创建一个文件

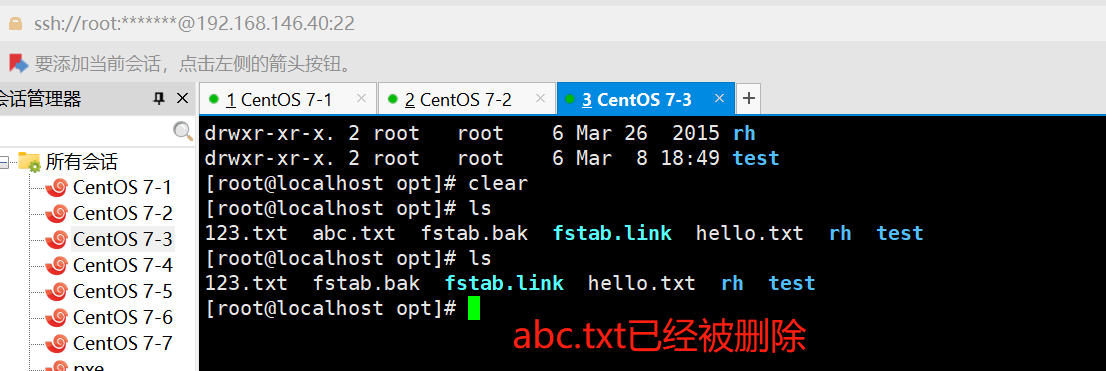
ansible dbservers -m file -a "path=/opt/abc.txt state=absent"
#删除一个文件‘’

hostname 模块
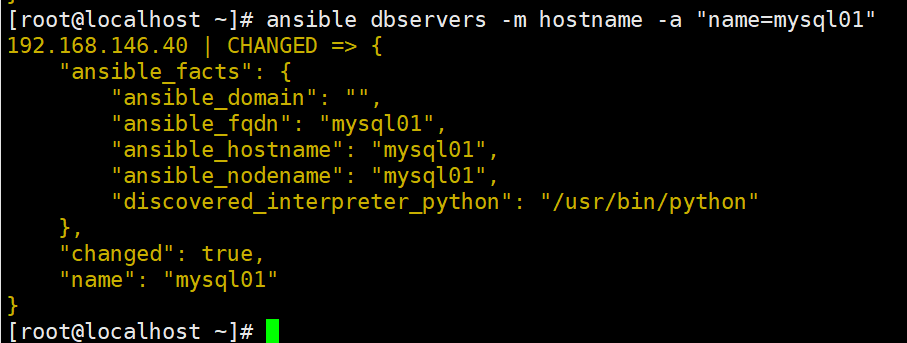
//用于管理远程主机上的主机名
ansible dbservers -m hostname -a "name=mysql01"

ping 模块
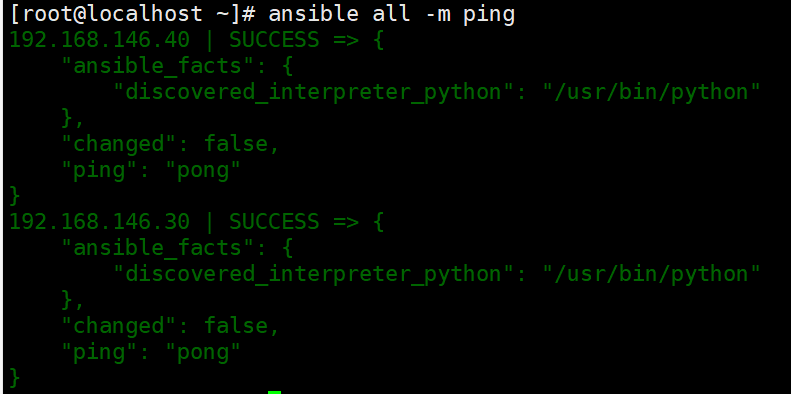
//检测远程主机的连通性
ansible all -m ping
yum 模块
//在远程主机上安装与卸载软件包
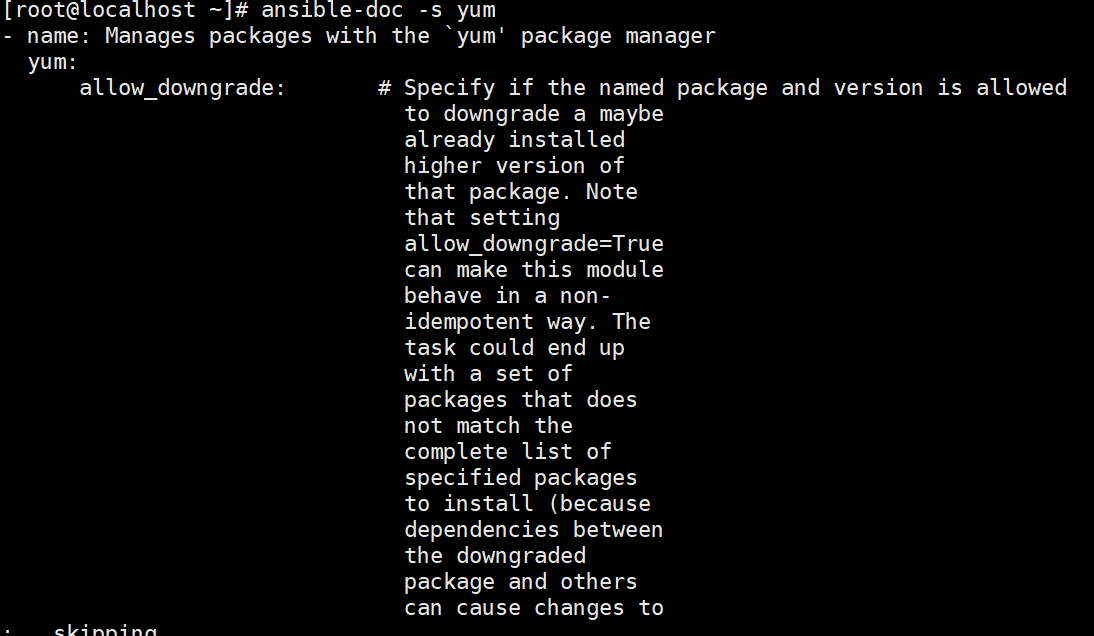
ansible-doc -s yum

ansible webservers -m yum -a 'name=httpd'					#安装服务
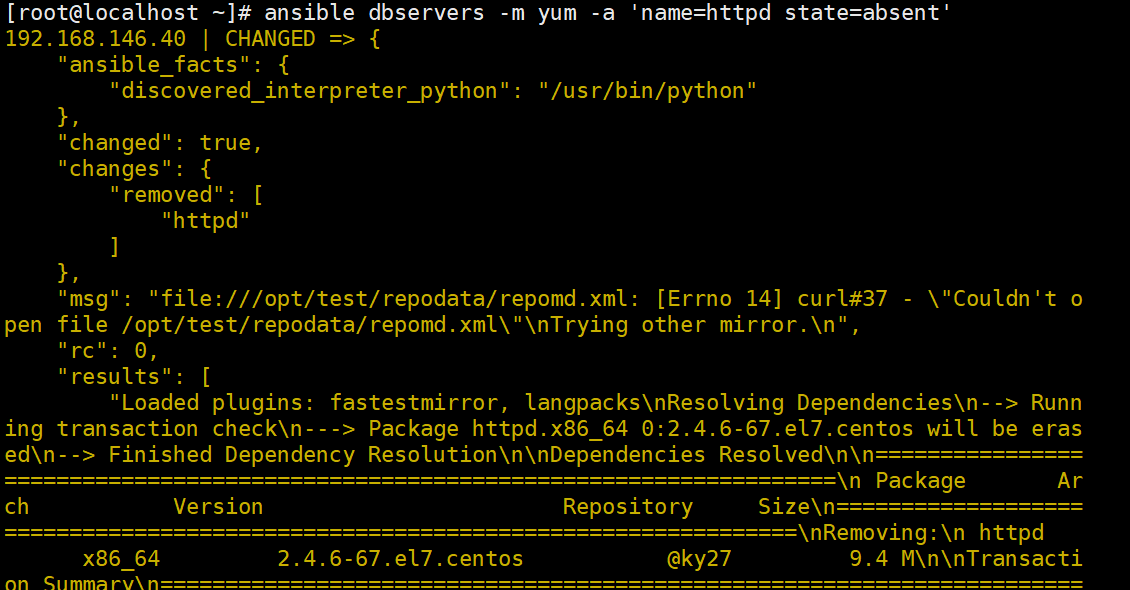
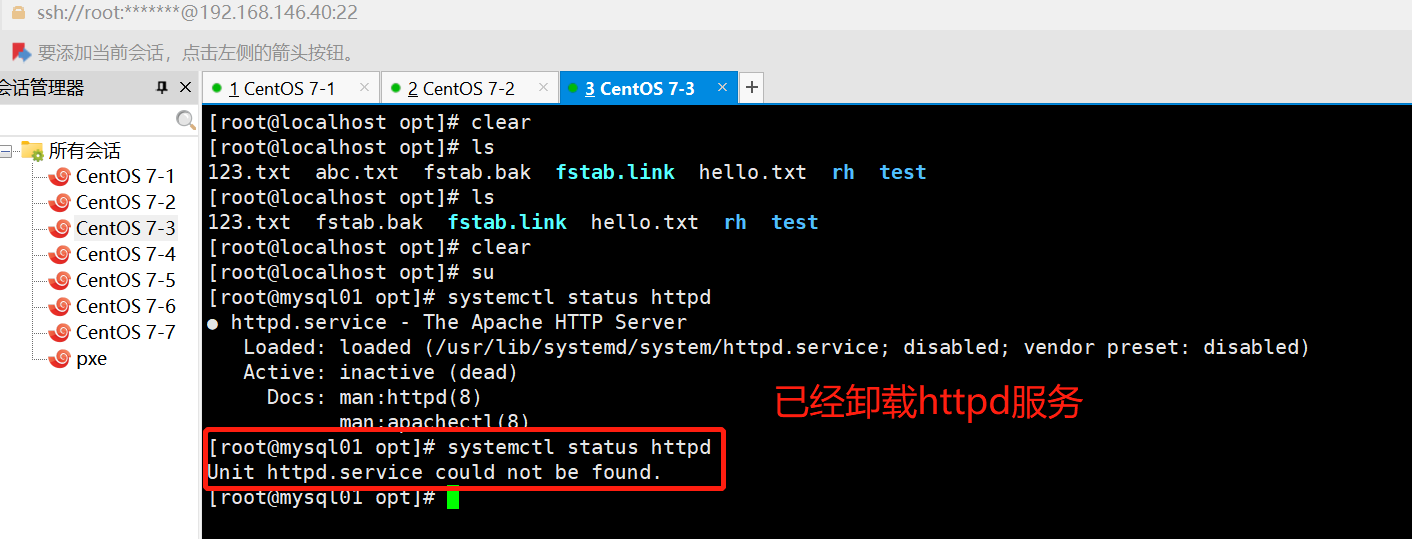
ansible webservers -m yum -a 'name=httpd state=absent'		#卸载服务
ansible webservers -m yum -a 'name=httpd'
#安装服务


ansible webservers -m yum -a 'name=httpd state=absent'
#卸载服务
service/systemd 模块
//用于管理远程主机上的管理服务的运行状态
ansible-doc -s service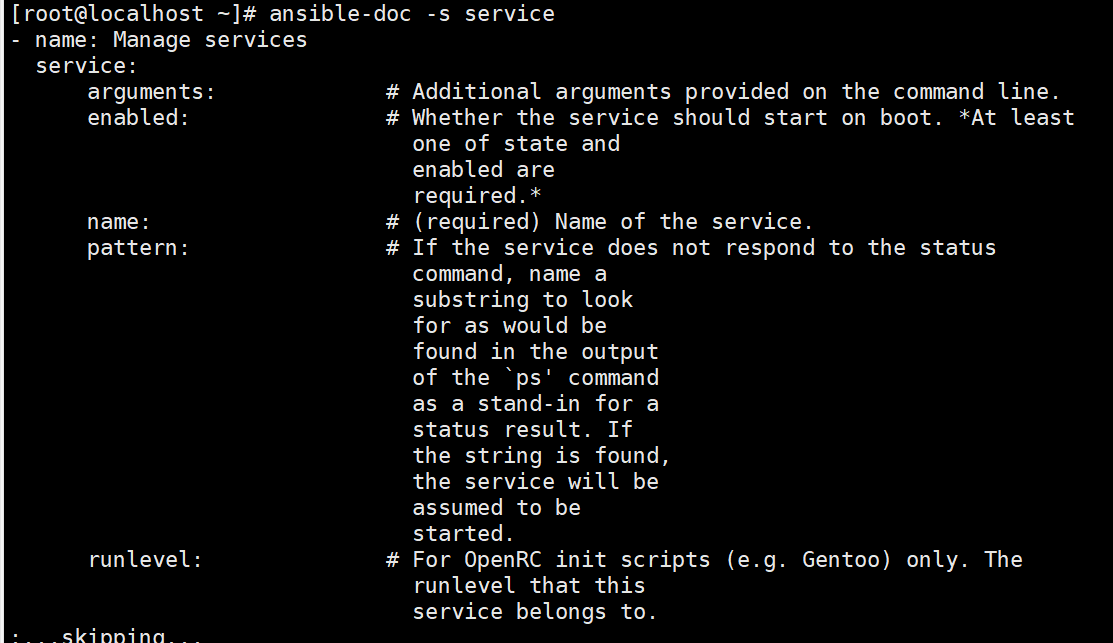
//常用的参数:
name:被管理的服务名称
state=started|stopped|restarted:动作包含启动关闭或者重启
enabled=yes|no:表示是否设置该服务开机自启
runlevel:如果设定了enabled开机自启去,则要定义在哪些运行目标下自启动
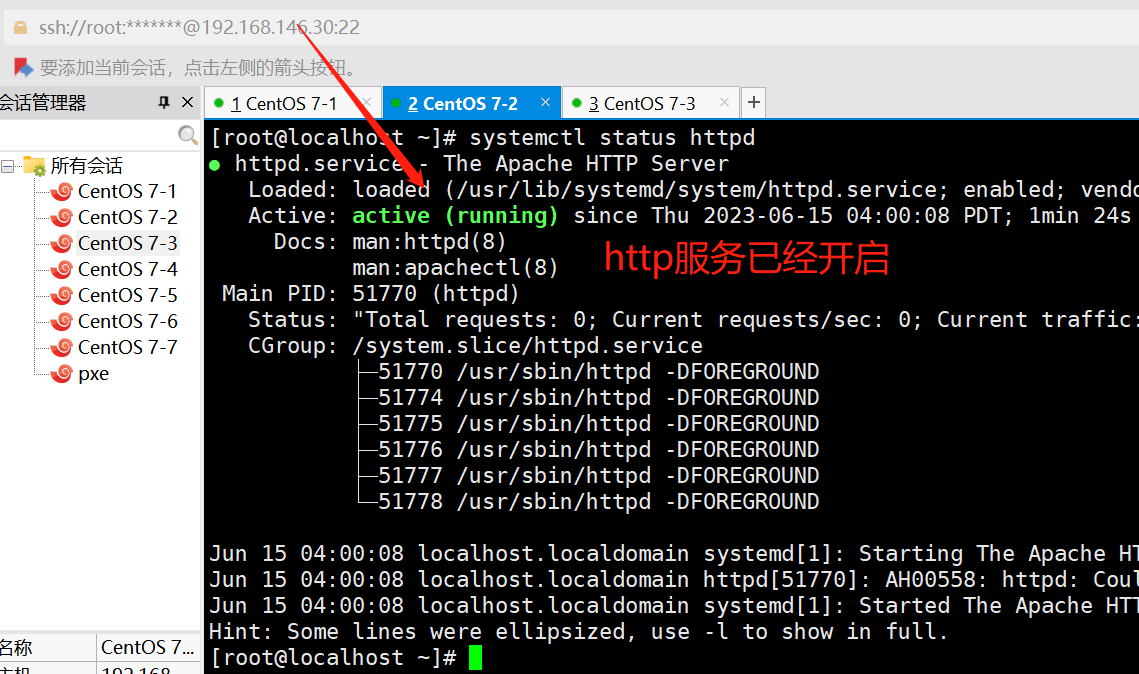
#查看web服务器httpd运行状态
ansible webservers -a 'systemctl status httpd'
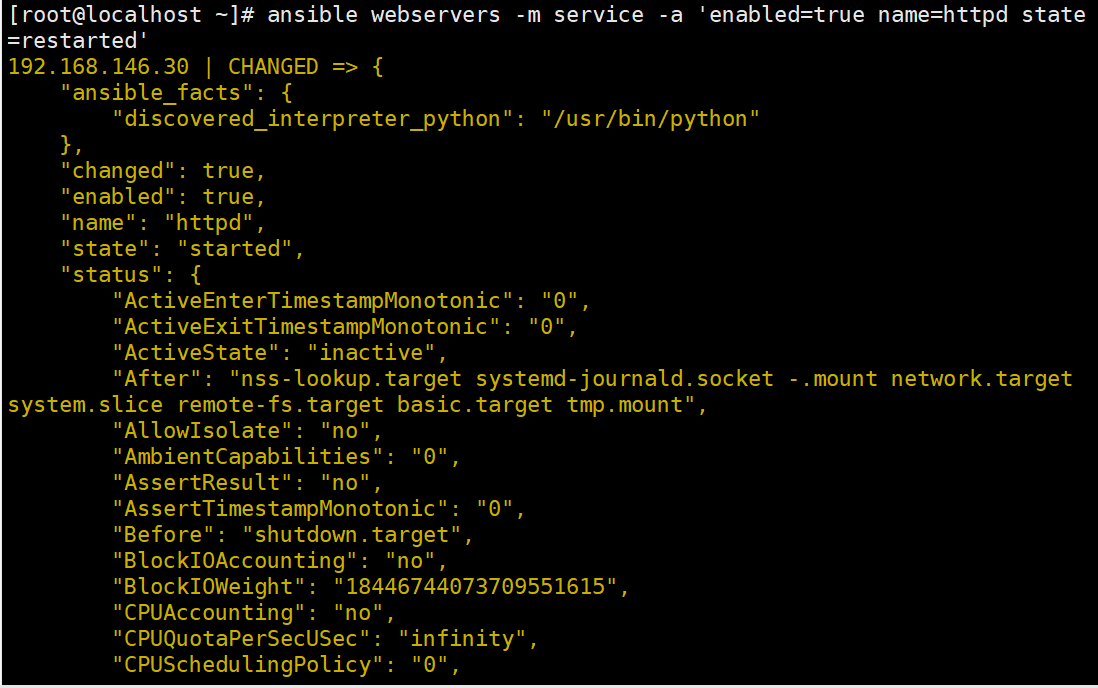
#启动httpd服务
ansible webservers -m service -a 'enabled=true name=httpd state=started'
 script 模块
//实现远程批量运行本地的 shell 脚本
ansible-doc -s script
vim test.sh
#!/bin/bash
echo "hello ansible from script" > /opt/script.txt

chmod +x test.sh
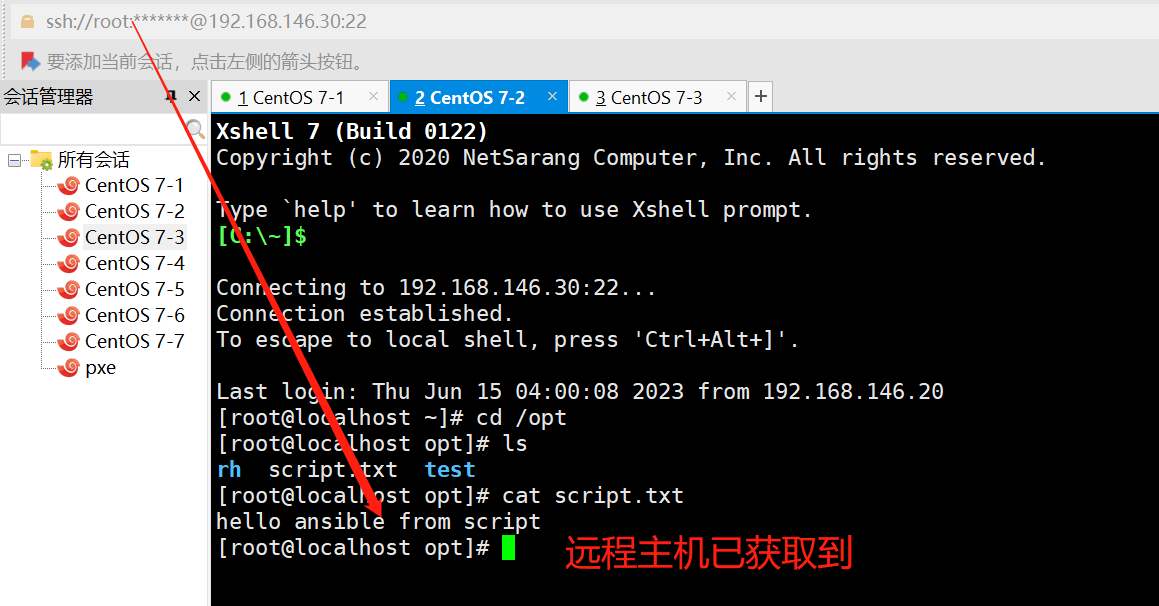
ansible webservers -m script -a 'test.sh'
ansible webservers -a 'cat /opt/script.txt'


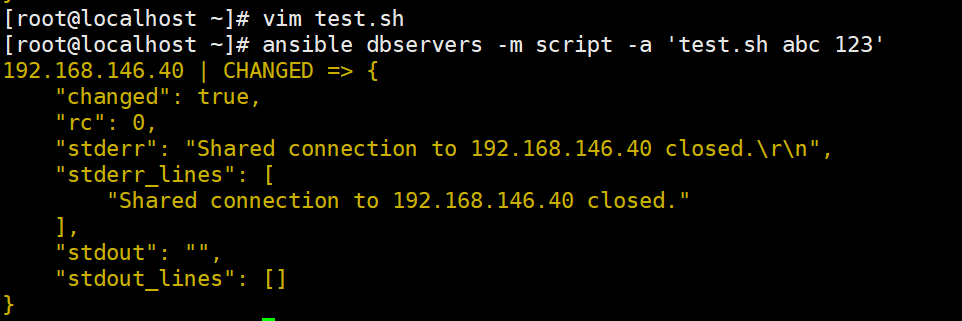
vim test.sh
#!/bin/bash
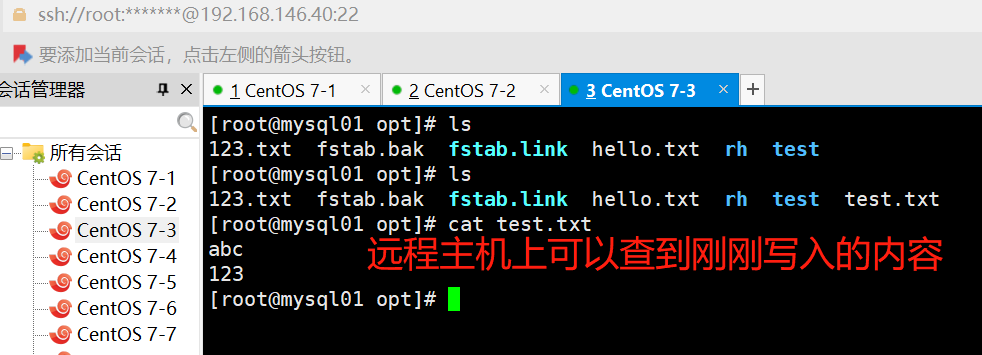
echo $1 > /opt/test.txt
echo $2 >> /opt/test.txt

ansible dbservers -m script -a 'test.sh abc 123!

mount 模块
//挂载文件系统
ansible-doc -s mount
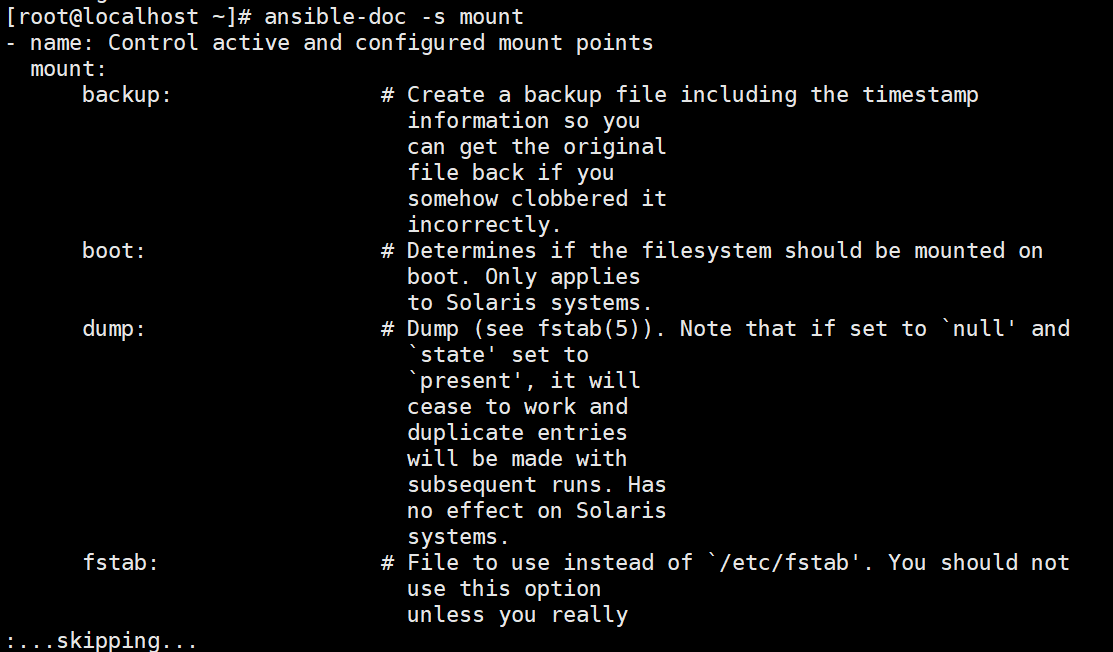
//常用的参数:
src:定义挂载设备的路径
path:定义挂载到哪个目录,必须指定
fstype:指定挂载文件的系统类型,必须指定,xfs、iso9660、nfs...
opts:定义挂载的参数,defaults、rw、ro...
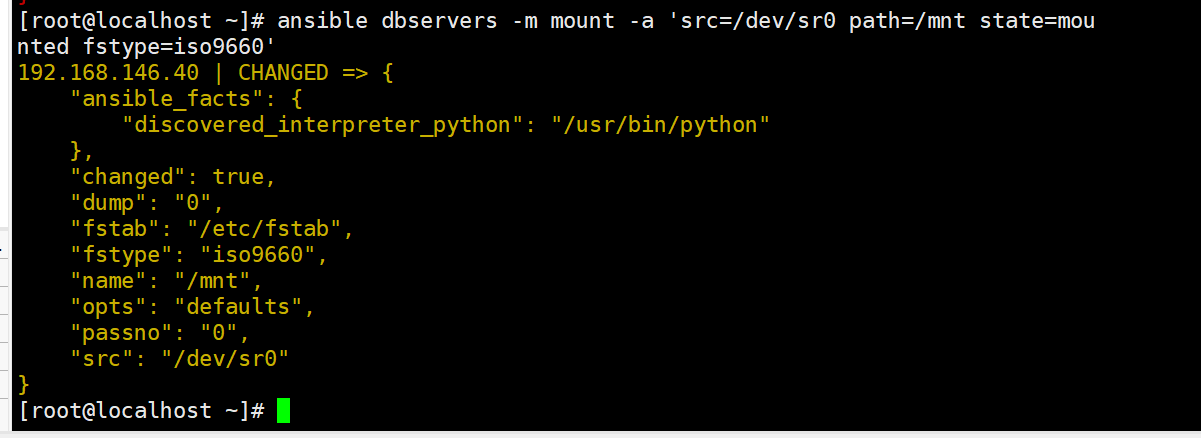
state:定义挂载的状态,mounted(进行挂载,修改/etc/fstab信息)、absent(永久性卸载,并修改 /etc/fstab信息)、unmounted(临时卸载,不修改/etc/fstab信息)
ansible dbservers -m mount -a 'src=/dev/sr0 path=/mnt state=mounted fstype=iso9660'

archive 模块
//打包压缩
ansible-doc -s archive
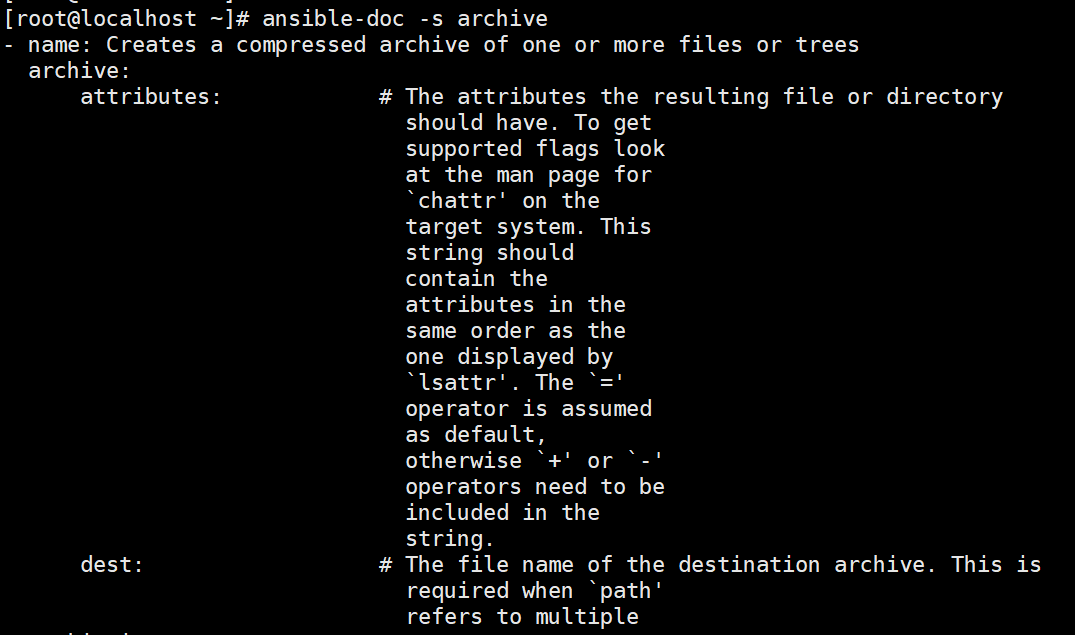
//常用的参数:
path: 必须参数,远程主机上需要被打包压缩的源文件/目录
dest: 打包压缩后的包文件路径(包文件的父目录必须存在);如果包文件已存在,则会被覆盖
format: 指定压缩类型,包括: bz2、gz(默认)、tar、xz、zip
remove=yes|no: 是否删除源文件
ansible dbservers -m archive -a "path=/etc/yum.repos.d/ dest=/opt/repo.zip format=zip"
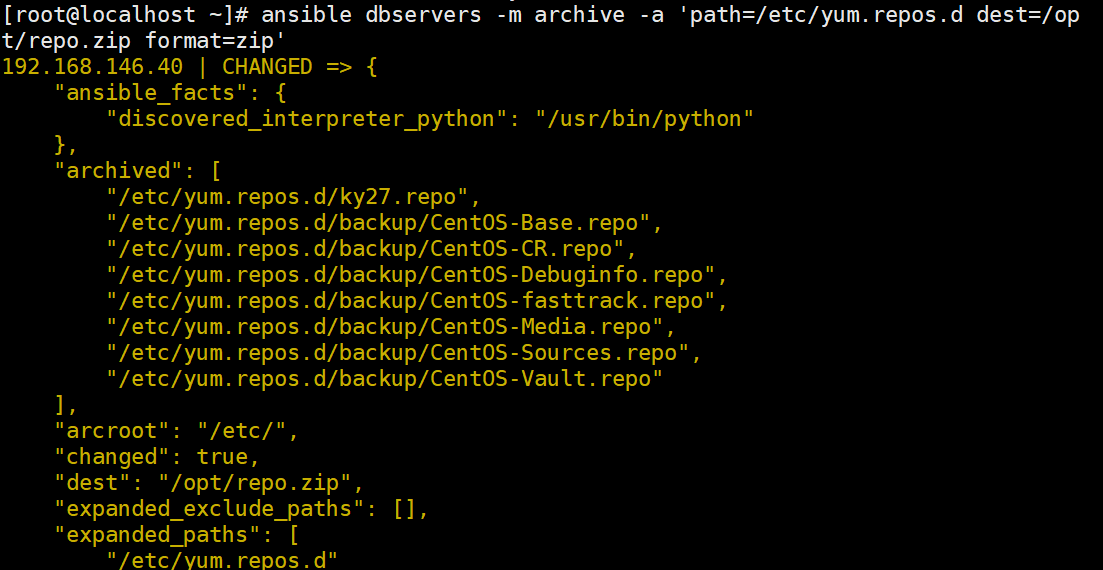

ansible dbservers -m archive -a 'path=/opt/abc.txt,/opt/123.txt dest=/opt/abc123.tar.gz format=gz remove=yes'


unarchive 模块
//解包解压缩
ansible-doc -s unarchive
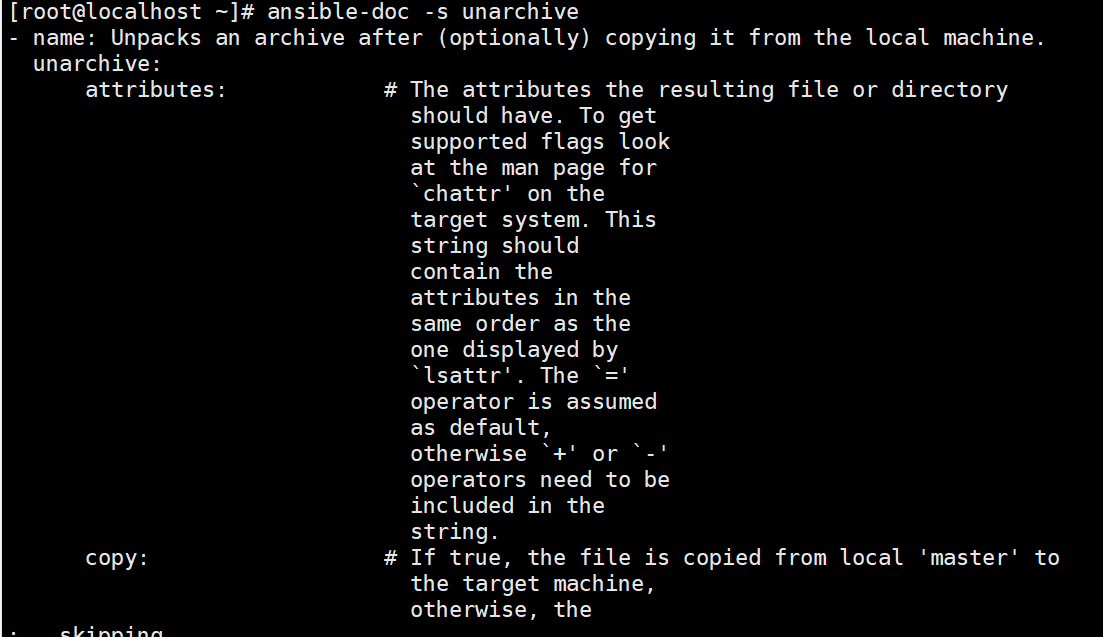
//常用的参数:
copy:默认为 copy=yes ,拷贝的文件从 ansible 主机复制到远程主机,
      copy=no 表示在远程主机上寻找源文件解压
src:tar包源路径,可以是 ansible 主机上的路径,也可以是远程主机上的路径,
     如果是远程主机上的路径,则需设置 copy=no
dest:解压后文件的目标绝对路径
remote_src: 和 copy 功能一样且互斥,设置 remote_src=yes 表示文件在远程主机上,
设置为 remote_src=no 表示文件在 ansible 主机上
#将 ansible 主机的压缩文件拷贝到到远程主机并解压,修改文件所属组和用户
ansible dbservers -m unarchive -a "src=/opt/abc.tar.gz dest=/root copy=yes"

或者
ansible dbservers -m unarchive -a "src=/opt/abc.tar.gz dest=/root remote_src=no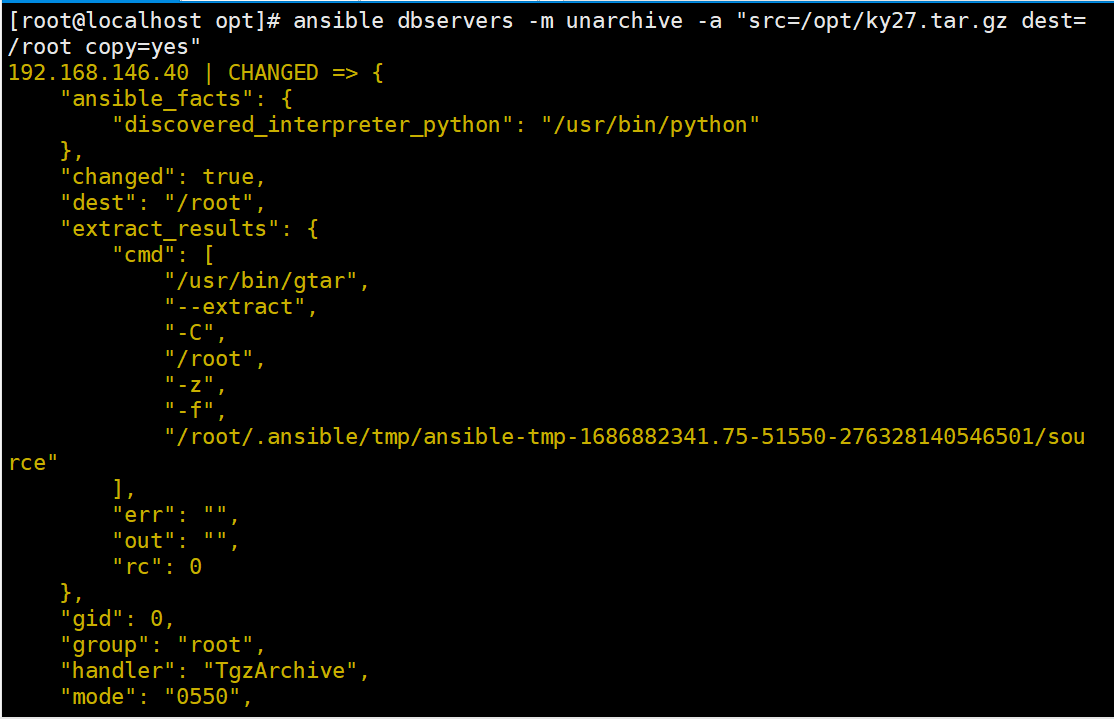

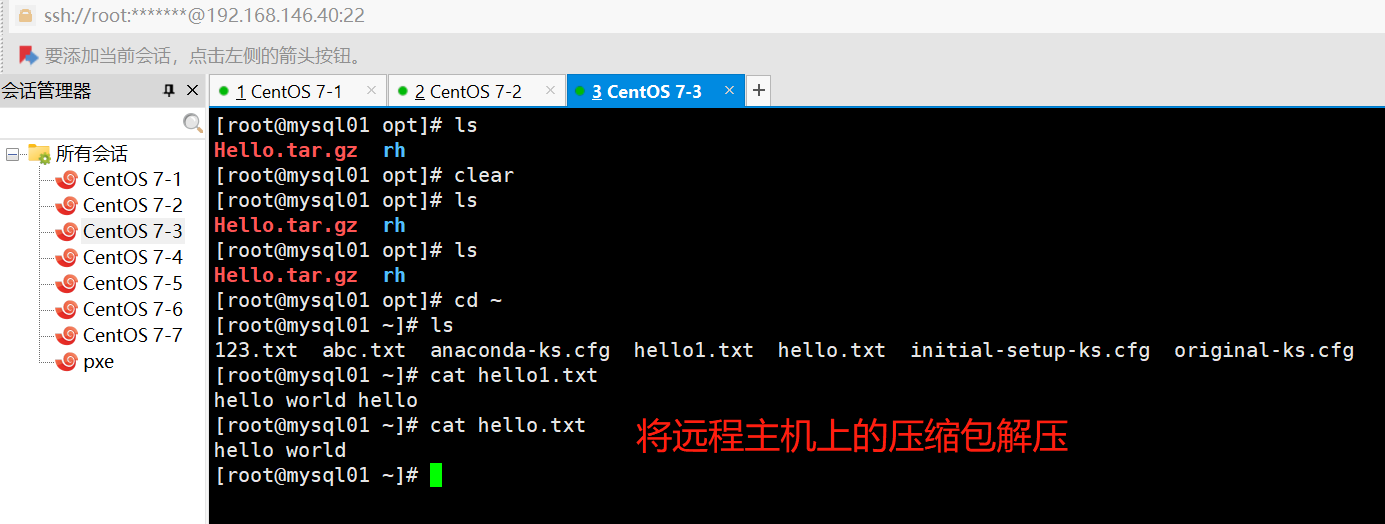
#在远程主机解包
ansible dbservers -m unarchive -a 'src=/opt/Hello.tar.gz dest=/root copy=no'

或者
ansible dbservers -m unarchive -a "src=/opt/123.tar.gz dest=/root remote_src=yes"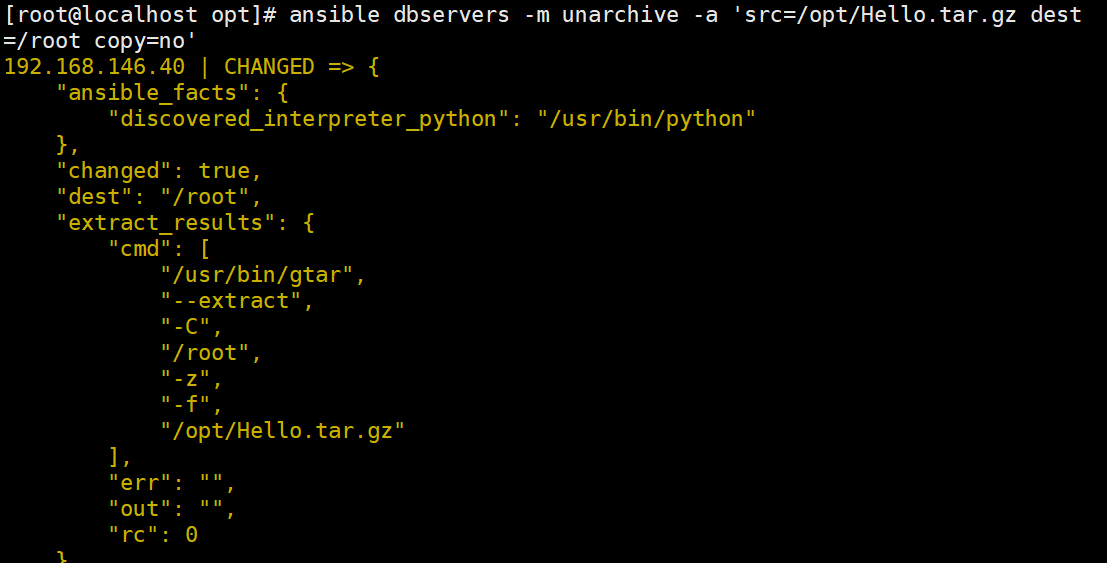
 replace 模块
//类似于sed命令,主要也是基于正则进行匹配和替换
ansible-doc -s replace
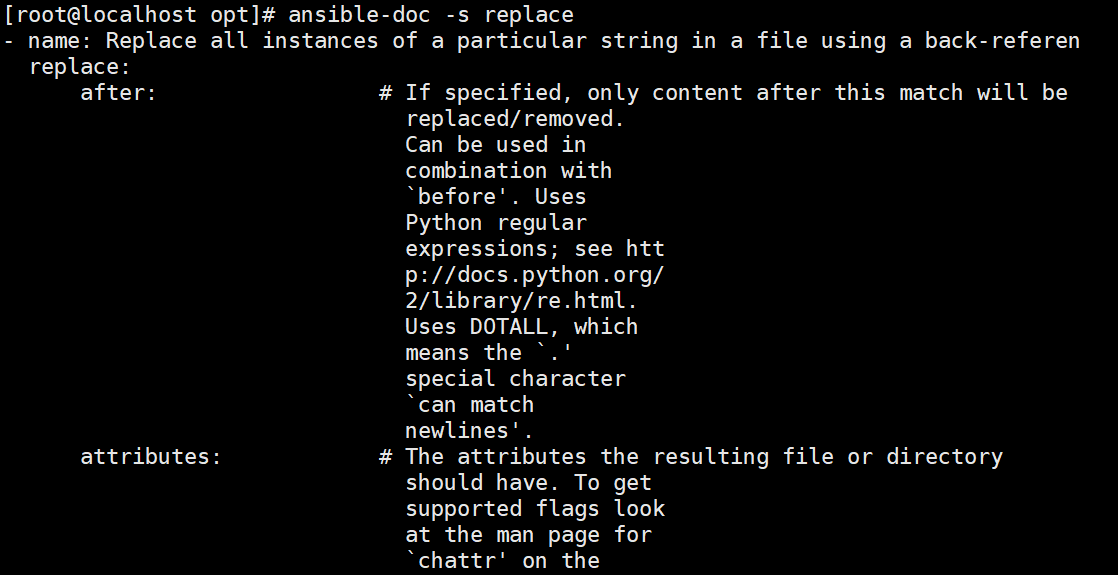
//常用的参数:
path:必须参数,指定要修改的文件
regexp:必须参数,指定一个正则表达式
replace:替换regexp参数匹配到的字符串
backup=yes|no: 修改源文件前创建一个包含时间戳信息的备份文件
before:如果指定,则仅替换/删除此匹配之前的内容,可以和after参数结合使用
after:如果指定,则仅替换/删除此匹配之后的内容,可以和before参数结合使用
owner:修改文件用户名
group:修改文件组名
mode:修改文件权限
vim /opt/test.txt
11 22 33 44 55 66
aa bb cc dd ee ff
1a 2b 3c 4d 5e 6f
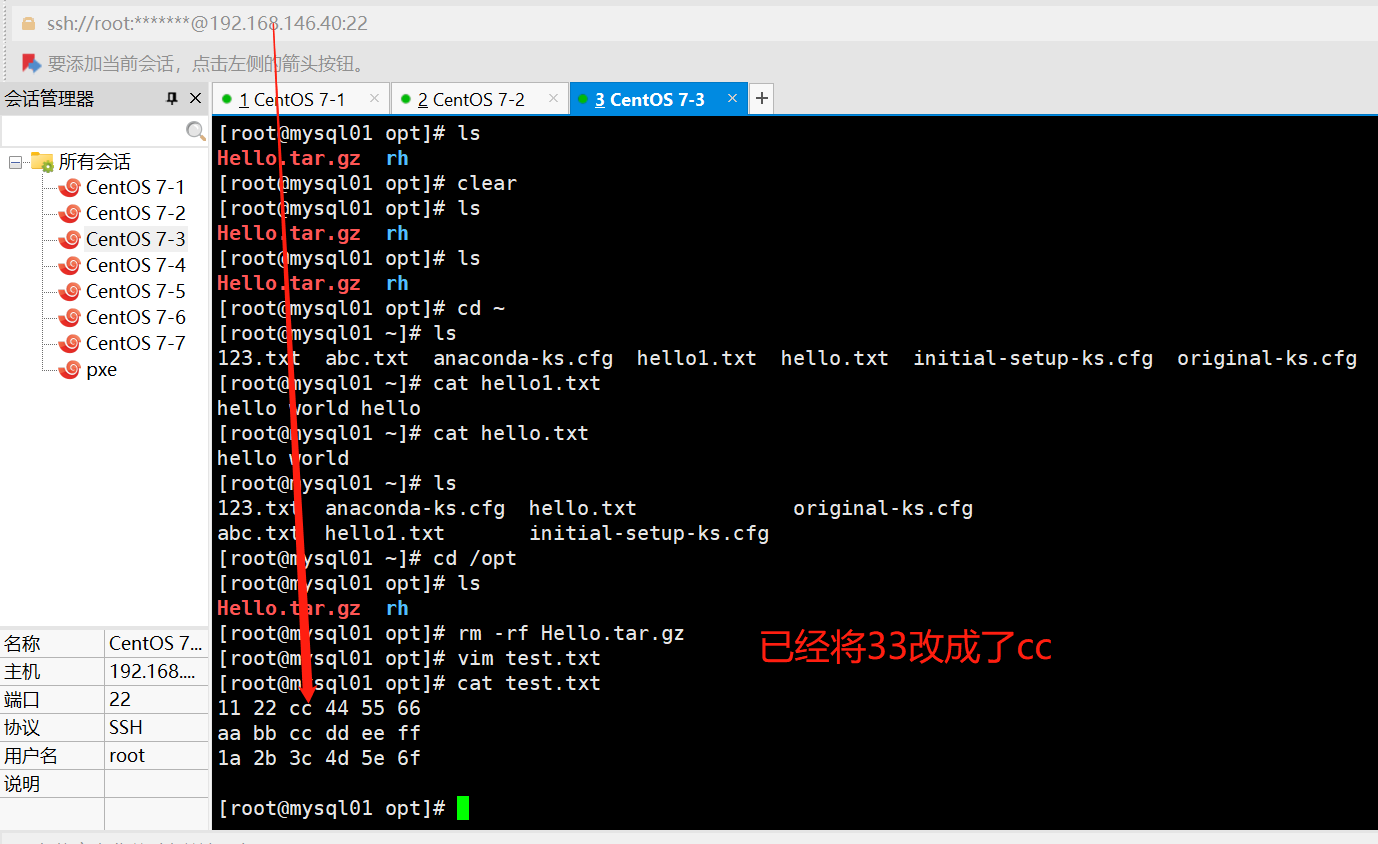
#匹配 333 并修改为 ccc
ansible dbservers -m replace -a "path=/opt/test.txt regexp='33' replace='cc'"

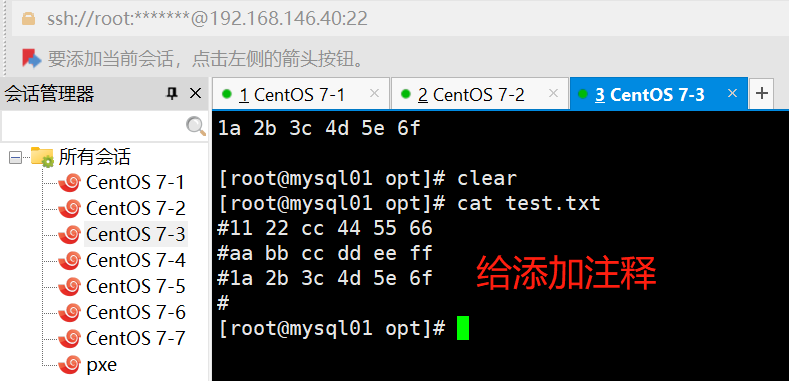
#匹配到任意一个或多个开头的行增加注释
ansible dbservers -m replace -a "path=/opt/test.txt regexp='^(.*)' replace='#\1'"

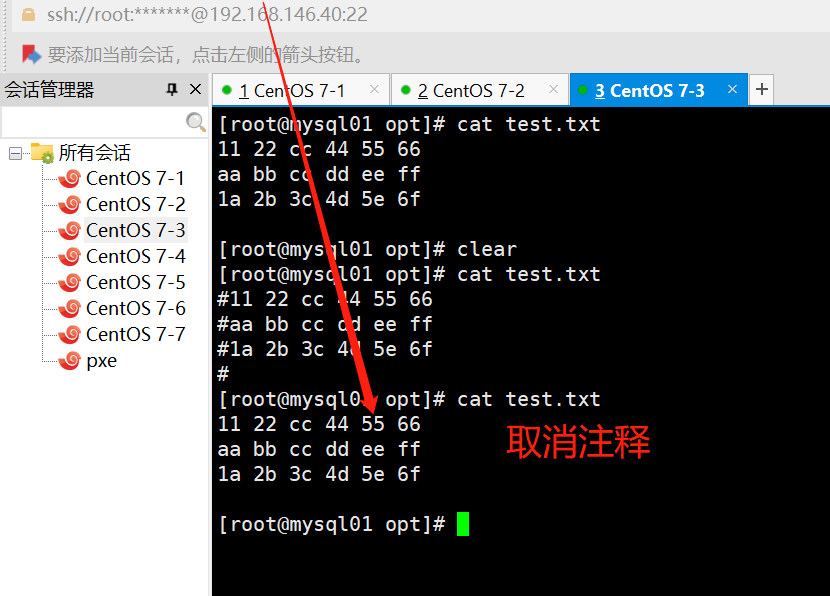
#取消注释
ansible dbservers -m replace -a "path=/opt/test.txt regexp='^#(.*)' replace='\1'"

#匹配以 a 开头的后面有一个或者多个字符的行,并在前面添加 # 注释
ansible dbservers -m replace -a "path=/opt/test.txt regexp='^(a.*)' replace='#\1'"

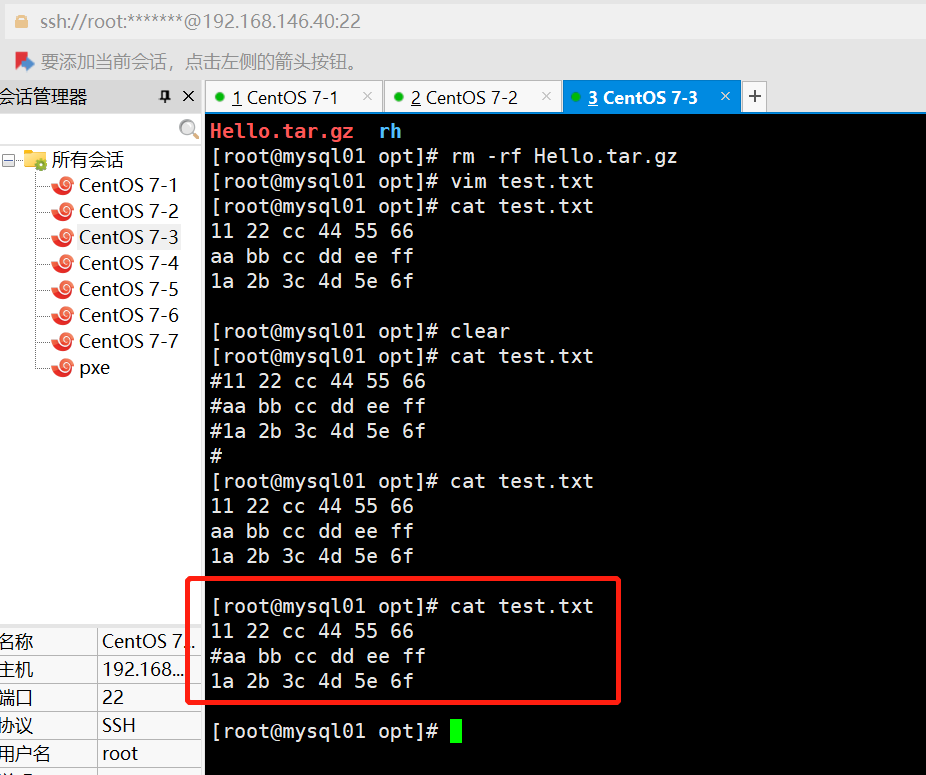
ansible dbservers -m replace -a "path=/opt/test.txt regexp='3' replace='three' before=cc"

setup 模块
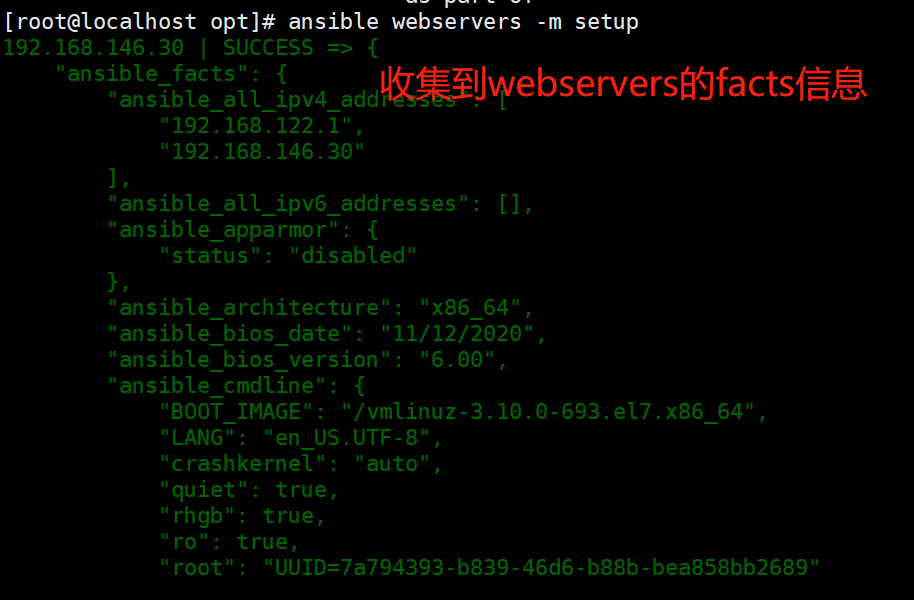
//facts 组件是用来收集被管理节点信息的,使用 setup 模块可以获取这些信息
ansible-doc -s setup
ansible webservers -m setup
#获取webservers组主机的facts信息
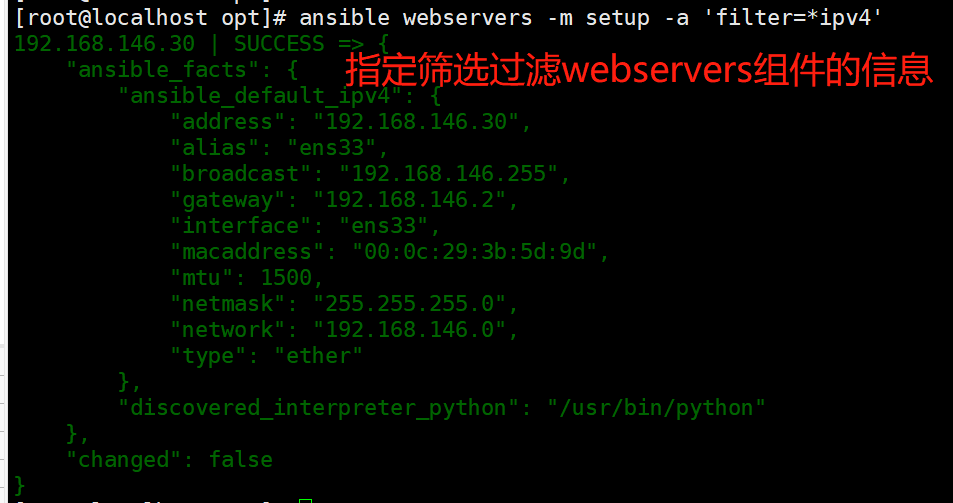
ansible dbservers -m setup -a 'filter=*ipv4'
#使用filter可以筛选指定的facts信息
inventory 主机清单
//Inventory支持对主机进行分组,每个组内可以定义多个主机,
每个主机都可以定义在任何一个或多个主机组内。
//如果是名称类似的主机,可以使用列表的方式标识各个主机。
vim /etc/ansible/hosts
[webservers]
192.168.146.30:2222		#冒号后定义远程连接端口,默认是 ssh 的 22 端口
192.168.146.40[2:5]

[dbservers]
db-[a:f].example.org	#支持匹配 a~f
//inventory 中的变量
Inventory变量名	              含义
ansible_host                  ansible连接节点时的IP地址
ansible_port                  连接对方的端口号,ssh连接时默认为22
ansible_user                  连接对方主机时使用的用户名。不指定时,将使用执行ansible或ansible-playbook命令的用户
ansible_password              连接时的用户的ssh密码,仅在未使用密钥对验证的情况下有效
ansible_ssh_private_key_file  指定密钥认证ssh连接时的私钥文件
ansible_ssh_common_args       提供给ssh、sftp、scp命令的额外参数
ansible_become                允许进行权限提升
ansible_become_method         指定提升权限的方式,例如可使用sudo/su/runas等方式
ansible_become_user           提升为哪个用户的权限,默认提升为root
ansible_become_password       提升为指定用户权限时的密码
(1)主机变量
[webservers]
192.168.146.30 ansible_port=22 ansible_user=root ansible_password=abc1234
(2)组变量
[webservers:vars] #表示为 webservers 组内所有主机定义变量
ansible_user=root
ansible_password=abc1234
[all:vars] #表示为所有组内的所有主机定义变量
ansible_port=22
(3)组嵌套
[nginx]
192.168.146.30
192.168.146.40
192.168.146.50
[apache]
192.168.146.3[0:3]
[webs:children] #表示为 webs 主机组中包含了 nginx 组和 apache 组内的所有主机
nginx
apache


