两套主题动态切换
1. 去官网生成两套主题拷贝到 resources/src/assets/theme
https://element.eleme.cn/#/zh-CN/theme
2. 也可以本地修改 element-variables.scss 然后运行et生成
- 安装 (注意Node版本)
➜  Genes-Admin git:(ogenes) sudo n 10.16.0
➜  Genes-Admin git:(ogenes) npm -v
6.9.0
➜  Genes-Admin git:(ogenes) node -v
v10.16.0
➜  Genes-Admin git:(ogenes) sudo npm i element-theme -g --unsafe-perm=true --allow-root
- 初始化变量文件
➜  Genes-Admin git:(ogenes) ✗ et -i element-variables-light.scss
➜  Genes-Admin git:(ogenes) ✗ et -i element-variables-dark.scss
- 分别修改变量文件来修改样式,然后运行 et 命令先后生成两套主题拷贝到 resources/src/assets/theme
#light
➜  Genes-Admin git:(ogenes) ✗ mkdir -p resources/src/assets/theme/dark resources/src/assets/theme/light
➜  Genes-Admin git:(ogenes) ✗ et -c element-variables-light.scss

✔ build element theme
✔ build theme font
➜  Genes-Admin git:(ogenes) ✗ mv theme/fonts resources/src/assets/theme/light
➜  Genes-Admin git:(ogenes) ✗ mv theme/index.css resources/src/assets/theme/light
➜  Genes-Admin git:(ogenes) ✗ rm -rf theme

#dark
➜  Genes-Admin git:(ogenes) ✗ et -c element-variables-dark.scss

✔ build element theme
✔ build theme font

➜  Genes-Admin git:(ogenes) ✗ mv theme/fonts resources/src/assets/theme/dark
➜  Genes-Admin git:(ogenes) ✗ mv theme/index.css resources/src/assets/theme/dark
➜  Genes-Admin git:(ogenes) ✗ rm -rf theme
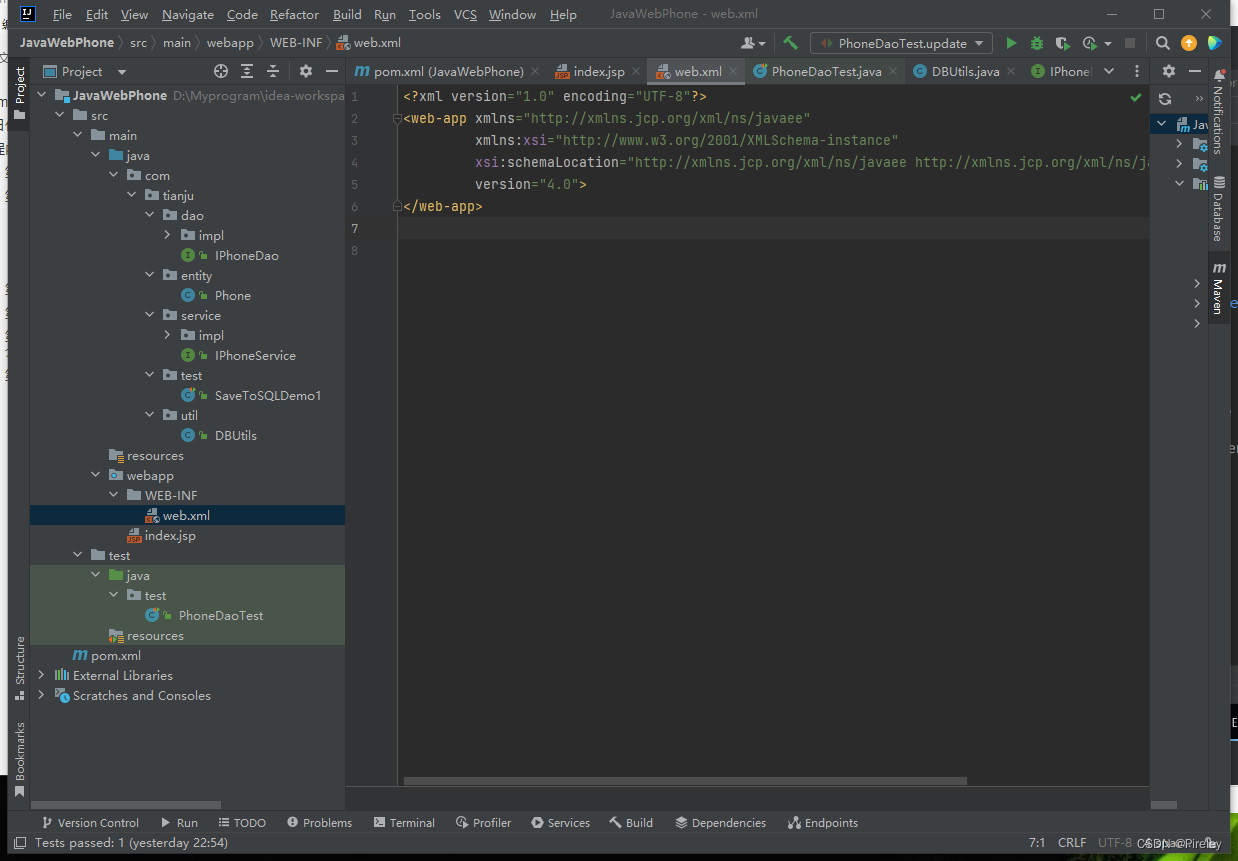
3. 以上两步目的都是得到两套主题,最终目录结构为

4. 引入深色主题测试
#vim resources/src/main.js
import ElementUI from 'element-ui'
import 'element-ui/lib/theme-chalk/index.css'
#加入自定义主题样式
import '@/assets/theme/dark/index.css'

import '@/styles/index.scss' // global css

5. 动态切换
- 添加默认setting.theme
  #vim resources/src/settings.js ,加上以下配置
  /**
   * @type {string} light | dark
   * @description theme
   */
  theme: 'dark'
- 修改setting module,支持获取和修改theme,并保存到 localStorage
import defaultSettings from '@/settings'

const { showSettings, fixedHeader, sidebarLogo, theme } = defaultSettings

function getItem(key, def) {
  return localStorage.getItem(key) === null ? def : localStorage.getItem(key);
}

function setItem(key, value) {
  localStorage.setItem(key, value);
}

const state = {
  showSettings: getItem('showSettings', showSettings),
  fixedHeader: getItem('fixedHeader', fixedHeader),
  sidebarLogo: getItem('sidebarLogo', sidebarLogo),
  theme: getItem('theme', theme),
}

const mutations = {
  CHANGE_SETTING: (state, { key, value }) => {
    // eslint-disable-next-line no-prototype-builtins
    if (state.hasOwnProperty(key)) {
      state[key] = value
      setItem(key, value);
    }
  }
}

const actions = {
  changeSetting({ commit }, data) {
    commit('CHANGE_SETTING', data)
  }
}

export default {
  namespaced: true,
  state,
  mutations,
  actions
}
- 修改引入css的逻辑,基于setting.theme 引入css文件
#新建文件 resources/src/styles/index.js
import store from '@/store'

if (store.state.settings.theme === 'dark') {
  import('@/assets/theme/dark/index.css');
} else {
  import('@/assets/theme/light/index.css');
}

import '@/styles/index.scss' // global css
#修改main.js
// import '@/styles/index.scss' // global css
import '@/styles' // global css
-
测试
#临时测试,可以模拟语言切换的下拉框
#vim resources/src/components/Theme/index.vue
<template>
  <el-dropdown @command="handleCommand">
  <span class="el-dropdown-link">
    {{ theme }}
  </span>
    <el-dropdown-menu slot="dropdown">
      <el-dropdown-item
        v-for="(val, key) in themes"
        :disabled="val===theme"
        :key="key"
        :command="key">
        {{ val }}
      </el-dropdown-item>
    </el-dropdown-menu>
  </el-dropdown>
</template>

<script>
  export default {
    name: "Theme",
    data() {
      return {
        themes: {
          light: '白天模式',
          dark: '黑夜模式',
        },
      }
    },
    computed: {
      theme() {
        return this.themes[this.$store.state.settings.theme];
      }
    },
    methods: {
      handleCommand(val) {
        this.$store.dispatch('settings/changeSetting', {
          key: 'theme',
          value: val
        })
        this.$message.success('switch theme success')
        location.reload()
      }
    }
  }
</script>

<style scoped>

</style>


#然后放到 resources/src/layout/components/Navbar.vue
      <theme id="header-theme" class="right-menu-item"/>
import Theme from "@/components/Theme";

export default {
  components: {
    Breadcrumb,
    Hamburger,
    Languages,
    Theme
  },
……
}


