在之前的系列中,我们都是在单Node上“玩转”kubernetes,熟悉了它很多指令和特性。从本节开始,我们开始探索多Worker Node的相关特性。
部署虚拟机
因为desktop版ubuntu非常占用内存,而且我们已经熟悉了一些基本操作,可以将一些k8s内部网络访问的地址暴露给外部,于是现在我们使用ubuntu server版。
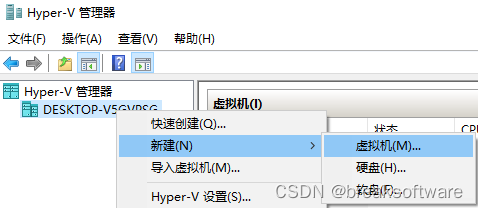
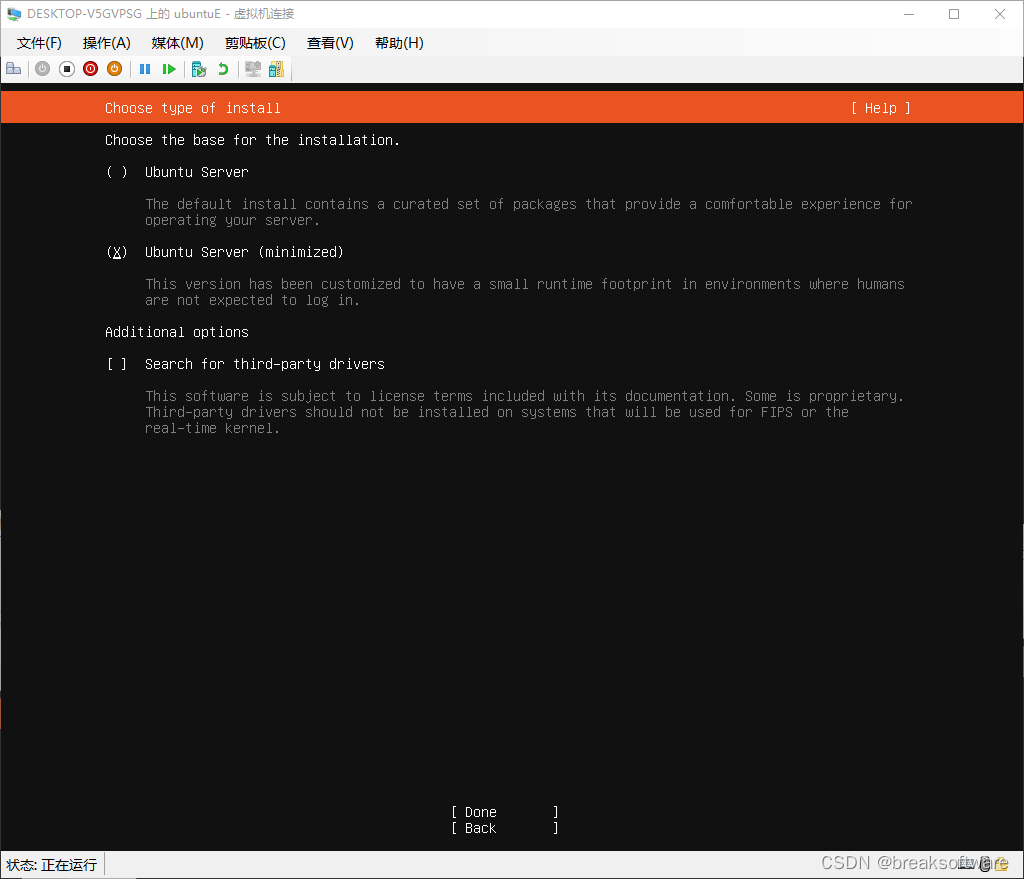
我们继续使用Hyper-V进行部署。注意选择minimized的Ubuntu Server版。
安装系统
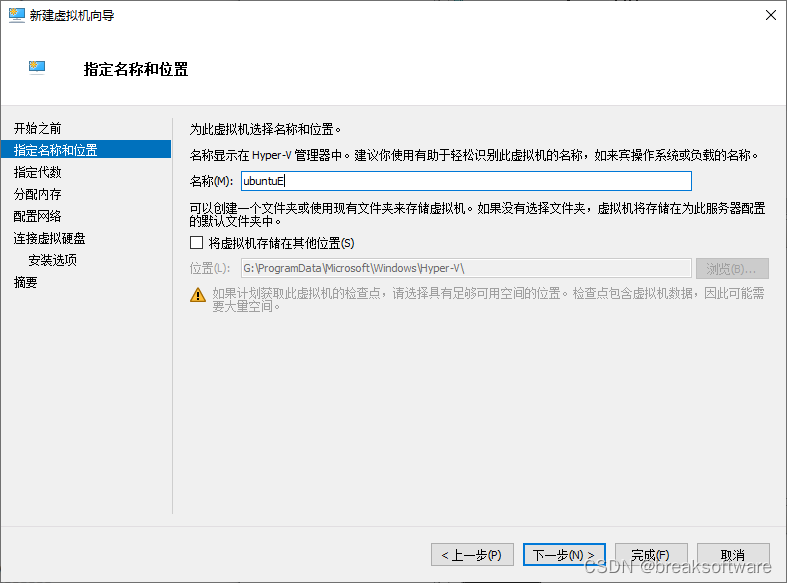
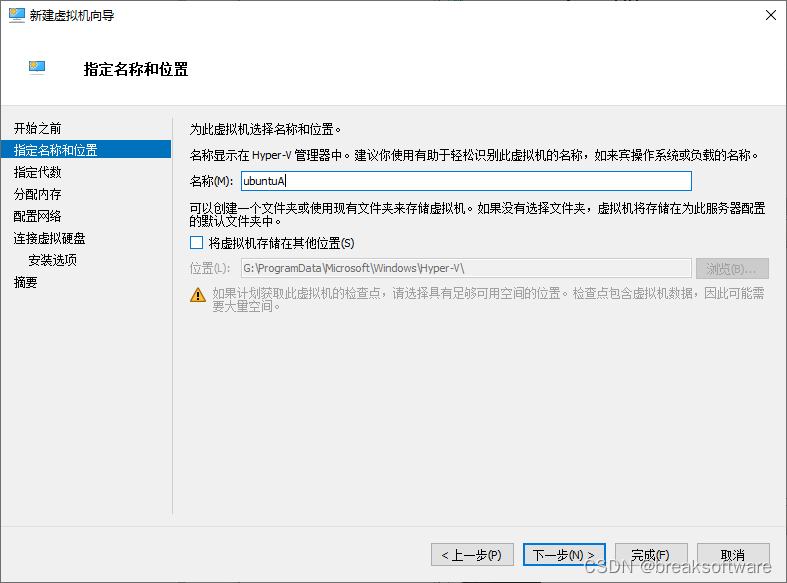
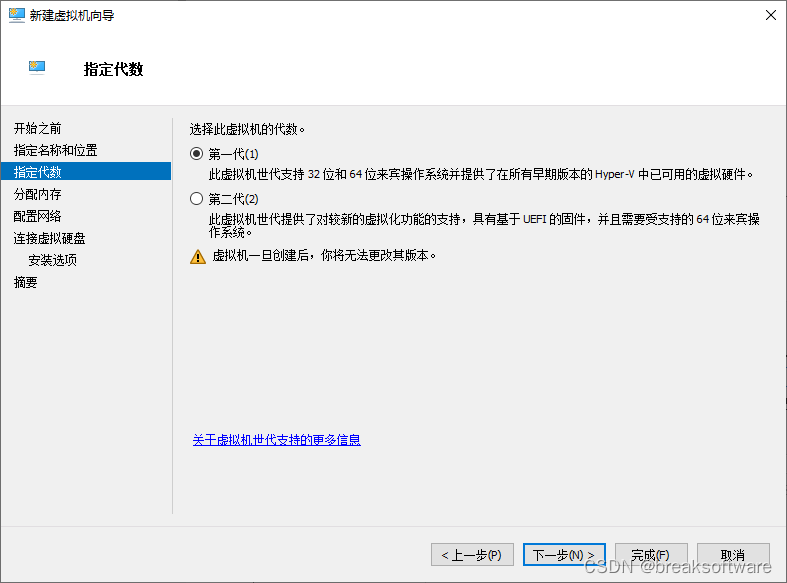
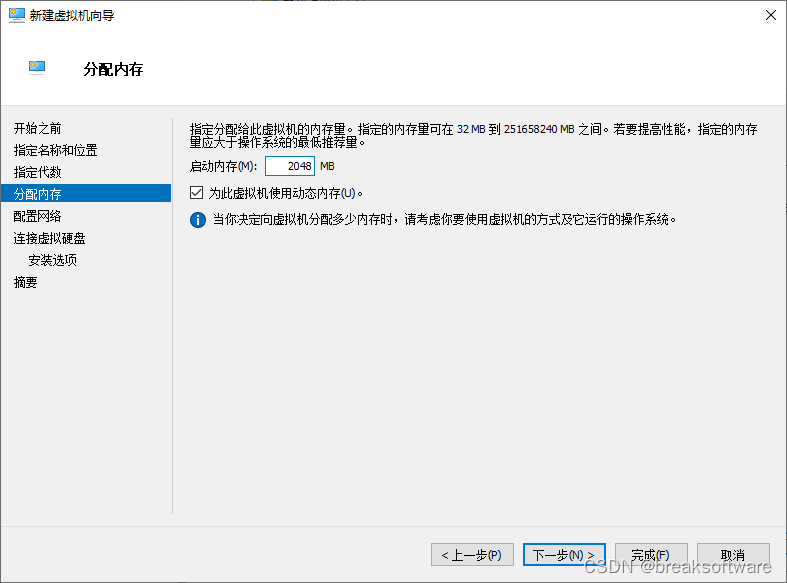
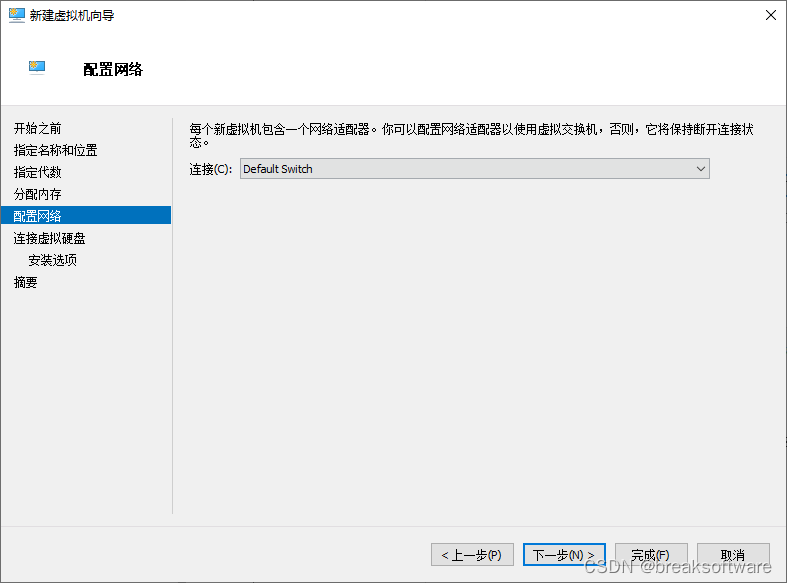
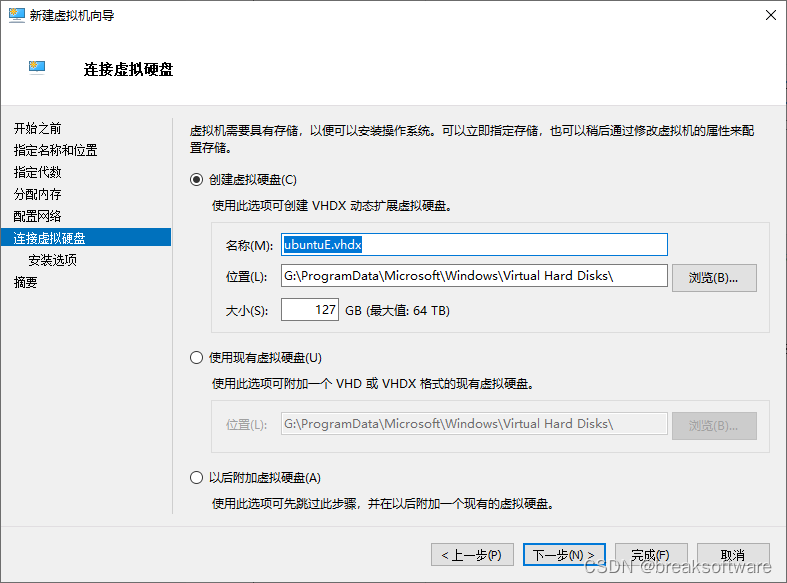
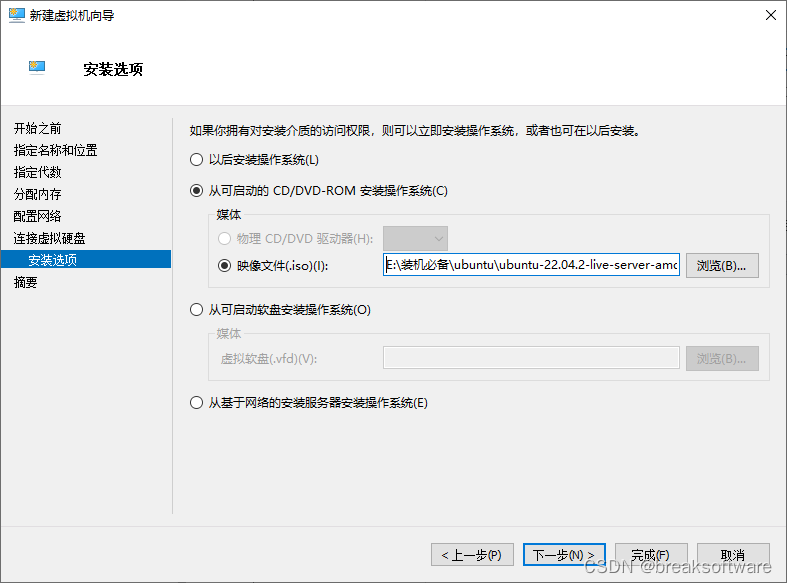
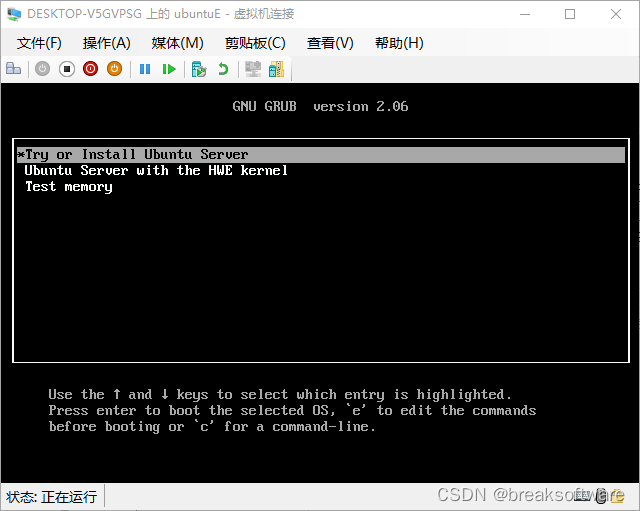
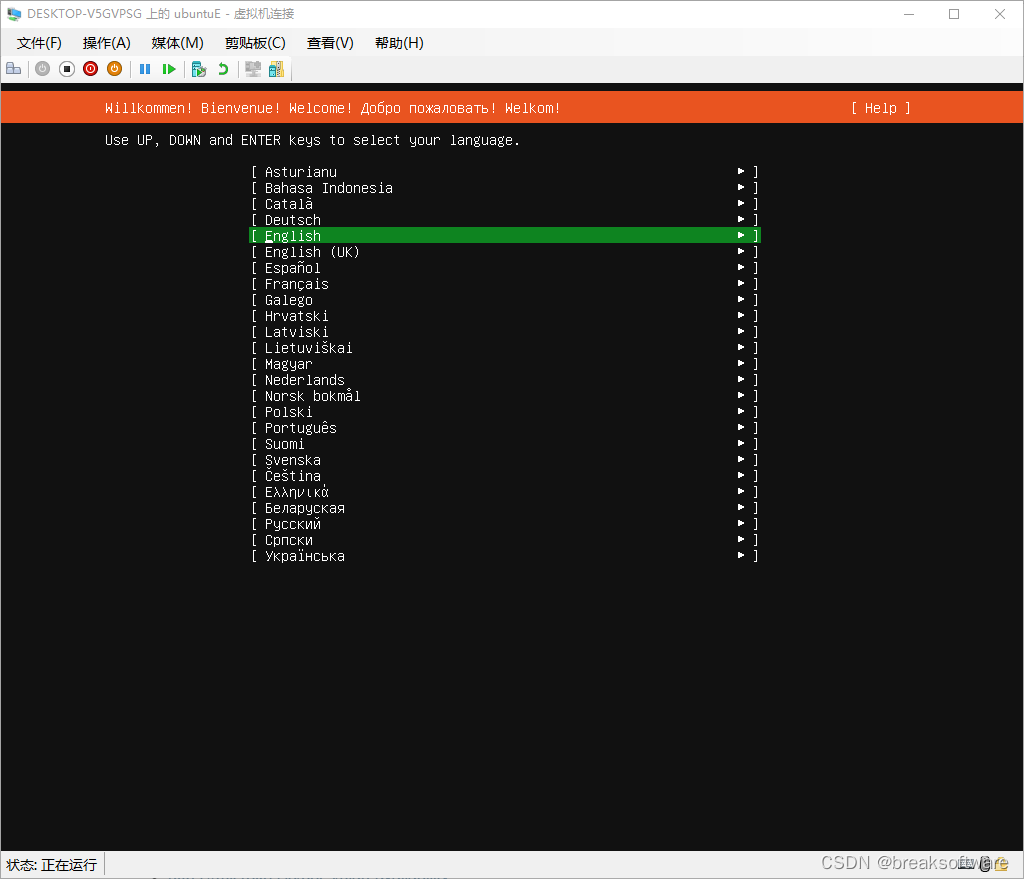
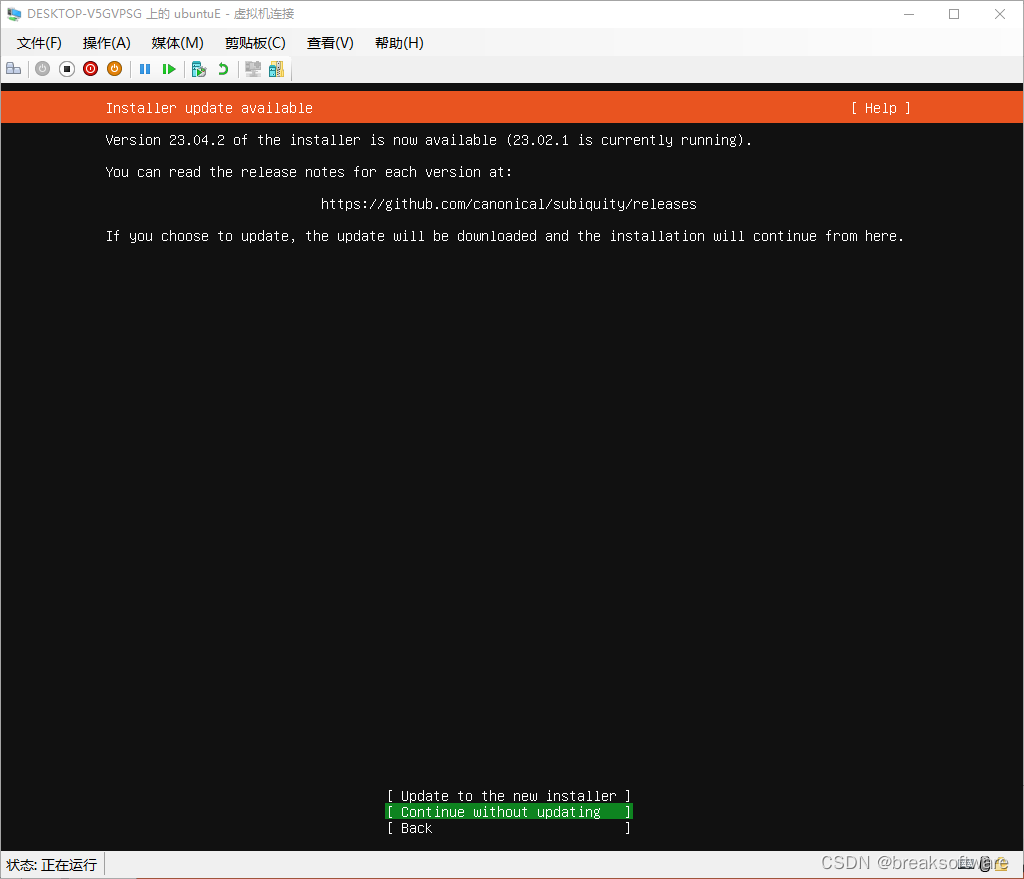
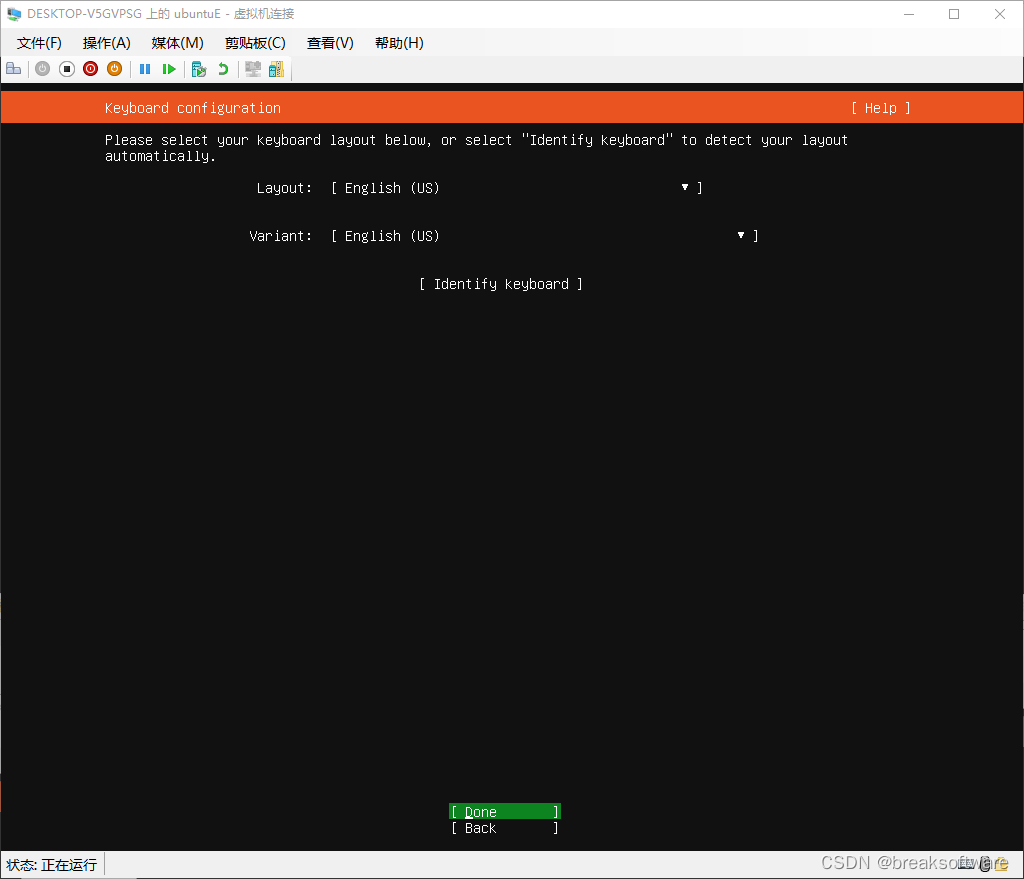
这儿注意选择minimized版。
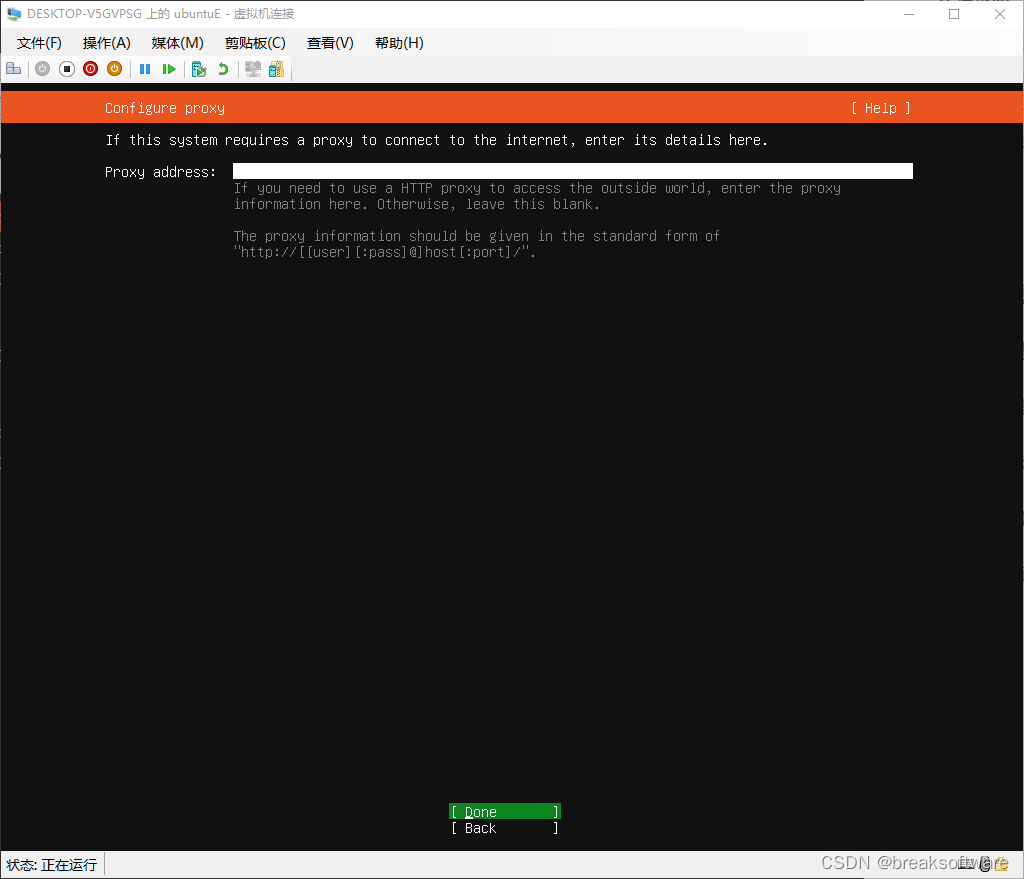
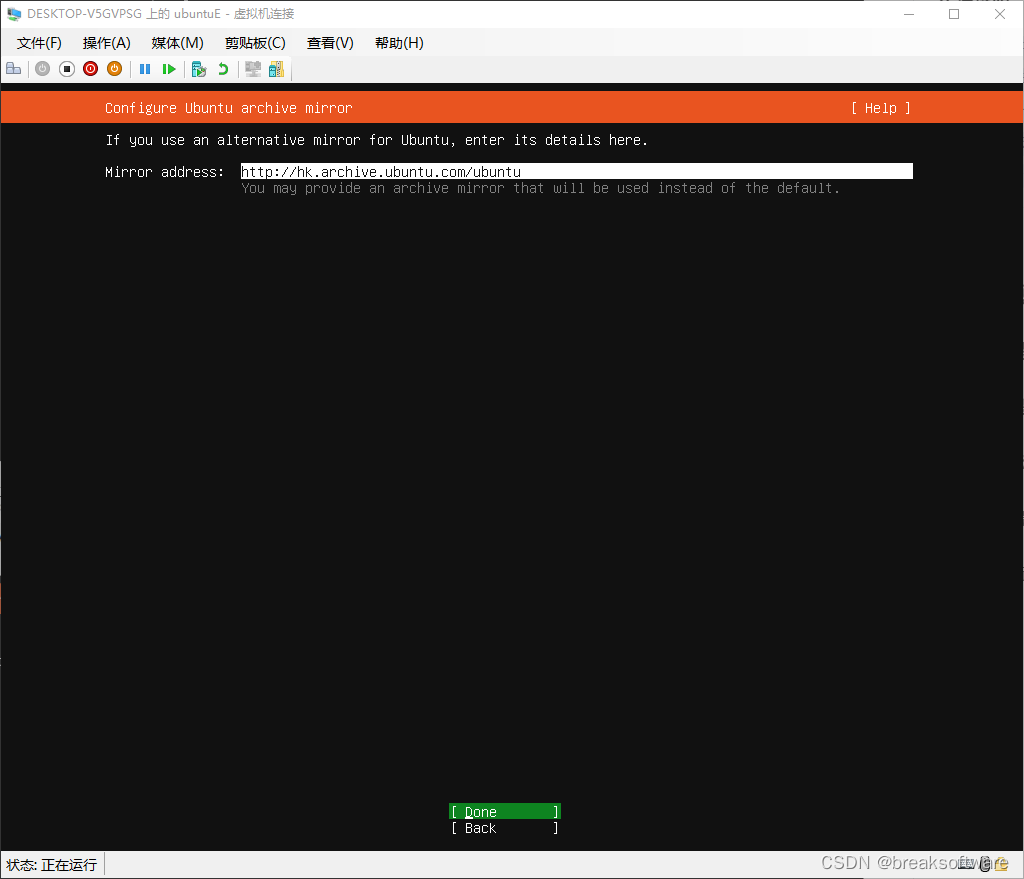
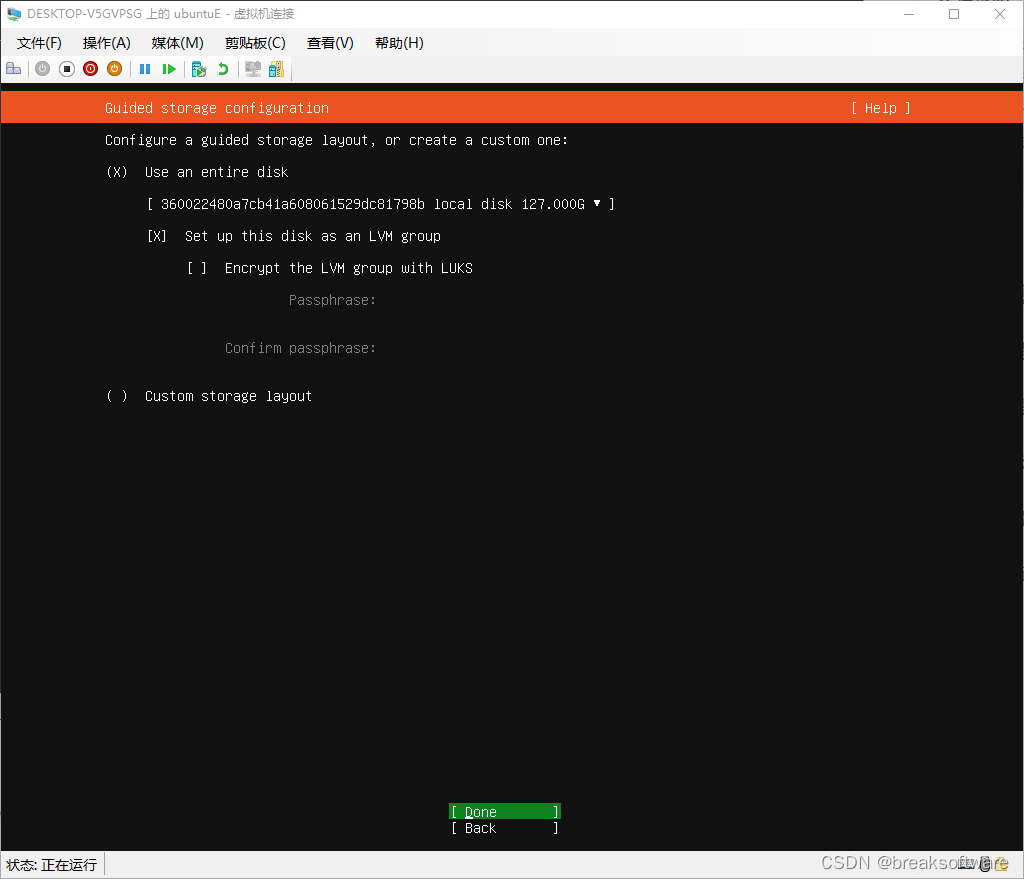
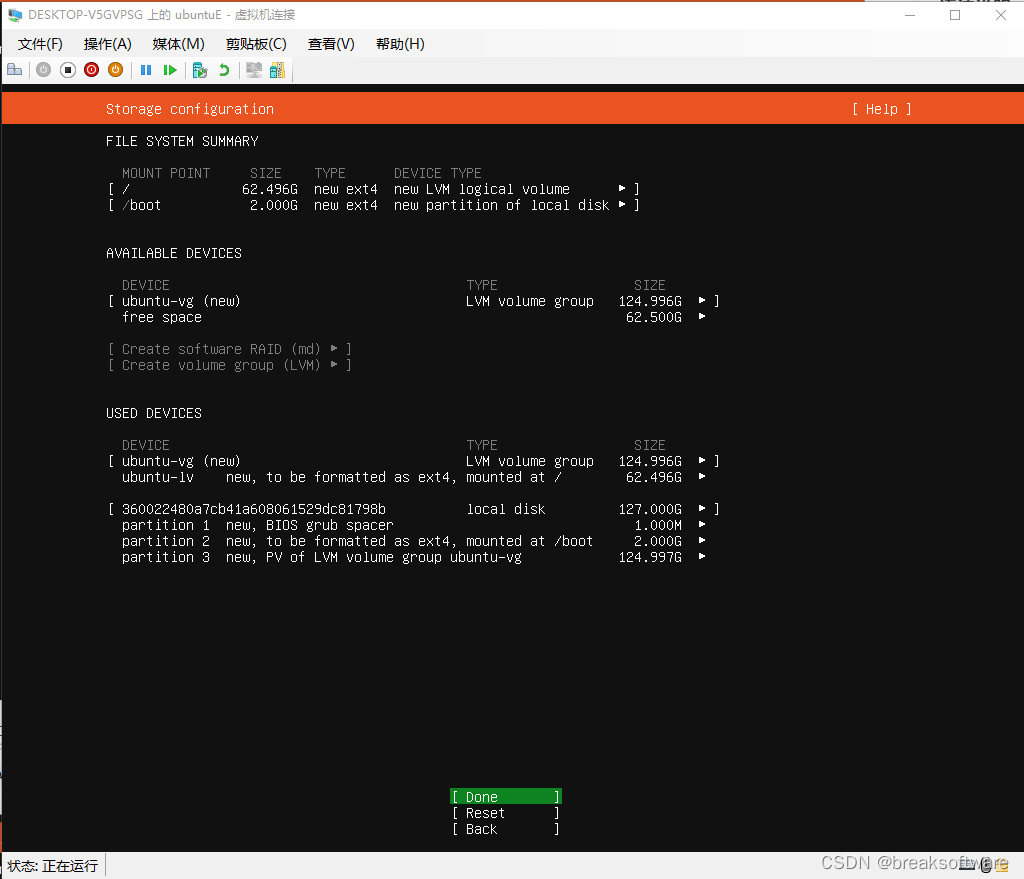
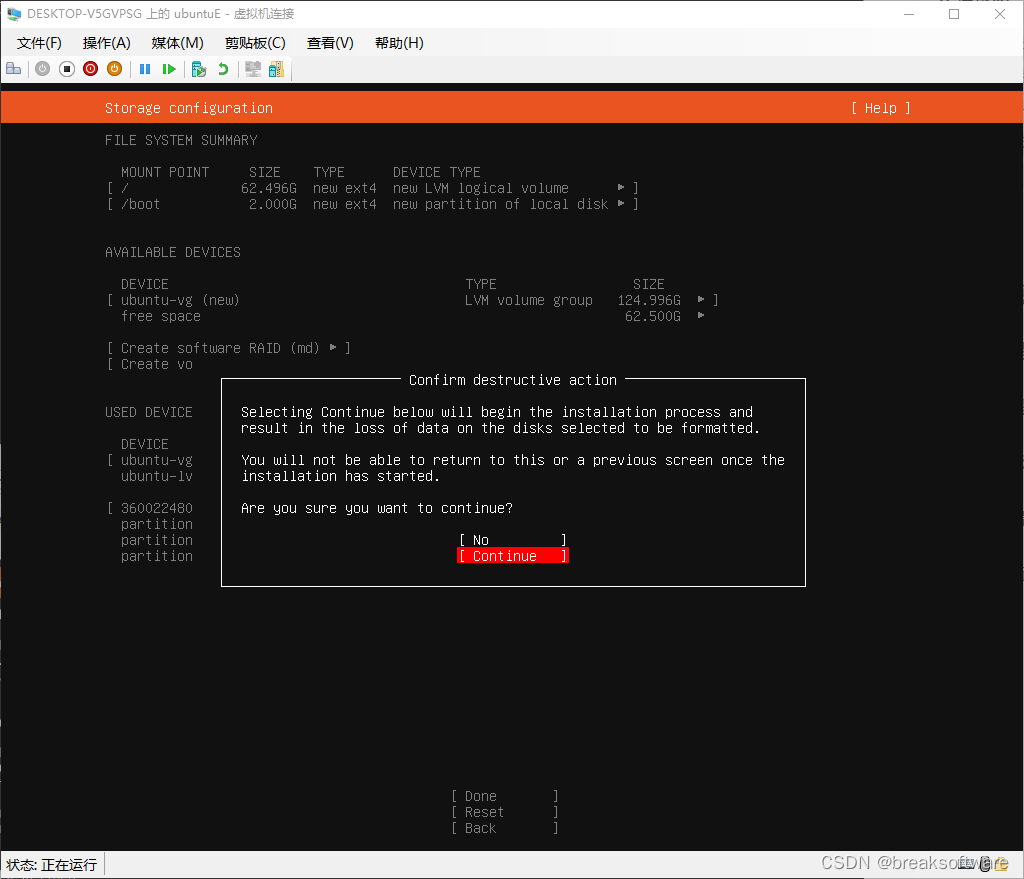
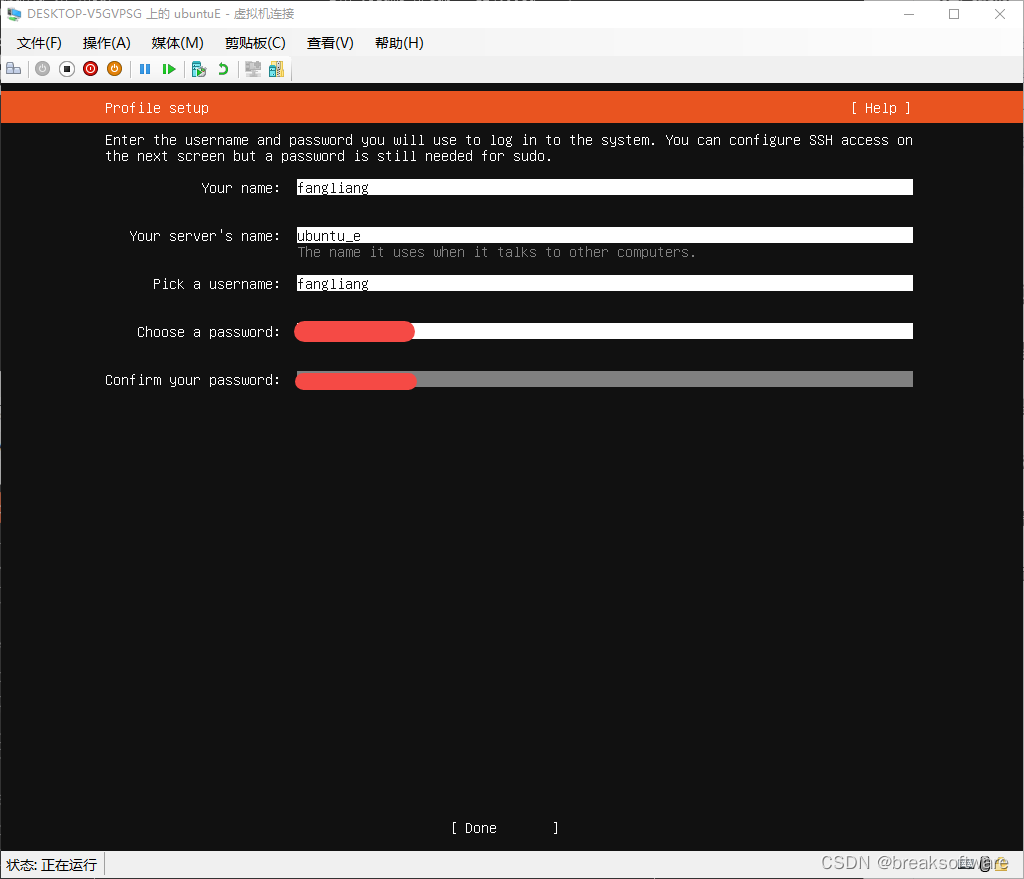
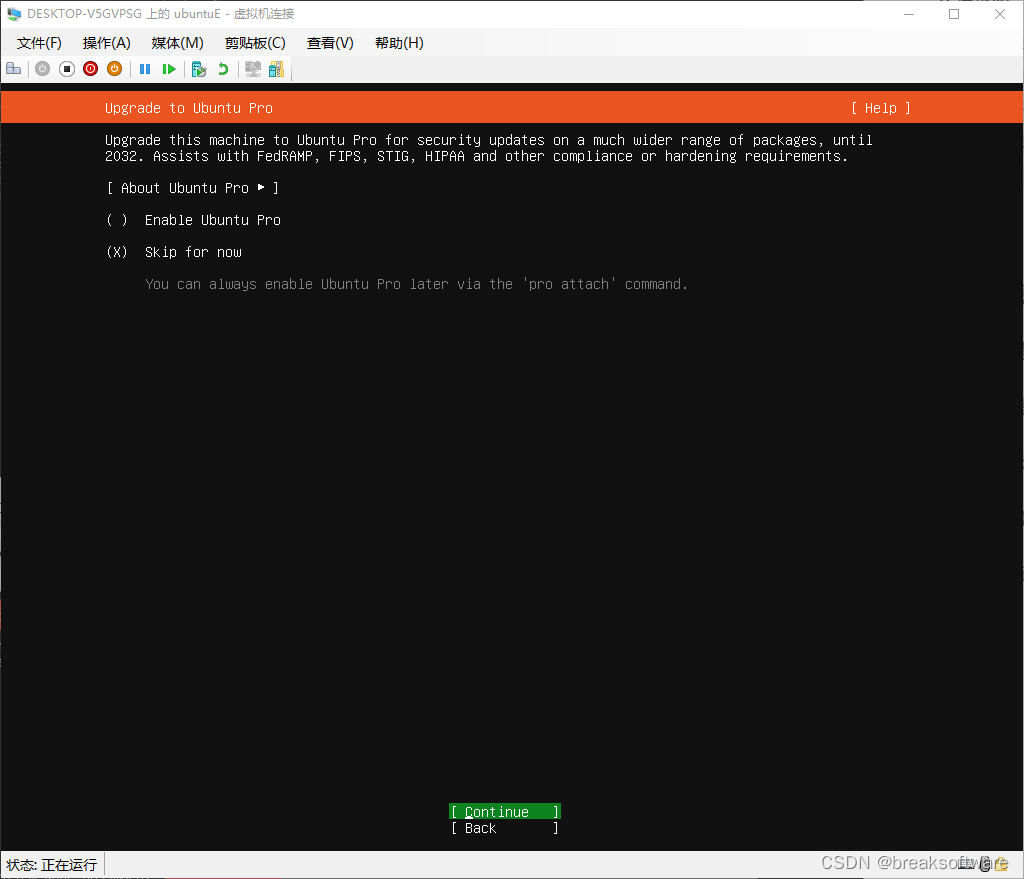
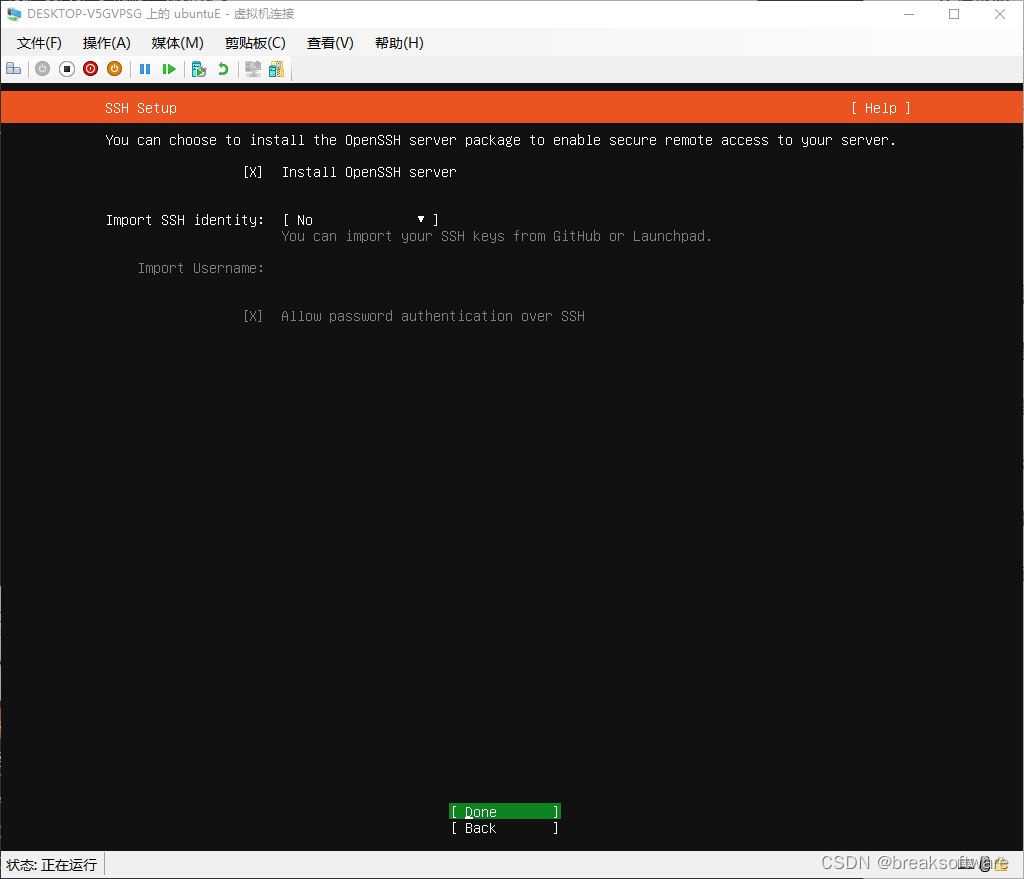
注意勾选安装openssh server
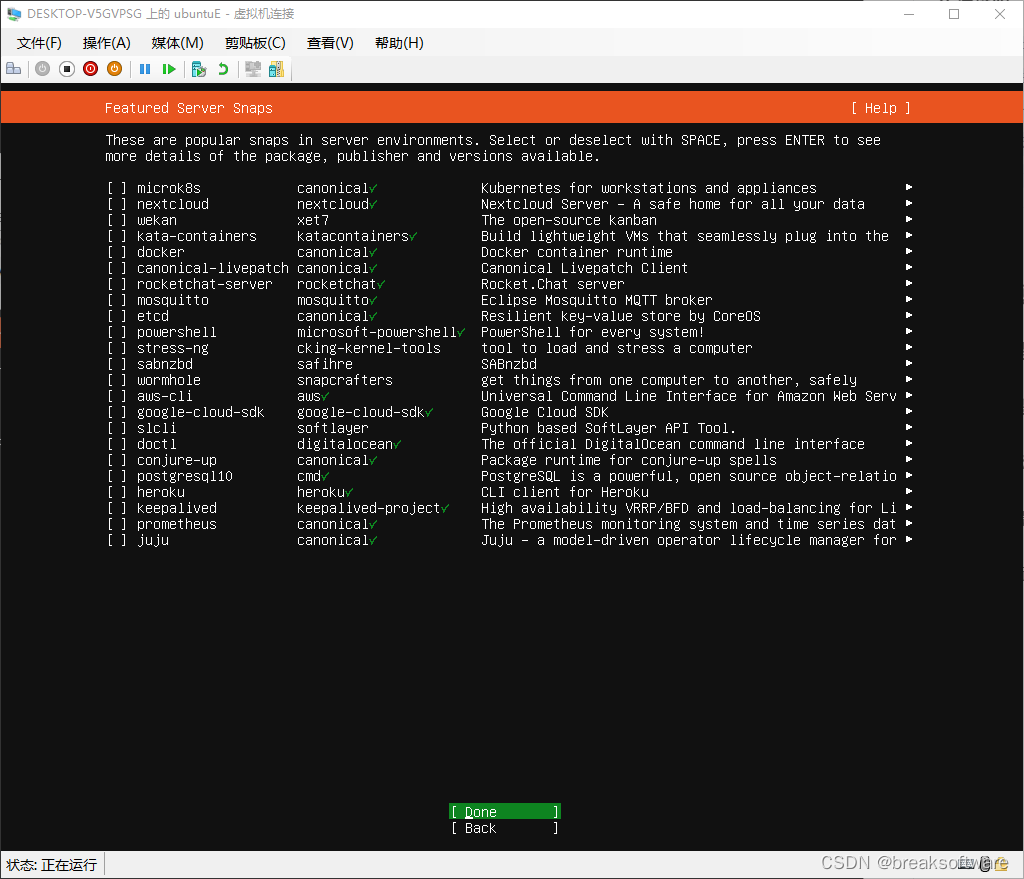
这步不选择任何软件。后续我们通过命令安装microk8s。
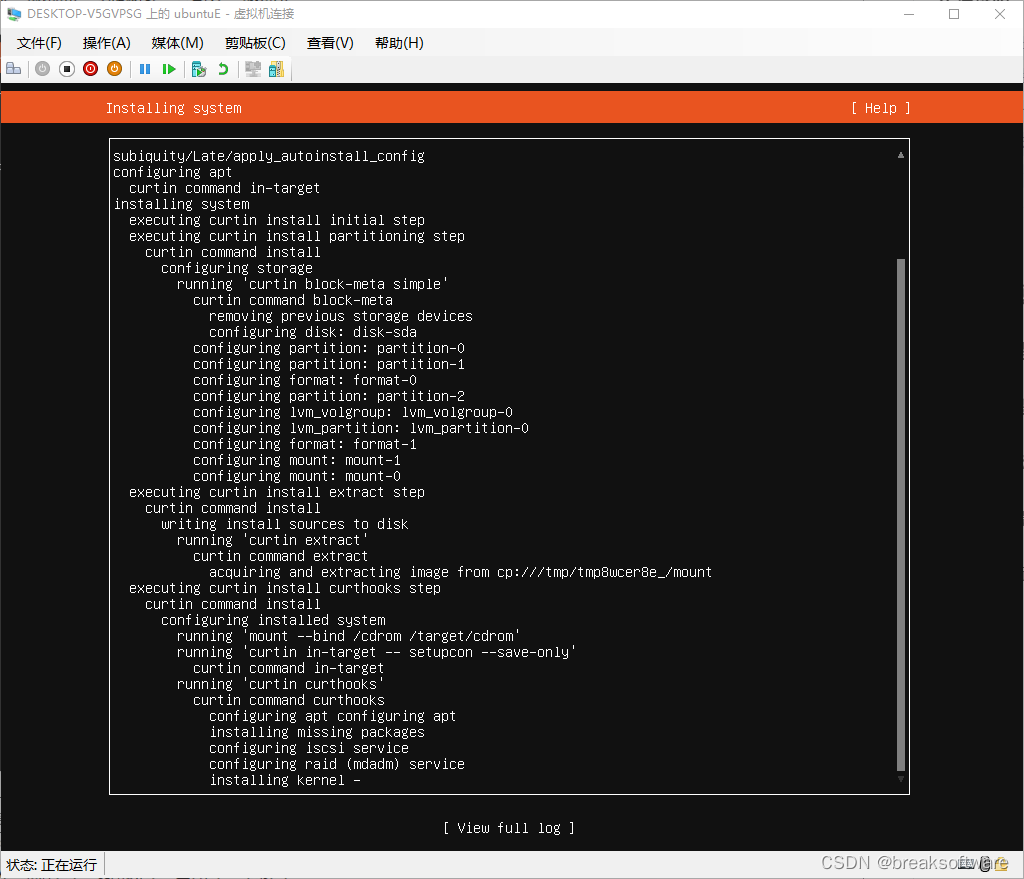
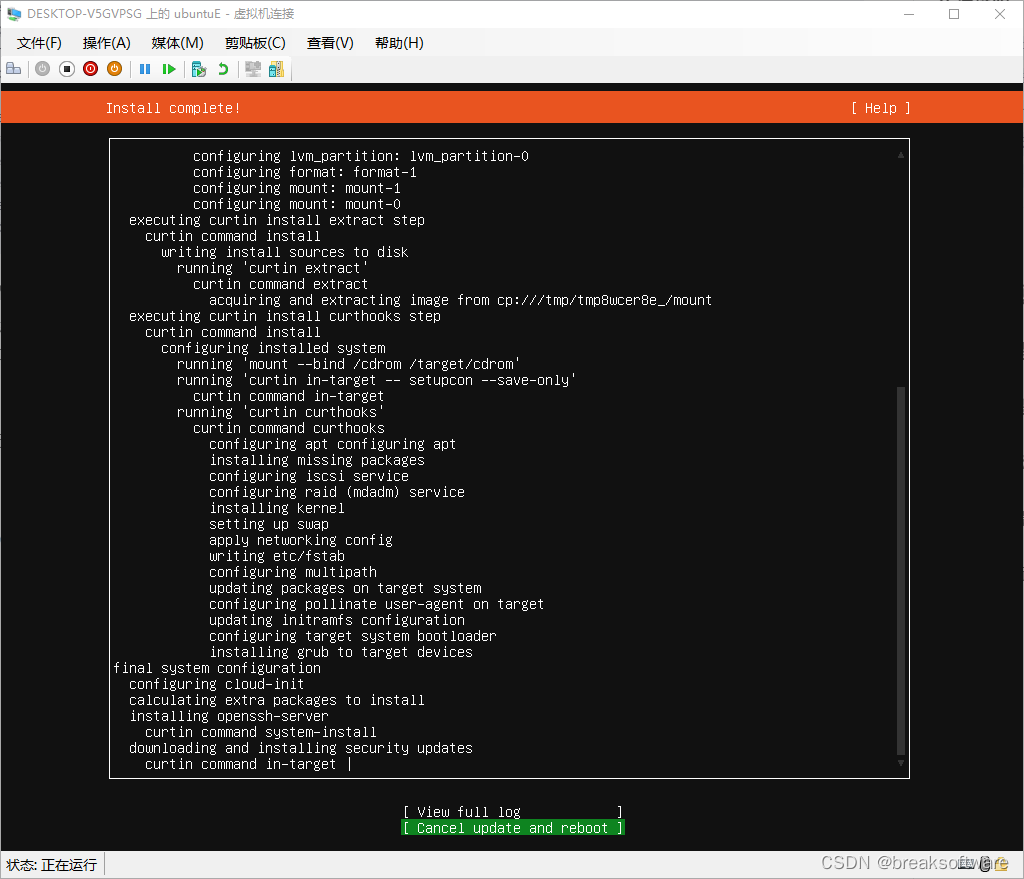
等待安装结束,重启系统。
配置系统
设置root密码
sudo passwd
更新系统
sudo apt update
sudo apt upgrade
安装网络工具
非必须,主要用于查看其IP。
sudo apt install net-tools
安装microk8s
sudo snap install microk8s --classic
sudo usermod -a -G microk8s $USER
sudo chown -f -R $USER ~/.kube
su $USER
sudo snap alias microk8s.kubectl kubectl
使用上述方法,我们将新建ubuntuA、ubuntuB、ubuntuC、ubuntuD和ubuntuE共5台虚拟机。
安装microk8s
在上述每台实例上执行下面的指令
sudo snap install microk8s --classic
sudo usermod -a -G microk8s $USER
sudo chown -f -R $USER ~/.kube
su $USER
sudo snap alias microk8s.kubectl kubectl
组建集群
我们将让ubuntuA成为master node,其他是worker node。如下图,中间的是ubuntuA,四周的是其他虚拟机(node)。

master node启动dns
在ubuntuA上执行下面指令
microk8s enable dns
Infer repository core for addon dns
Enabling DNS
Using host configuration from /run/systemd/resolve/resolv.conf
Applying manifest
serviceaccount/coredns created
configmap/coredns created
deployment.apps/coredns created
service/kube-dns created
clusterrole.rbac.authorization.k8s.io/coredns created
clusterrolebinding.rbac.authorization.k8s.io/coredns created
Restarting kubelet
[sudo] password for fangliang:
Adding argument --cluster-domain to nodes.
Adding argument --cluster-dns to nodes.
Restarting nodes.
DNS is enabled
添加Worker Node
下面的操作是循环的,即增加一个Worker Node要执行一次下面的操作。因为每次都会生成一个token,一个token使用完就不能再用。
以把ubuntuE添加为Worker Node为例。
生成添加指令
在ubuntuA上执行
microk8s add-node
From the node you wish to join to this cluster, run the following:
microk8s join 172.23.71.113:25000/c4be32f6d314c0ba095e327329c51014/2fcbd8bdd6fc
Use the ‘–worker’ flag to join a node as a worker not running the control plane, eg:
microk8s join 172.23.71.113:25000/c4be32f6d314c0ba095e327329c51014/2fcbd8bdd6fc --worker
If the node you are adding is not reachable through the default interface you can use one of the following:
microk8s join 172.23.71.113:25000/c4be32f6d314c0ba095e327329c51014/2fcbd8bdd6fc
复制其中的包含token的–worker的链接。
添加worker
在ubuntuE上执行从上面复制的链接
microk8s join 172.23.71.113:25000/c4be32f6d314c0ba095e327329c51014/2fcbd8bdd6fc --worker
Contacting cluster at 172.23.71.113
The node has joined the cluster and will appear in the nodes list in a few seconds.
This worker node gets automatically configured with the API server endpoints.
If the API servers are behind a loadbalancer please set the ‘–refresh-interval’ to ‘0s’ in:
/var/snap/microk8s/current/args/apiserver-proxy
and replace the API server endpoints with the one provided by the loadbalancer in:
/var/snap/microk8s/current/args/traefik/provider.yaml
查看集群
我们将ubuntuA作为master node,就需要在上面执行查看指令
kubectl get nodes --show-labels
NAME      STATUS   ROLES    AGE    VERSION   LABELS
ubuntuc   Ready    <none>   7h1m   v1.26.4   beta.kubernetes.io/arch=amd64,beta.kubernetes.io/os=linux,kubernetes.io/arch=amd64,kubernetes.io/hostname=ubuntuc,kubernetes.io/os=linux,microk8s.io/cluster=true,node.kubernetes.io/microk8s-worker=microk8s-worker
ubuntue   Ready    <none>   97s    v1.26.4   beta.kubernetes.io/arch=amd64,beta.kubernetes.io/os=linux,kubernetes.io/arch=amd64,kubernetes.io/hostname=ubuntue,kubernetes.io/os=linux,microk8s.io/cluster=true,node.kubernetes.io/microk8s-worker=microk8s-worker
ubuntub   Ready    <none>   7h1m   v1.26.4   beta.kubernetes.io/arch=amd64,beta.kubernetes.io/os=linux,kubernetes.io/arch=amd64,kubernetes.io/hostname=ubuntub,kubernetes.io/os=linux,microk8s.io/cluster=true,node.kubernetes.io/microk8s-worker=microk8s-worker
ubuntua   Ready    <none>   8h     v1.26.4   beta.kubernetes.io/arch=amd64,beta.kubernetes.io/os=linux,kubernetes.io/arch=amd64,kubernetes.io/hostname=ubuntua,kubernetes.io/os=linux,microk8s.io/cluster=true,node.kubernetes.io/microk8s-controlplane=microk8s-controlplane
ubuntud   Ready    <none>   7h     v1.26.4   beta.kubernetes.io/arch=amd64,beta.kubernetes.io/os=linux,kubernetes.io/arch=amd64,kubernetes.io/hostname=ubuntud,kubernetes.io/os=linux,microk8s.io/cluster=true,node.kubernetes.io/microk8s-worker=microk8s-worker
可以看到ubuntuA只是microk8s-controlplane,而其他则是microk8s-worker。
参考资料
- https://microk8s.io/docs/high-availability


