2.搭建springboot环境
2.1 使用maven项目
在pox.xml文件中加入parent
<parent>
        <groupId>org.springframework.boot</groupId>
        <artifactId>spring-boot-starter-parent</artifactId>
        <version>2.6.4</version>
    </parent>
在pom.xml文件中加入依赖web
 <dependencies>
        <dependency>
            <groupId>org.springframework.boot</groupId>
            <artifactId>spring-boot-starter-web</artifactId>
        </dependency>
    </dependencies>
创建Controller
@RestController
public class IndexController {

    @GetMapping("/index")
    public String index(){
        return "helleo springboot1";
    }
}
创建启动服务器的主类
@SpringBootApplication
public class AppServer {
    public static void main(String[] args) {
        SpringApplication.run(AppServer.class,args);
    }
}
2.2 使用Spring initlalizr 官网
创建module,选择spring initlalizr创建,通过https://start.spring.io创建。

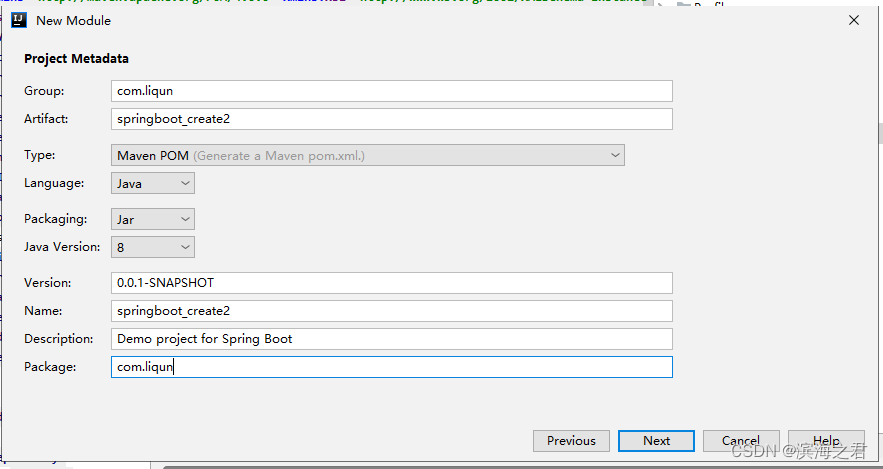
2.3 使用Spring initlalizr阿里云
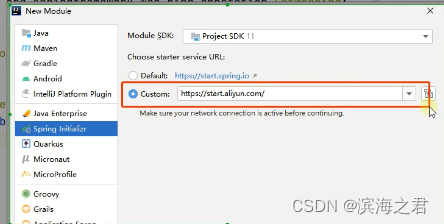
2.4 访问https://start.spring.io
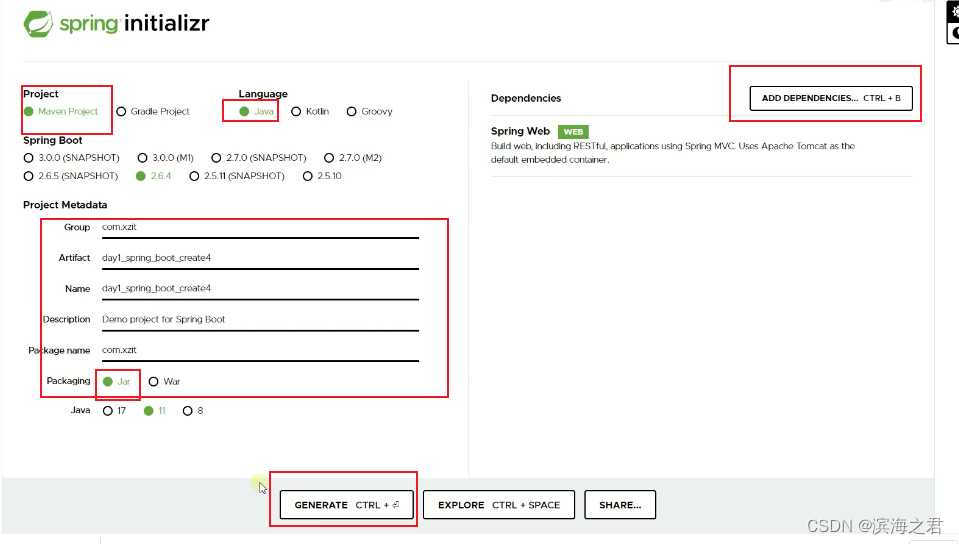
下载一个压缩包,解压后通过idea打开,就是一个springboot 工程。
3. springboot parent和starter
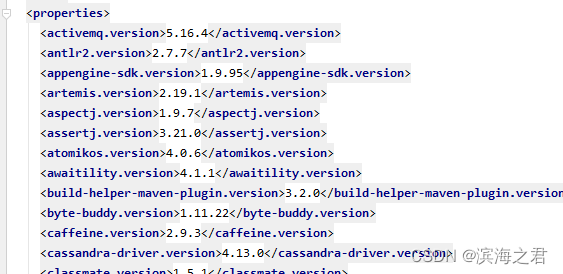
所有springboot项目要继承的项目
在其中, 依赖了一个spring-boot-dependencies,在里面规范了使用的各第三方依赖的版本号。
4.启动类
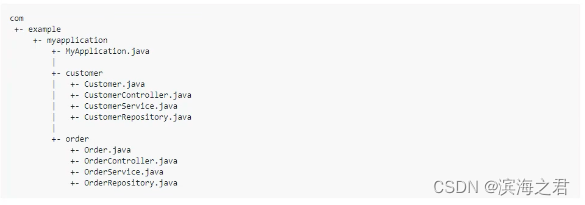
主启动类的位置
5.springboot 支持的三种服务器
内置tomcat默认的处理器
jetty: 更轻量级的容器
pom.xml文件中配置 的
		<dependency>
            <groupId>org.springframework.boot</groupId>
            <artifactId>spring-boot-starter-web</artifactId>
            <!--取消tomcat服务器-->
            <exclusions>
                <exclusion>
                    <groupId>org.springframework.boot</groupId>
                    <artifactId>spring-boot-starter-tomcat</artifactId>
                </exclusion>
            </exclusions>
        </dependency>
        <!--加入jetty服务器-->
        <dependency>
            <groupId>org.springframework.boot</groupId>
            <artifactId>spring-boot-starter-jetty</artifactId>
        </dependency>
undertow:
            <groupId>org.springframework.boot</groupId>
            <artifactId>spring-boot-starter-web</artifactId>
            <!--取消tomcat服务器-->
            <exclusions>
                <exclusion>
                    <groupId>org.springframework.boot</groupId>
                    <artifactId>spring-boot-starter-tomcat</artifactId>
                </exclusion>
            </exclusions>
        </dependency>
        <!--加入undertow服务器-->
        <dependency>
            <groupId>org.springframework.boot</groupId>
            <artifactId>spring-boot-starter-undertow</artifactId>
        </dependency>
6. springboot配置文件
创建springboot工程时会自动创建一个application.properties文件。
还可以支持application.yml 和application.yaml格式的文件。
主要应用的是application.yml格式的文件。
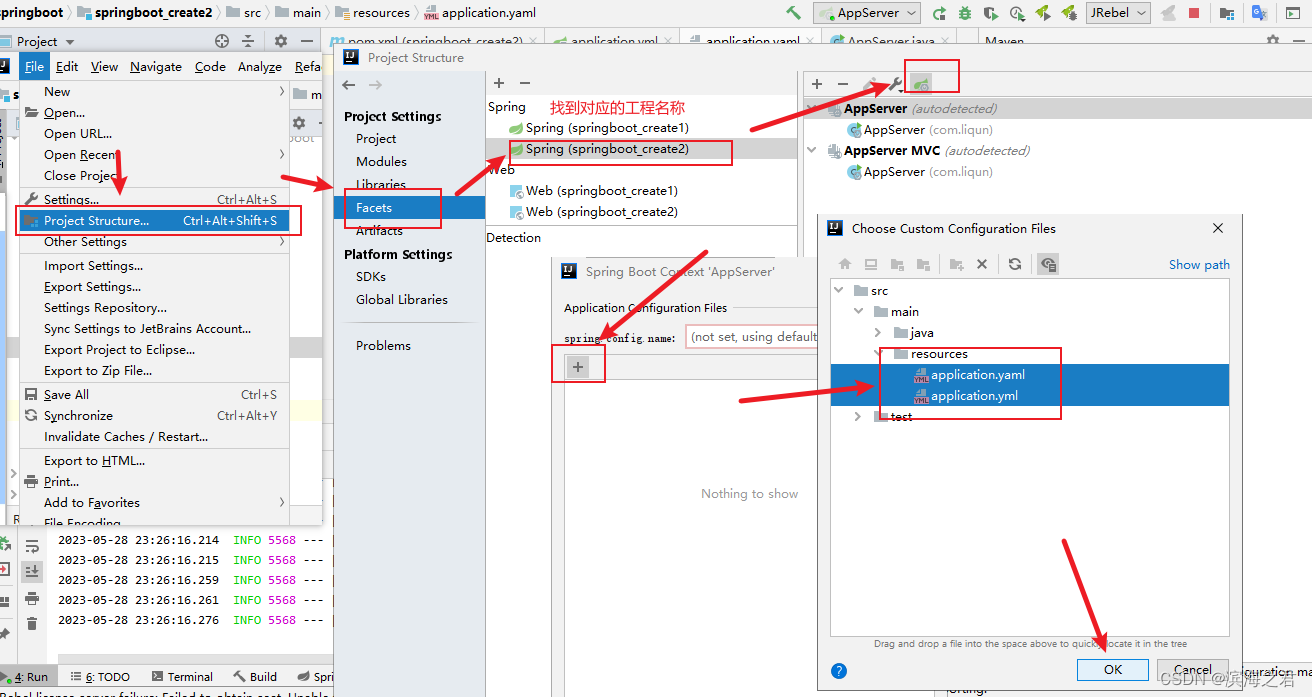
如果没有出自动提示,解决方式如下:
