SpringBoot 上传图片-指定目录按照日期存储
1. 在配置文件中指定文件保存根目录
我用的yaml,用properties也行
file-save-path: D:/upload/
2. 文件上传接口
package com.admin.controller.wechat;

import cn.hutool.core.lang.UUID;
import com.redic.base.Result;
import com.redic.utils.UploadImg;
import org.springframework.beans.factory.annotation.Value;
import org.springframework.web.bind.annotation.PostMapping;
import org.springframework.web.bind.annotation.RequestMapping;
import org.springframework.web.bind.annotation.RestController;
import org.springframework.web.multipart.MultipartFile;

import javax.servlet.http.HttpServletRequest;
import java.io.File;
import java.io.IOException;
import java.text.SimpleDateFormat;
import java.util.Date;

@RestController
@RequestMapping("/weChat/img")
public class ImgController {
    /**
     * 时间格式化
     */
    private SimpleDateFormat simpleDateFormat = new SimpleDateFormat("yyyy/MM/dd/");

    /**
     * 图片保存路径,自动从yml文件中获取数据
     *   示例
     */
    @Value("${file-save-path}")
    private String fileSavePath;
    @Value("${server.servlet.context-path}")
    private String contextPath;


    @PostMapping("/uploadImage")
    public Result uploadImg(MultipartFile file, HttpServletRequest request) {
        //1.后半段目录:
        String directory = simpleDateFormat.format(new Date());
        /**
         *  2.文件保存目录
         *  如果目录不存在,则创建
         */
        File dir = new File(fileSavePath + directory);
        if (!dir.exists()) {
            dir.mkdirs();
        }
        //3.给文件重新设置一个名字
        //后缀
        String suffix = file.getOriginalFilename().substring(file.getOriginalFilename().lastIndexOf("."));
        String newFileName= UUID.randomUUID().toString().replaceAll("-", "")+suffix;
        //4.创建这个新文件
        File newFile = new File(fileSavePath + directory + newFileName);
        //5.复制操作
        try {
            file.transferTo(newFile);
            String url = request.getScheme() + "://" + request.getServerName() + ":" + request.getServerPort() +contextPath+"/upload/" + directory + newFileName;
            return Result.success("图片上传成功",url);
        } catch (IOException e) {
            return Result.success("图片上传失败");
        }
    }

}
3. 新增配置类对静态资源处理
addResourceHandlers中对请求路径为
/upload/**的请求替换为"file:"+fileSavePath例如:
请求127.0.0.1/upload/1.png就会修改为file:D:/upload/1.png
package com.admin.config;
import org.springframework.beans.factory.annotation.Value;
import org.springframework.context.annotation.Configuration;
import org.springframework.web.servlet.config.annotation.ResourceHandlerRegistry;
import org.springframework.web.servlet.config.annotation.WebMvcConfigurer;

/**
 * @author zr
 * @date 2023/5/23 9:28
 */
@Configuration
public class WebConfig implements WebMvcConfigurer {
    /**
     * 图片保存路径,自动从yml文件中获取数据
     */
    @Value("${file-save-path}")
    private String fileSavePath;

    /**
     * 静态资源处理
     **/
    @Override
    public void addResourceHandlers(ResourceHandlerRegistry registry) {
        registry
                .addResourceHandler("/upload/**")
                .addResourceLocations("file:"+fileSavePath);
    }
}
4. 上传测试

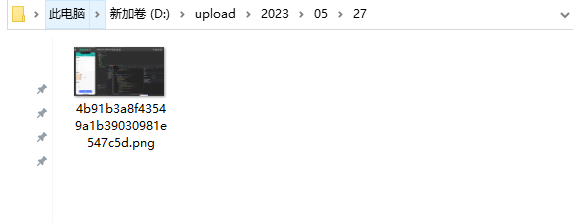
此时将我们上传的文件存放在我们配置的根目录及对应日期目录下
5. 访问测试
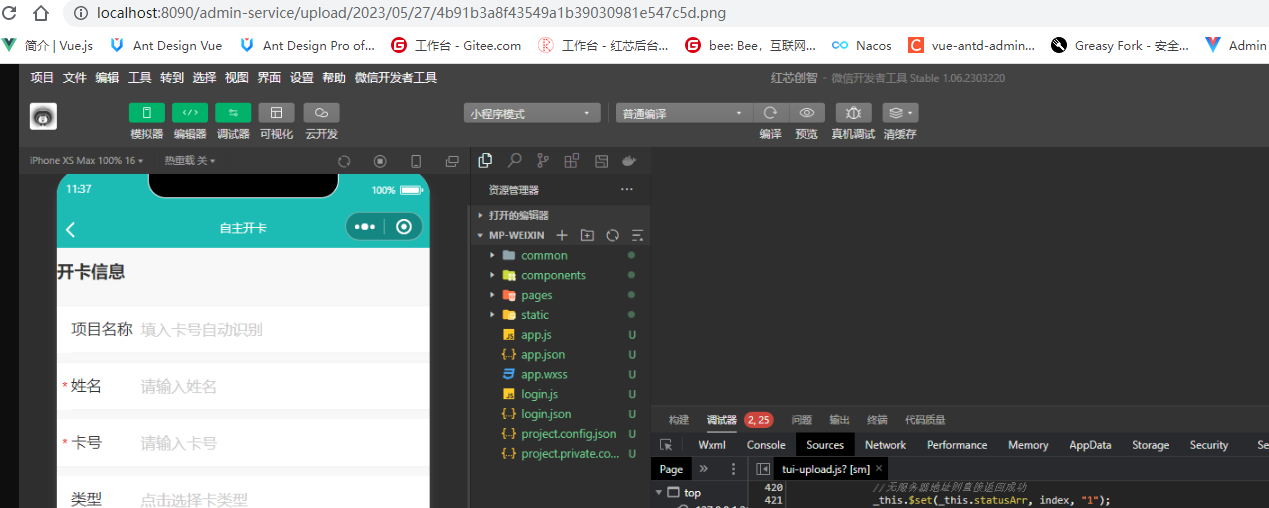
成功!
6. 注意事项
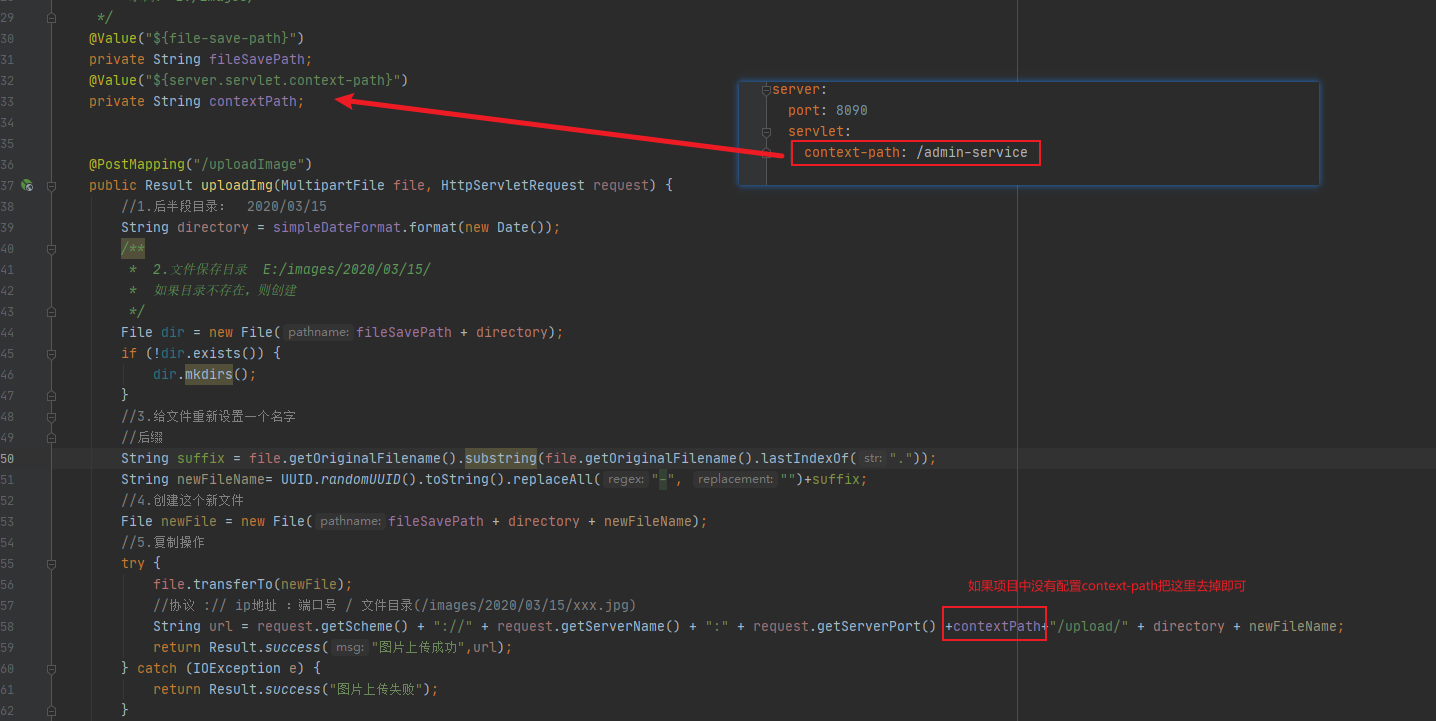
7. 上传接口返回url报404排查
最简单的方法就是点击下图所指的位置

浏览器的打开的路径才是项目的根路径,不然返回的url会404找不到


