一、AOP操作(AspectJ注解)重点
1.创建类,在类里面定义方法com.zhilei.spring5.aopanno
public class User {
    public void add(){
        System.out.println("add...");
    }
}
2.创建增强类,编写增强逻辑
- 在增强类里面,创建方法,让不同的方法代表不同的通知类型
public class UserProxy {
    //前置通知
    public void before(){
        System.out.println("before...");
    }
}
3.进行通知的配置
- 在spring的配置xml文件中,开启注解的扫描。
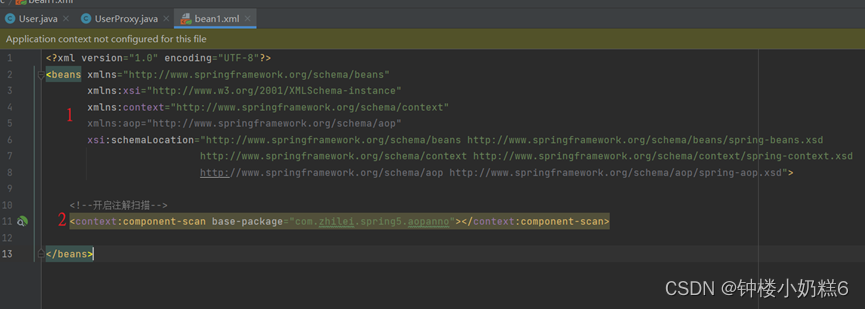
- 使用注解@Component创建User和UserProxy对象
@Component
public class User {
    public void add() {
        System.out.println("add...");
    }
}

@Component
public class UserProxy {
    //前置通知
    public void before(){
        System.out.println("before...");
    }
}
- 在增强类上面添加注解@Aspect,生成代理对象
@Component
@Aspect
public class UserProxy {
    public void before(){
        System.out.println("before...");
    }
}
- 在Spring配置文件中开启生成代理的对象
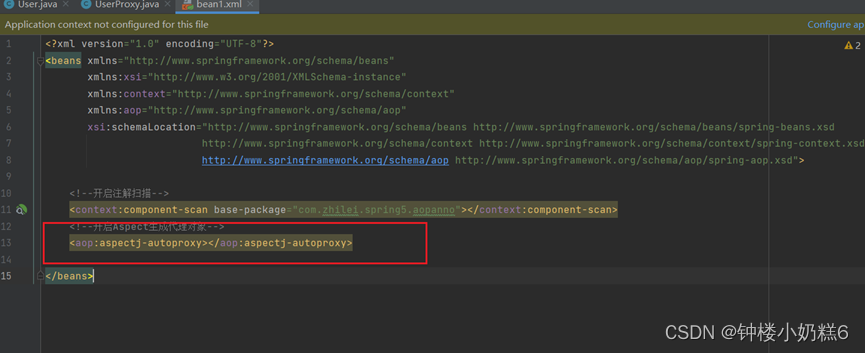
类上面 @Aspect就把这个类设置为代理对象
4.配置不同类型的通知
在增强类的里面,在作为通知方法上面添加通知类型注解,使用切入点表达式配置
@Component
@Aspect
public class UserProxy {
    //前置通知
    @Before(value = "execution(* com.zhilei.spring5.aopanno.User.add(..))")
    public void before(){
        System.out.println("before...");
    }
}
5.测试—执行被增强类的方法
@Test
public void t1(){
    ApplicationContext context = new ClassPathXmlApplicationContext("bean1.xml");
    User user = context.getBean("user", User.class);
    user.add();

}
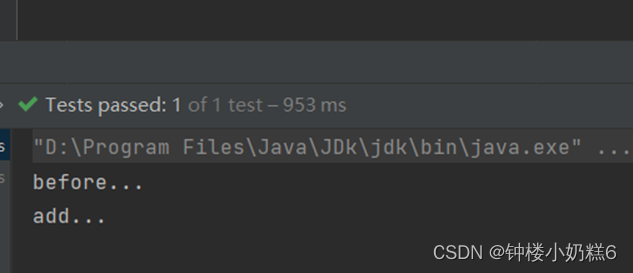
6.被增强类不同类型的通知
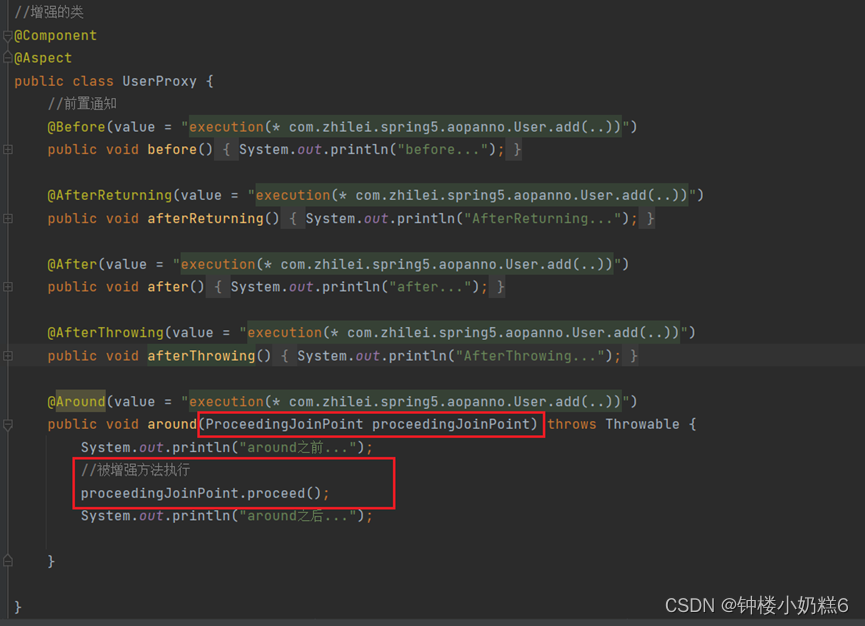
- around之前...
- before...
- add...
- around之后...
- after...
- AfterReturning...
-
7.公共切入点的提取
-
//相同切入点抽取 @Pointcut(value = "execution(* com.zhilei.spring5.aopanno.User.add(..))") public void pointdemo(){ } //前置通知 @Before(value = "pointdemo()") public void before(){ System.out.println("before..."); }8.有多个增强类对同一个方法进行增强,设置增强类的优先级
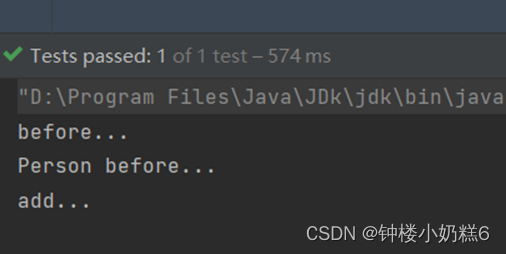
- 在增强类的上面添加注解@Order(数字类型值),数值越小,优先级高,先执行
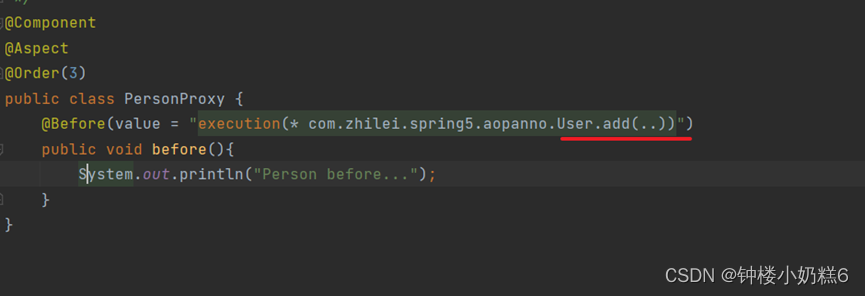
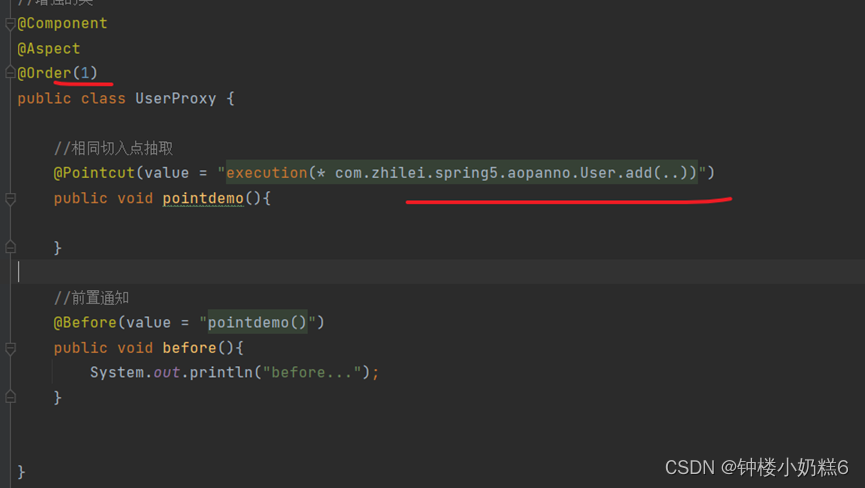
所以先执行before,在执行Personbefore
9.完全注解,代替xml
@Configuration
//开启注解扫描
@ComponentScan(basePackages = {"com.zhilei"})
//开启Aspect生成代理对象
@EnableAspectJAutoProxy(proxyTargetClass = true)
public class ConfigAop {

}
测试

二、AOP操作(AspectJ配置文件)了解
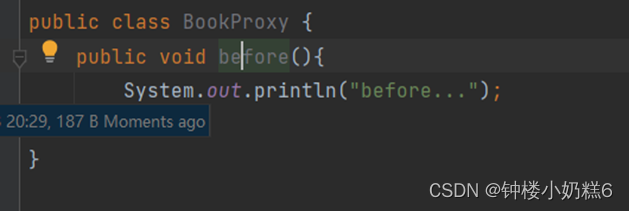
1.创建两个类,增强类和被增强类,创建方法
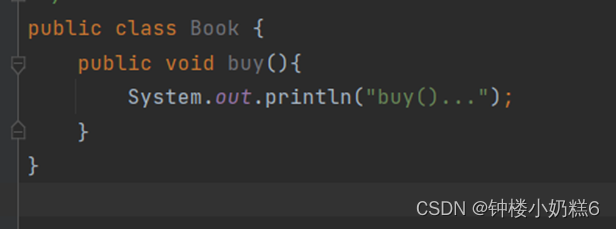
2.在spring配置文件中创建两个类的对象

3.在spring配置文件配置切入点
<!--配置AOP增强-->
<aop:config>
    <!--配置切入点-->
    <aop:pointcut id="p" expression="execution(* com.zhilei.spring5.apoxml.Book.buy(..))"/>

    <!--配置切面-->
    <aop:aspect ref="bookProxy">
        <!--增强作用在具体的方法上,把before方法作用在buy方法上-->
        <aop:before method="before" pointcut-ref="p"/>
    </aop:aspect>
</aop:config>
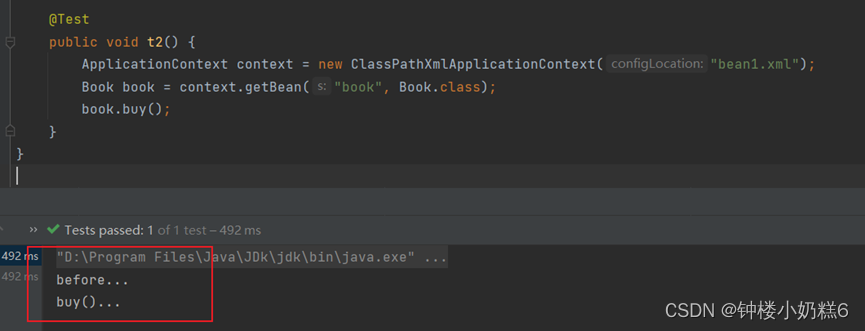
4.测试
