VSCode配置C++环境
- 前言
- 安装VSCode
- 安装mingw编译器
- VSCode配置C++环境
前言
安装VSCode
- 下载地址:VSCode
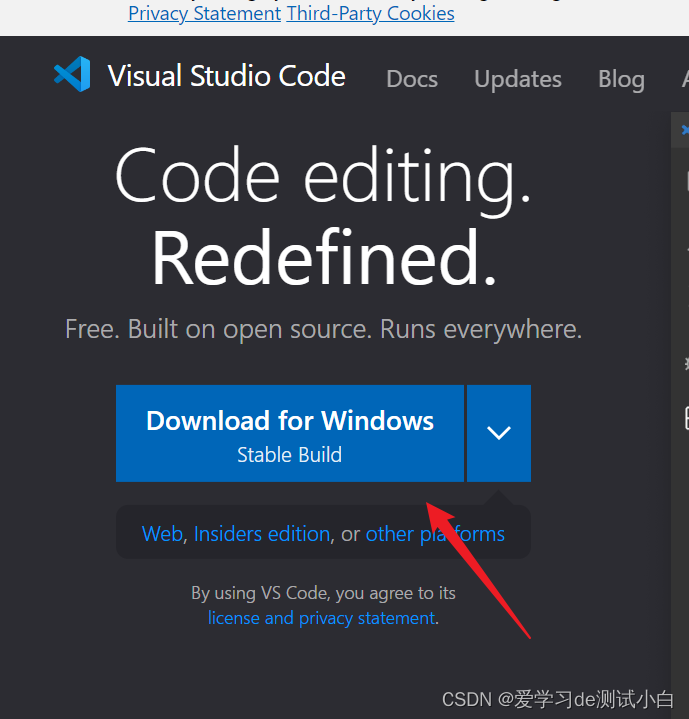
- 下载后路next安装即可
安装mingw编译器
- 点击Files
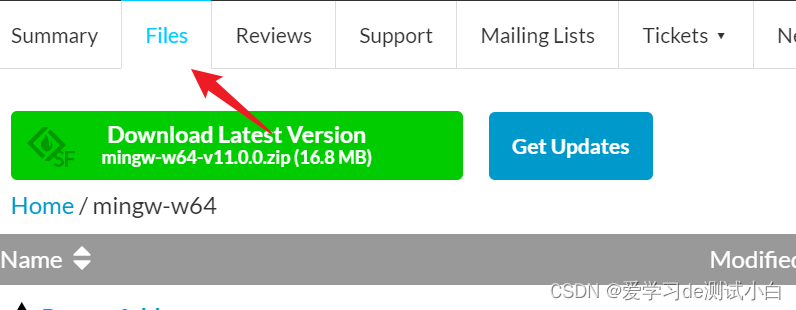
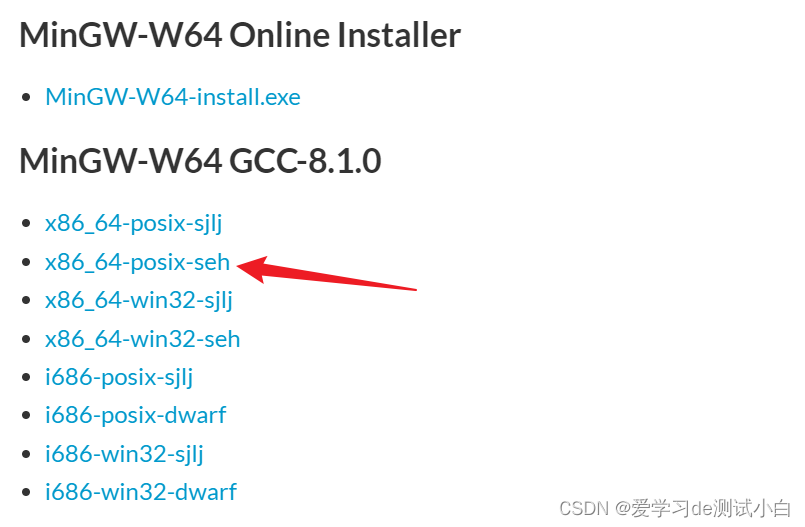
- 向下拉,点击下载(建议windows64位直接下载8.1.0版本的x86_64-win32-seh或者x86_64-posix-seh)
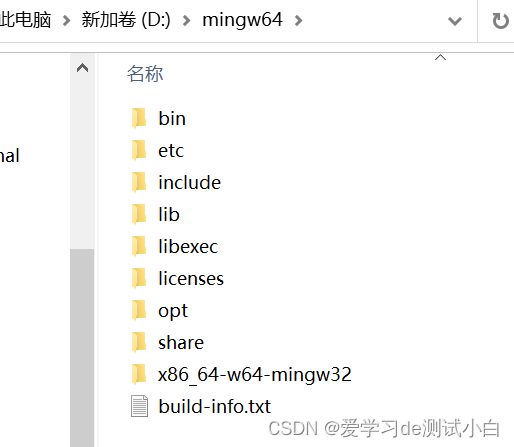
- 解压上一步下载的压缩包,例如:解压到D盘
- 配置环境变量
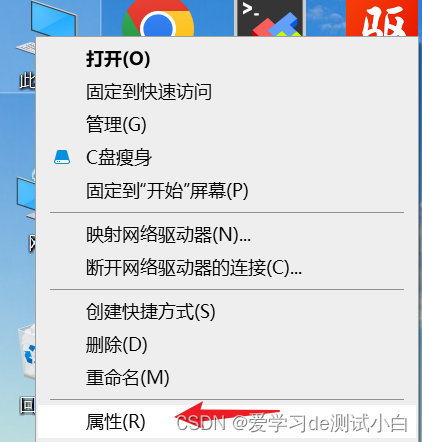
- 此电脑右键–> 属性
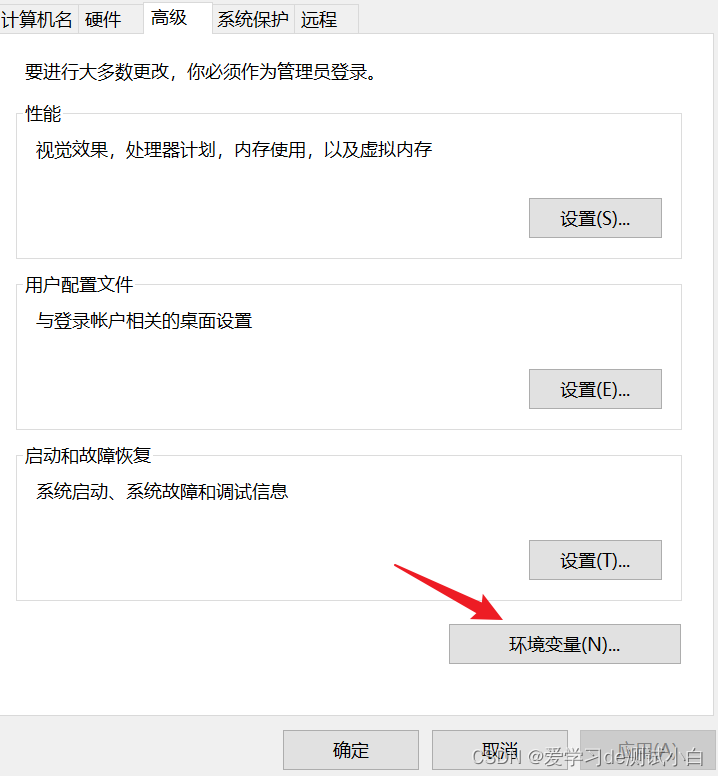
- 高级系统设置 --> 环境变量

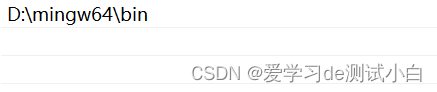
- Paht中添加mingw64路径(需写到bin,如:D:\mingw64\bin)
- 验证配置是否成功
- 打开cmd命令窗口,输入g++ -v

VSCode配置C++环境
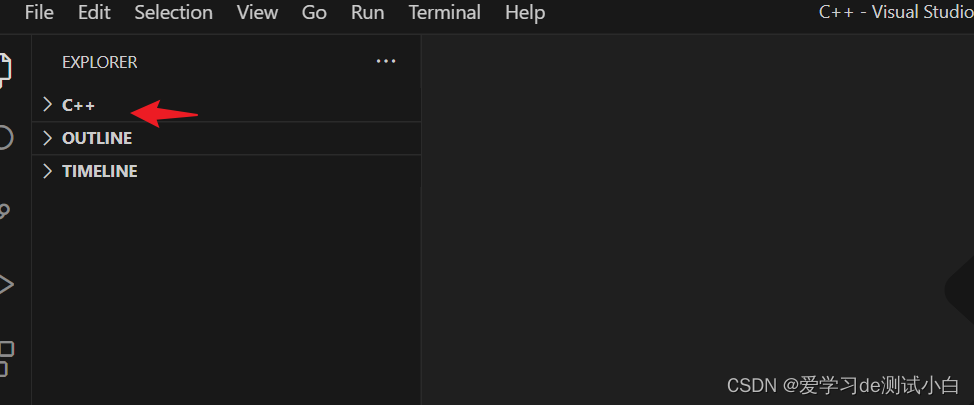
- 新建一个文件夹(如:C++),用vscode打开文件夹
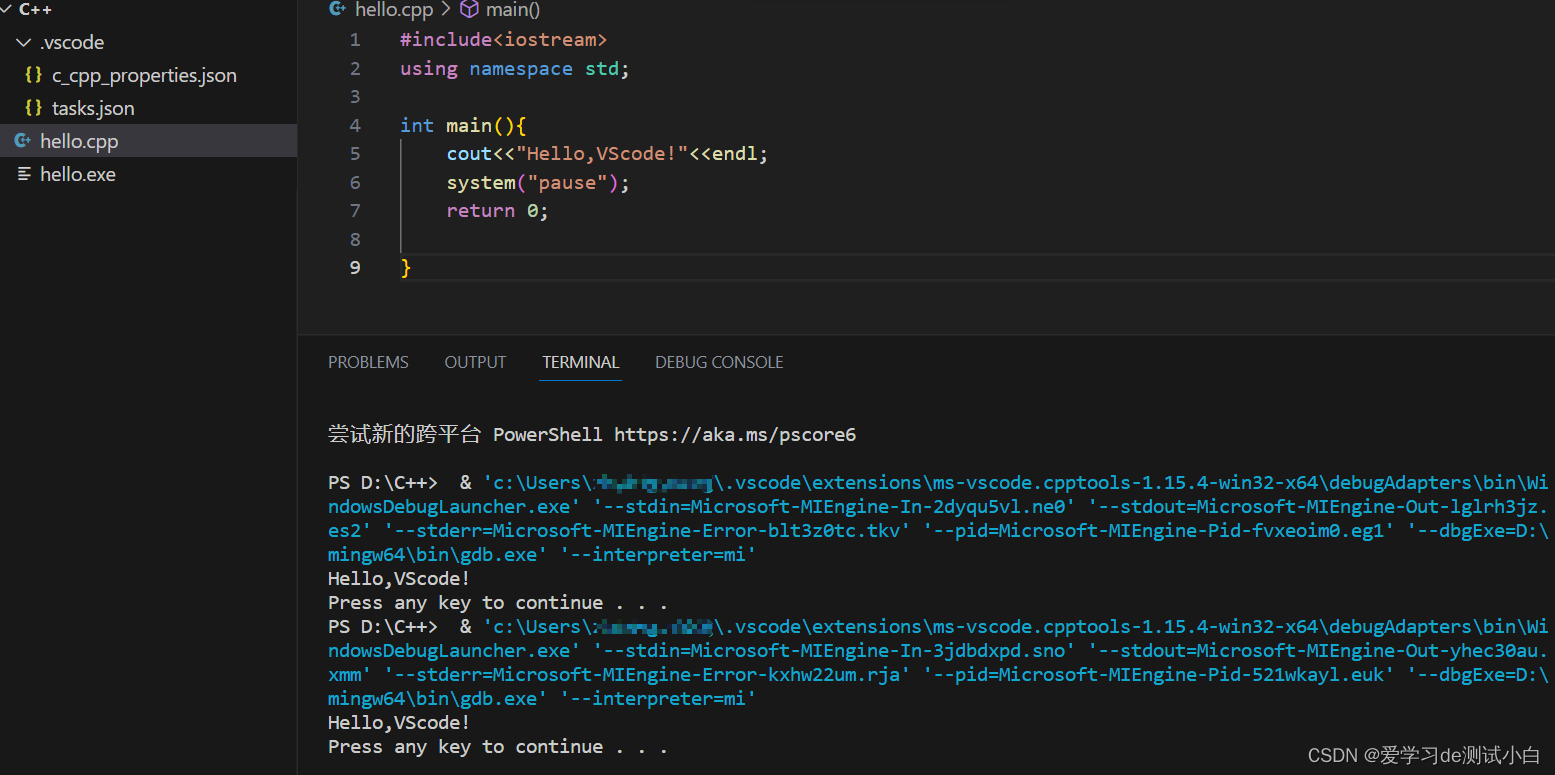
- 在C++文件夹下新建hello.cpp文件,写入如下代码
#include<iostream>
using namespace std;

int main(){
    cout<<"Hello,VScode!"<<endl;
    system("pause");
    return 0;
}
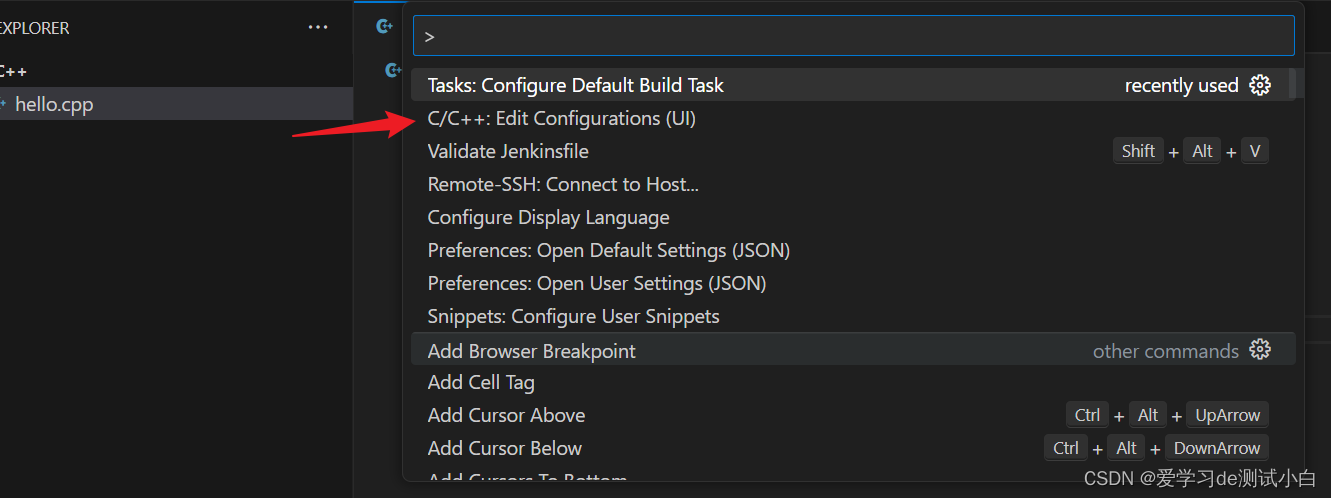
- 按下CTRL+shift+P,调出面板,输入C/C++:Edit Configurations(UI)
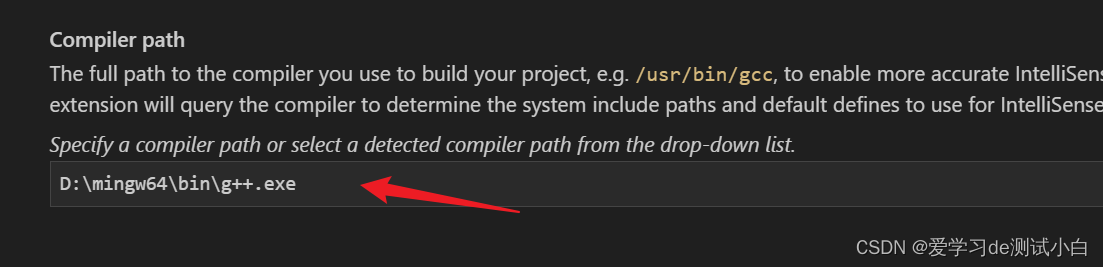
- 填写编译路径(上面安装的mingw64路径,如:D:\mingw64\bin\g++.exe)
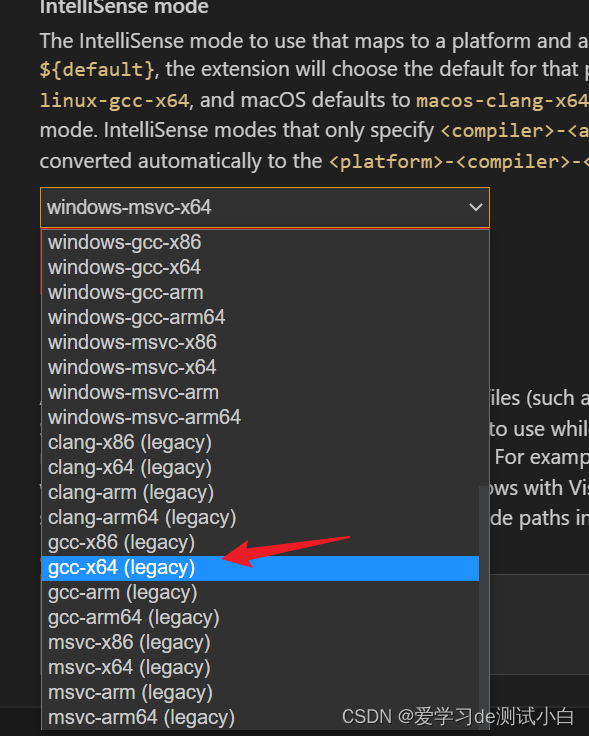
- IntelliSense mode里选择gcc-x64
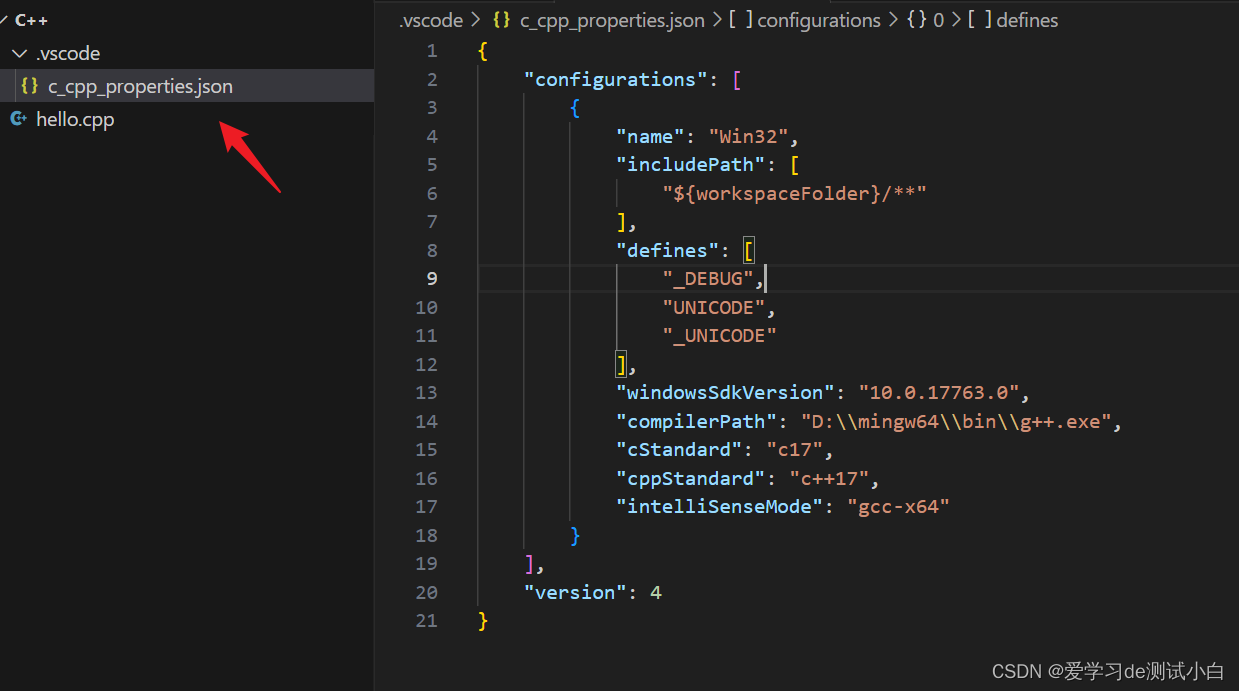
- 此时会发现左边多了一个.vscode文件夹,并且里面有一个c_cpp_properties.json的文件
{
    "configurations": [
        {
            "name": "Win32",
            "includePath": [
                "${workspaceFolder}/**"
            ],
            "defines": [
                "_DEBUG",
                "UNICODE",
                "_UNICODE"
            ],
            "windowsSdkVersion": "10.0.17763.0",
            "compilerPath": "D:\\mingw64\\bin\\g++.exe",
            "cStandard": "c17",
            "cppStandard": "c++17",
            "intelliSenseMode": "gcc-x64"
        }
    ],
    "version": 4
}
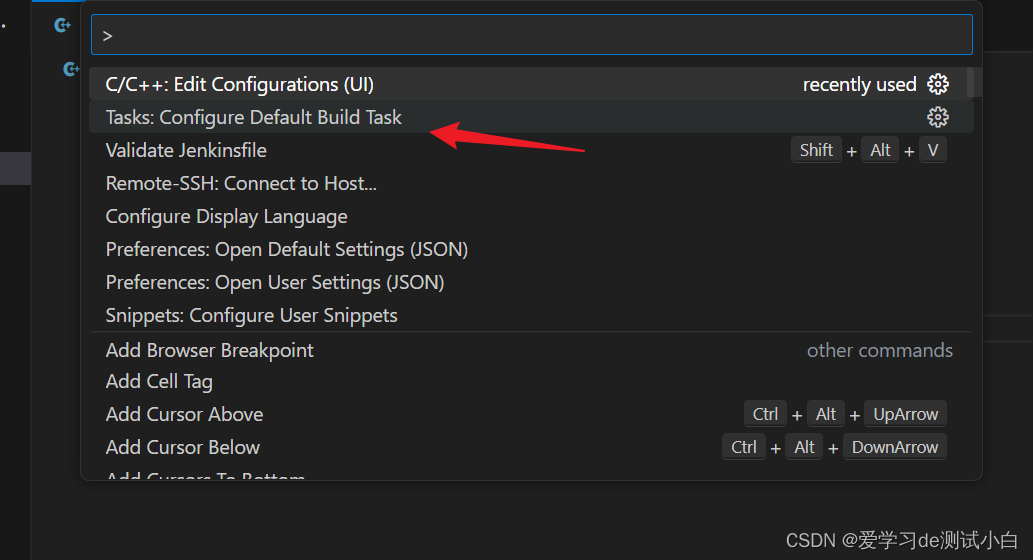
- 按下CTRL+shift+P,调出面板,输入Tasks:Configure Default Build Task
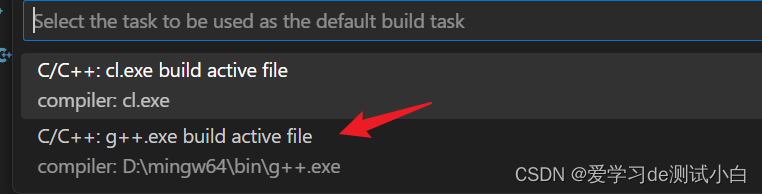
- 再选择 C/C++:g++.exe build active file
- 此时会在.vscode下出现一个tasks.json文件
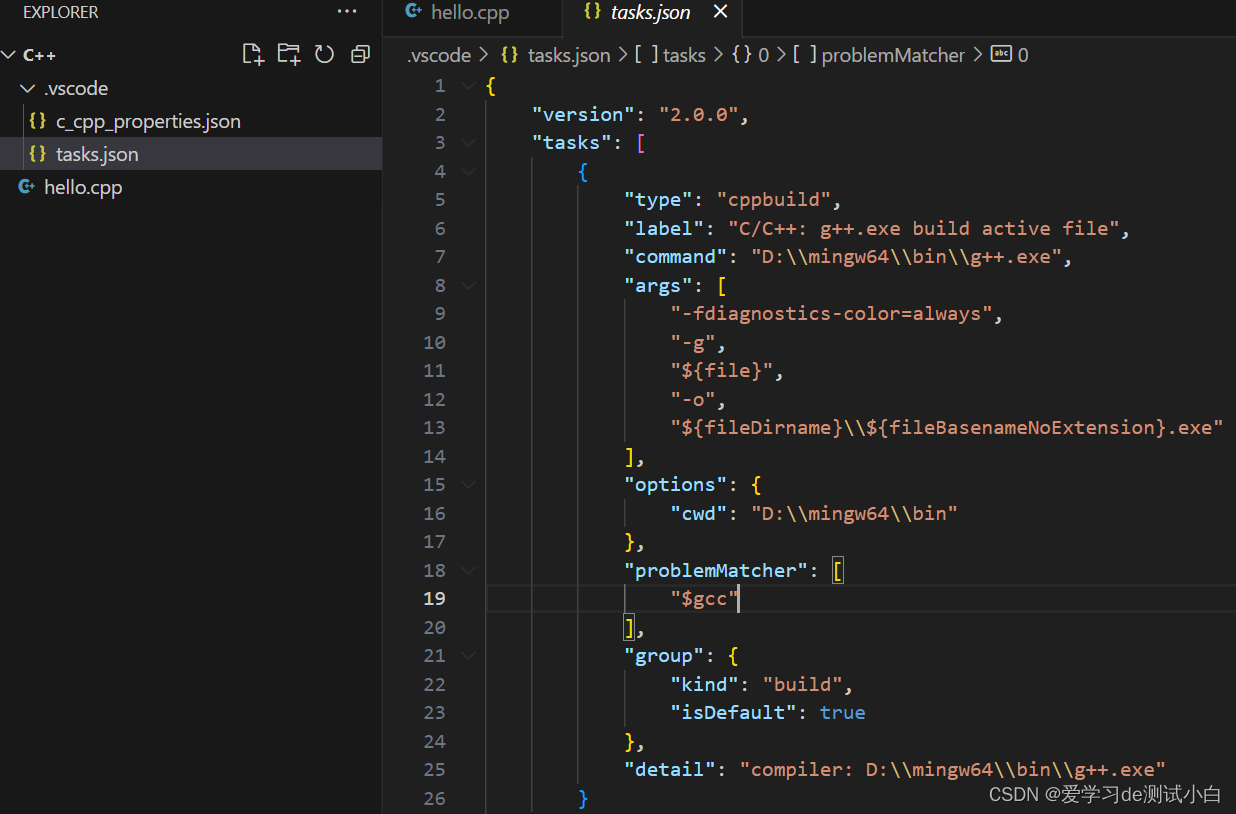
{
	"version": "2.0.0",
	"tasks": [
		{
			"type": "cppbuild",
			"label": "C/C++: g++.exe build active file",
			"command": "D:\\mingw64\\bin\\g++.exe",
			"args": [
				"-fdiagnostics-color=always",
				"-g",
				"${file}",
				"-o",
				"${fileDirname}\\${fileBasenameNoExtension}.exe"
			],
			"options": {
				"cwd": "D:\\mingw64\\bin"
			},
			"problemMatcher": [
				"$gcc"
			],
			"group": {
				"kind": "build",
				"isDefault": true
			},
			"detail": "compiler: D:\\mingw64\\bin\\g++.exe"
		}
	]
}
- 运行代码验证配置