SpringSecurity
- 为什么要有SpringSecurity?
- SpringSecurity入门案例
- SpringSecurity基本原理
- SpringSecurity两个重要接口
- SpringSecurity-web权限方案
- 认证
- 整合数据库
为什么要有SpringSecurity?
正如你可能知道的关于安全方面的两个主要区域是“认证”和“授权”(或者访问控制),一般来说,Web应用的安全性包括用户认证(Authentication)和用户授权(Authorization)两个部分,这两点也是Spring Security重要核心功能。
用户认证:系统判断用户是否可以登录
用户授权:系统判断用户是否有权限做某些十强
SpringSecurity入门案例
第一步:创建SpringBoot工程
第二步:导入依赖
<dependency>
  <groupId>org.springframework.boot</groupId>
  <artifactId>spring-boot-starter-security</artifactId>
</dependency>
第三步:创建编写控制层
@RestController
@RequestMapping("/test")
public class TestController {
    @GetMapping("hello")
    public String hello(){
        return "hello securioty";
    }
}
第四步:启动运行
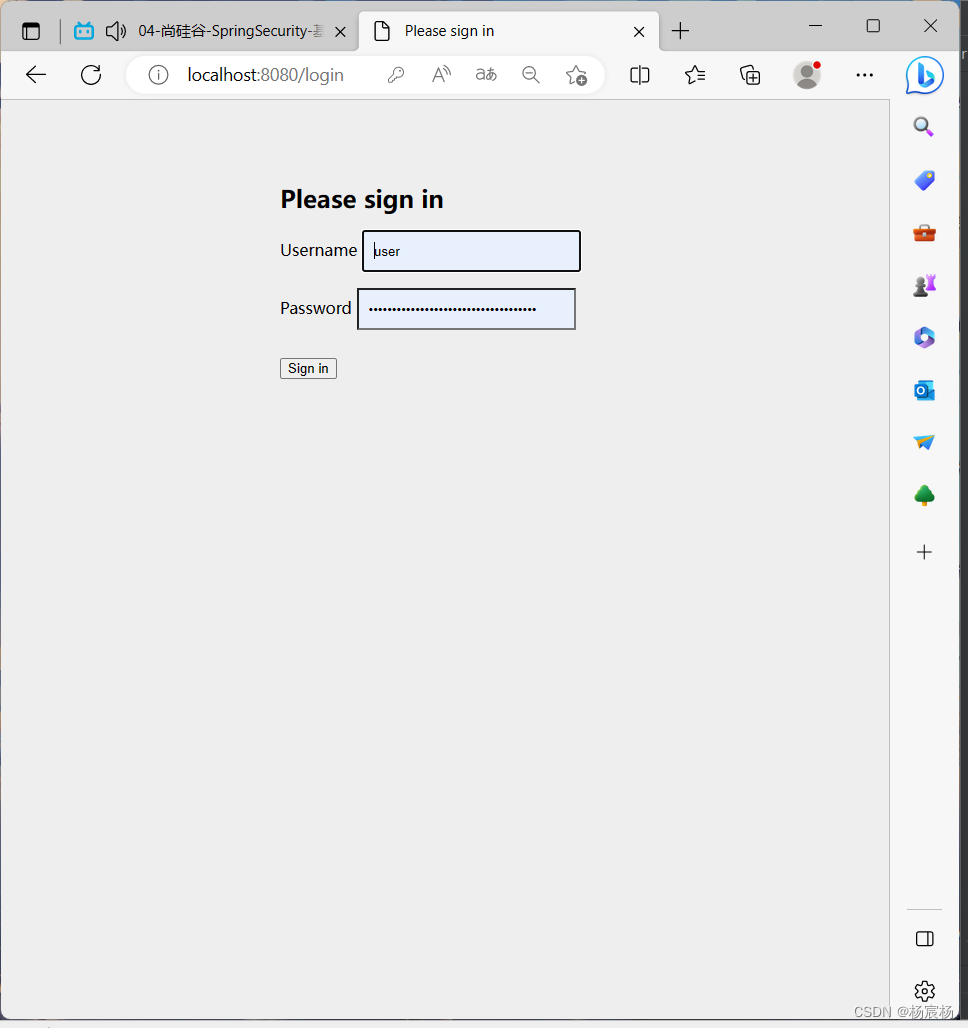
运行结果:
当我们向往常的操作方式一样发送请求的时候,它就会拦截我们,对我们的身份进行认证
SpringSecurity基本原理
SpringSecurity本质是一个过滤器链,有很多过滤器
SpringSecurity两个重要接口
1.UserDetailsService接口
当什么也没有配置的时候,账号和密码是由Spring Security定义生成的。而在实际项目中账号和密码都是从数据库中查询出来的。所以我们要通过自定义逻辑控制认证逻辑。
实现步骤:
创建类继承UsernamePasswordAuthenticationFilter,重写三个方法
创建类实现UserDetailService,编写查询数据过程,返回User对象,这个User对象是安全框架提供对象
2.PasswordEncoder接口
数据接口,用于返回User对象里面密码加密
SpringSecurity-web权限方案
认证
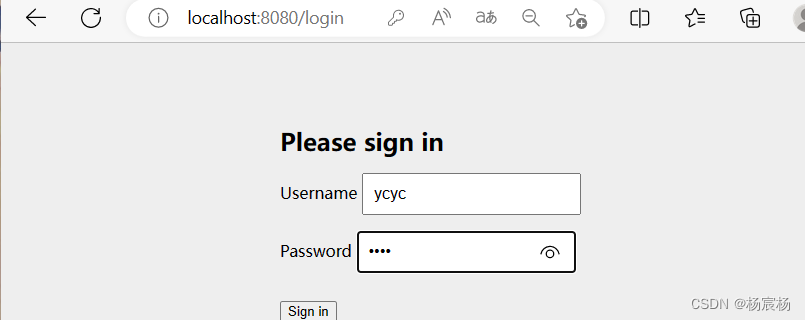
1.设置登录的用户名和密码
第一种:通过配置文件

运行结果:
第二种:通过配置类
@Configuration
public class SecurityConfig extends WebSecurityConfigurerAdapter {
    @Override
    protected void configure(AuthenticationManagerBuilder auth) throws Exception {
        BCryptPasswordEncoder passwordEncoder = new BCryptPasswordEncoder();
        String password = passwordEncoder.encode("123");
        auth.inMemoryAuthentication().withUser("lucy").password(password).roles("admin");
    }

    @Bean
    PasswordEncoder passwordEncoder(){
        return new BCryptPasswordEncoder();
    }
}
第三种:自定义编写实现类
第一步:创建配置类,设置使用哪个userDetailsService实现类
@Configuration
public class SecurityConfigTest extends WebSecurityConfigurerAdapter {

    @Autowired
    private UserDetailsService userDetailsService;

    @Override
    protected void configure(AuthenticationManagerBuilder auth) throws Exception {
        auth.userDetailsService(userDetailsService).passwordEncoder(password());
    }

    @Bean
    PasswordEncoder password(){
        return new BCryptPasswordEncoder();
    }
}
第二步:编写实现类,返回User对象用户名密码和操作权限
@Service
public class MyUserDetailsService implements UserDetailsService {
    @Override
    public UserDetails loadUserByUsername(String s) throws UsernameNotFoundException {
        List<GrantedAuthority> auths = AuthorityUtils.commaSeparatedStringToAuthorityList("role");
        return new User("maryyc",new BCryptPasswordEncoder().encode("123"),auths);
    }
}
整合数据库
第一步:引入相关依赖
<!--mybatis-plus-->
<dependency>
    <groupId>com.baomidou</groupId>
    <artifactId>mybatis-plus-boot-starter</artifactId>
    <version>3.0.5</version>
</dependency>

<!--mysql-->
<dependency>
    <groupId>mysql</groupId>
    <artifactId>mysql-connector-java</artifactId>
</dependency>

<!--lombok-->
<dependency>
    <groupId>org.projectlombok</groupId>
    <artifactId>lombok</artifactId>
</dependency>
第二步:创建数据库的表
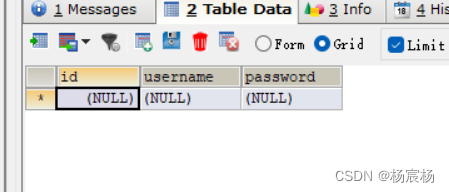
第三步:创建users表对应的实体类
@Data
public class Users {
    private Integer id;
    private String username;
    private String password;
}
第四步:整合mp,创建接口,继承mp接口
@Repository
public interface UserMapper extends BaseMapper<Users> {
}
第五步:在MyUserDetailsService调用mapper里面的方法查询数据库进行用户认证
@Service
public class MyUserDetailsService implements UserDetailsService {

    @Autowired
    private UserMapper userMapper;
    @Override
    public UserDetails loadUserByUsername(String username) throws UsernameNotFoundException {
        QueryWrapper<Users> wrapper = new QueryWrapper<>();
        wrapper.eq("username",username);
        Users users = userMapper.selectOne(wrapper);


        if(users==null){
            throw  new UsernameNotFoundException("用户名不存在");
        }

        List<GrantedAuthority> auths = AuthorityUtils.commaSeparatedStringToAuthorityList("role");
        return new User(username,new BCryptPasswordEncoder().encode(users.getPassword()),auths);
    }
}
第六步:配置数据库
spring:
datasource:
type: com.zaxxer.hikari.HikariDataSource
driver-class-name: com.mysql.cj.jdbc.Driver
url: jdbc:mysql://localhost:3306/user_db?serverTimezone=GMT%2B8&useSSL=false&characterEncoding=utf-8
username: root
password: 2022
