文章目录
- 6.1 MNIST数据处理
- 6.2.1 训练数据
- 6.2.2 变量管理
- 6.3.1 保存模型
- 6.3.1 加载计算图
- 6.3.1 加载模型
- 6.3.2 导出元图
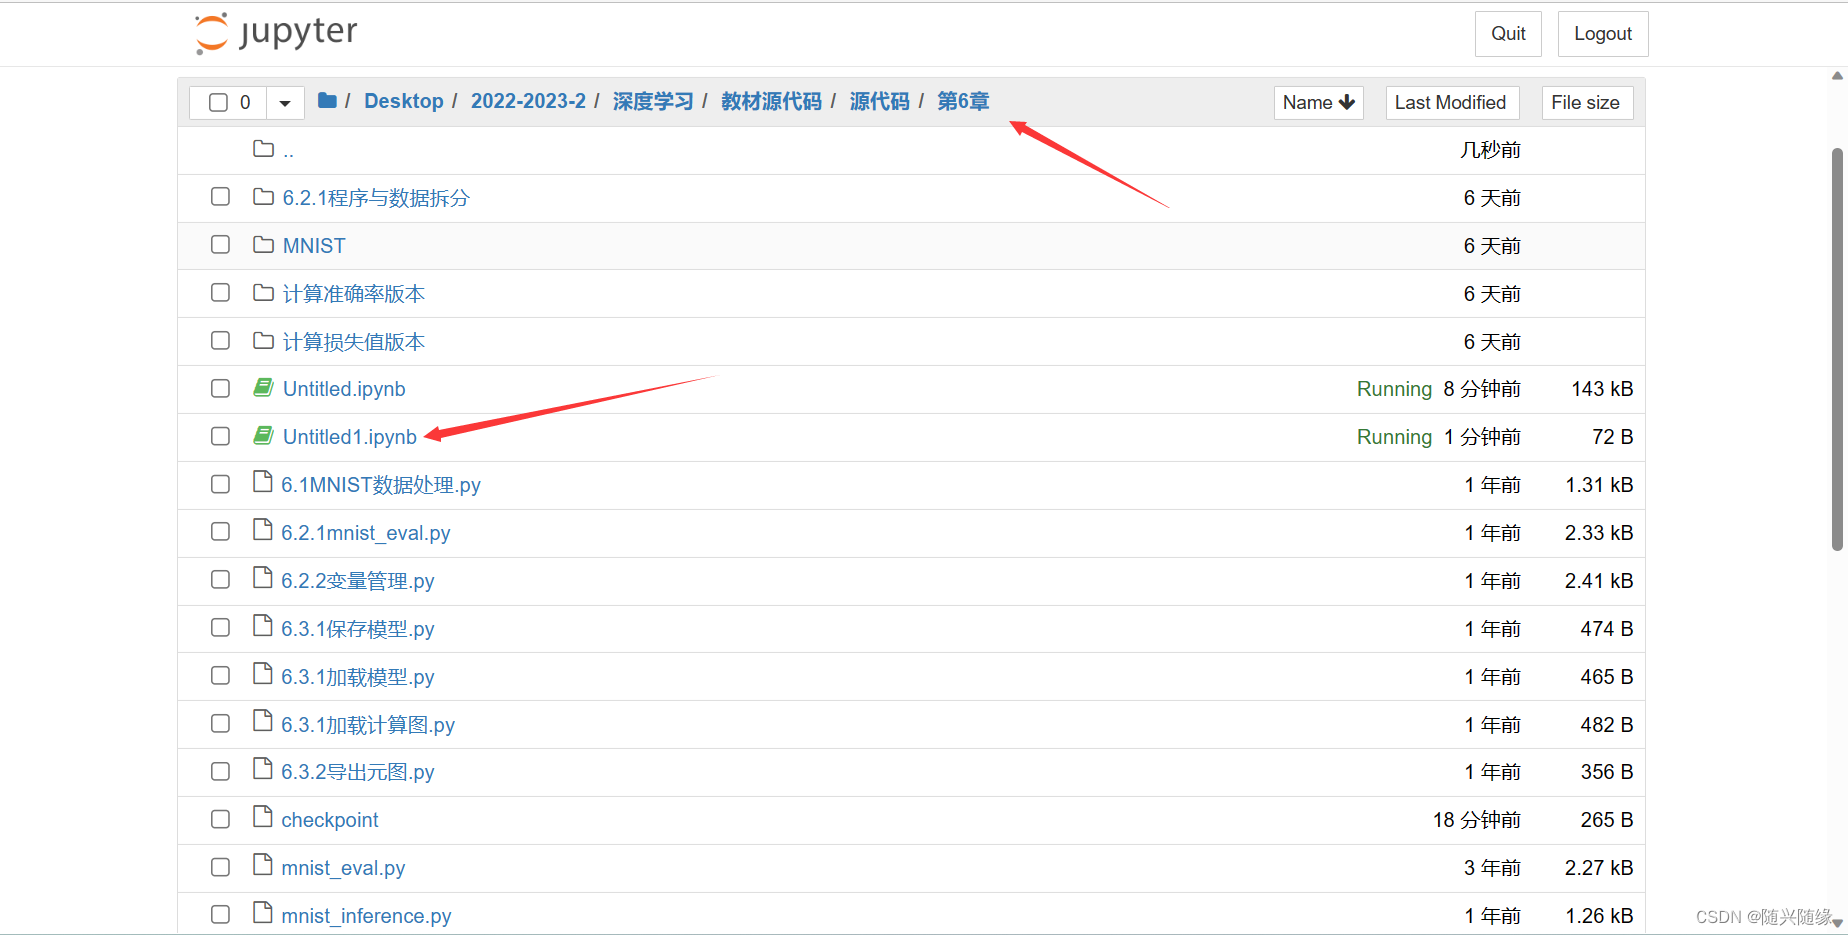
6.1 MNIST数据处理
在直接在第6章的目录下面创建文件
compat.v1.是tensorflow2.x的语法,全部删掉
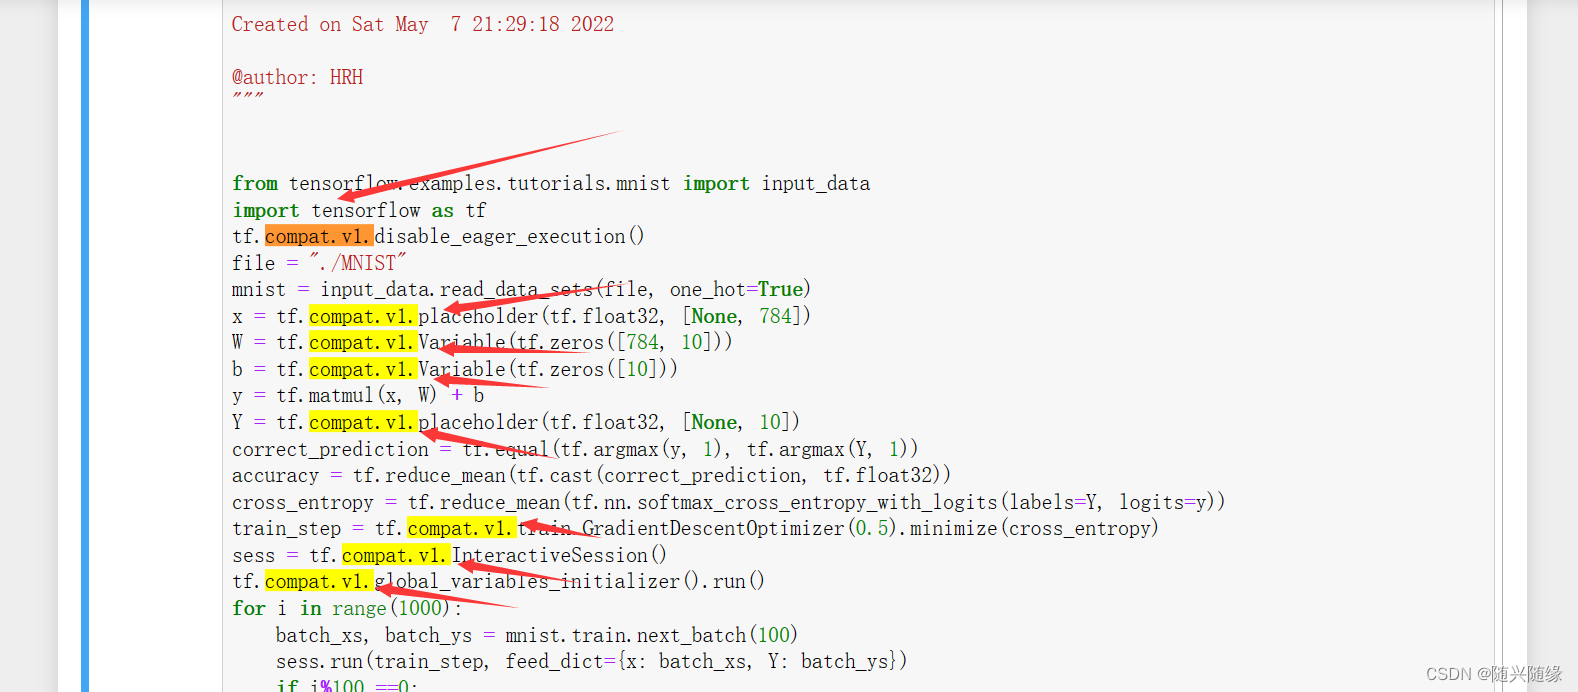
删除compat.v1.后的代码
# -*- coding: utf-8 -*-
"""
Created on Sat May  7 21:29:18 2022

@author: HRH
"""


from tensorflow.examples.tutorials.mnist import input_data
import tensorflow as tf
tf.disable_eager_execution()
file = "./MNIST"
mnist = input_data.read_data_sets(file, one_hot=True)
x = tf.placeholder(tf.float32, [None, 784])
W = tf.Variable(tf.zeros([784, 10]))
b = tf.Variable(tf.zeros([10]))
y = tf.matmul(x, W) + b
Y = tf.placeholder(tf.float32, [None, 10])
correct_prediction = tf.equal(tf.argmax(y, 1), tf.argmax(Y, 1))
accuracy = tf.reduce_mean(tf.cast(correct_prediction, tf.float32))
cross_entropy = tf.reduce_mean(tf.nn.softmax_cross_entropy_with_logits(labels=Y, logits=y))
train_step = tf.train.GradientDescentOptimizer(0.5).minimize(cross_entropy)
sess = tf.InteractiveSession()
tf.global_variables_initializer().run()
for i in range(1000):
    batch_xs, batch_ys = mnist.train.next_batch(100)
    sess.run(train_step, feed_dict={x: batch_xs, Y: batch_ys})
    if i%100 ==0:
       print(sess.run(accuracy, feed_dict={x: mnist.test.images, Y:
mnist.test.labels}))
print ("优化完成")
print ("模型的准确率为",sess.run(accuracy, feed_dict = {x:mnist.test.images, Y: mnist.test.labels}))
运行结果:

6.2.1 训练数据
需要运行这三个程序,运行顺序如后标所示

第一个程序:
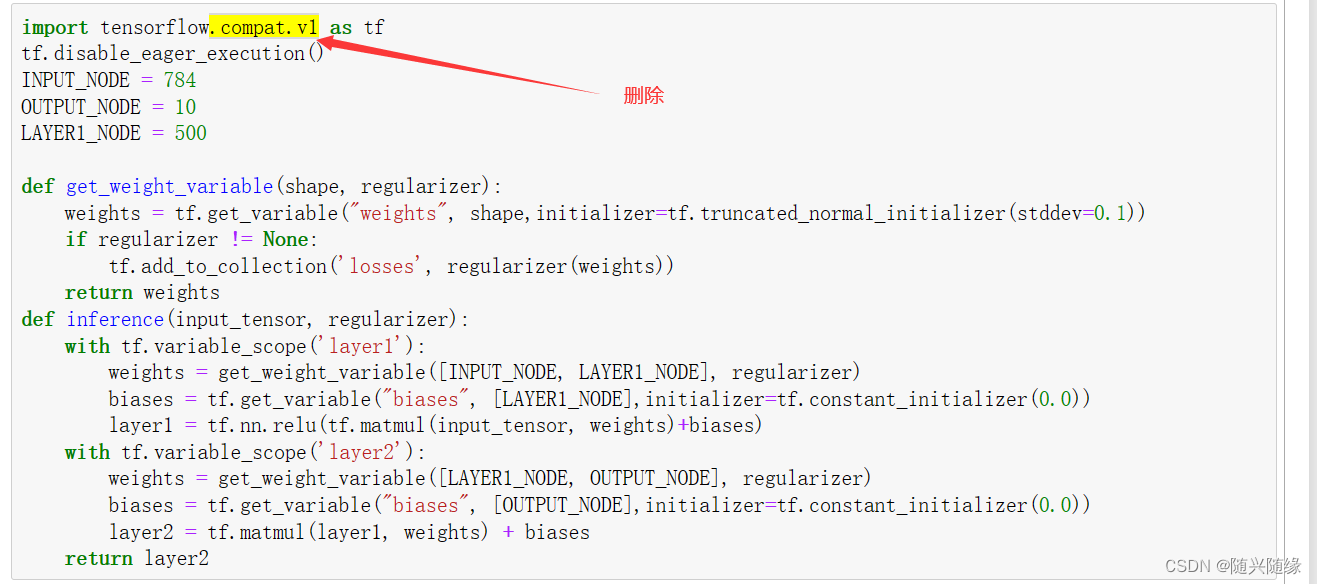
mnist_inference.py 文件代码
import tensorflow as tf
tf.disable_eager_execution()
INPUT_NODE = 784
OUTPUT_NODE = 10
LAYER1_NODE = 500

def get_weight_variable(shape, regularizer):
    weights = tf.get_variable("weights", shape,initializer=tf.truncated_normal_initializer(stddev=0.1))
    if regularizer != None:
        tf.add_to_collection('losses', regularizer(weights))
    return weights
def inference(input_tensor, regularizer):
    with tf.variable_scope('layer1'):
        weights = get_weight_variable([INPUT_NODE, LAYER1_NODE], regularizer)
        biases = tf.get_variable("biases", [LAYER1_NODE],initializer=tf.constant_initializer(0.0))
        layer1 = tf.nn.relu(tf.matmul(input_tensor, weights)+biases)
    with tf.variable_scope('layer2'):
        weights = get_weight_variable([LAYER1_NODE, OUTPUT_NODE], regularizer)
        biases = tf.get_variable("biases", [OUTPUT_NODE],initializer=tf.constant_initializer(0.0))
        layer2 = tf.matmul(layer1, weights) + biases
    return layer2
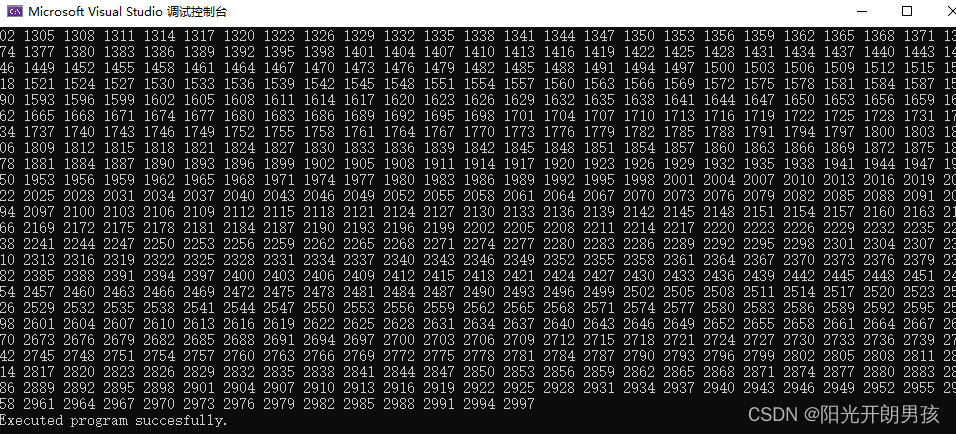
第二个程序:
300次数据训练完成:
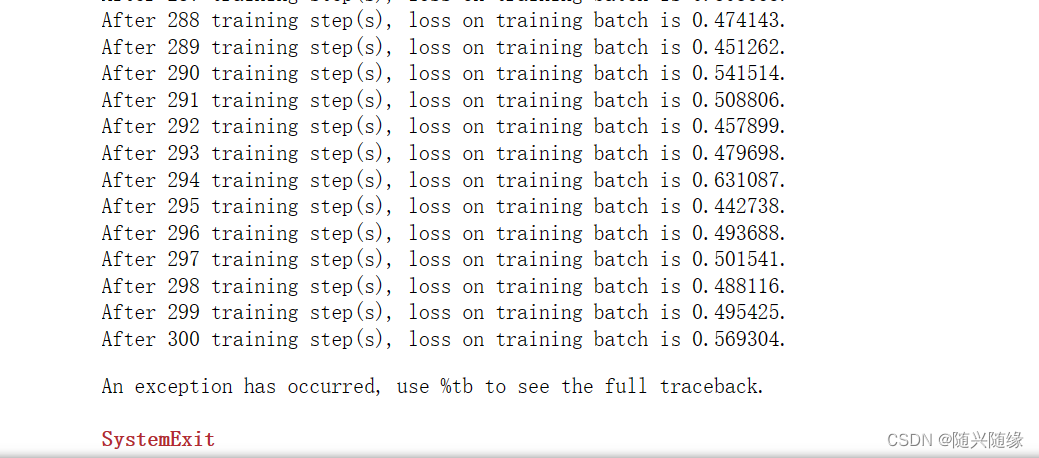
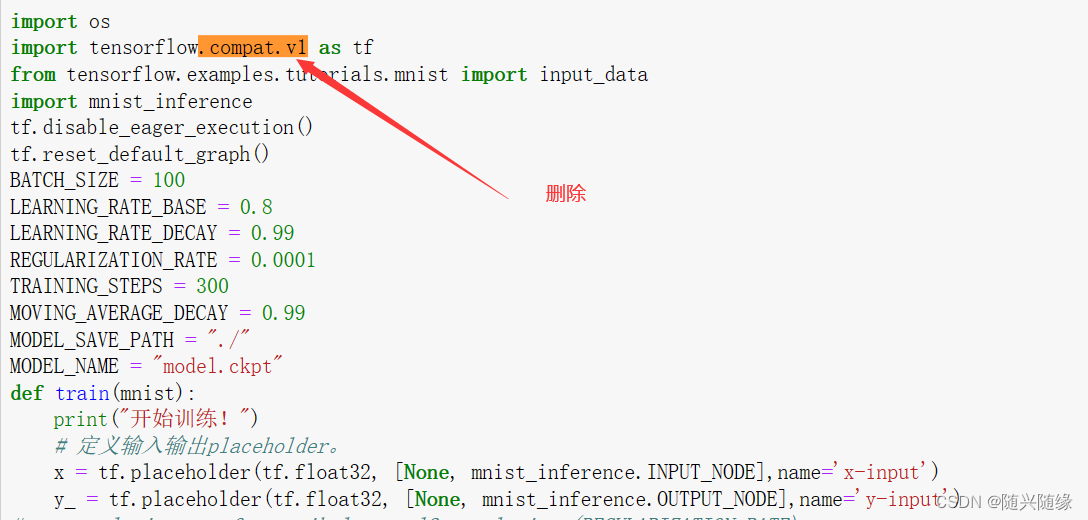
mnist_train.py 文件代码
import os
import tensorflow as tf
from tensorflow.examples.tutorials.mnist import input_data
import mnist_inference
tf.disable_eager_execution()
tf.reset_default_graph()
BATCH_SIZE = 100
LEARNING_RATE_BASE = 0.8
LEARNING_RATE_DECAY = 0.99
REGULARIZATION_RATE = 0.0001
TRAINING_STEPS = 300
MOVING_AVERAGE_DECAY = 0.99
MODEL_SAVE_PATH = "./"
MODEL_NAME = "model.ckpt"
def train(mnist):
print("开始训练!")
# 定义输入输出placeholder。
x = tf.placeholder(tf.float32, [None, mnist_inference.INPUT_NODE],name='x-input')
y_ = tf.placeholder(tf.float32, [None, mnist_inference.OUTPUT_NODE],name='y-input')
# regularizer = tf.contrib.layers.l2_regularizer(REGULARIZATION_RATE)
regularizer = tf.keras.regularizers.l2(REGULARIZATION_RATE)
# 直接使用mnist_inference.py中定义的前向传播过程
y = mnist_inference.inference(x, regularizer)
global_step = tf.Variable(0, trainable=False)
# 定义损失函数、学习率、滑动平均操作以及训练过程
variable_averages = tf.train.ExponentialMovingAverage(MOVING_AVERAGE_DECAY, global_step)
variable_averages_op = variable_averages.apply(tf.trainable_variables())
# 交叉熵与softmax函数一起使用
cross_entropy = tf.nn.sparse_softmax_cross_entropy_with_logits(logits=y, labels=tf.argmax(y_, 1))
cross_entropy_mean = tf.reduce_mean(cross_entropy)
loss = cross_entropy_mean + tf.add_n(tf.get_collection('losses'))
learning_rate = tf.train.exponential_decay(LEARNING_RATE_BASE,global_step,mnist.train.num_examples / BATCH_SIZE,LEARNING_RATE_DECAY)
train_step = tf.train.GradientDescentOptimizer(learning_rate).minimize(loss, global_step=global_step)
with tf.control_dependencies([train_step, variable_averages_op]):
train_op = tf.no_op(name='train')
saver = tf.train.Saver()
with tf.Session() as sess:
print("变量初始化!")
tf.global_variables_initializer().run()
for i in range(TRAINING_STEPS):
xs, ys = mnist.train.next_batch(BATCH_SIZE)
_, loss_value, step = sess.run([train_op, loss, global_step],feed_dict={x: xs, y_: ys})
# 每1000轮保存一次模型
#if i+1 % 10 == 0:
print("After %d training step(s), loss on training ""batch is %g." % (step, loss_value))
saver.save(sess, os.path.join(MODEL_SAVE_PATH, MODEL_NAME),global_step=global_step)
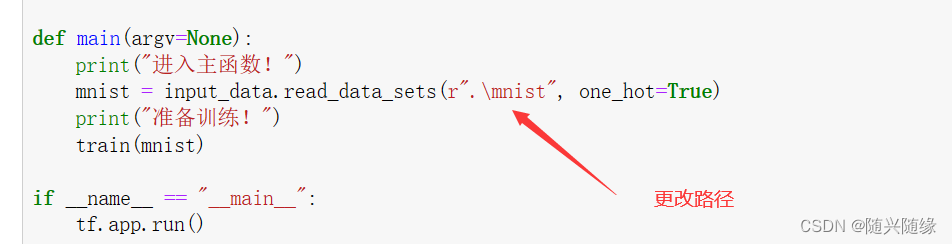
def main(argv=None):
print("进入主函数!")
mnist = input_data.read_data_sets(r".\mnist", one_hot=True)
print("准备训练!")
train(mnist)
if __name__ == "__main__":
tf.app.run()
第三个程序:
mnist_eval.py文件
import time
import tensorflow.compat.v1 as tf
from tensorflow.examples.tutorials.mnist import input_data
import mnist_inference
import mnist_train
tf.disable_eager_execution()
tf.reset_default_graph()
EVAL_INTERVAL_SECS = 10
def evaluate(mnist):
with tf.Graph().as_default() as g:
#定义输入与输出的格式
x = tf.placeholder(tf.float32, [None, mnist_inference.INPUT_NODE], name='x-input')
y_ = tf.placeholder(tf.float32, [None, mnist_inference.OUTPUT_NODE], name='y-input')
validate_feed = {x: mnist.validation.images, y_: mnist.validation.labels}
#直接调用封装好的函数来计算前向传播的结果
y = mnist_inference.inference(x, None)
#计算正确率
correcgt_prediction = tf.equal(tf.argmax(y, 1), tf.argmax(y_, 1))
accuracy = tf.reduce_mean(tf.cast(correcgt_prediction, tf.float32))
#通过变量重命名的方式加载模型
variable_averages = tf.train.ExponentialMovingAverage(0.99)
variable_to_restore = variable_averages.variables_to_restore()
saver = tf.train.Saver(variable_to_restore)
#每隔10秒调用一次计算正确率的过程以检测训练过程中正确率的变化
while True:
with tf.Session() as sess:
ckpt = tf.train.get_checkpoint_state(r"./")
if ckpt and ckpt.model_checkpoint_path:
#load the model
saver.restore(sess, ckpt.model_checkpoint_path)
global_step = ckpt.model_checkpoint_path.split('/')[-1].split('-')[-1]
accuracy_score = sess.run(accuracy, feed_dict=validate_feed)
print("After %s training steps, validation accuracy = %g" % (global_step, accuracy_score))
return
else:
print('No checkpoint file found')
return
time.sleep(EVAL_INTERVAL_SECS)
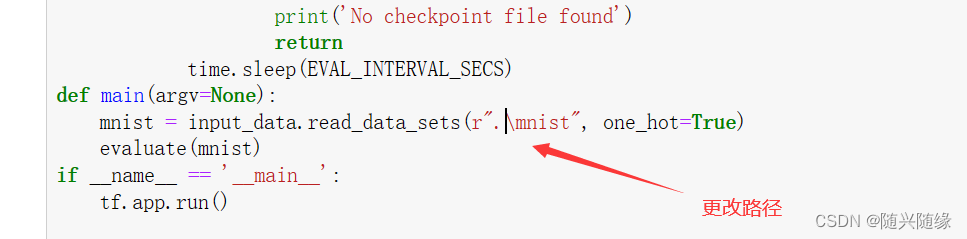
def main(argv=None):
mnist = input_data.read_data_sets(r".\mnist", one_hot=True)
evaluate(mnist)
if __name__ == '__main__':
tf.app.run()
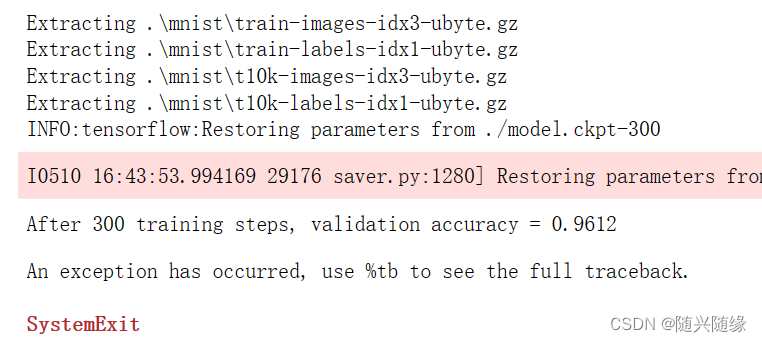
训练结果:
6.2.2 变量管理
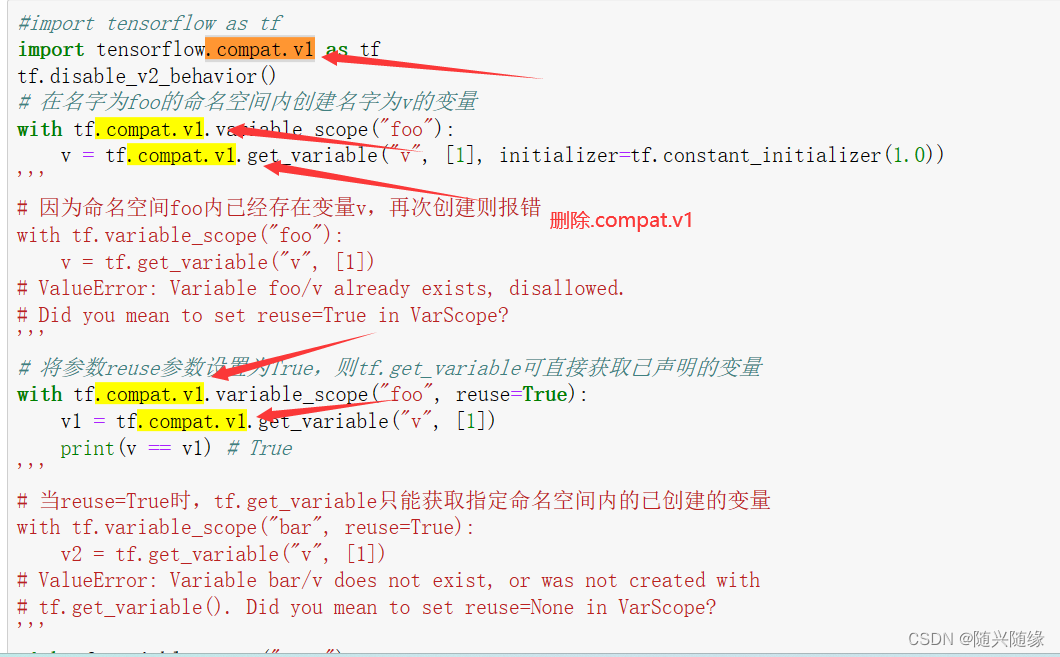
程序报错:
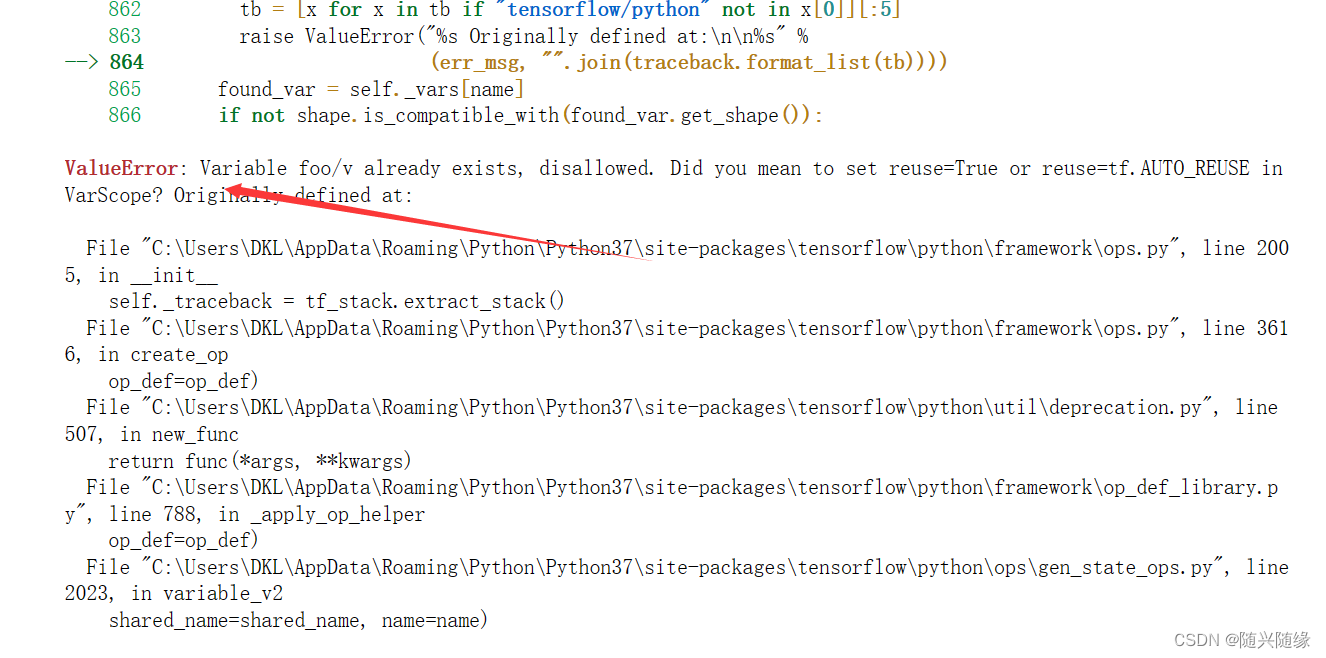
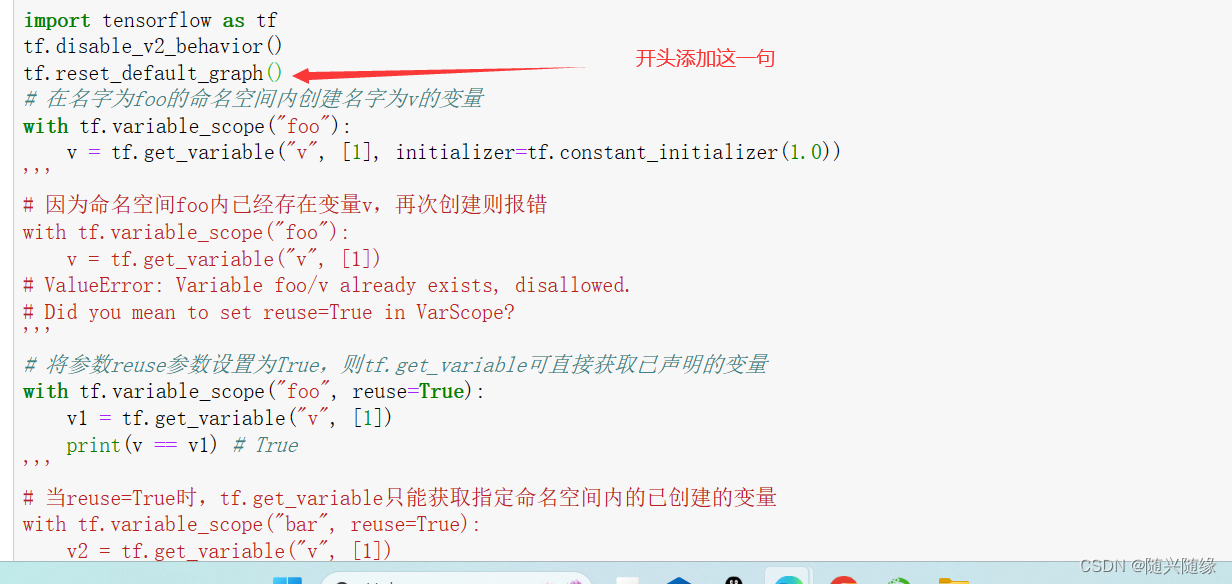
报错解决:
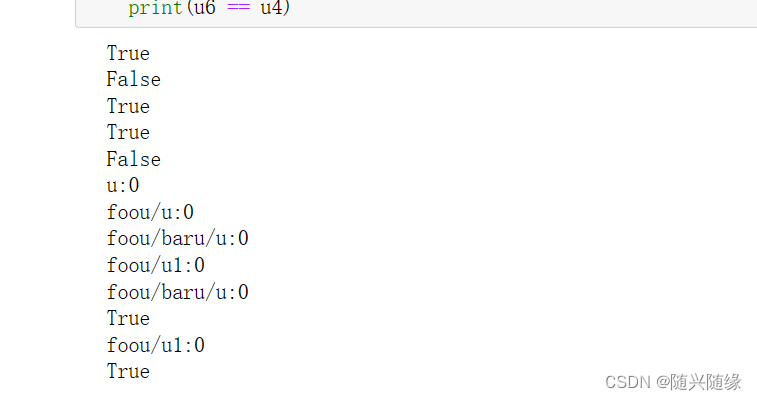
运行结果:
import tensorflow as tf
tf.disable_v2_behavior()
tf.reset_default_graph()
# 在名字为foo的命名空间内创建名字为v的变量
with tf.variable_scope("foo"):
    v = tf.get_variable("v", [1], initializer=tf.constant_initializer(1.0))
'''
# 因为命名空间foo内已经存在变量v,再次创建则报错
with tf.variable_scope("foo"):
    v = tf.get_variable("v", [1])
# ValueError: Variable foo/v already exists, disallowed.
# Did you mean to set reuse=True in VarScope?
'''
# 将参数reuse参数设置为True,则tf.get_variable可直接获取已声明的变量
with tf.variable_scope("foo", reuse=True):
    v1 = tf.get_variable("v", [1])
    print(v == v1) # True
'''
# 当reuse=True时,tf.get_variable只能获取指定命名空间内的已创建的变量
with tf.variable_scope("bar", reuse=True):
    v2 = tf.get_variable("v", [1])
# ValueError: Variable bar/v does not exist, or was not created with
# tf.get_variable(). Did you mean to set reuse=None in VarScope?
'''
with tf.variable_scope("root"):
    # 通过tf.get_variable_scope().reuse函数获取当前上下文管理器内的reuse参数取值
    print(tf.get_variable_scope().reuse) # False
    with tf.variable_scope("foo1", reuse=True):
        print(tf.get_variable_scope().reuse) # True
        with tf.variable_scope("bar1"):
            # 嵌套在上下文管理器foo1内的bar1内未指定reuse参数,则保持与外层一致
            print(tf.get_variable_scope().reuse) # True
    print(tf.get_variable_scope().reuse) # False
# tf.variable_scope函数提供了一个管理变量命名空间的方式
u1 = tf.get_variable("u", [1])
print(u1.name)
with tf.variable_scope("foou"):
    u2 = tf.get_variable("u", [1])
    print(u2.name)
with tf.variable_scope("foou"):
    with tf.variable_scope("baru"):
        u3 = tf.get_variable("u", [1])
        print(u3.name)
    u4 = tf.get_variable("u1", [1])
    print(u4.name)
# 可直接通过带命名空间名称的变量名来获取其命名空间下的变量
with tf.variable_scope("", reuse=True):
    u5 = tf.get_variable("foou/baru/u", [1])
    print(u5.name)
    print(u5 == u3)
    u6 = tf.get_variable("foou/u1", [1])
    print(u6.name)
    print(u6 == u4)
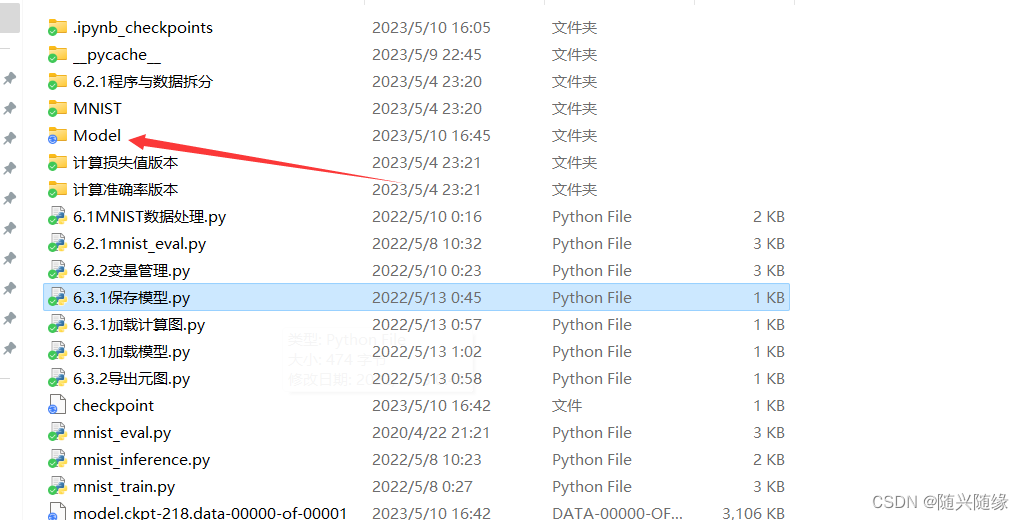
6.3.1 保存模型
新建一个Model文件夹用来保存模型
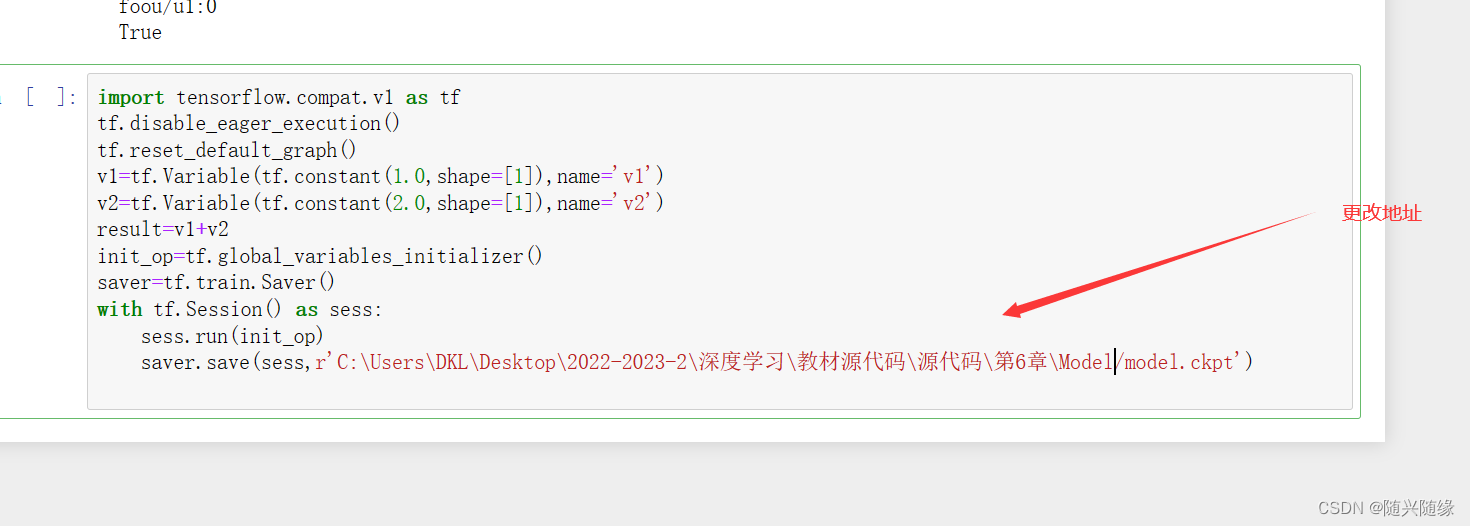
运行程序:

6.3.1 加载计算图
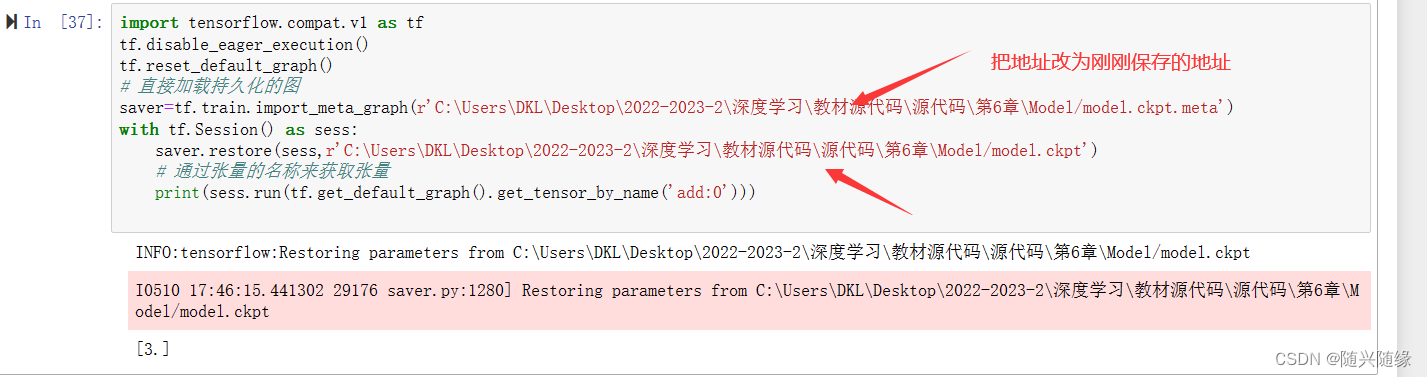
6.3.1 加载模型

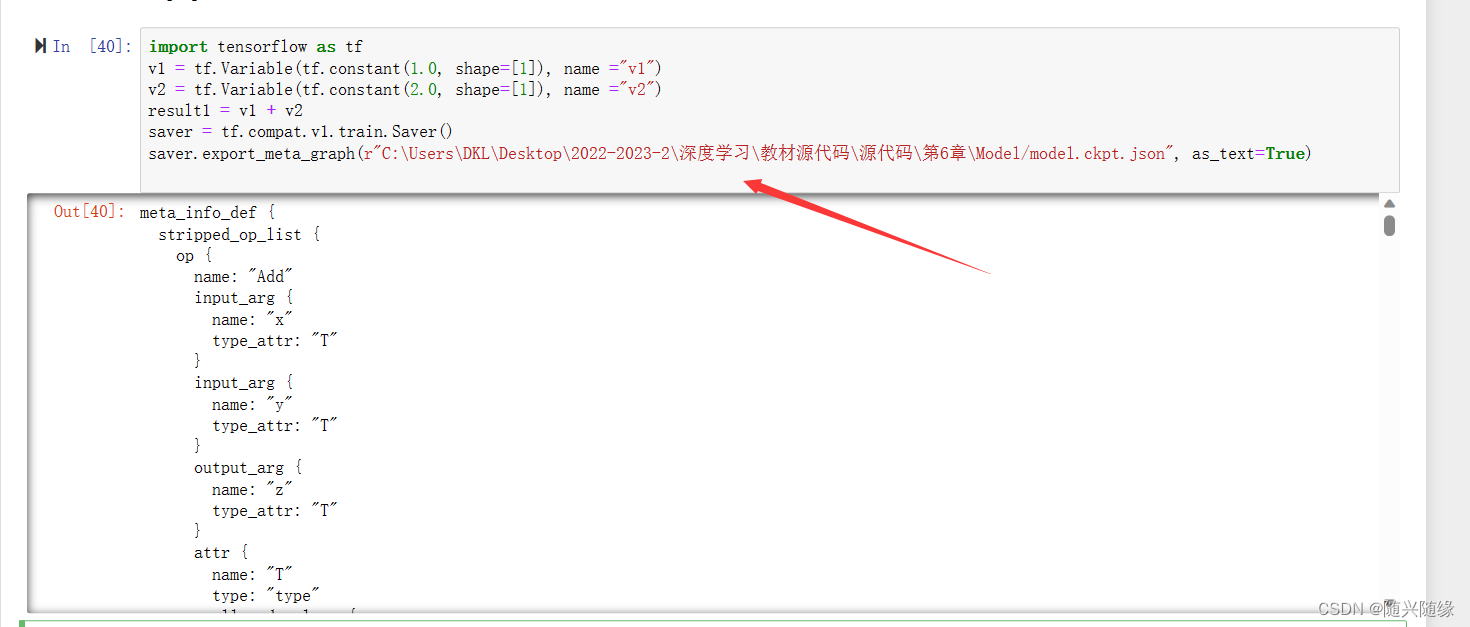
6.3.2 导出元图