一、Jupyter NoteBook简介
Jupyter Notebook(此前被称为 IPython notebook)是一个交互式笔记本,支持运行 40 多种编程语言。Jupyter Notebook 的本质是一个 Web 应用程序,便于创建和共享程序文档,支持实时代码,数学方程,可视化和 markdown。 用途包括:数据清理和转换,数值模拟,统计建模,机器学习等等。Jupyter Notebook以网页的形式打开,可以在网页页面中直接编写代码和运行代码,代码的运行结果也会直接在代码块下显示的程序。如在编程过程中需要编写说明文档,可在同一个页面中直接编写,便于作及时的说明和解释。
二、Jupyter NoteBook安装步骤
1、安装Python环境
jupyter notebook安装需要依赖Python环境,要求Python3.3或者Python2.7以上版本,安装和管理Python环境建议使用anaconda3,安装方式见博文Linux之anaconda3安装及使用。完成完成后验证查看Python版本。
(base) [wuhs@s142 ~]$ python -V
Python 3.8.5
2、conda安装jupyter notebook
使用conda命令直接安装jupyter notebook。
(base) [wuhs@s142 ~]$ conda install jupyter notebook
Collecting package metadata (current_repodata.json): done
Solving environment: done
==> WARNING: A newer version of conda exists. <==
current version: 4.9.2
latest version: 23.3.0
Please update conda by running
$ conda update -n base -c defaults conda
# All requested packages already installed.
3、启动jupyter notebook
直接使用jupyter notebook命令启动服务,默认启动监听http://127.0.0.1:8888,如果需要远程访问我们需要使用–ip参数指定IP地址。
(base) [wuhs@s142 ~]$ jupyter notebook --ip=0.0.0.0
[I 15:20:00.151 NotebookApp] JupyterLab extension loaded from /home/wuhs/anaconda3/lib/python3.8/site-packages/jupyterlab
[I 15:20:00.151 NotebookApp] JupyterLab application directory is /home/wuhs/anaconda3/share/jupyter/lab
[I 15:20:00.154 NotebookApp] Serving notebooks from local directory: /home/wuhs
[I 15:20:00.154 NotebookApp] Jupyter Notebook 6.1.4 is running at:
[I 15:20:00.154 NotebookApp] http://s142:8888/?token=6c34b5a12a3588ebf59d954d47d8b438625d8ee6bca17bdc
[I 15:20:00.154 NotebookApp] or http://127.0.0.1:8888/?token=6c34b5a12a3588ebf59d954d47d8b438625d8ee6bca17bdc
[I 15:20:00.155 NotebookApp] Use Control-C to stop this server and shut down all kernels (twice to skip confirmation).
[W 15:20:00.159 NotebookApp] No web browser found: could not locate runnable browser.
[C 15:20:00.159 NotebookApp]
\
To access the notebook, open this file in a browser:
file:///home/wuhs/.local/share/jupyter/runtime/nbserver-4819-open.html
Or copy and paste one of these URLs:
http://s142:8888/?token=****************************
or http://127.0.0.1:8888/?token=*************************
4、WEB连接
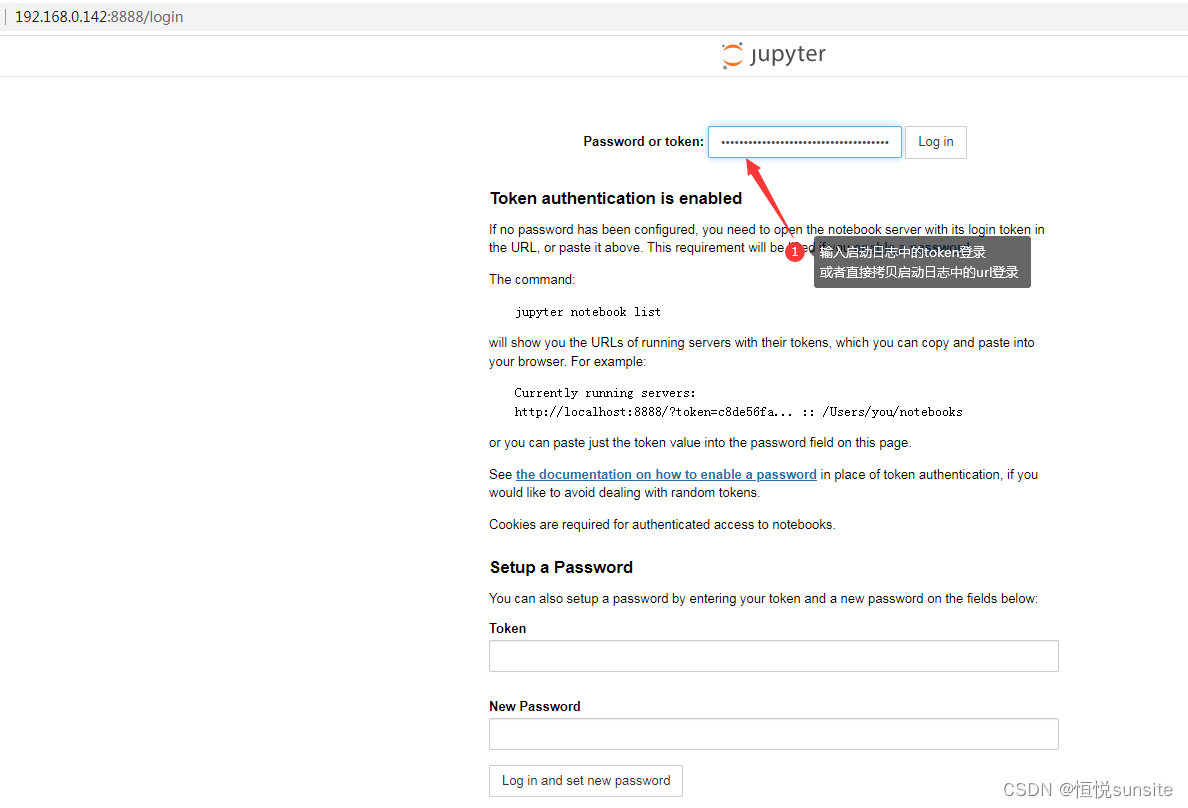
使用http://ip:8888/login登录jupyter,默认是使用token验证方式登录,在服务启动的时候自动生成了token,我们只需要如果该token即可完成登录。如果认为token登录不方便,我们也可以如Setup a Password提示,输入token和password设置一个密码,点击login in and set new password按钮就可以完成密码设置,重启服务后我们就可以使用密码登录了。
5、登录成功
登录后的根目录就是我们jupyter notebook命令执行位置所在的目录。

三、Jupyter NoteBook常用命令使用简介
1、指定服务启动监听IP地址
(base) [wuhs@s142 ~]$ jupyter notebook --ip=192.168.0.142
2、指定服务启动监听端口
jupyter服务默认监听8888端口,如果启动多个依次递增,如果需要指定服务端口我们可以使用–port指定。
[wuhs@s142 ~]$ jupyter notebook --ip=192.168.0.142 --port=9000
3、指定工作目录
我们可以使用–notebook-dir指定服务工作的目录,根据不同项目进行指定可以避免互相干扰。也可以直接接路径,也就是说–notebook-dir参数可以省略。
[wuhs@s142 ~]$ jupyter notebook --ip=192.168.0.142 --notebook-dir=abc
4、设置jupyter登录密码
初次登录设置了密码,如果后续我们想修改登录密码,可以直接使用jupyter notebook password命令修改密码。
(base) [wuhs@s142 ~]$ jupyter notebook password
Enter password:
Verify password:
[NotebookPasswordApp] Wrote hashed password to /home/wuhs/.jupyter/jupyter_notebook_config.json
5、 查看运行的jupyter进程
(base) [wuhs@s142 ~]$ jupyter notebook list
Currently running servers:
http://192.168.0.142:9000/ :: /home/wuhs/abc
http://192.168.0.142:8888/ :: /home/wuhs
6、指定配置文件启动
(base) [wuhs@s142 ~]$ cat .jupyter/9000.json
(base) [wuhs@s142 ~]$ jupyter notebook --config=/home/wuhs/.jupyter/9000.json

7、停止运行的jupyter进程
使用stop命令停止指定的jupyter进程总是报错tornado.simple_httpclient.HTTPTimeoutError: Timeout during request,如果有知道的网友请留言解惑,谢谢!
(base) [wuhs@s142 ~]$ jupyter notebook stop 9000
Shutting down server on 9000…
四、Jupyter NoteBook使用简介
1、文件上传
点击upload可以预览并上传我们需要上传的文件。

2、新建文件夹和文件
点击New我们可以新建文件、文件夹,也可以启动终端。

3、操作文件夹
创建文件夹默认名称Untitled Folder,可以执行重命名、移动位置、删除等操作。

4、操作文件
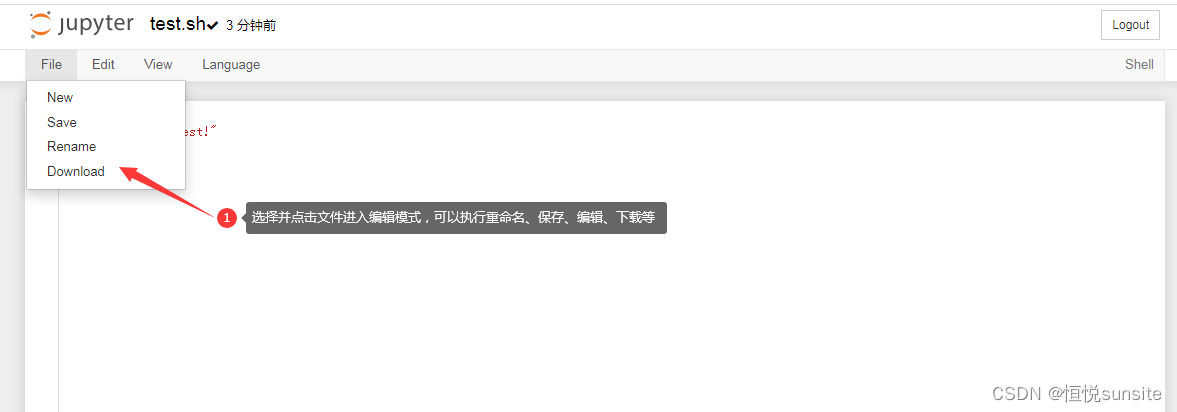
新建文件后我们可以执行文件的编辑、重命名、保存、下载等操作。编辑的时候文件代码是可以高亮展示的。只能下载文件,如果需要下载目录,我们可以先通过终端连接,将目录tar包为文件。
5、新建终端连接
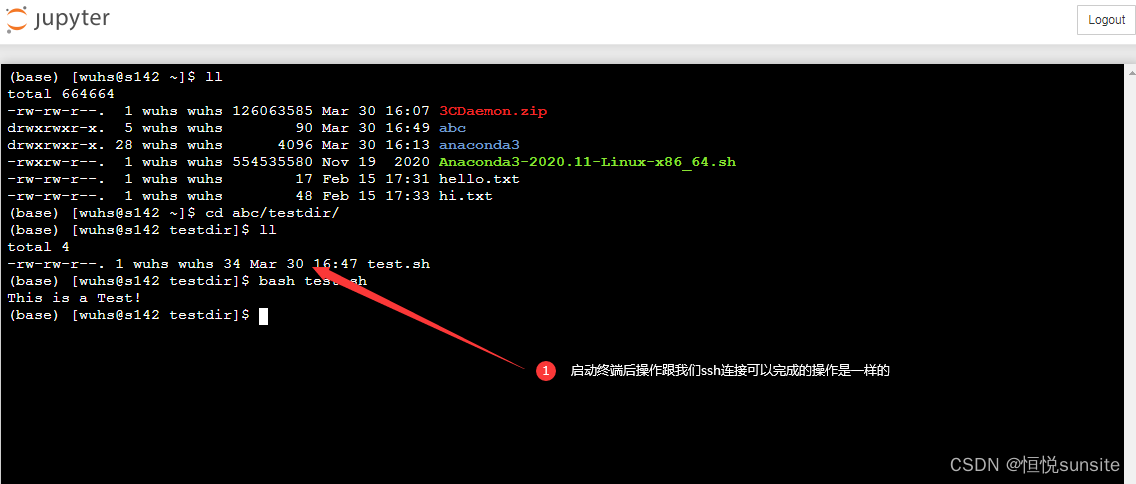
点击New终端可以创建远程终端连接,这个跟我们ssh连接可以执行的操作是一样的,具有启动jupyter服务进程用户的所有权限。
6、新建python3程序
可以New Python3程序,且程序可以在线编辑、修改、调试和运行等等。

7、查看正在运行的任务
点击Running可以查看正在运行的任务。

8、关闭jupyter notebook服务
点击quit按钮退出并关闭jupyter服务。


