文章目录
- 一、zookeeper官网下载
- 二、JDK环境安装
- 三、zookeeper安装
- 1.zookeeper解压
- 2.zookeeper配置文件介绍
- 克隆服务器
- 1.网络检查
- 2.集群配置
- 3.启动集群
一、zookeeper官网下载
- 下载地址:https://archive.apache.org/dist/zookeeper/
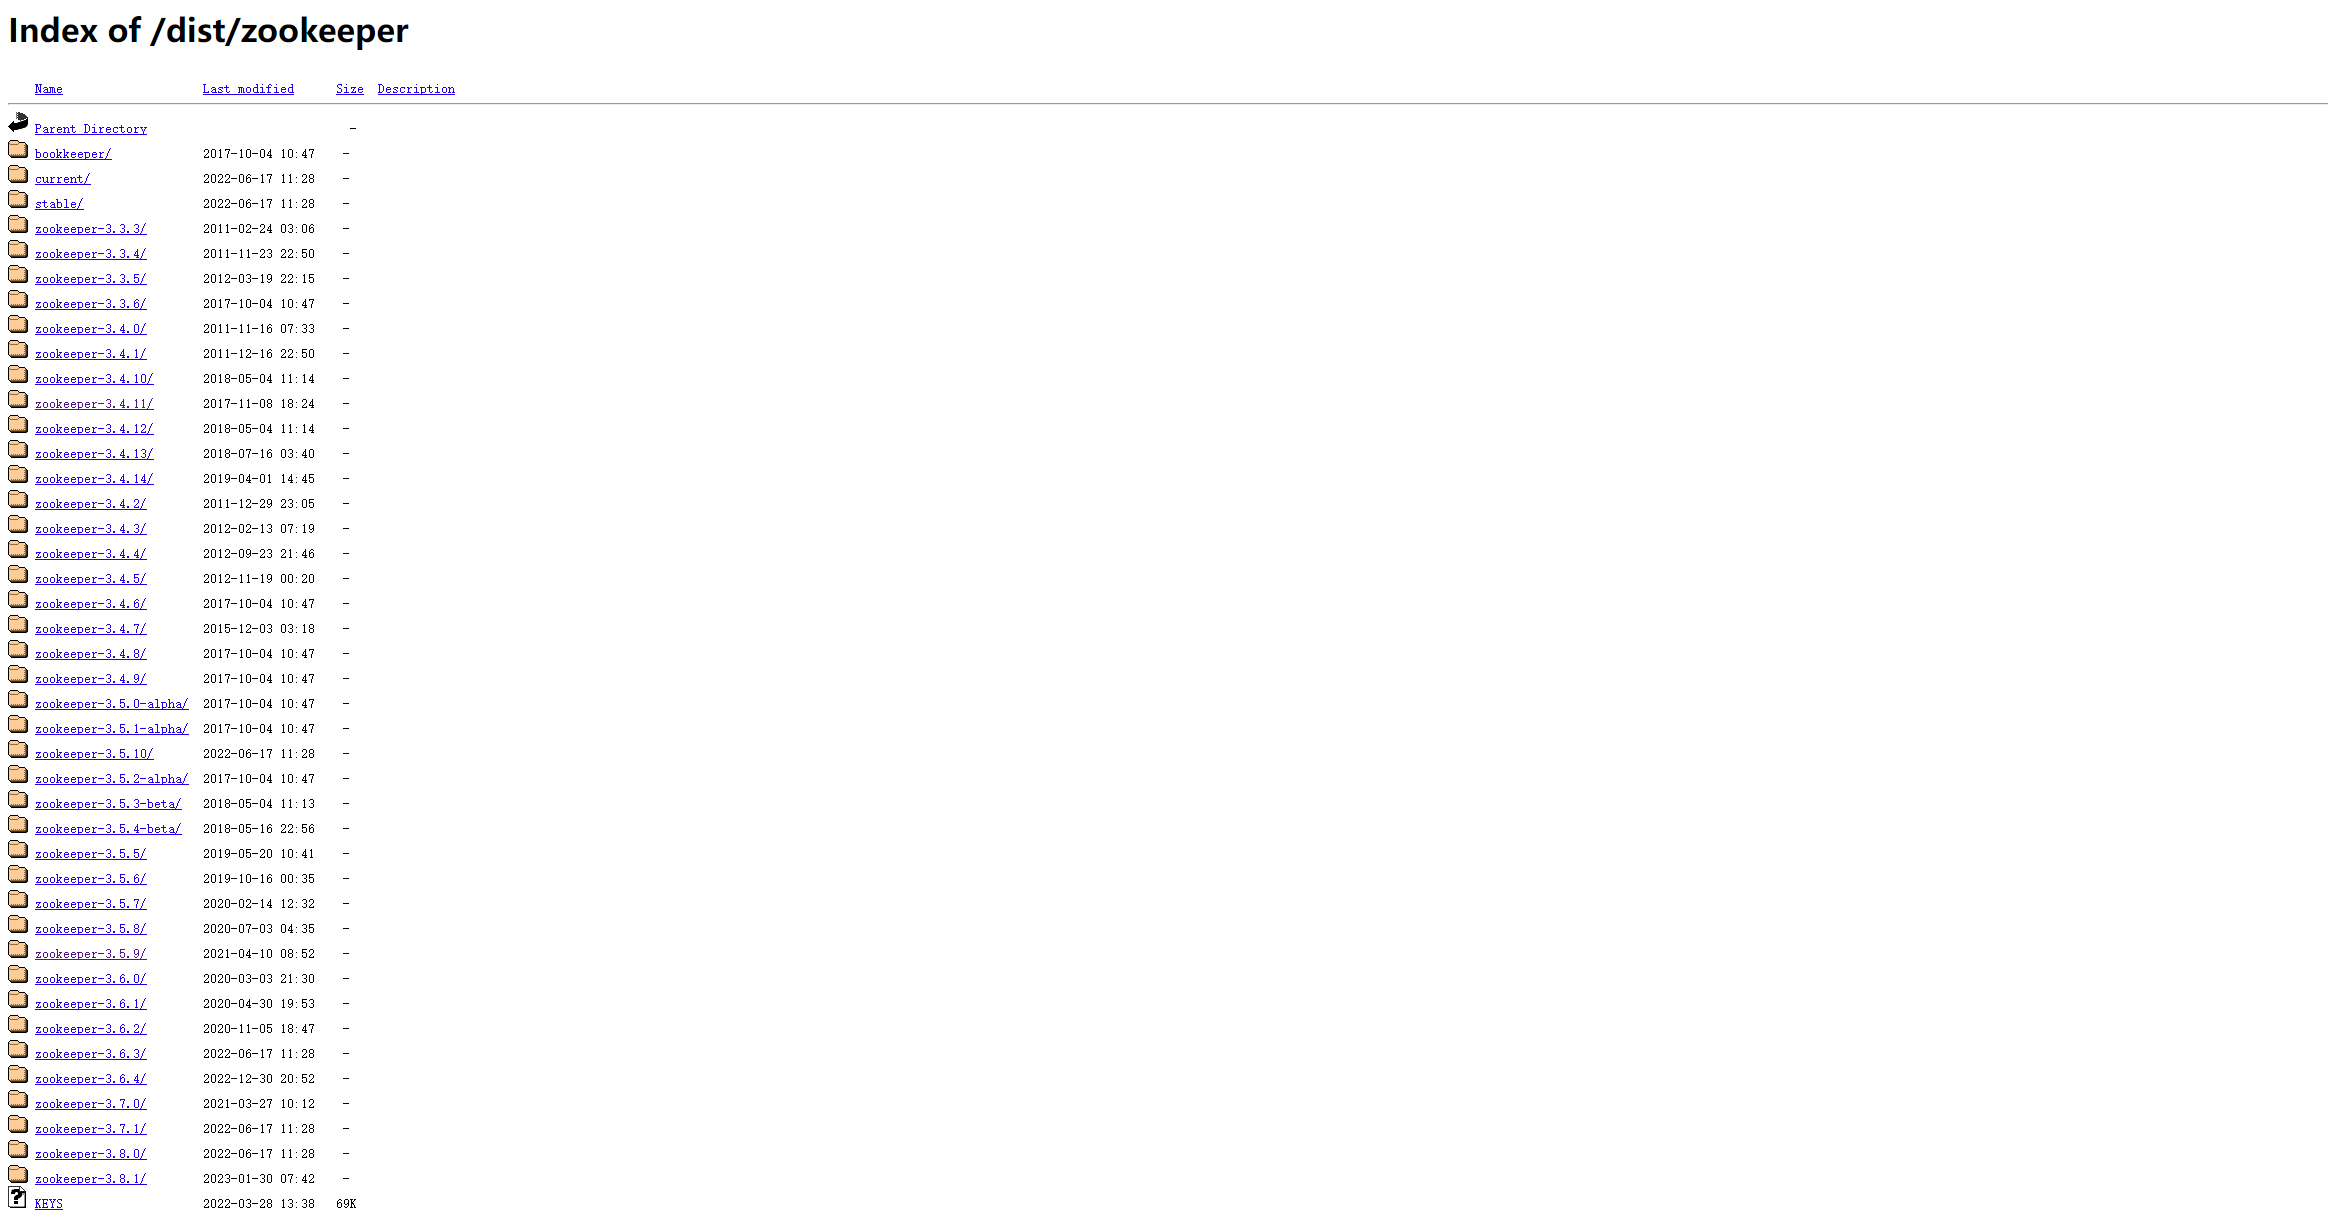
- 找到对应的版本下载

二、JDK环境安装
- 直接使用
yum命令在线安装
yum install -y java-1.8.0-openjdk.x86_64
- 环境变量配置
sudo vi /etc/profile
export JAVA_HOME=/usr/local/jdk1.8.0_291/
export JRE_HOME=${JAVA_HOME}/jre
export CLASSPATH=.:${JAVA_HOME}/lib:${JRE_HOME}/lib
export PATH=${JAVA_HOME}/bin:$PATH
- 重新加载配置文件
sudo source /etc/profile
三、zookeeper安装
1.zookeeper解压
- 首先将下载的
apache-zookeeper-3.5.9-bin.tar.gz上传到服务器 - 解压安装至
/usr/local/目录下
tar -zxvf apache-zookeeper-3.5.9-bin.tar.gz -C /usr/local/
-
如下图

-
重命名为
zookeeper
mv apache-zookeeper-3.5.9-bin zookeeper
- 如下图

2.zookeeper配置文件介绍
- 进入
zookeeper配置文件usr/local/zookeeper/conf/ - 给
zoo_sample.cfg配置文件重命名为zoo.cfg
mv zoo_sample.cfg zoo.cfg
- 配置文件介绍
# The number of milliseconds of each tick
# 用于计算基础的实际单位
tickTime=2000
# The number of ticks that the initial
# synchronization phase can take
# 初始化时间
initLimit=10
# The number of ticks that can pass between
# sending a request and getting an acknowledgement
# 选举时间
syncLimit=5
# the directory where the snapshot is stored.
# do not use /tmp for storage, /tmp here is just
# example sakes.
# 配置zookeeper数据存放路径
dataDir=/tmp/zookeeper
# the port at which the clients will connect
clientPort=2181
# the maximum number of client connections.
# increase this if you need to handle more clients
#maxClientCnxns=60
#
# Be sure to read the maintenance section of the
# administrator guide before turning on autopurge.
#
# http://zookeeper.apache.org/doc/current/zookeeperAdmin.html#sc_maintenance
#
# The number of snapshots to retain in dataDir
#autopurge.snapRetainCount=3
# Purge task interval in hours
# Set to "0" to disable auto purge feature
#autopurge.purgeInterval=1
- 首先
zookeeper目录下创建zookeeper数据和日志的存放目录,并且添加文件读写权限
mkdir data
sudo chmod 777 data
mkdir logs
sudo chmod 777 logs
- 如图

- 修改配置文件
dataDir=/usr/local/zookeeper/data
dataLogDir=/usr/local/zookeeper/logs
- 集群配置
# 集群配置 2888:选举端口 3888:投票端口
server.1=KAFKA001:2888:3888
server.2=KAFKA002:2888:3888
server.3=KAFKA003:2888:3888
- KAFKA001 表示的是主机名,亦可以写IP地址
- 查看主机名
hostnamectl - 设置主机名
sudo hostnamectl set-hostname KAFKA001
- 在之前创建
/usr/local/zookeeper/data数据目录添加这台机器集群的唯一标识 - 写入
1 - 注意:
myid里面的数据个service一致
echo "1" > myid
- 配置
host文件vi /etc/hosts添加三台集群的主机名和IP地址
192.168.204.130  KAFKA001
192.168.204.131  KAFKA002
192.168.204.132  KAFKA003
- 如下图

克隆服务器
- 详细操作见这一篇:VMware虚拟机克隆、复制虚拟机
1.网络检查
-
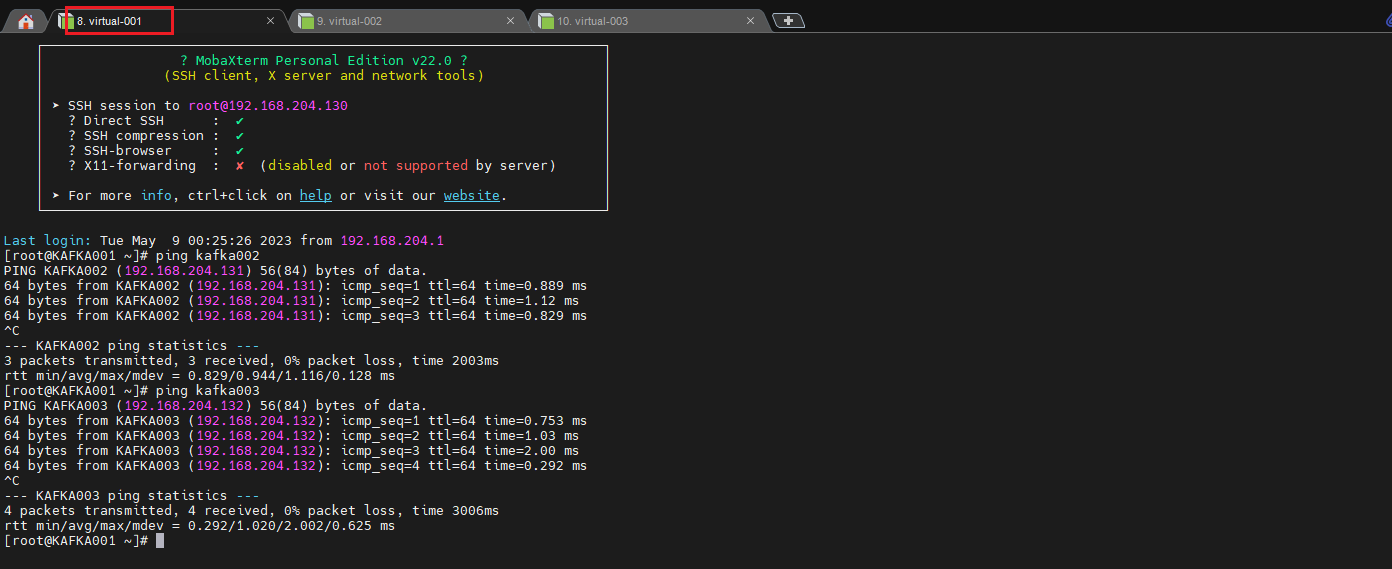
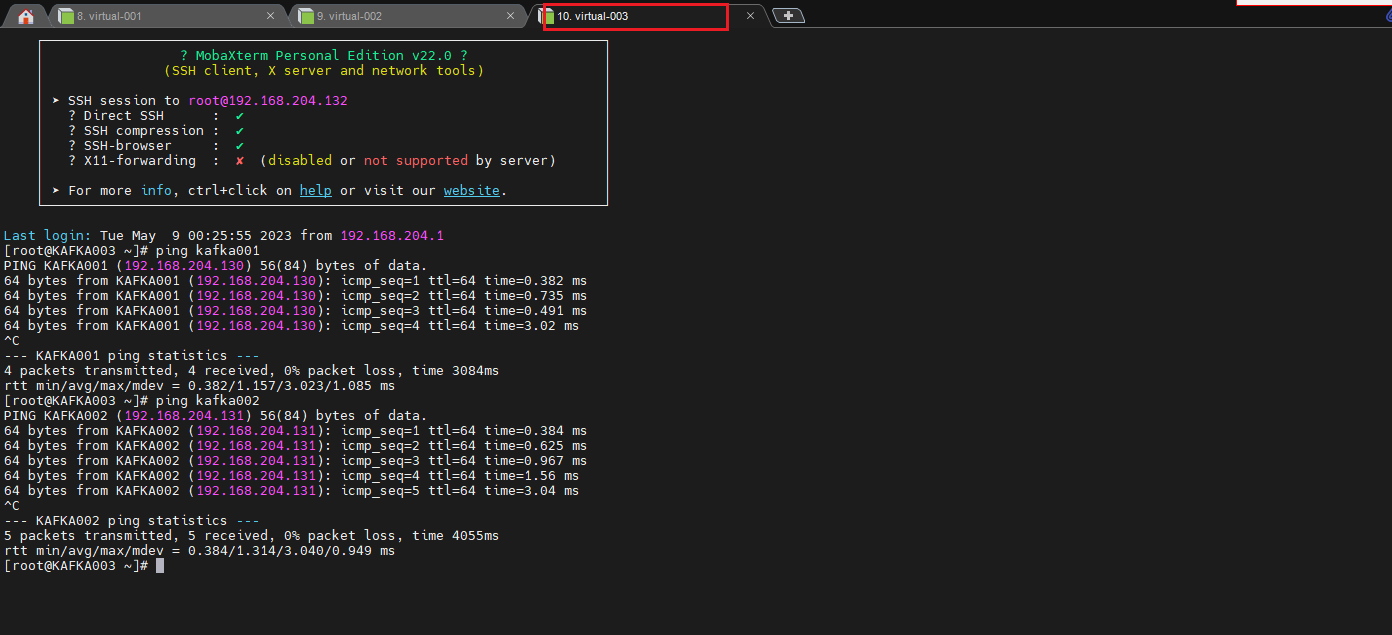
克隆完后,检查三台服务器相互IP可以访问
-
第一台
-
第二台

-
第三台
2.集群配置
- 记得修改后面两台服务器的主机名
sudo hostnamectl set-hostname KAFKA002
sudo hostnamectl set-hostname KAFKA003
- 在之前创建
/usr/local/zookeeper/data数据目录添加这台机器集群的唯一标识【修改后面两台的】 - 后两台机器分别写入
2、3
echo "2" > myid
echo "3" > myid
3.启动集群
- 进入
/usr/local/zookeeper/bin目录下执行./zkServer.sh start
# 可在三台服务器分别执行
/usr/local/zookeeper/bin/zkServer.sh start
- 检查状态
# 可在三台服务器分别执行
/usr/local/zookeeper/bin/zkServer.sh status
- 看日志的报错详细信息进一步判断错误的原因,执行命令
./zkServer.sh start-foreground
/usr/local/zookeeper/bin/zkServer.sh start-foreground
