背景:
现在有一个有一张表被分成了两张表,t_score1 ,t_score2,但后期数据量激增,两张表不能满足业务需求,扩张为2个库每个库2张表,即数据库 ds_0下有t_score1 ,t_score2 ,数据库ds1下有t_score1 ,t_score2两张表,需要将数据平滑的迁移,这时便用到了scaling做数据的同步,proxy做数据的路由分发(发散性,可以将2个库中分别64张表同步到10个库中分别128张表中,这时需要启动多个scaling来并发同步,一个scaling同步一个库或者多个库的,proxy可以使用nginx做负载均衡)
1.使用版本4.1.1系列
全系列版本地址
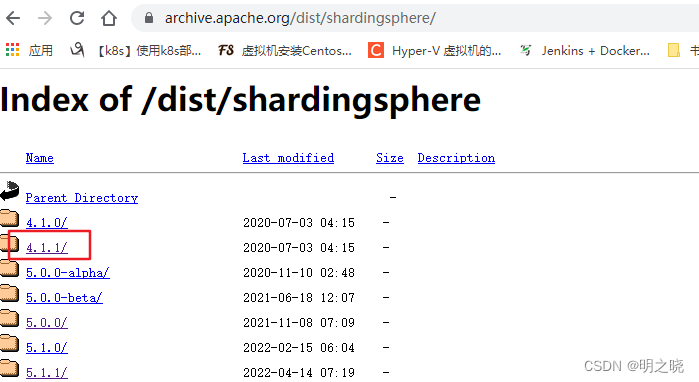
ps:建议使用4.1.1后版本,之前的版本问题比较多
注意mysql数据库版本5.1-5.7,使用8.0版本会提示没有系统字段query_cache_size
4.1.1示例图

2.使用文档
官方文档地址
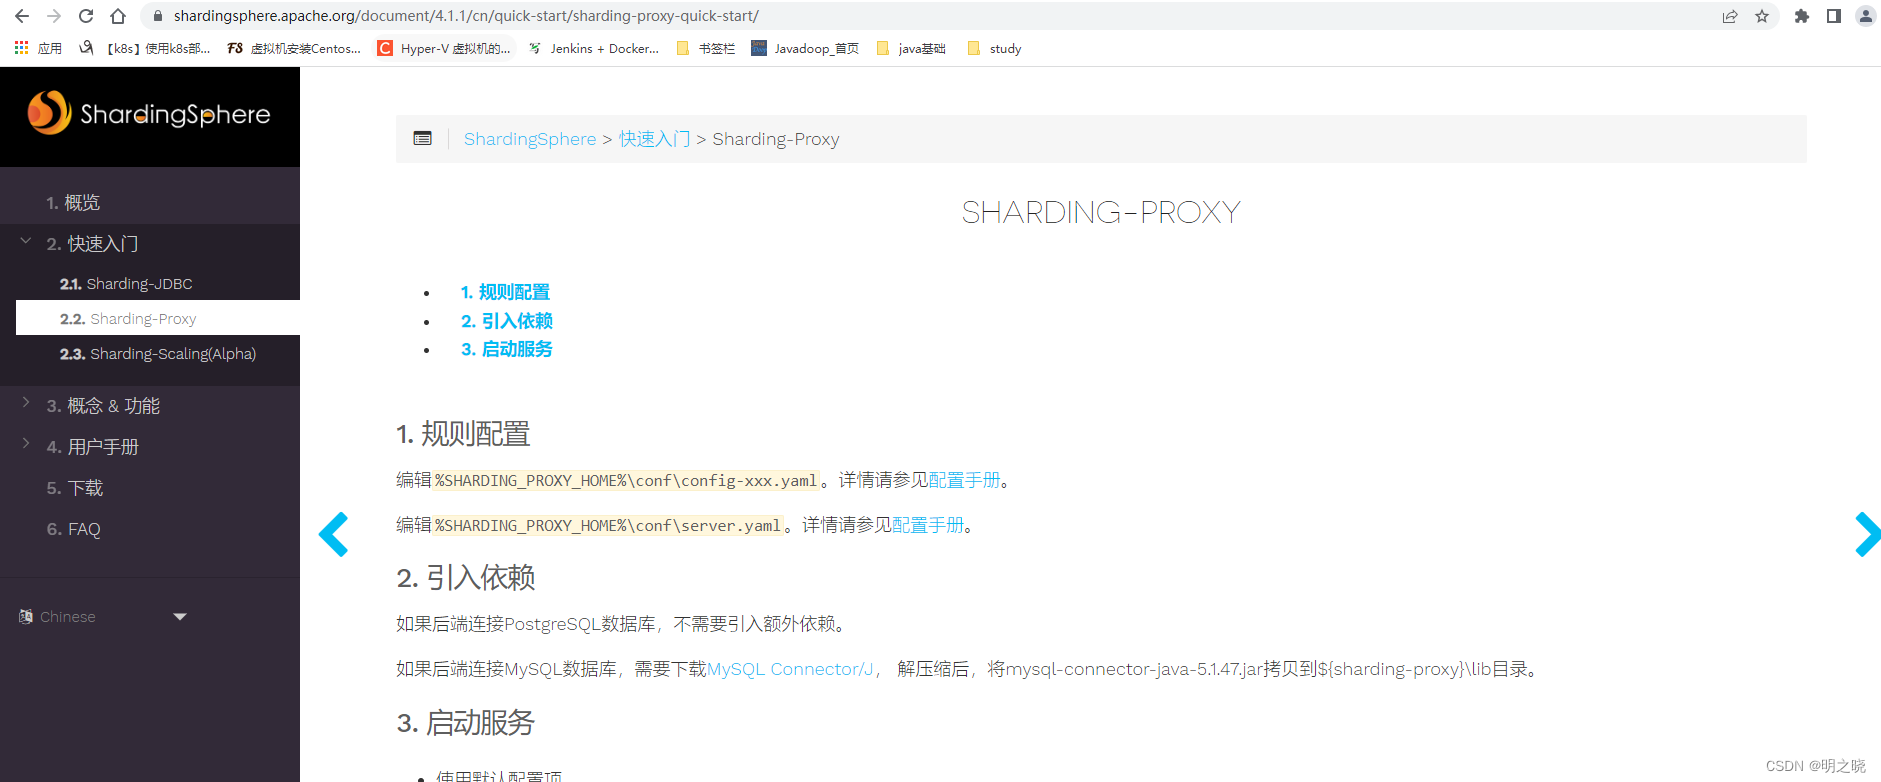
解压后目录均是
 启动文件只需要到bin目录启动start文件

2.1 sharding-proxy
2.1.1配置文件列表

2.1.2 server.yaml配置
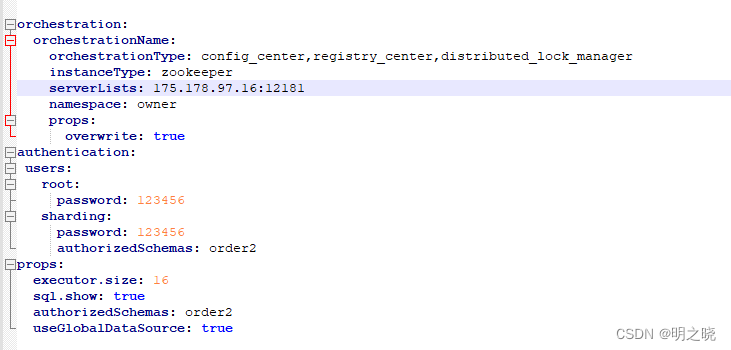
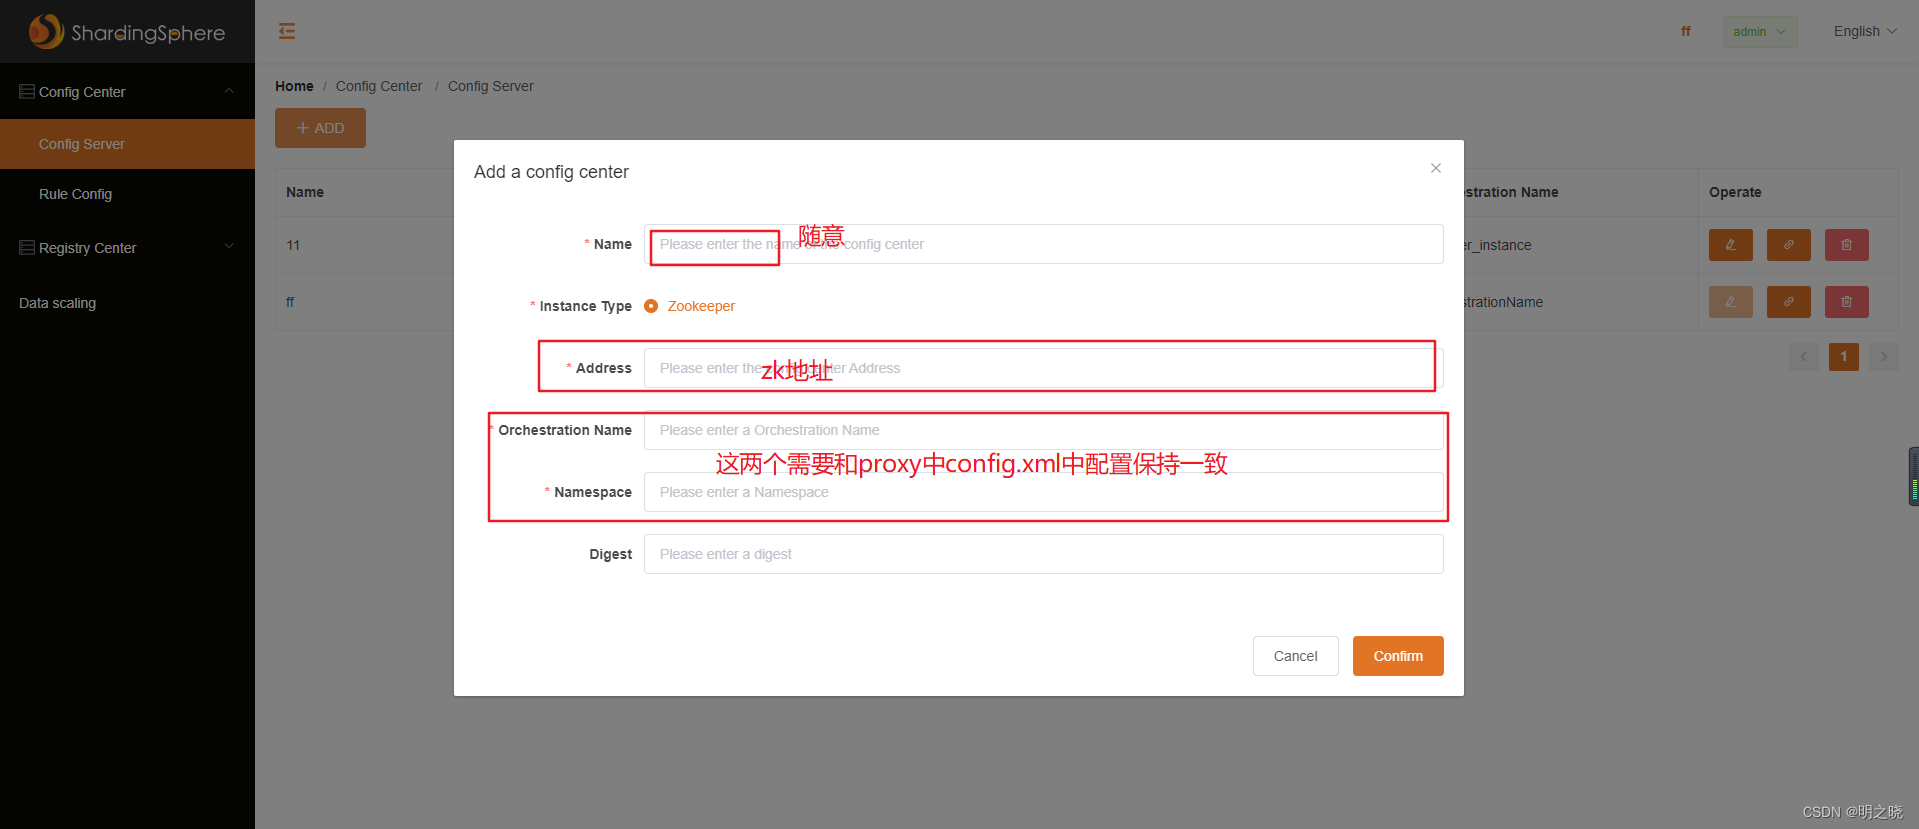
如果用到了zk配置中心可以配置orchestration属性,需要注意得是其中的
orchestrationName和namespace分别对应了zk中的节点信息

其中的authentication.sharding.authorizedSchemas=order2代表给用户sharding密码123456授权order2的使用权限
2.1.3 config-sharding.yaml 数据分片配置
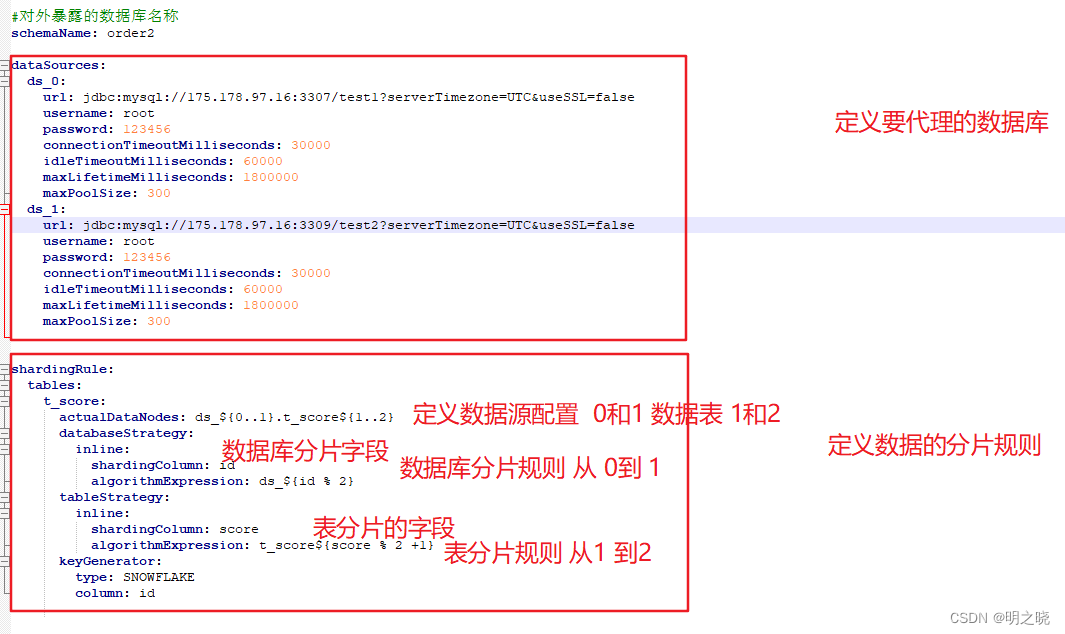
#对外暴露的数据库名称
schemaName: order2

dataSources:
  ds_0:
    url: jdbc:mysql://175.178.7.16:3307/test1?serverTimezone=UTC&useSSL=false
    username: root
    password: 123456
    connectionTimeoutMilliseconds: 30000
    idleTimeoutMilliseconds: 60000
    maxLifetimeMilliseconds: 1800000
    maxPoolSize: 300
  ds_1:
    url: jdbc:mysql://175.178.9.16:3309/test2?serverTimezone=UTC&useSSL=false
    username: root
    password: 123456
    connectionTimeoutMilliseconds: 30000
    idleTimeoutMilliseconds: 60000
    maxLifetimeMilliseconds: 1800000
    maxPoolSize: 300


shardingRule:
  tables:
    t_score:
      actualDataNodes: ds_${0..1}.t_score${1..2}
      databaseStrategy:
        inline:
          shardingColumn: id
          algorithmExpression: ds_${id % 2}
      tableStrategy:
        inline:
          shardingColumn: score
          algorithmExpression: t_score${score % 2 +1}
      keyGenerator:
        type: SNOWFLAKE
        column: id
2.2 sharding-scaling
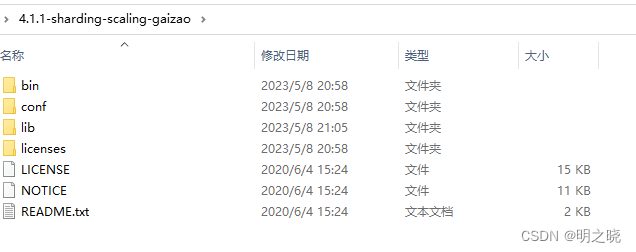
scaling没有过多的配置,只需要启动bin目录下的start文件即可,默认使用
http://localhost:8080/ 进行访问
2.2.1 数据同步
curl 'http://localhost:18088/api/shardingscaling/job/start' \
  -H 'Connection: keep-alive' \
  -H 'Content-Type: application/json;charset=UTF-8' \
  --data-raw $'{"ruleConfiguration":{"sourceDatasource":"ds_1: \u0021\u0021org.apache.shardingsphere.orchestration.core.configuration.YamlDataSourceConfiguration\\n  dataSourceClassName: com.zaxxer.hikari.HikariDataSource\\n  properties:\\n    jdbcUrl: jdbc:mysql://175.178.97.186:3308/test2?serverTimezone=UTC&useSSL=false\\n    username: root\\n    password: \'123456\'\\n    connectionTimeout: 30000\\n    idleTimeout: 60000\\n    maxLifetime: 1800000\\n    maxPoolSize: 300\\n    minPoolSize: 1\\n    maintenanceIntervalMilliseconds: 30000\\n    readOnly: false\\nds_0: \u0021\u0021org.apache.shardingsphere.orchestration.core.configuration.YamlDataSourceConfiguration\\n  dataSourceClassName: com.zaxxer.hikari.HikariDataSource\\n  properties:\\n    jdbcUrl: jdbc:mysql://175.178.97.186:3308/test?serverTimezone=UTC&useSSL=false\\n    username: root\\n    password: \'123456\'\\n    connectionTimeout: 30000\\n    idleTimeout: 60000\\n    maxLifetime: 1800000\\n    maxPoolSize: 300\\n    minPoolSize: 1\\n    maintenanceIntervalMilliseconds: 30000\\n    readOnly: false\\n","sourceRule":"tables:\\n  t_score:\\n    actualDataNodes: ds_${0..1}.t_score${1..2}\\n    databaseStrategy:\\n      inline:\\n        algorithmExpression: ds_${id % 2}\\n        shardingColumn: id\\n    keyGenerator:\\n      column: id\\n      type: SNOWFLAKE\\n    logicTable: t_score\\n    tableStrategy:\\n      inline:\\n        algorithmExpression: t_score${score % 2 +1}\\n        shardingColumn: score\\n","destinationDataSources":{"username":"root","password":"123456","url":"jdbc:mysql://127.0.0.1:3308/order2?serverTimezone=UTC&useSSL=false"}},"jobConfiguration":{"concurrency":"1"}}' \
  --compressed
2.2.2 查看同步的状态
列表
curl -X GET http://localhost:8888/shardingscaling/job/list详情
curl -X GET http://localhost:8888/shardingscaling/job/progress/12.3.3 停止同步
curl -X POST \
  http://localhost:8888/shardingscaling/job/stop \
  -H 'content-type: application/json' \
  -d '{
   "jobId":1
}'
2.3.4 scaling同步原理与优化
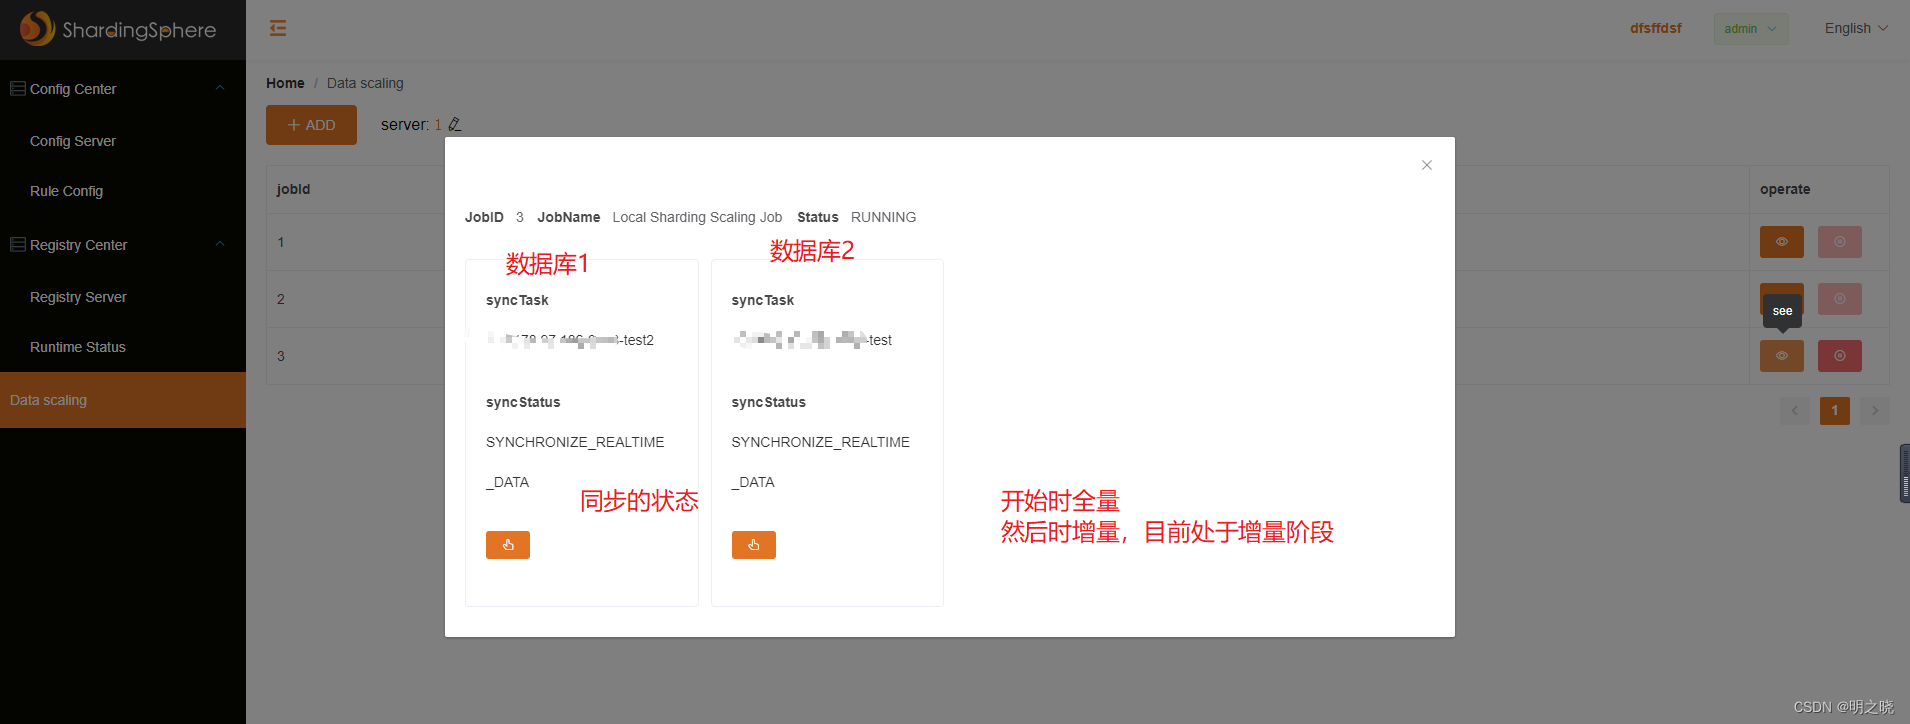
启动scaling时,首先是做全量的同步,并且会记录此时的数据库的binlog位置点,做完全量的同步会做增量的同步
原有的4.1.1版本代码自认为是存在两个问题
1.mysql限制不能两个相同serverid同时读取binlong(场景在同一个实例下部署了两个数据库,且要做数据的迁移)
A slave with the same server_uuid/server_id as this slave has connected to the master源码调整
org.apache.shardingsphere.shardingscaling.mysql.MySQLBinlogReader#read
将此处的123456 改成 new Random().nextInt(10000)
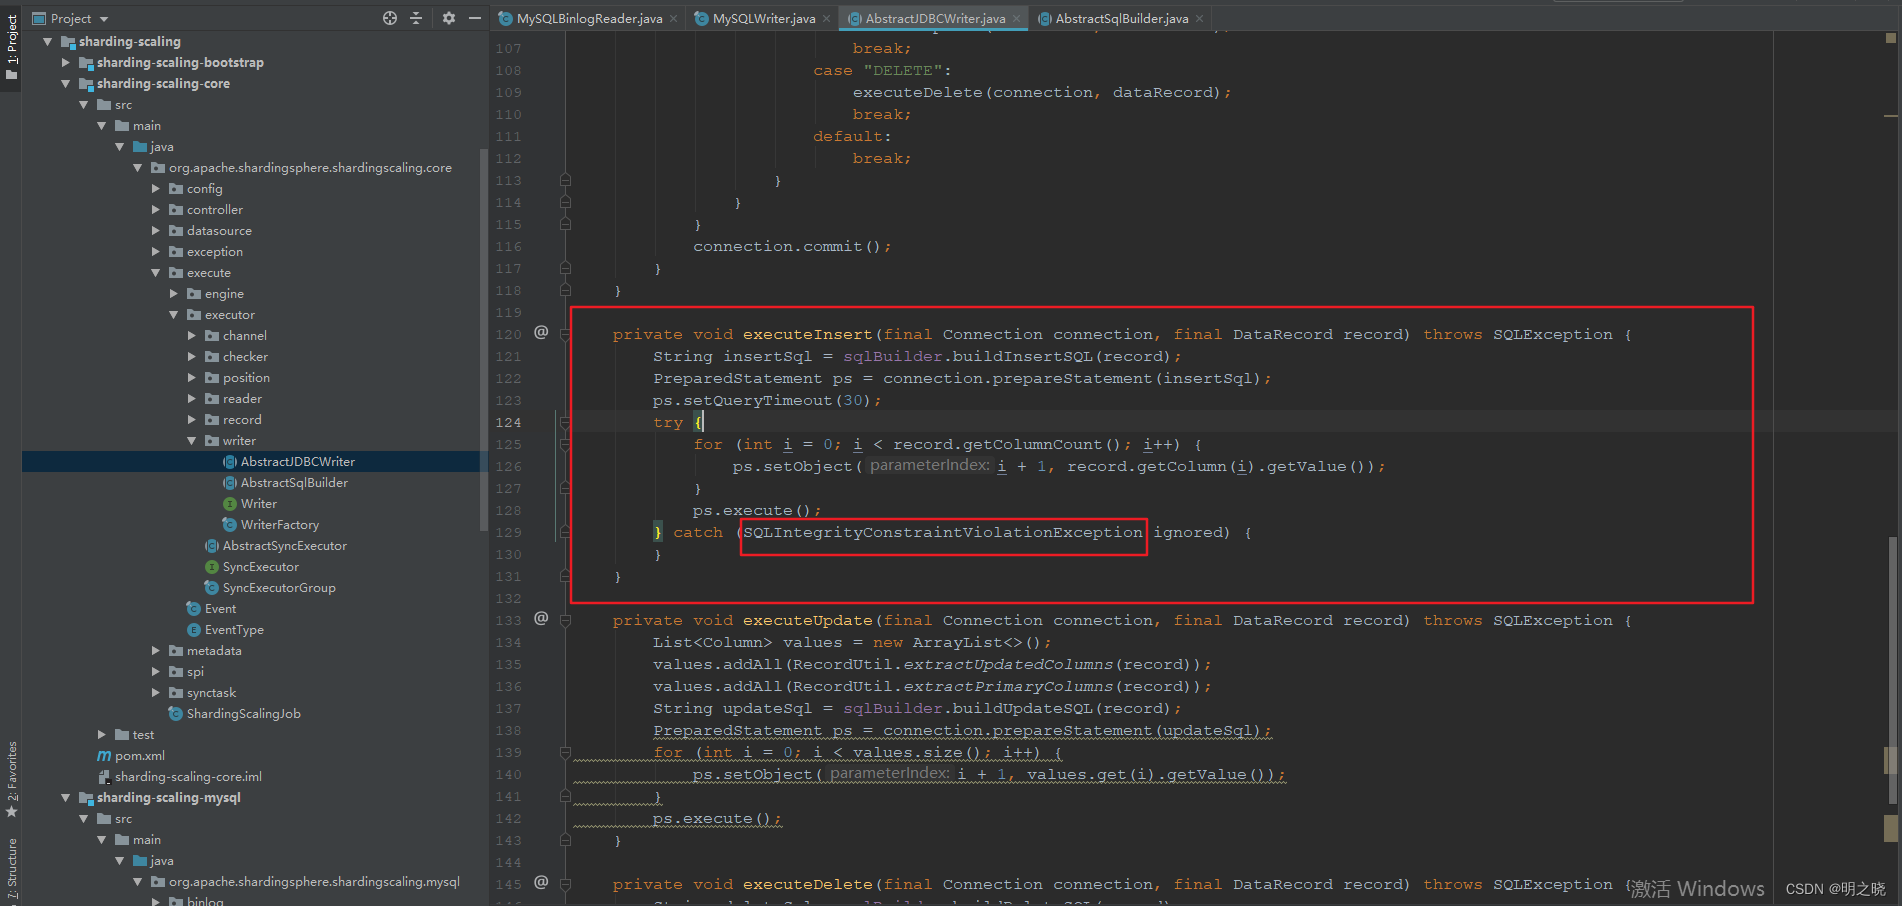
2.对于同步中断,然后重启scaling间的不一致数据,scaling的全量插入时insert into,导致旧数据不能被更新
源码调整
org.apache.shardingsphere.shardingscaling.core.execute.executor.writer.AbstractSqlBuilder#buildInsertSQLInternal
将此处的 INSERT INTO 改成 REPLACE INTO,至于为啥执行有重复数据还以继续执行insert into 是因为前面catch住了这样的异常
2.3 sharding-ui
2.3.1 首先配置配置中心
2.3.2 配置好的效果

2.3.3 启动proxy后的效果

2.3.4 注册中心和配中心一样的配置

2.3.5 启动proxy后可以控制这个代理是否可用
如果需要做集群,可以用nginx做负载均衡

2.3.6 使用界面操作scaling
建立任务

查看任务

任务详情
