JS 实现区块链同步和共识
之前实现了区块链和去中心化网络,这里实现区块链的同步和共识,不过本质上来说使用的的方法和 register & broadcast 的方法是一样的。
这个也是目前学习中倒数第二篇笔记了,最后两个部分学完,blockchain 就暂时放一放继续回到前端的学习去了。
同步网络
这里一步会做到的就是当下一个 transaction/block 被添加到网络中某一个 blockchain 上时,其他的 node 也会收到消息,并且同步更新自己 node 上的 blockchain。
同步 transaction
重构创建新的 transaction
要做到这一步首先需要 refactor 一下当前的 blockchain 中,transaction 的实现。这一步主要是将原来的函数拆分成两个,修改前的代码为:
createNewTransaction = (amount: number, sender: string, recipient: string) => {
  const newTransaction = {
    amount,
    sender,
    recipient,
  };

  this.pendingTransactions.push(newTransaction);

  return this.getLastBlock()['index'] + 1;
};
修改后的部分为:
createNewTransaction = (
  amount: number,
  sender: string,
  recipient: string
): Transaction => {
  // interface 也需要同样更新
  const newTransaction: Transaction = {
    amount,
    sender,
    recipient,
    transactionId: crypto.randomUUID().split('-').join(''),
  };

  return newTransaction;
};

addToPendingTransactions = (transaction: Transaction): number => {
  this.pendingTransactions.push(transaction);
  return this.getLastBlock().index + 1;
};
这样当某一个 node 创建了新的 transaction 之后,当前结点就可以将其 broadcast 到整个 network 上实现同步。
实现 broadcast transaction 的功能
就跟将 node 加到 network 中一样的实现步骤,首先从 request 中获取对应的信息,随后调用 createNewTransaction 去获取创建成功的 transaction。随后循环遍历 network 中的所有 nodes,每个 node 都会将最新的 transaction 推到自己 node 中,blockchain 中的 pending transactions 中。
app.post('/transaction/broadcast', (req, res) => {
  const { amount, sender, recipient } = req.body;

  const newTransaction: Transaction = bitcoin.createNewTransaction(
    amount,
    sender,
    recipient
  );

  bitcoin.addToPendingTransactions(newTransaction);

  const reqPromises: RequestPromise<any>[] = bitcoin.networkNodes.map(
    (networkNodeUrl) => {
      const reqOptions = {
        uri: networkNodeUrl + '/transaction',
        method: 'POST',
        body: { newTransaction },
        json: true,
      };

      return rp(reqOptions);
    }
  );

  Promise.all(reqPromises).then(() => {
    res.json({ message: 'Transaction creatd and broadcasted successfully.' });
  });
});
更新 post transaction
这个变动比较小,只需要获取新的 transaction,调用之前写的 append 功能即可。
app.post('/transaction', (req, res) => {
  const { newTransaction } = req.body;

  const blockIdx = bitcoin.addToPendingTransactions(newTransaction);

  res.json({ message: `Transaction will be added in block ${blockIdx}.` });
});
测试新的 transaction
这里依旧用 postman 进行测试,依旧是在 1 个 node 上添加新的 transaction,随后在其他的结点上查看。
首先确定当前 network 上已经有其他的 nodes 进行关联:

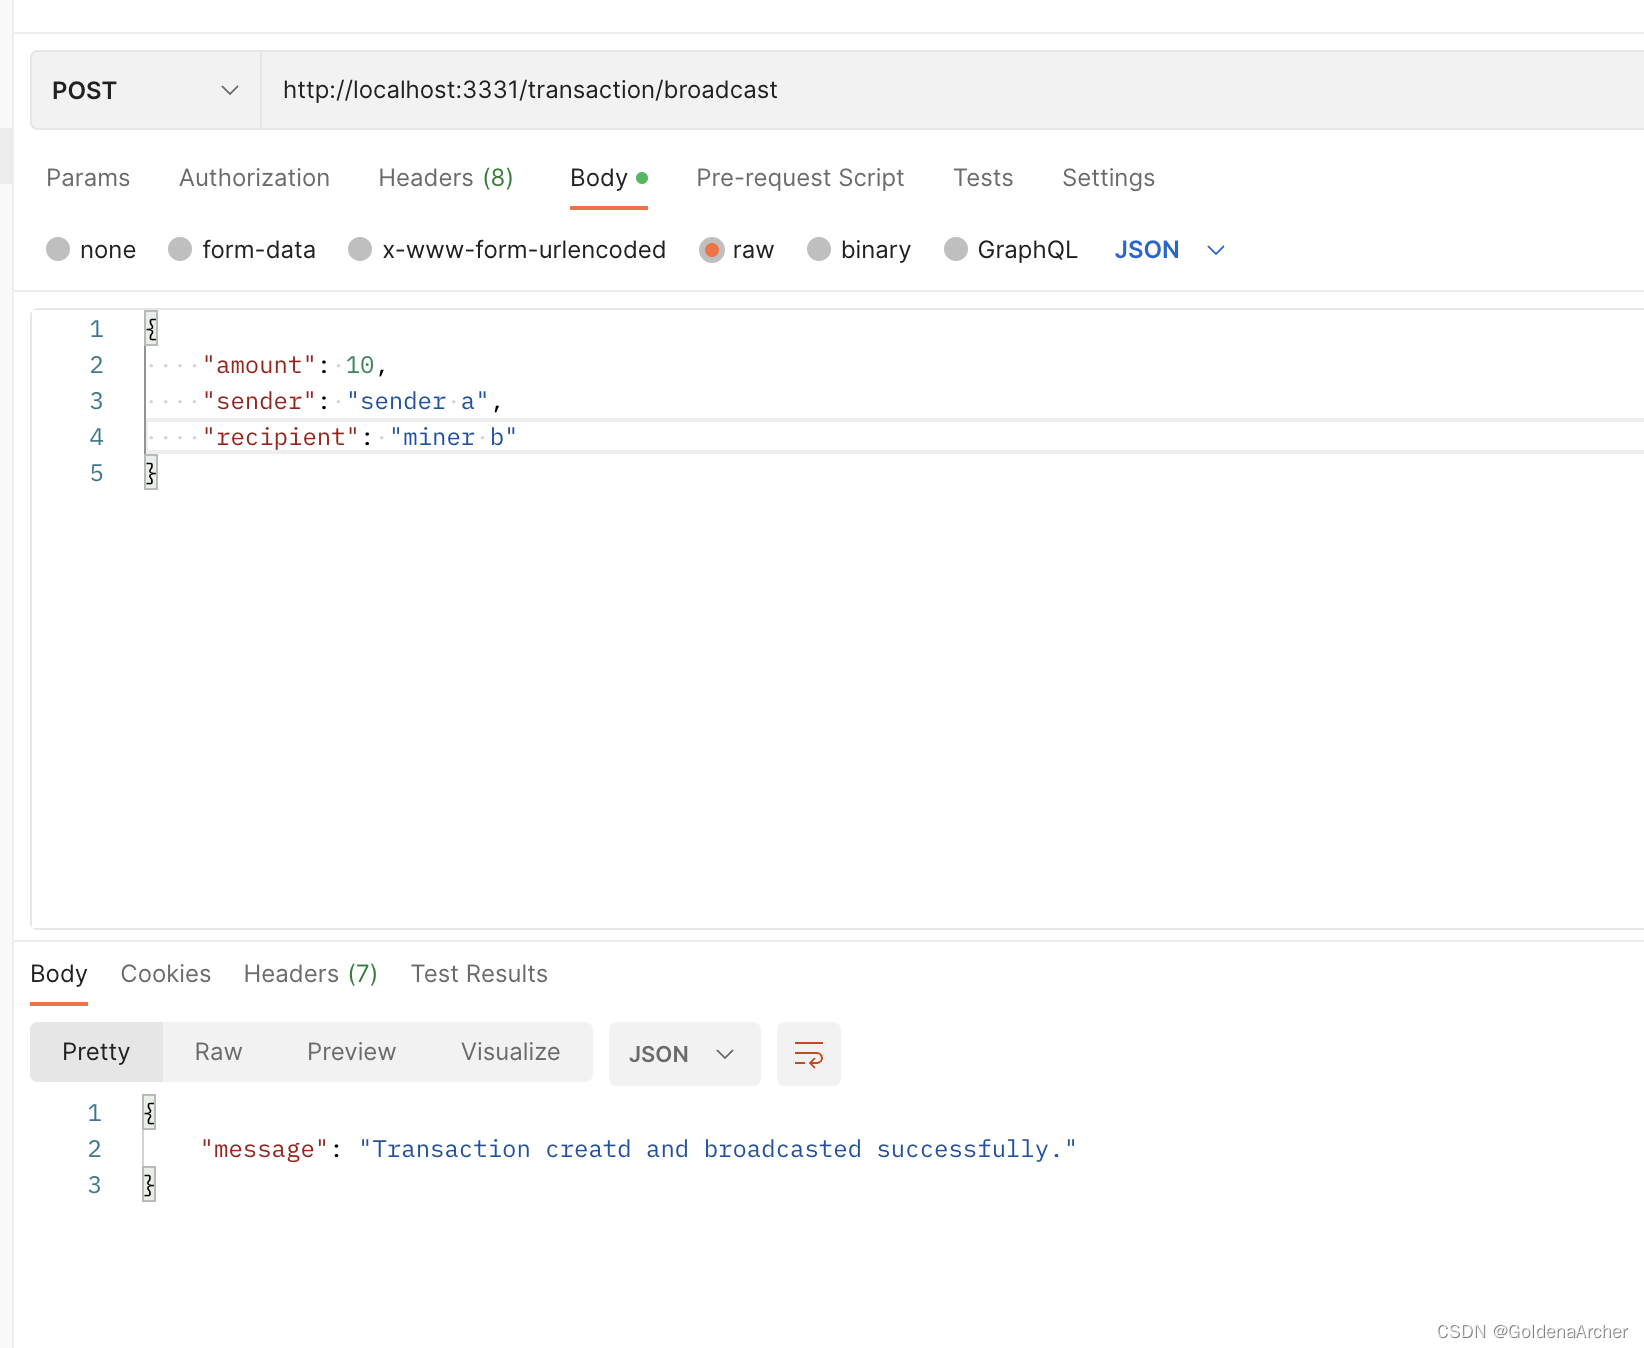
随后 3331 新添一个 transaction:
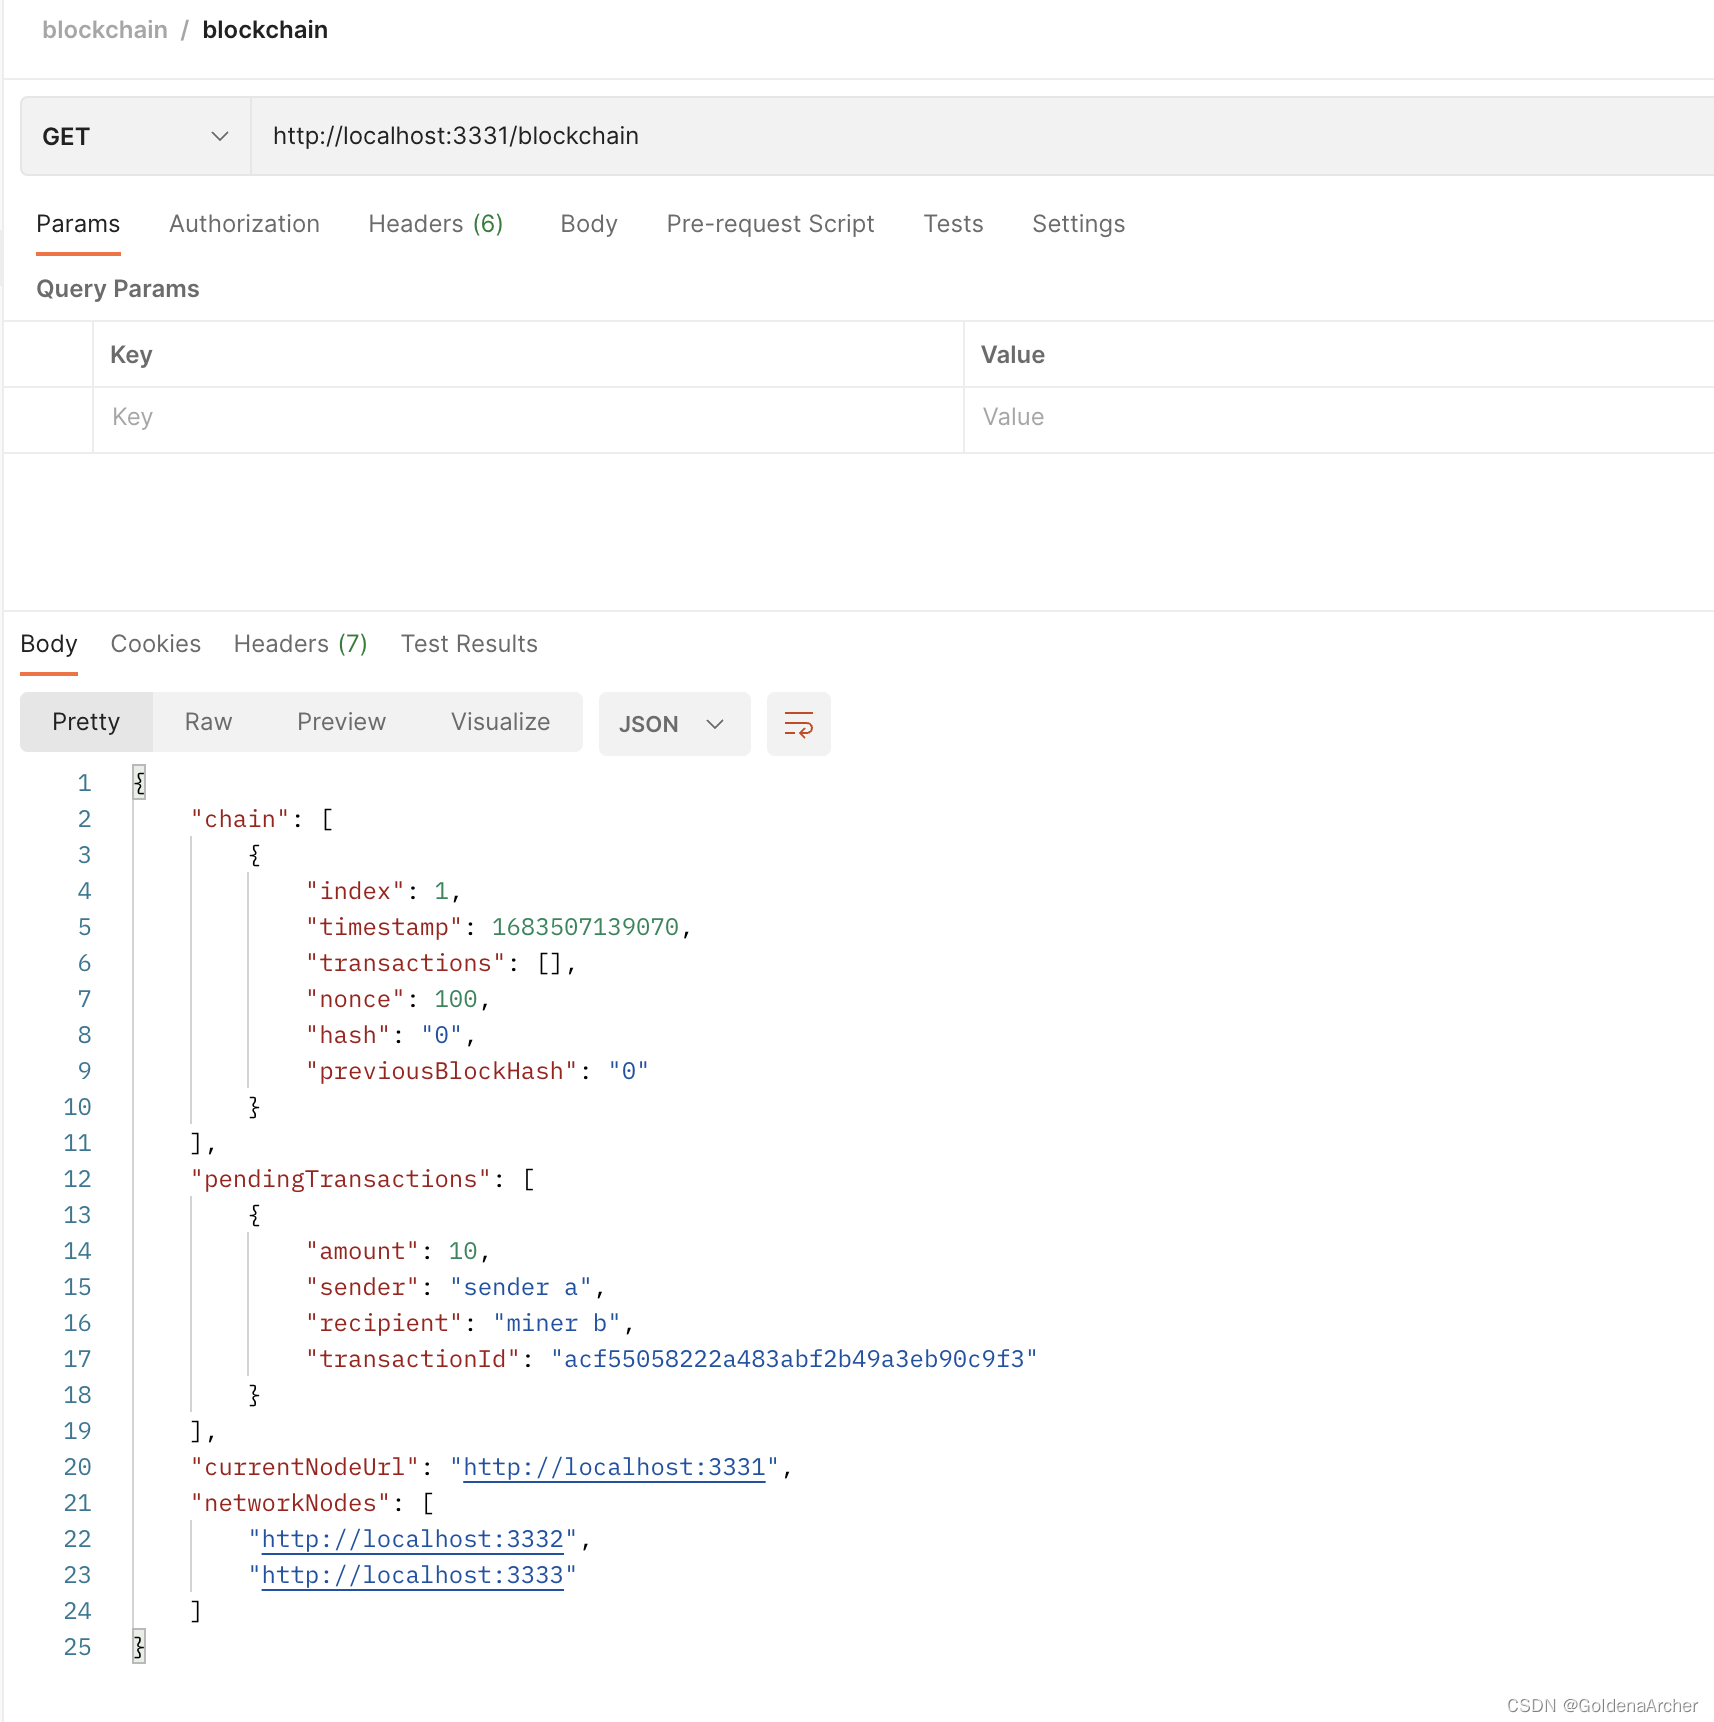
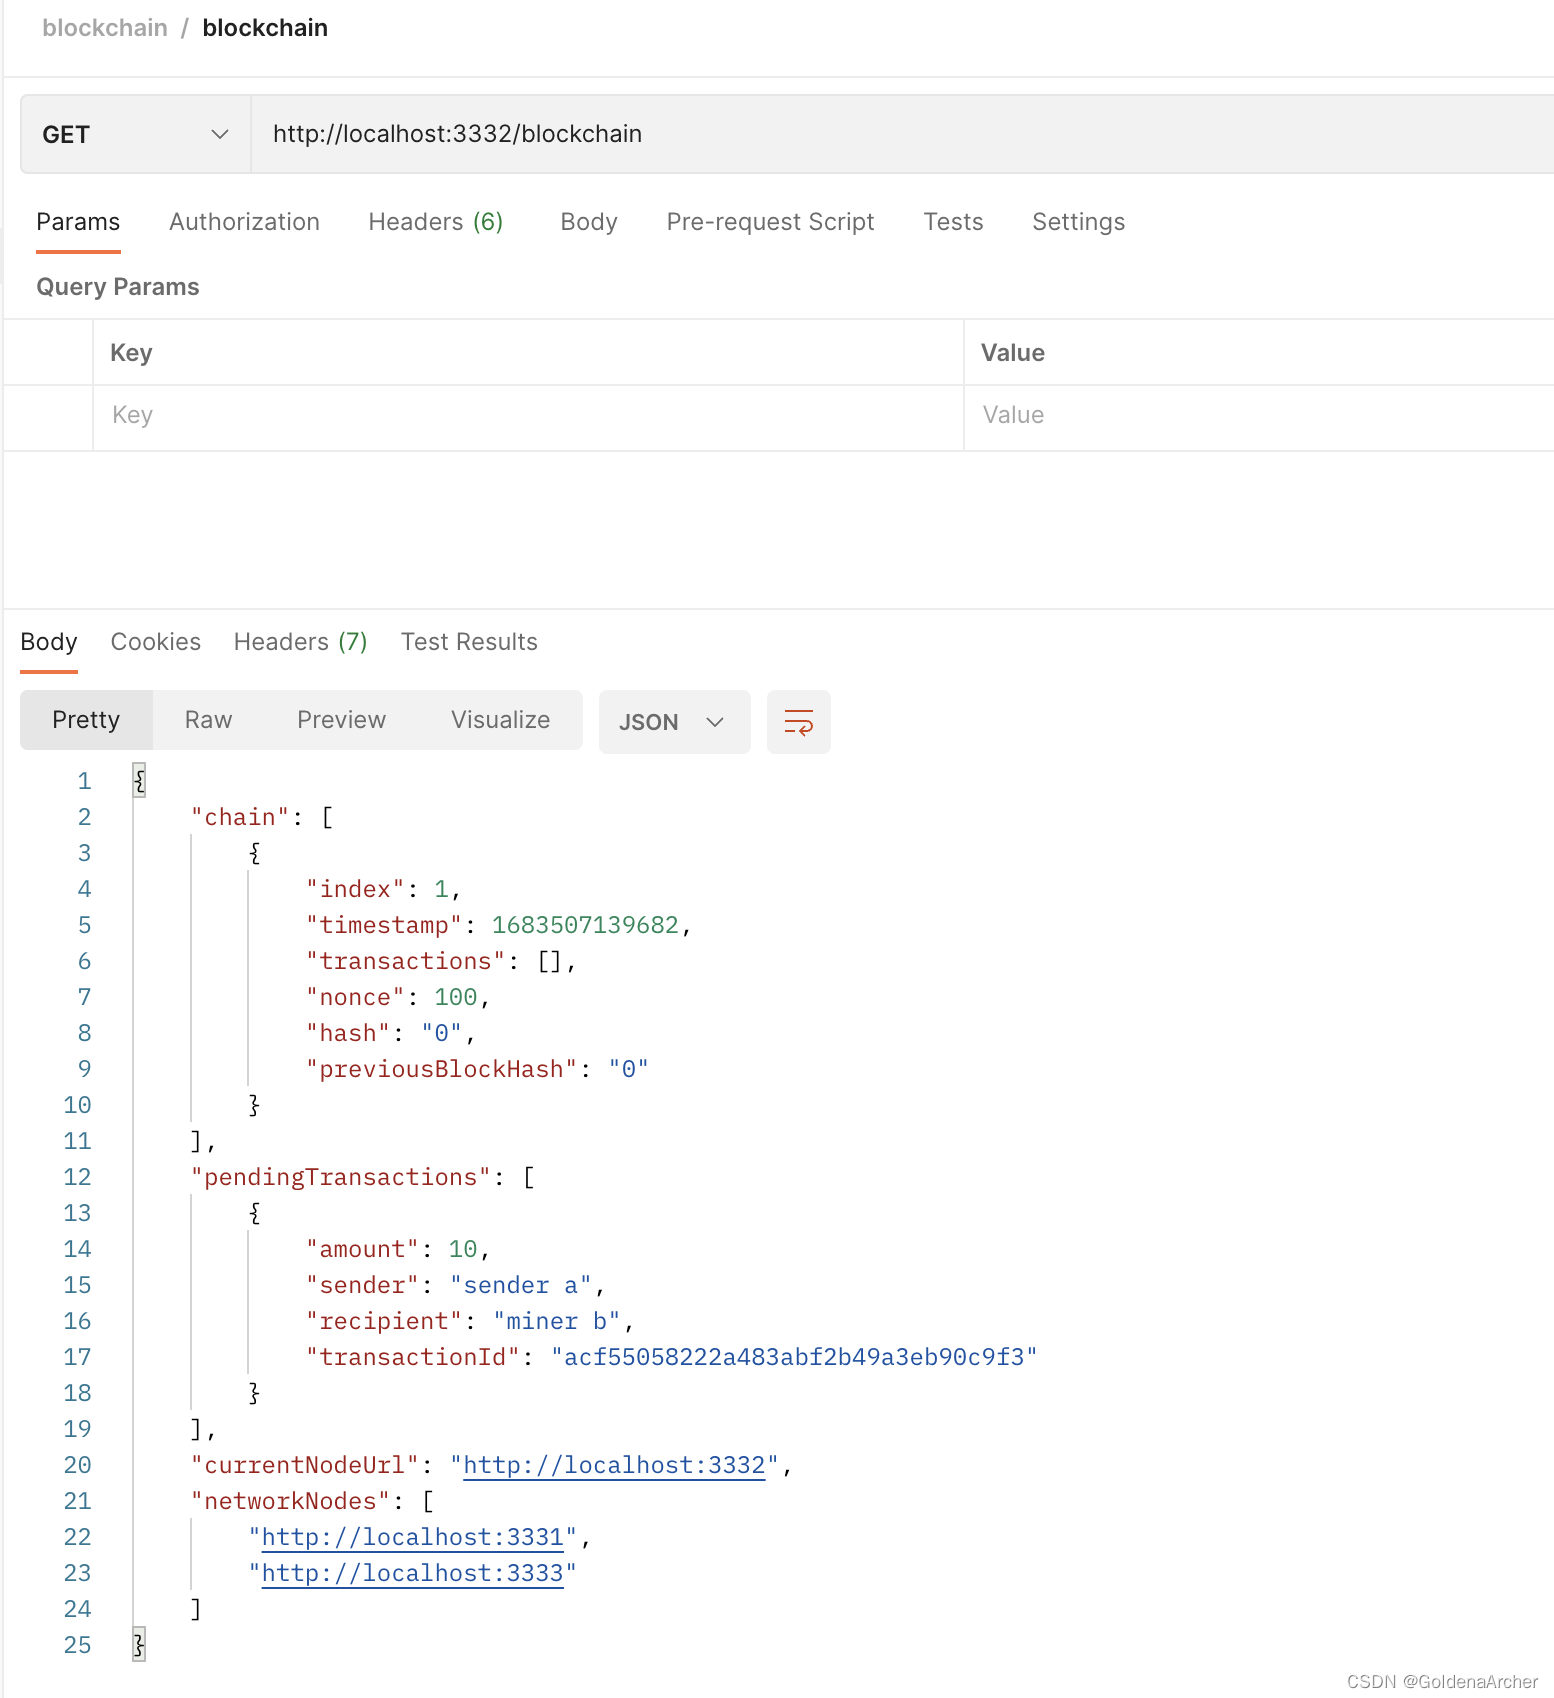
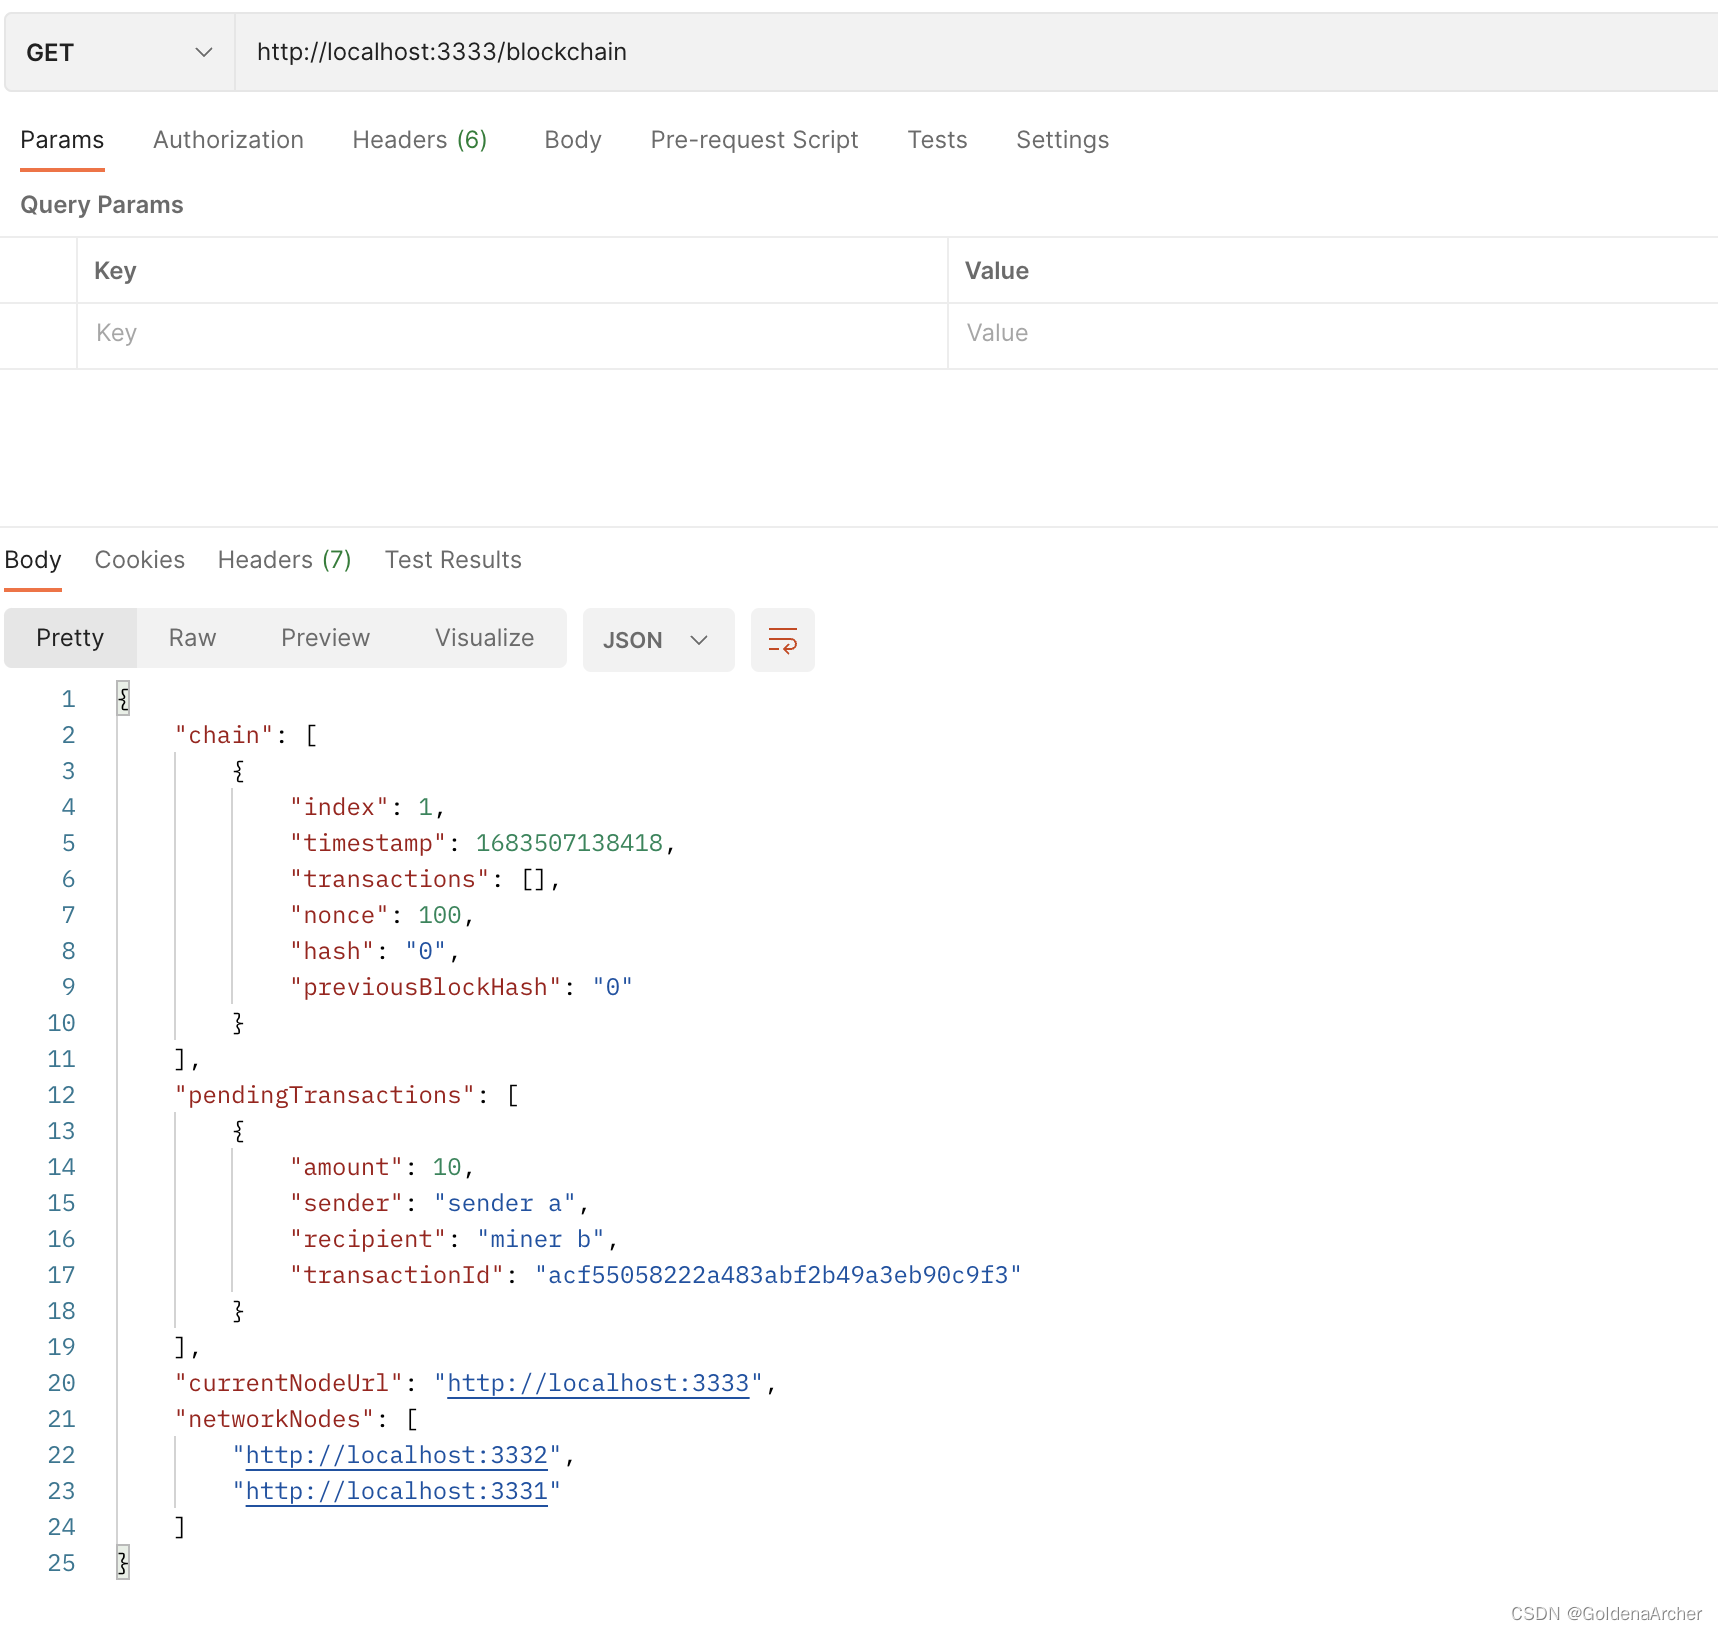
3331、3332 和 3333 上都显示出了新的 transaction:
随后再通过 3332 添加一个 transaction:
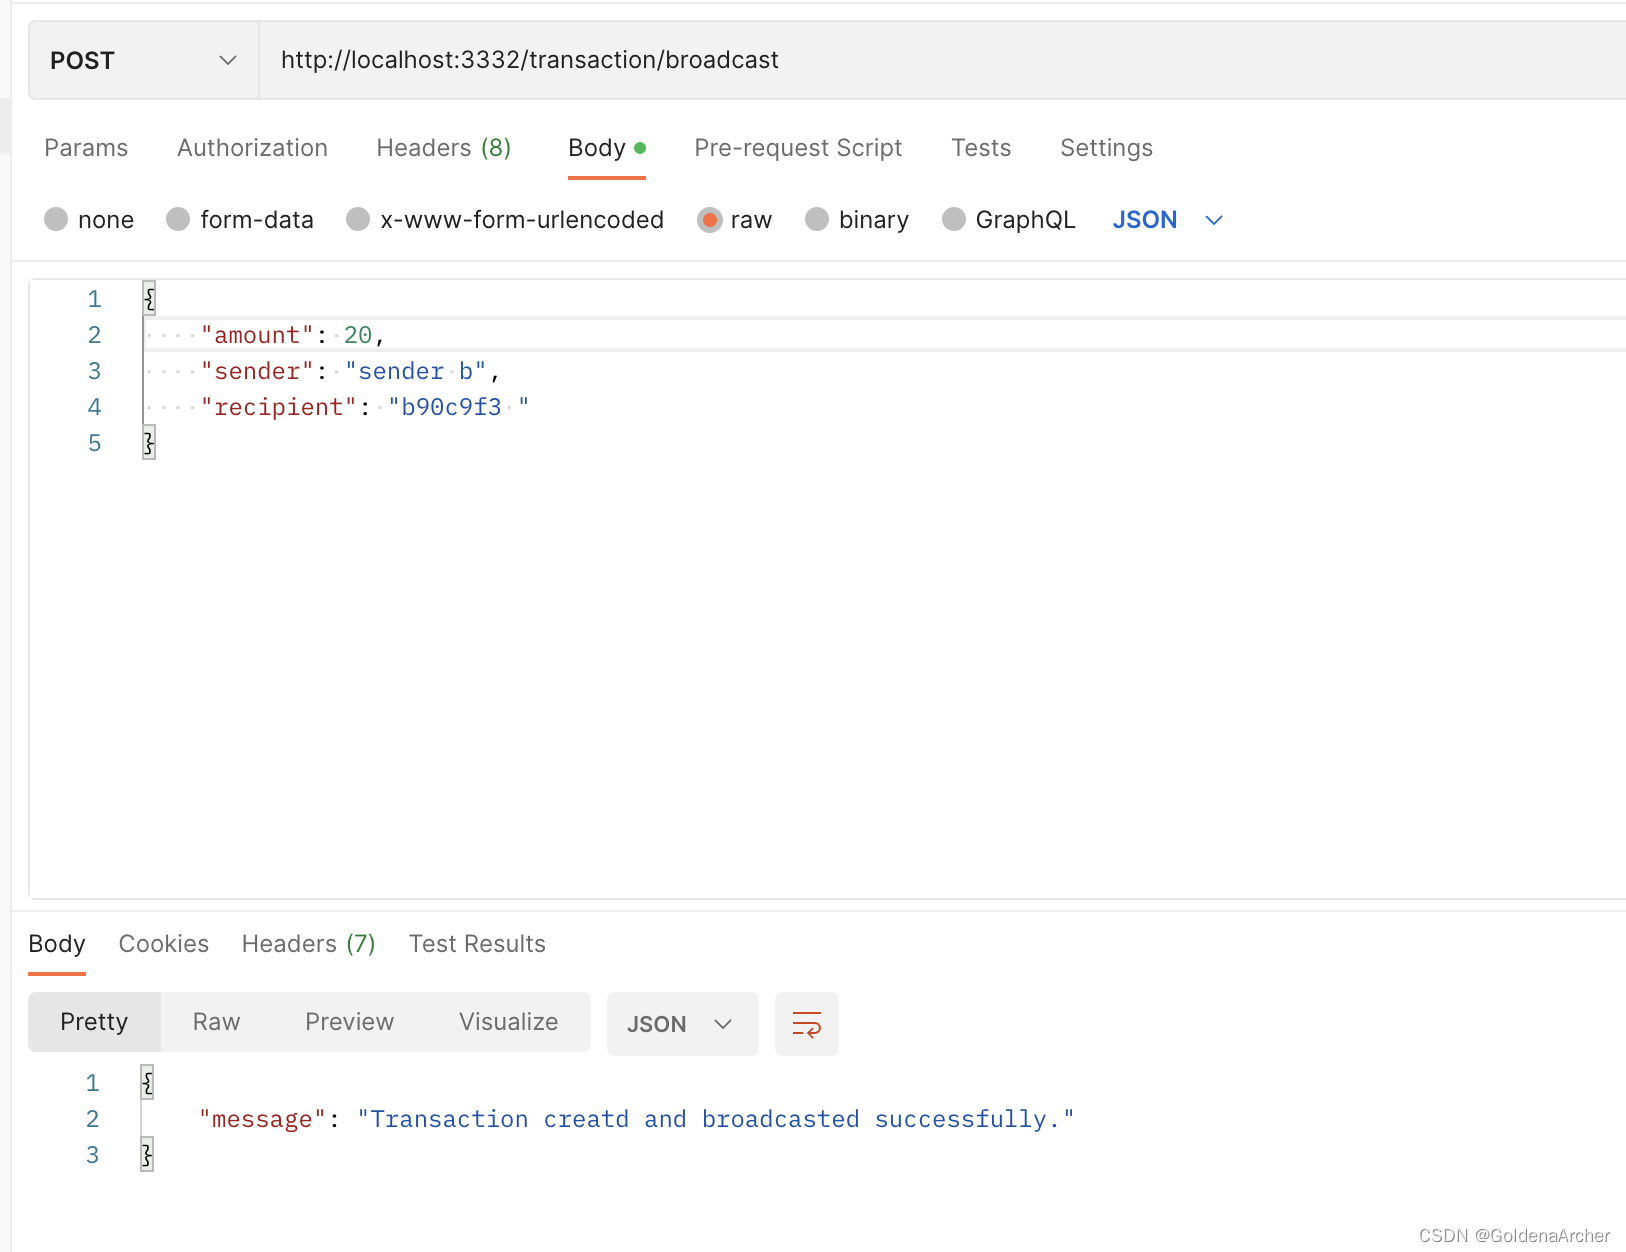
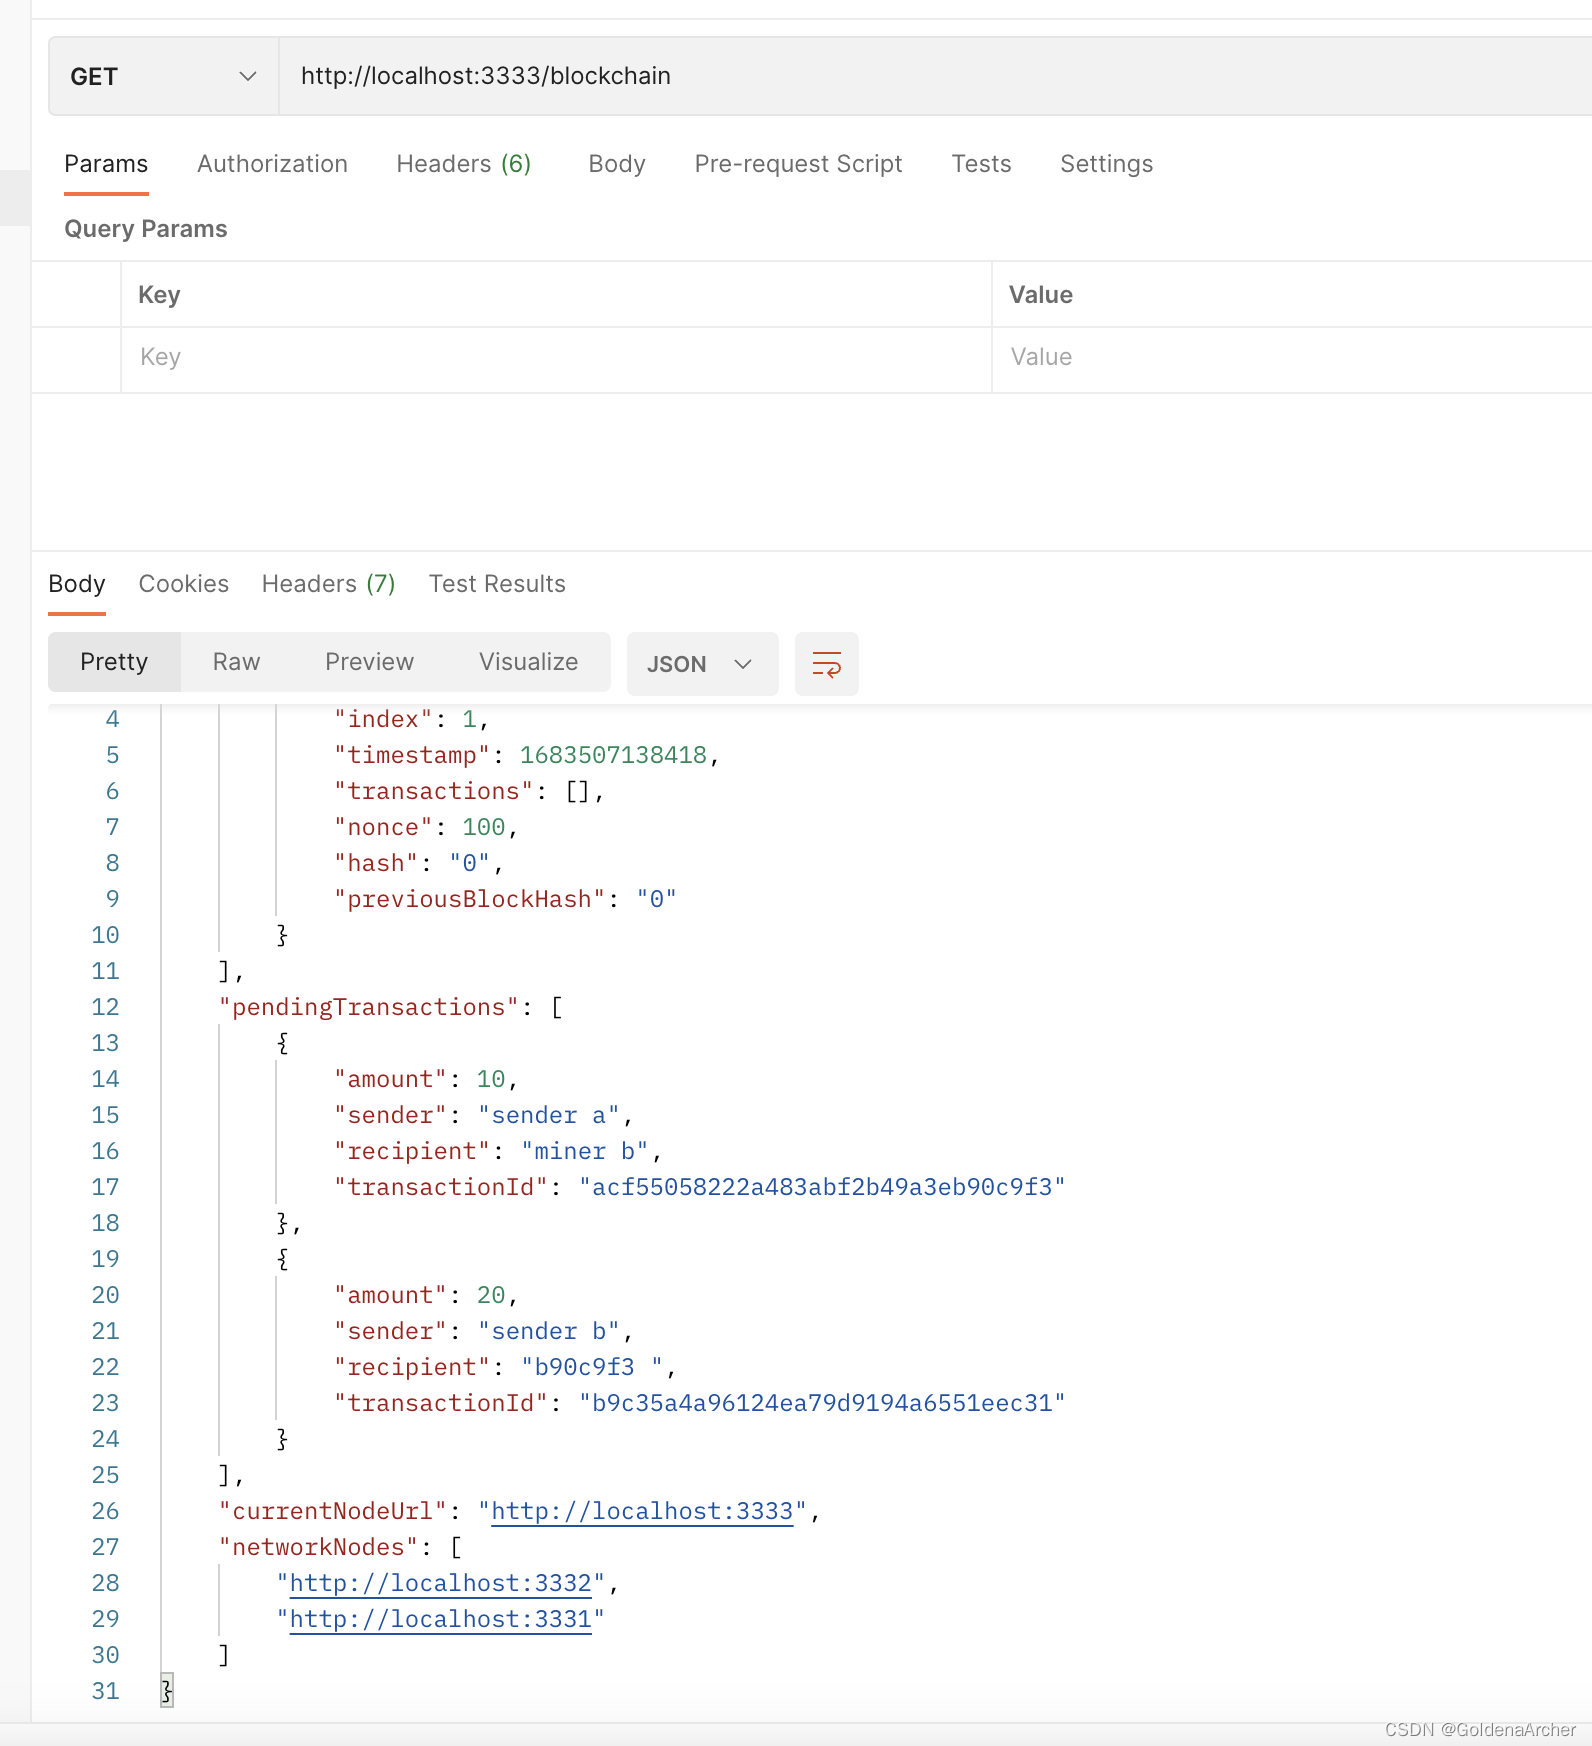
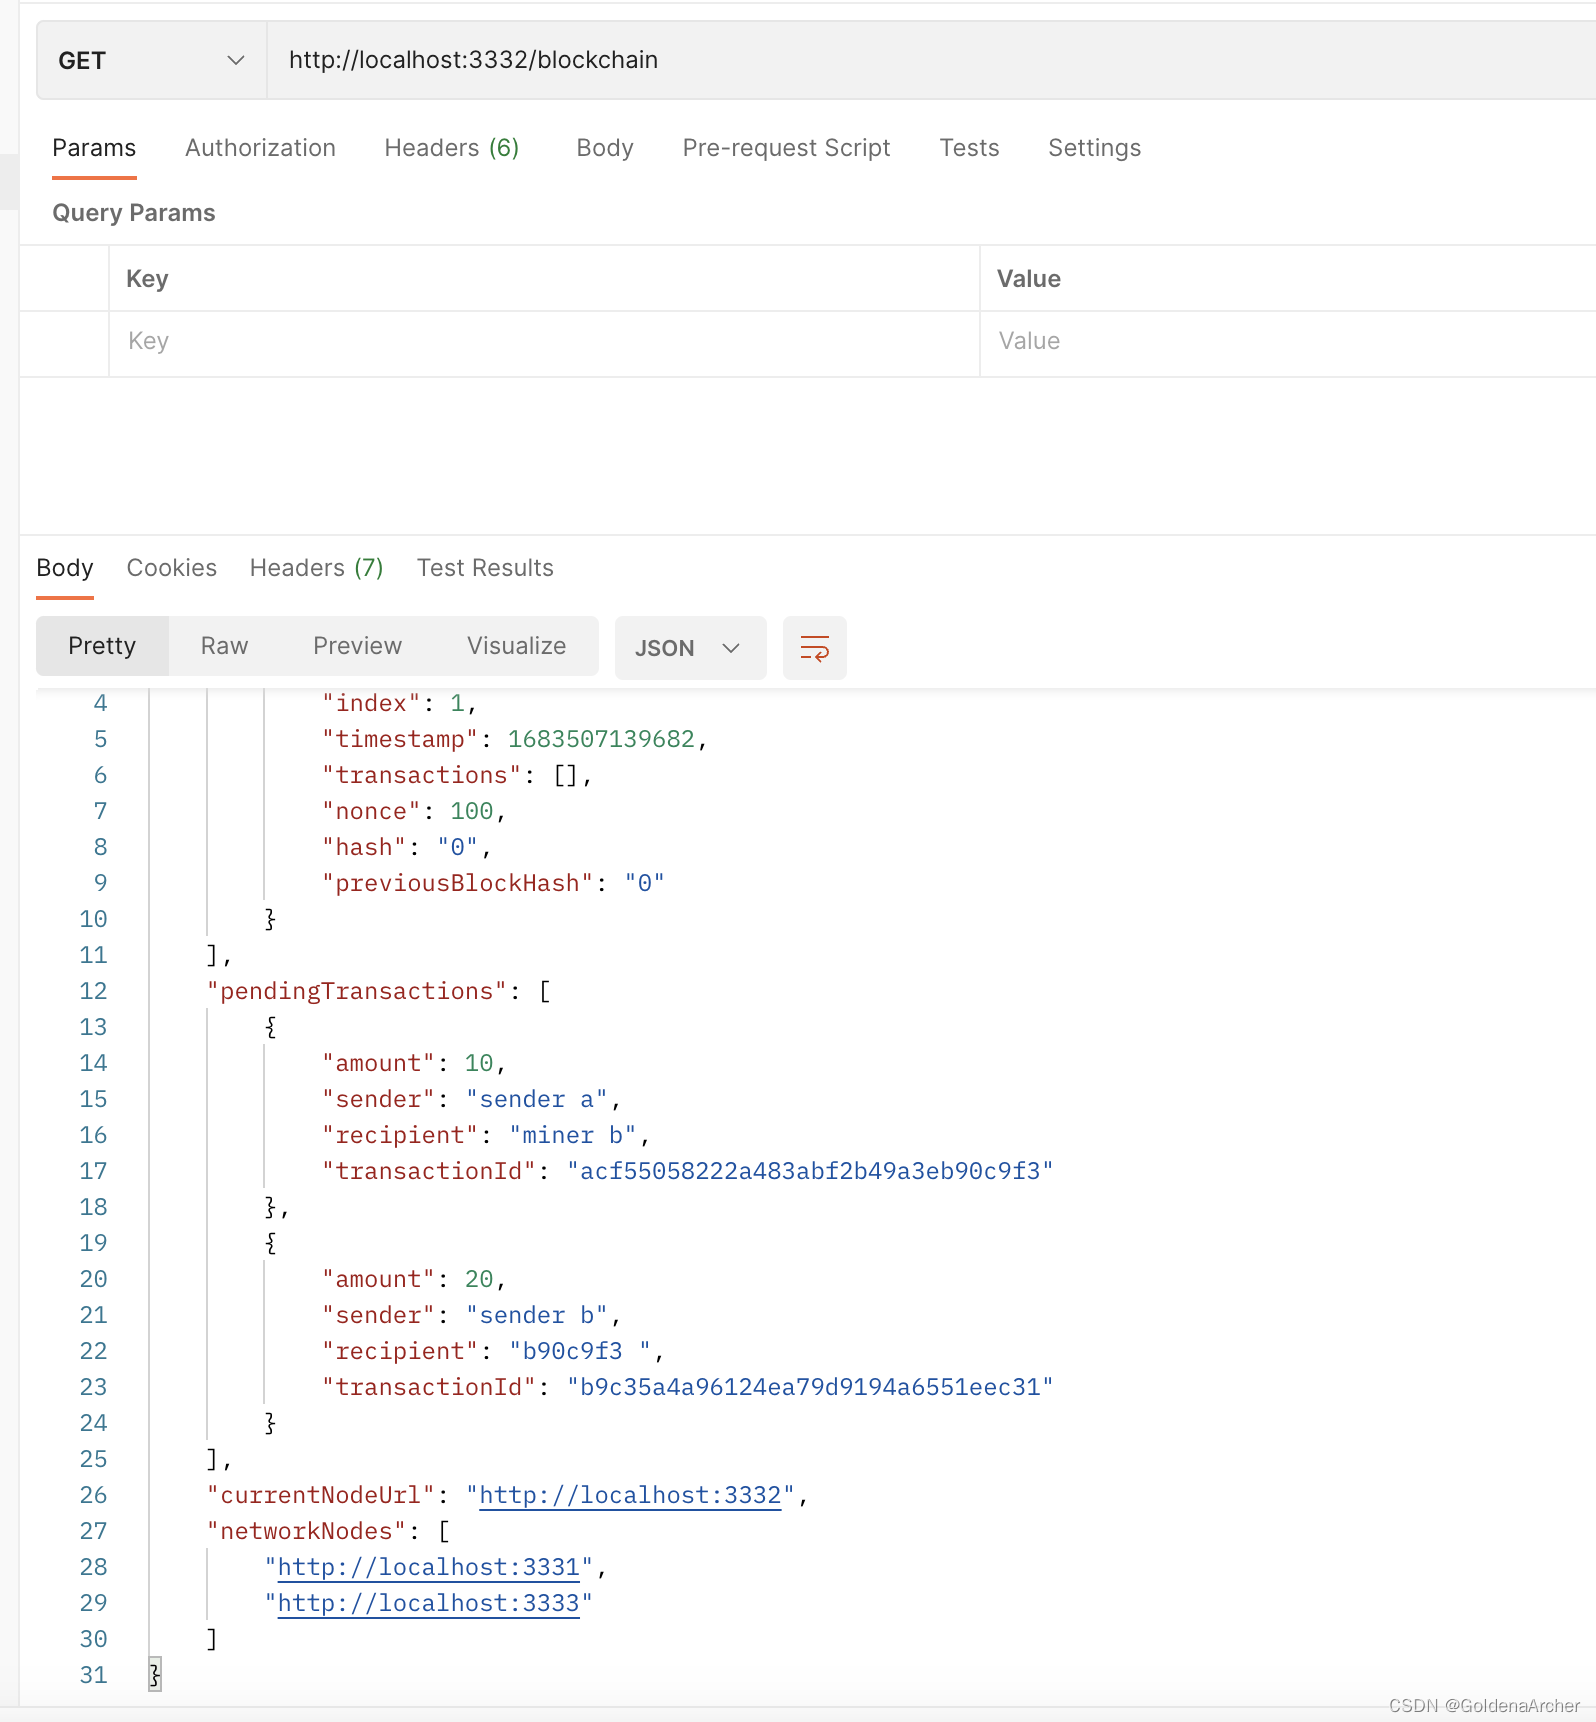
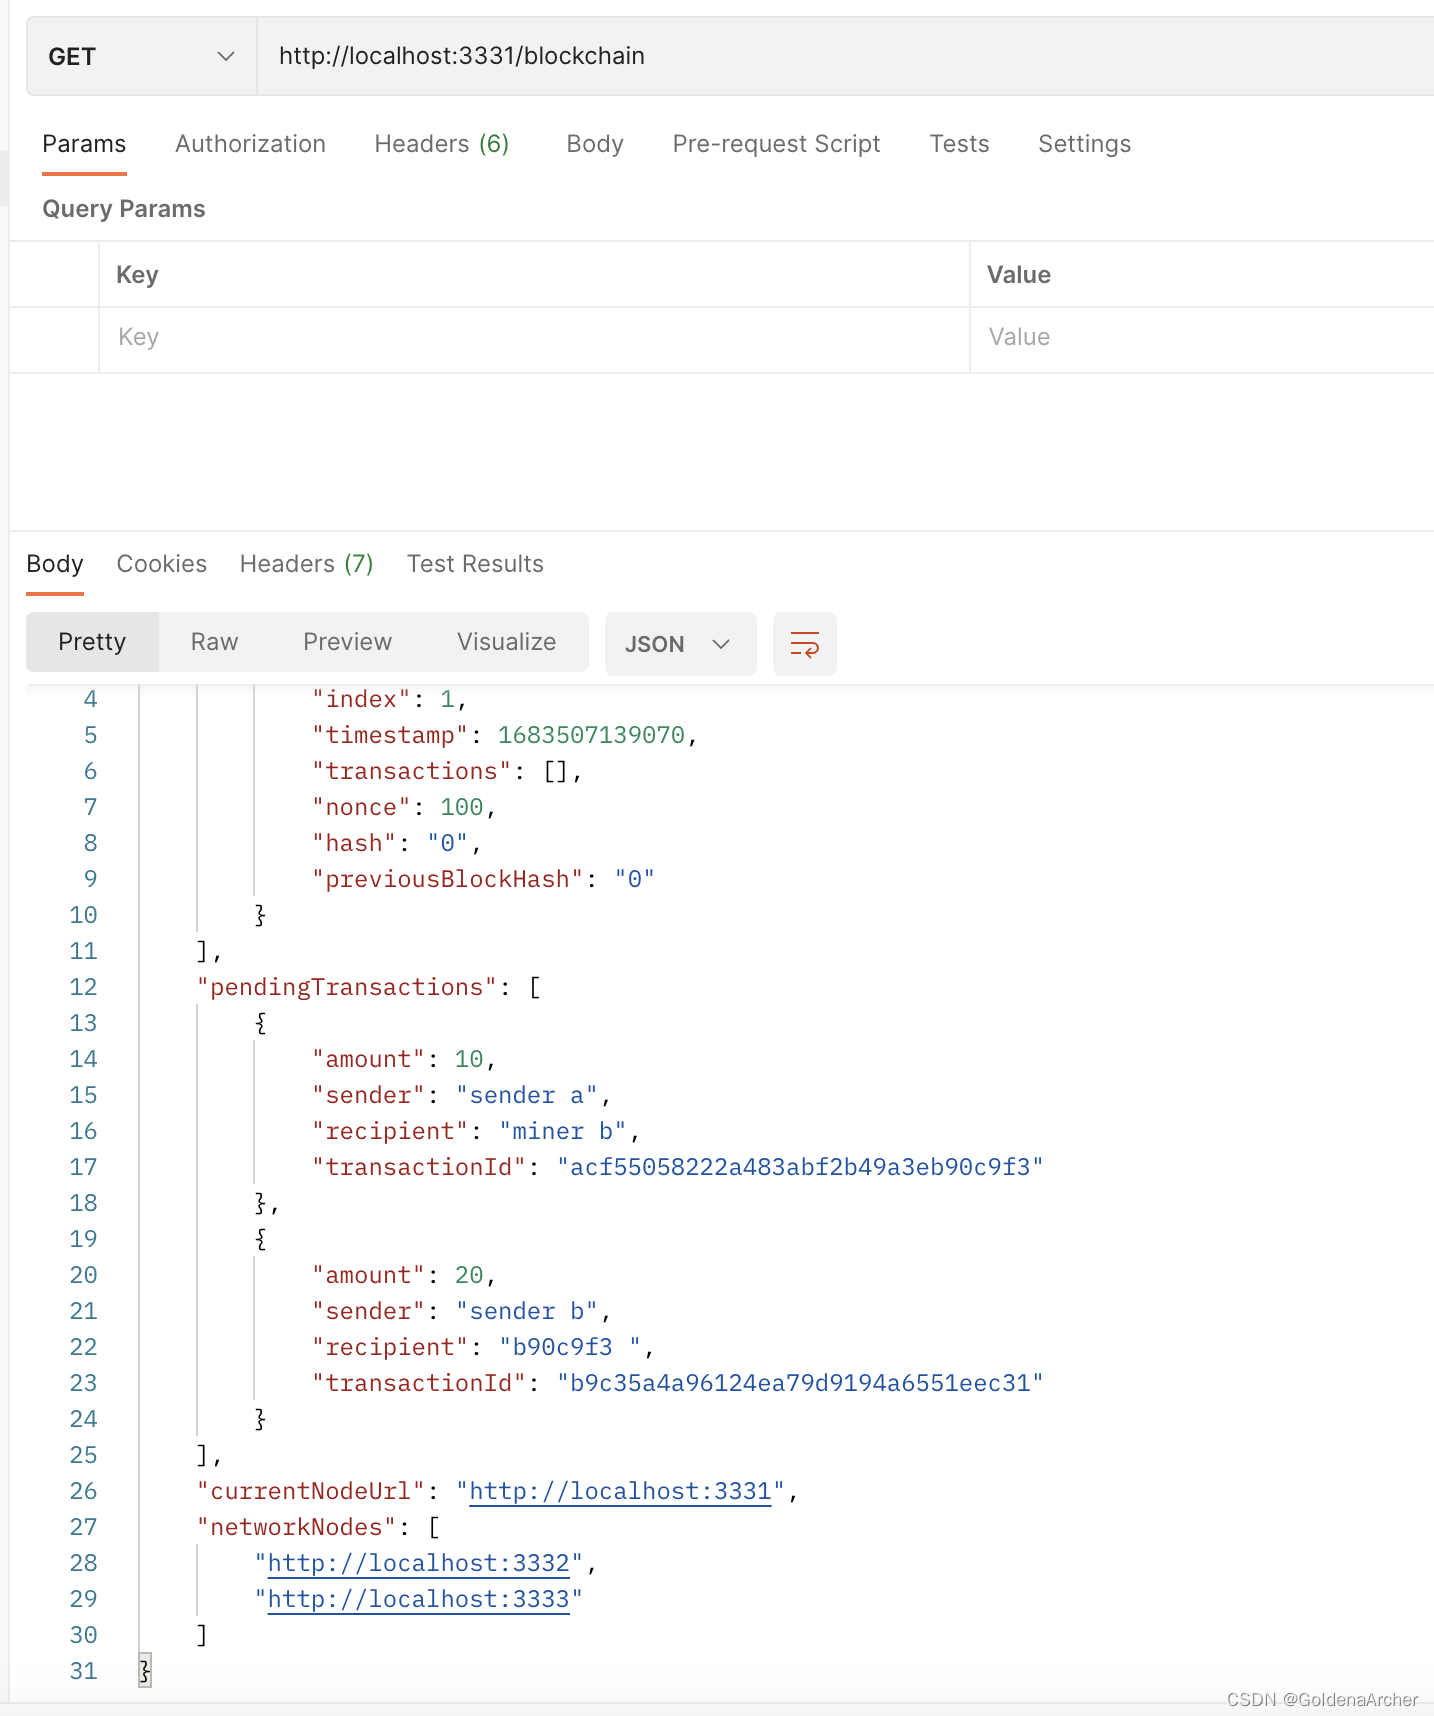
可以发现 3331、3332、3333 上也都出现了最新的 transaction:
同步 mine
和同步 transaction 的操作差不多,这里也会创建一个新的 block,然后遍历所有的 nodes,将其推到 block 中。
接受新的 block
这里的实现就是从 request 中获取 block 信息,并且做一个简单的验证,如果验证通过得啊,就将当前 block 推到 blockchain 中:
app.post('/recieve-new-block', (req, res) => {
  const newBlock: Block = req.body.newBlock;
  const lastBlock = bitcoin.getLastBlock();
  const correctHash = lastBlock.hash === newBlock.previousBlockHash,
    correctIndex = lastBlock.index === newBlock.index - 1;

  if (correctHash && correctIndex) {
    bitcoin.chain.push(newBlock);
    bitcoin.pendingTransactions = [];
    res.json({ message: 'New block recieved and accepted.', newBlock });
  } else {
    res.json({ message: 'New block rejected.', newBlock });
  }
});
修改 mine
mine 这部分主要时添加了一个遍历调用上面创建的 endpoint 的部分,以及现在奖励矿工的部分放到了 pending transaction 中,而不是直接添加到当前 block 里:
app.get('/mine', (req, res) => {
  const lastBlock = bitcoin.getLastBlock();
  const prevBlockHash = lastBlock.hash;
  const currBlockData = {
    transactions: bitcoin.pendingTransactions,
    index: lastBlock.index + 1,
  };
  const nonce = bitcoin.proofOfWork(prevBlockHash, currBlockData);
  const blockHash = bitcoin.hashBlock(prevBlockHash, currBlockData, nonce);

  bitcoin.createNewTransaction(12.5, '00', nodeAddress);

  const newBlock = bitcoin.createNewBlock(nonce, prevBlockHash, blockHash);

  const reqPromises = bitcoin.networkNodes.map((networkNodeUrl) => {
    const reqOptions = {
      uri: networkNodeUrl + '/recieve-new-block',
      method: 'POST',
      body: { newBlock },
      json: true,
    };

    return rp(reqOptions);
  });

  Promise.all(reqPromises)
    .then(() => {
      const reqOptions = {
        uri: bitcoin.currentNodeUrl + '/transaction/broadcast',
        method: 'POST',
        body: { amount: 12.5, sender: '00', recipient: nodeAddress },
        json: true,
      };

      return rp(reqOptions);
    })
    .then(() => {
      res.json({ message: 'New block mined successfully', block: newBlock });
    });
});
测试 mine
这里依旧用 3331 去挖一个新的 block:
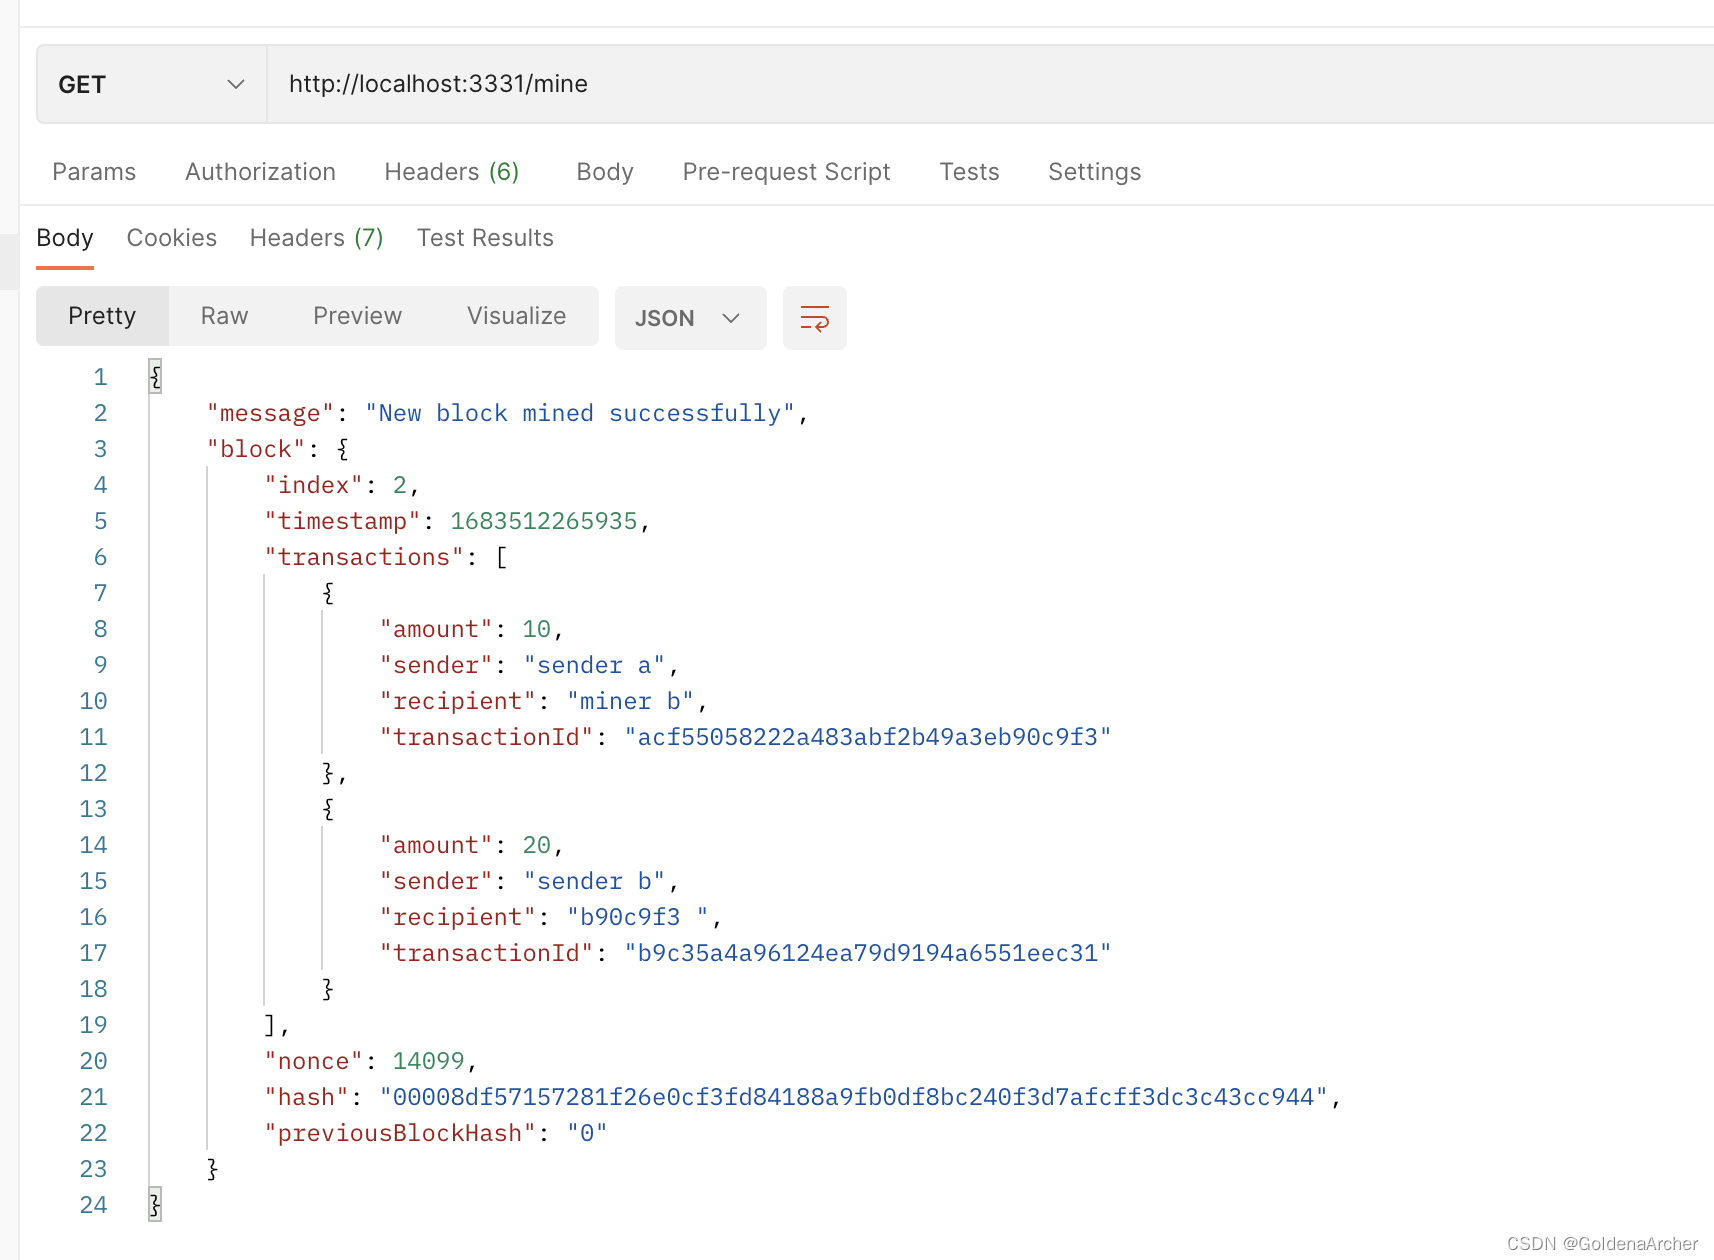
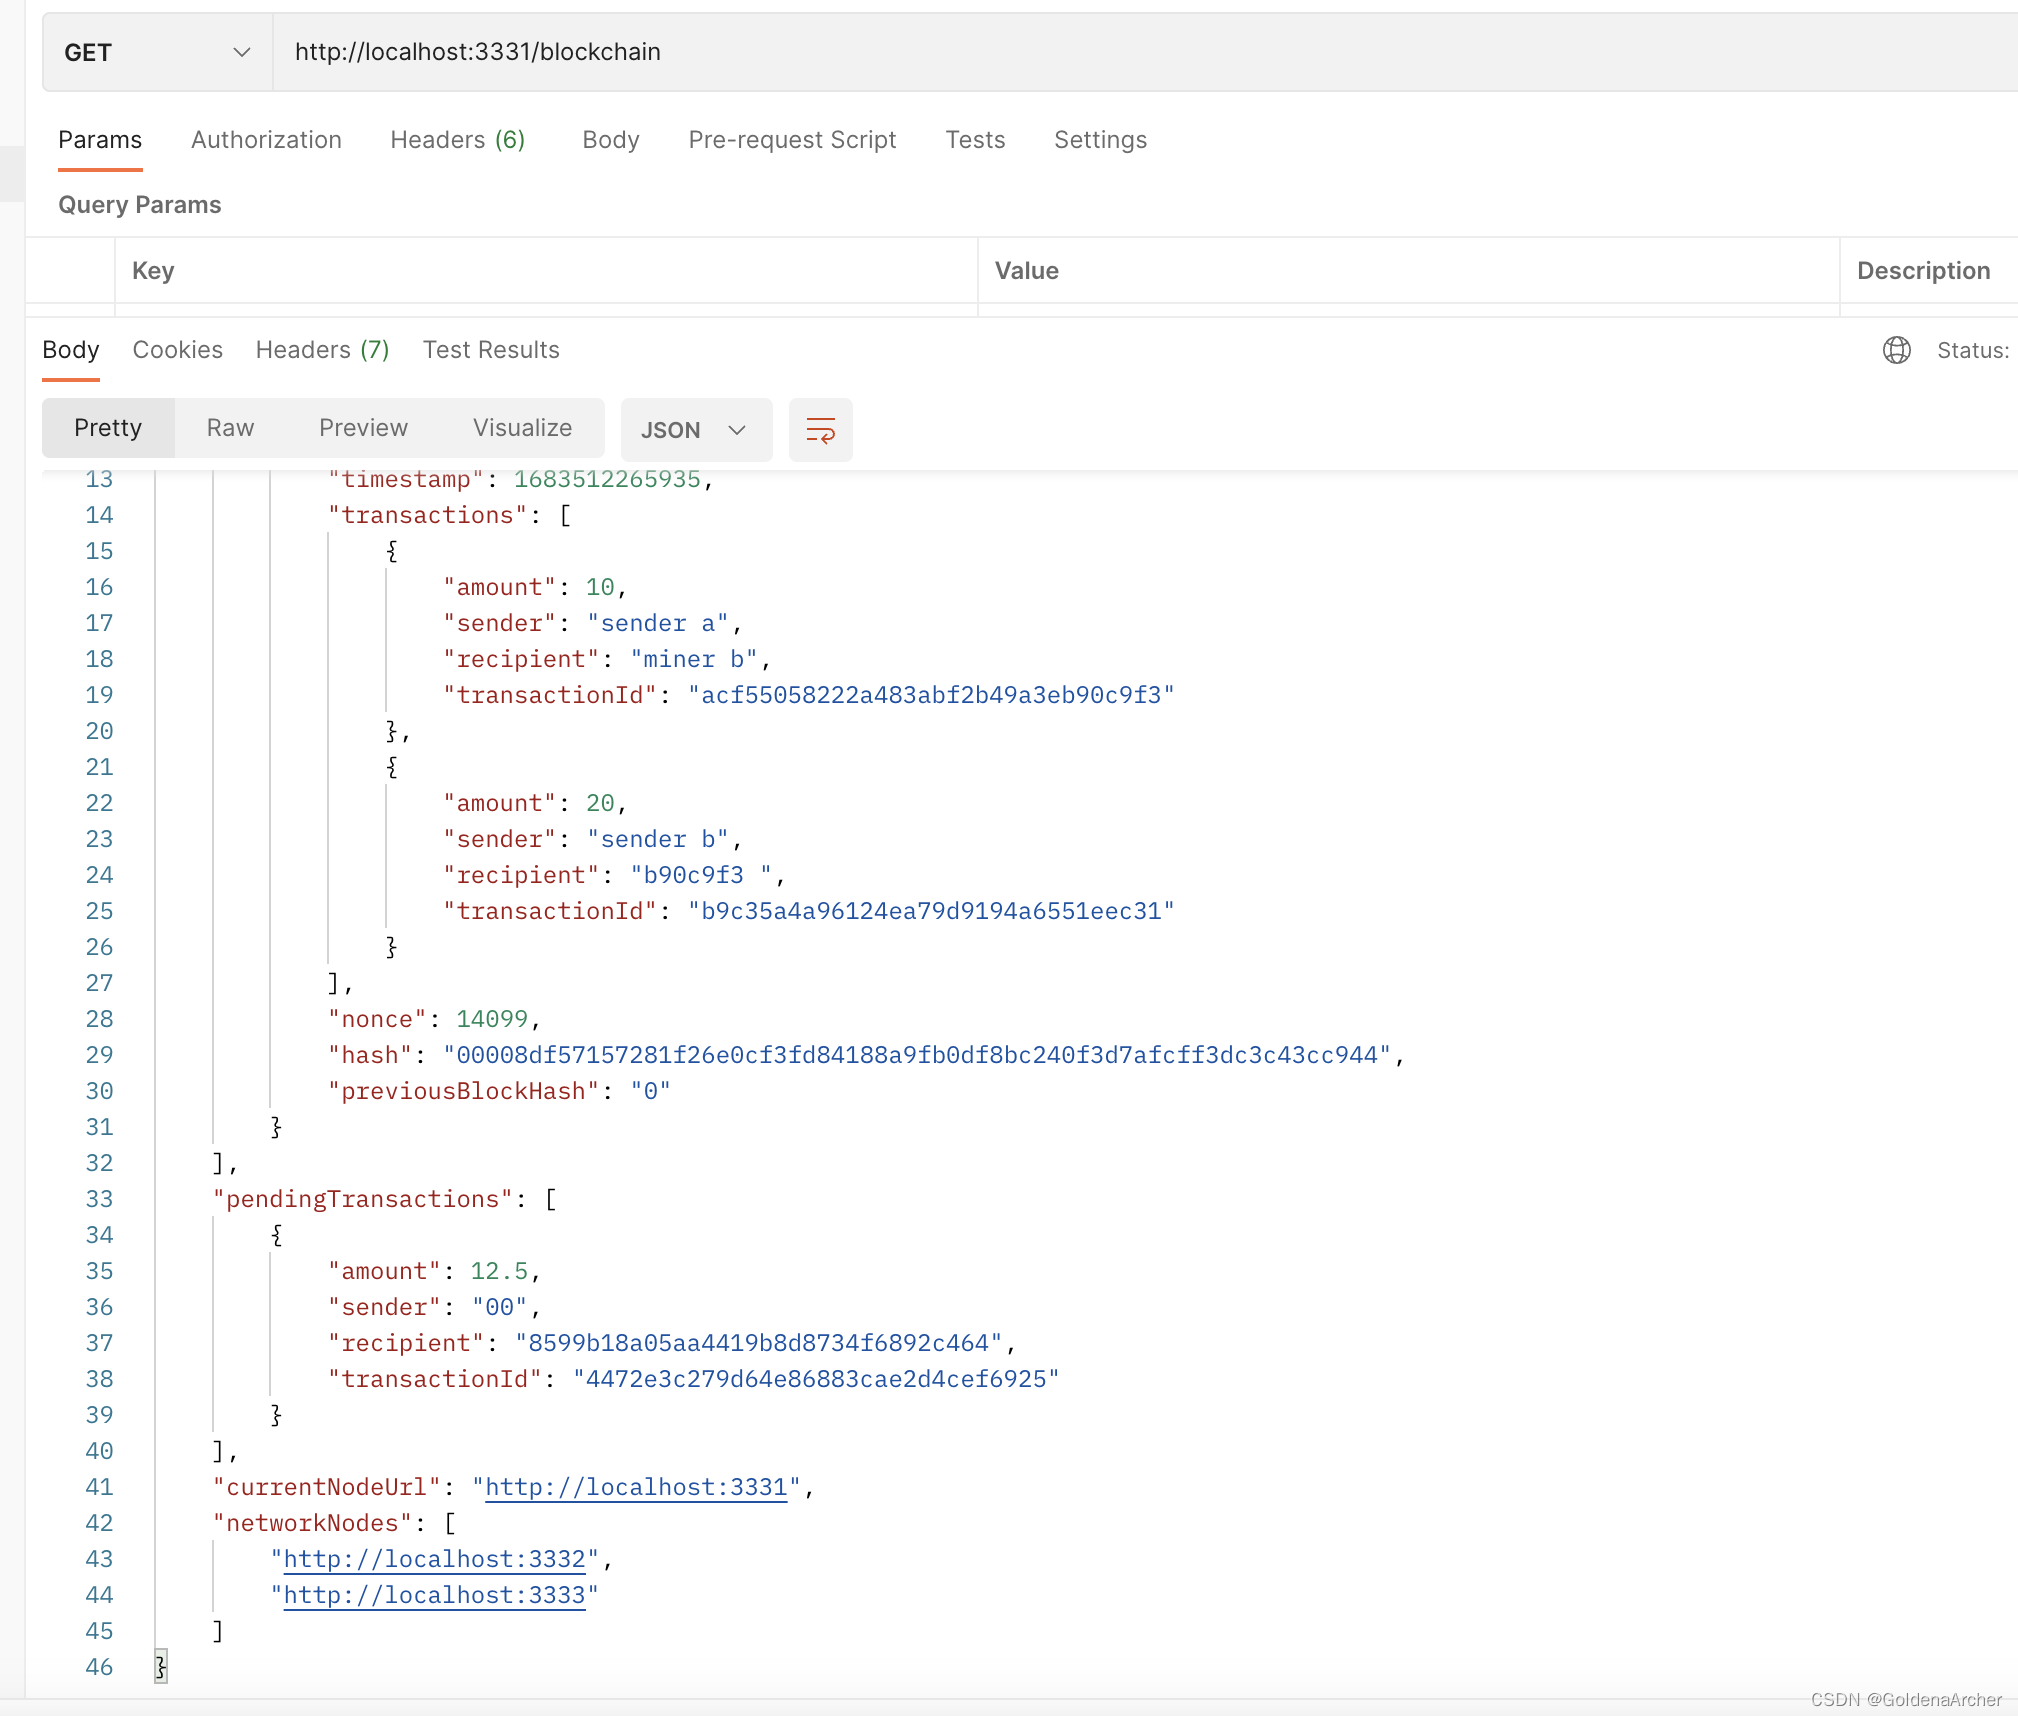
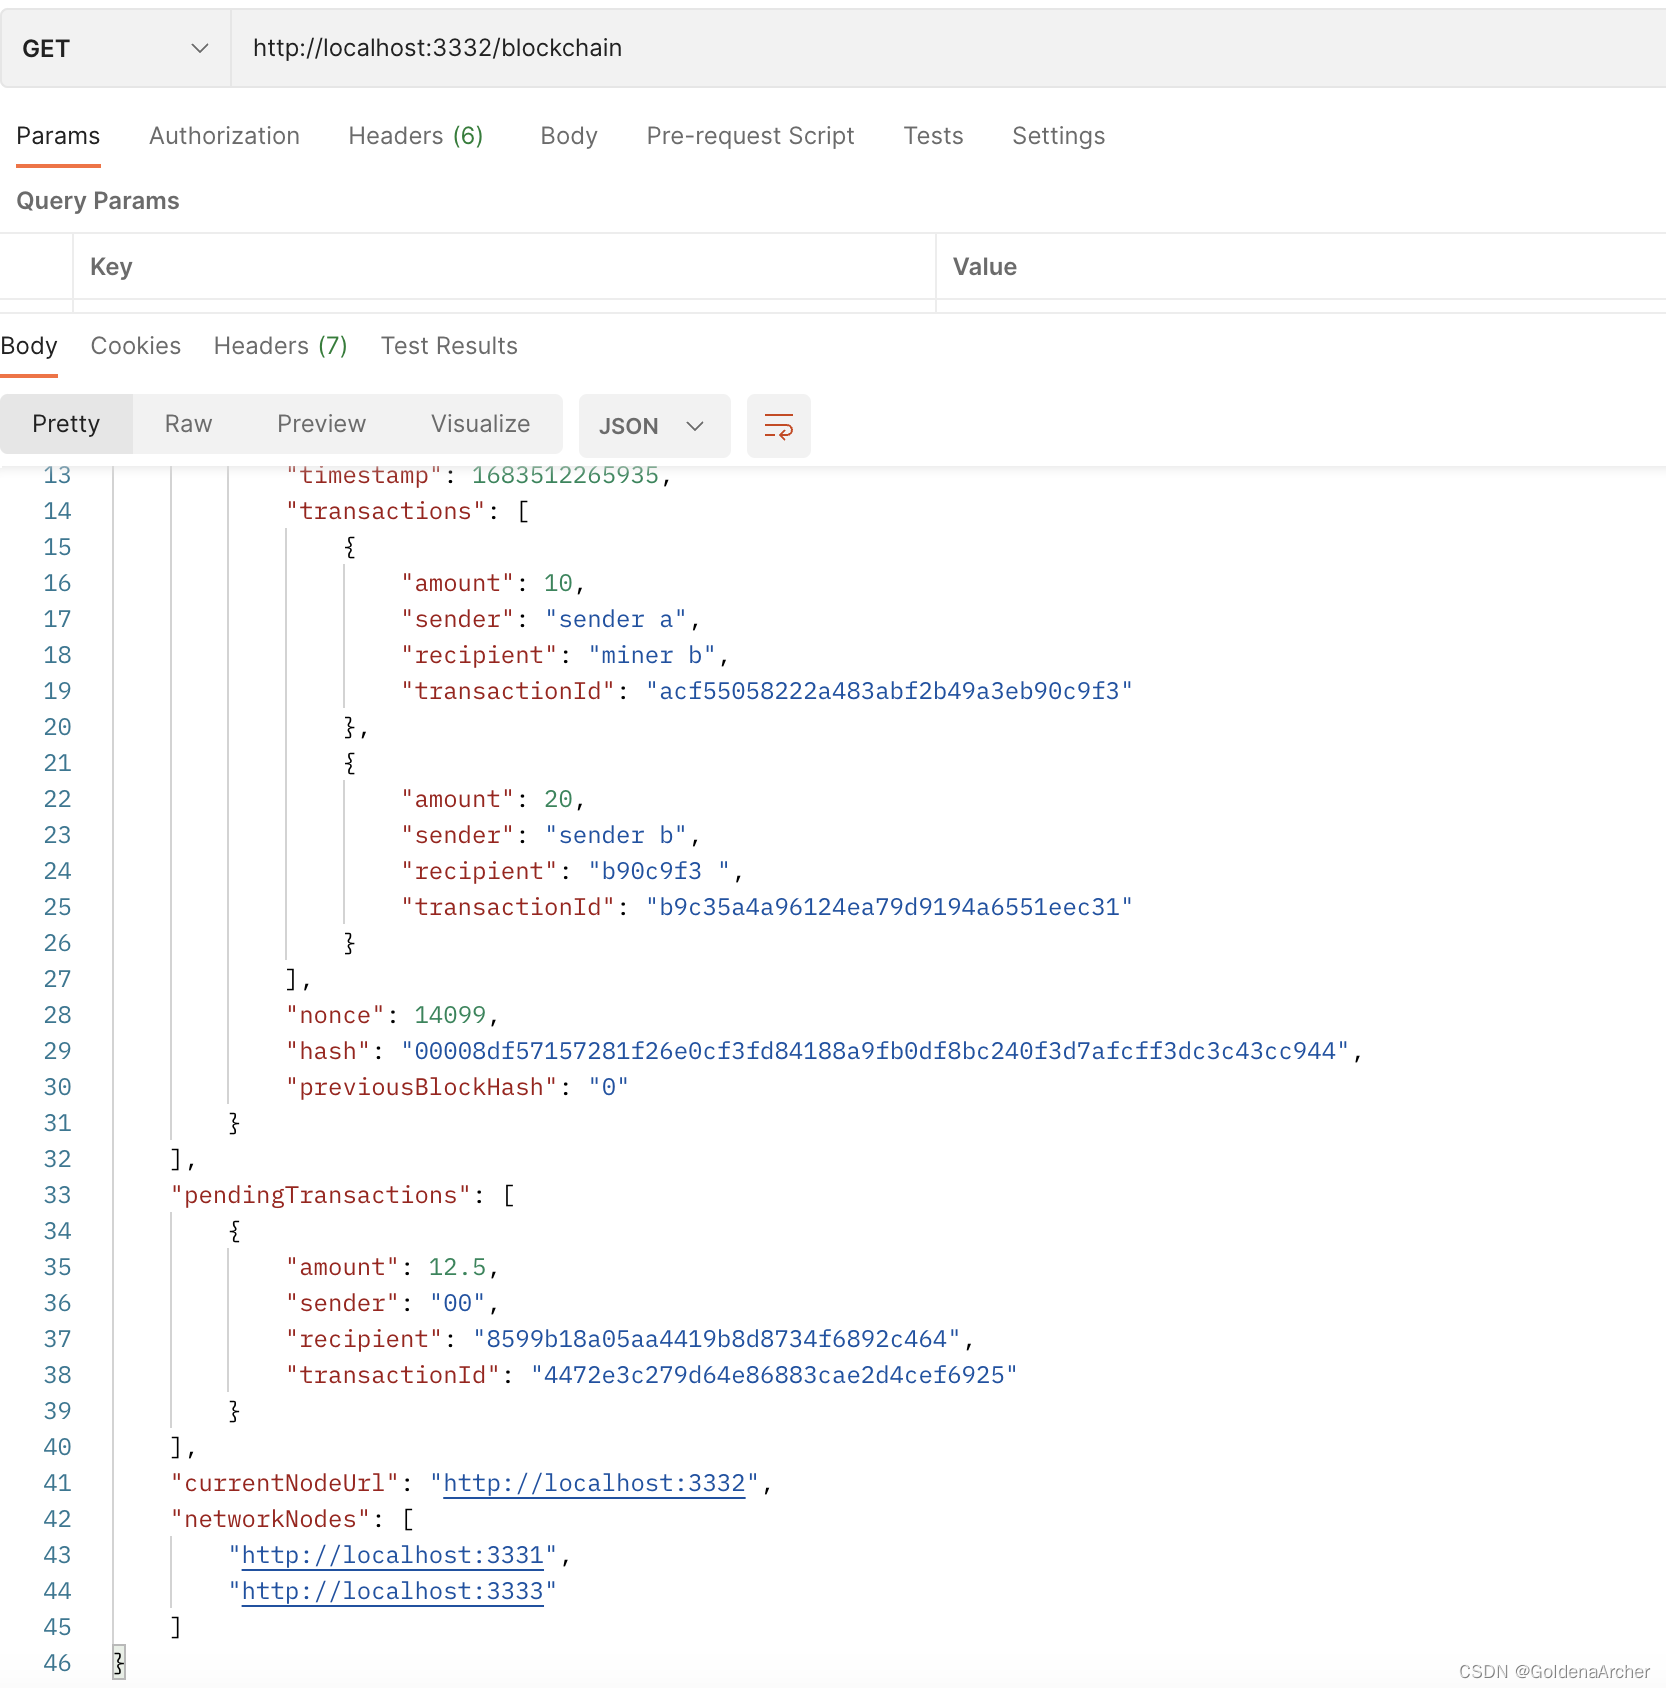
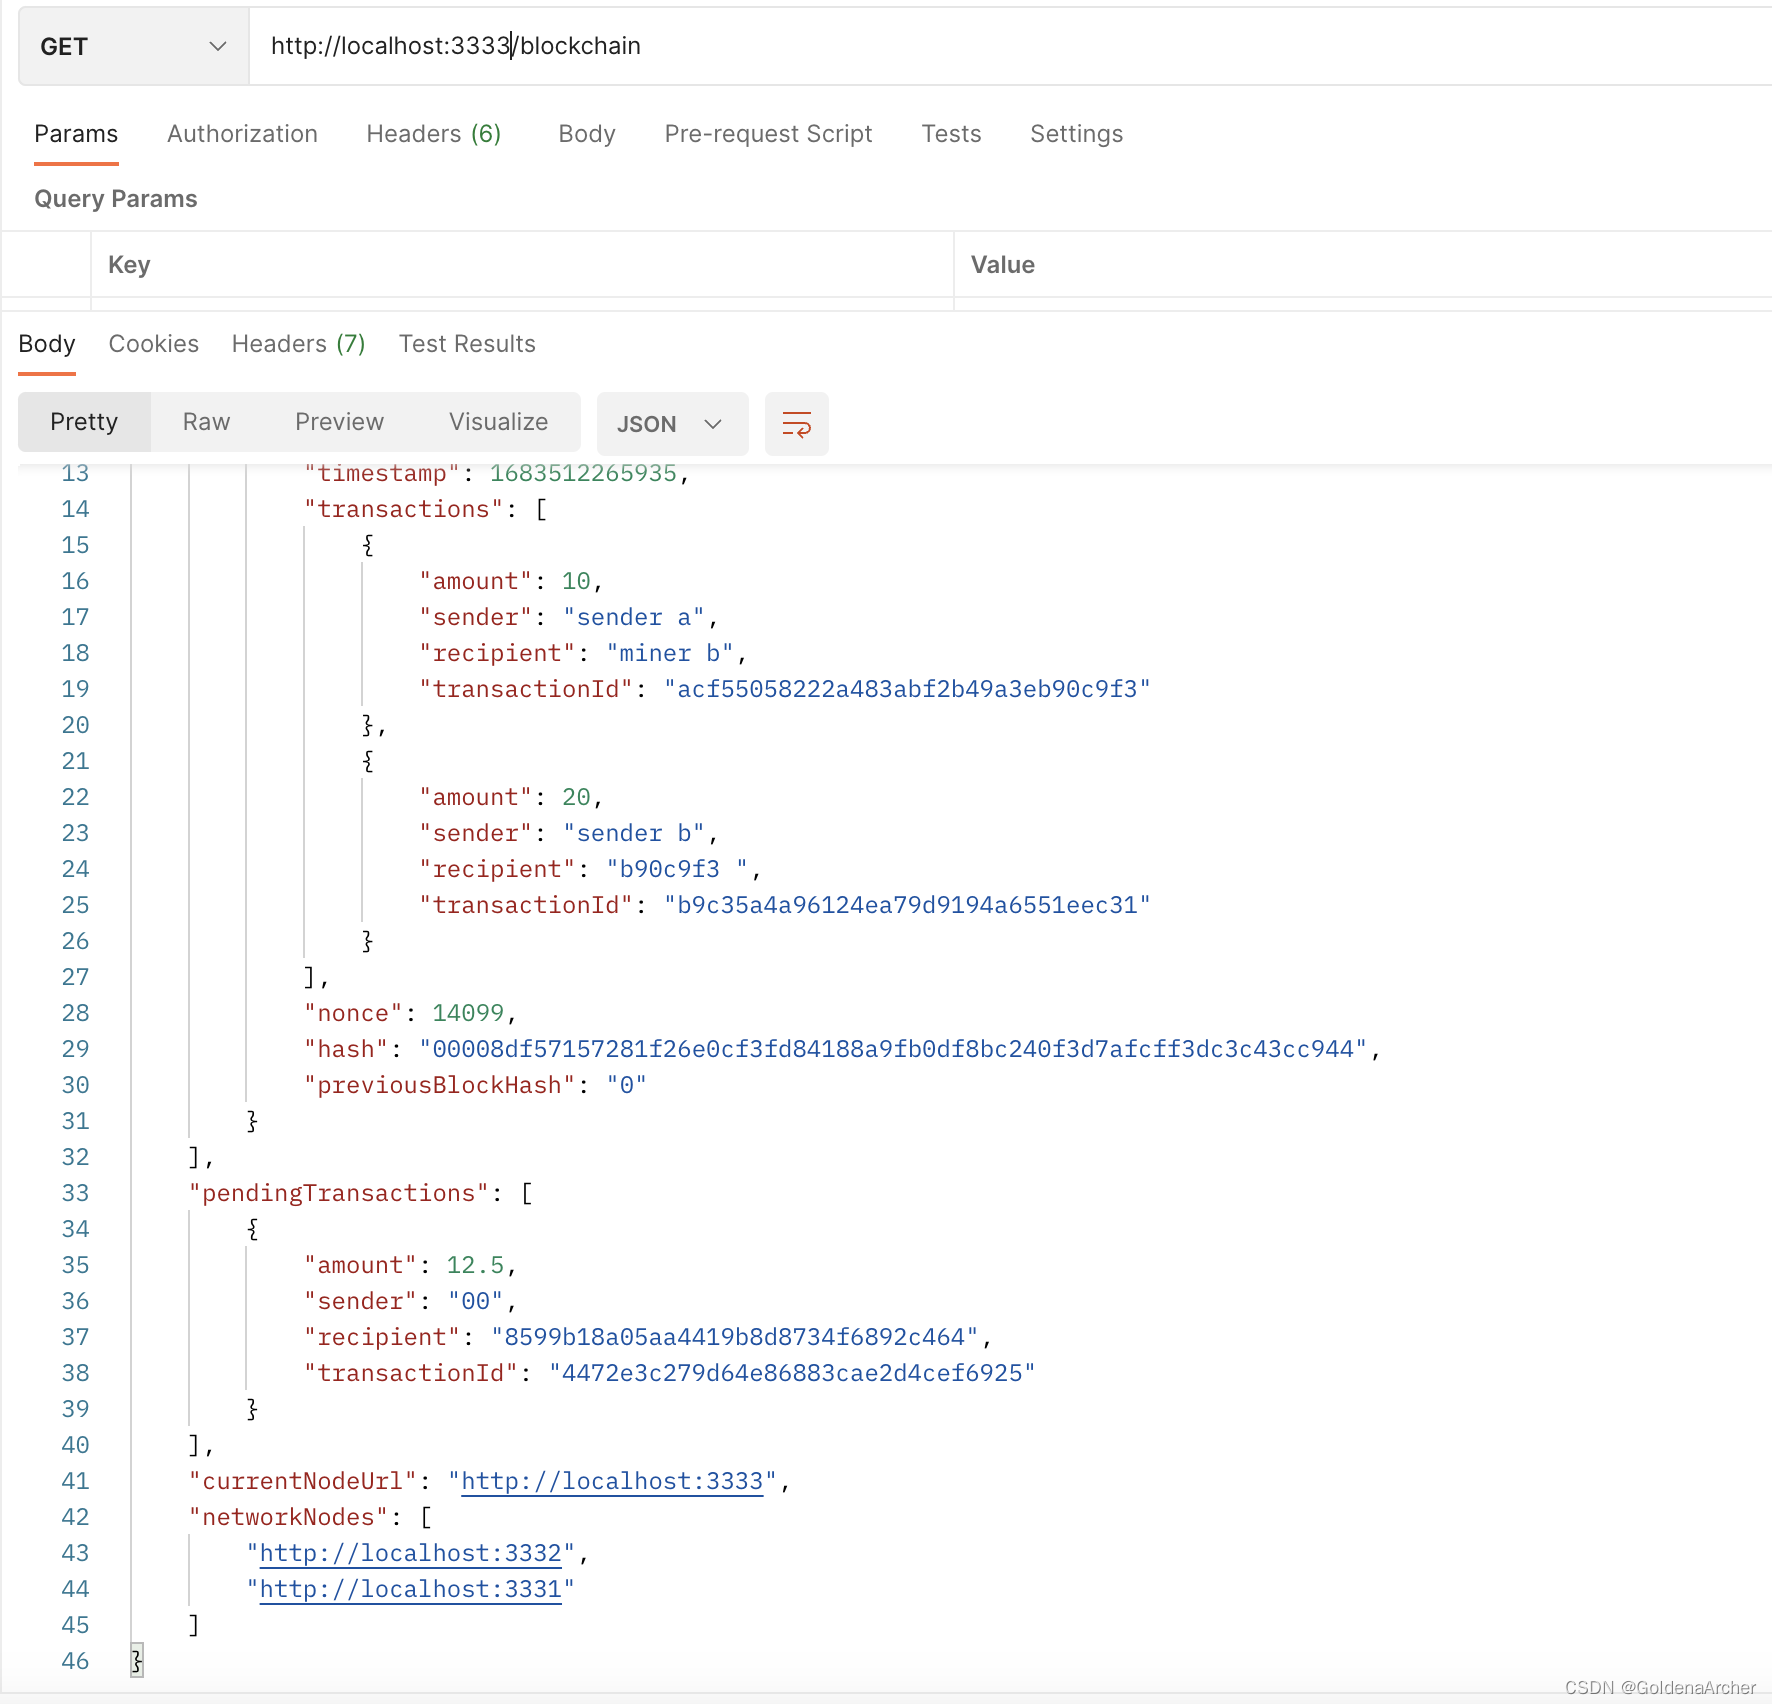
随后查看 3331、3332 和 3333 是否都同步了:
共识 consensus
consensus 是每个 node 都需要承认当前的 transaction/block 是 valid 的过程,简单的说就是认证。
新增验证功能
新增到 blockchain 中的函数如下:
validateChain = (blockchain: Block[]): boolean => {
  for (let i = 1; i < blockchain.length; i++) {
    const currBlock = blockchain[i],
      prevBlock = blockchain[i - 1];

    if (currBlock.previousBlockHash !== prevBlock.hash) return false;

    const blockHash = this.hashBlock(
      prevBlock.hash,
      {
        transactions: currBlock.transactions,
        index: currBlock.index,
      },
      currBlock.nonce
    );

    if (blockHash.substring(0, 4) !== '0000') return false;
  }

  const genesisBlock = blockchain[0];
  const { nonce, hash, previousBlockHash, transactions } = genesisBlock;

  return (
    nonce === 100 &&
    previousBlockHash === '0' &&
    hash === '0' &&
    transactions.length === 0
  );
};
这个函数主要实现了这么几个功能:
-
验证从第 2 个 block 开始,所有存在于 blockchain 中的 block 是否合法
合法的 block 必须要满足:
- 当前 block 中存储的
prevBlockHash需要与上一个 block 存储的 hash 值一致 - 当前 block 重新计算出来的 hash 值是一个合法的 blockchain hash,即前四个数字为
0000
- 当前 block 中存储的
-
验证 genesis block 是否合法
这个部分就基于当前实现 hardcode 了
这个感兴趣的可以自己生成一些数据进行操作修改,这里提供一下我当时用来做测试的简单数据:
const bc1 = {
  chain: [
    {
      index: 1,
      timestamp: 1683430683516,
      transactions: [],
      nonce: 100,
      hash: '0',
      previousBlockHash: '0',
    },
    {
      index: 2,
      timestamp: 1683430713676,
      transactions: [
        {
          amount: 10,
          sender: 'sender a',
          recipient: 'miner a',
          transactionId: 'b60d9820fa5b41678a2ddd7e362ce677',
        },
      ],
      nonce: 57094,
      hash: '00008d14fdea3462ba42d5877404d0e79031b37efe0f836c4ed498521fbe6718',
      previousBlockHash: '0',
    },
    {
      index: 3,
      timestamp: 1683430741200,
      transactions: [
        {
          amount: 12.5,
          sender: '00',
          recipient: '0a574140dc034e0aa95d2f94202be1c9',
          transactionId: 'a950c175607545f393b2818c7dc8783e',
        },
        {
          amount: 10,
          sender: 'sender b',
          recipient: 'miner b',
          transactionId: '153b8d642e974c7a8141582f432b1333',
        },
      ],
      nonce: 23143,
      hash: '0000508c0ecea10829d6c757aa8d29d6198561cac666496add65dffbcdc9899d',
      previousBlockHash:
        '00008d14fdea3462ba42d5877404d0e79031b37efe0f836c4ed498521fbe6718',
    },
  ],
  pendingTransactions: [
    {
      amount: 12.5,
      sender: '00',
      recipient: '0a574140dc034e0aa95d2f94202be1c9',
      transactionId: 'a6da7fea6cba47fa996bdd001f56b11a',
    },
  ],
  currentNodeUrl: 'http://localhost:3331',
  networkNodes: [],
};
创建 consensus endpoint
这里要做的步骤是:
- 获取当前所有 network 上所有 nodes 的 blockchains
- 遍历获取的 blockchains,以最长的那条 blockchain 作为 single source of truth
app.get('/consensus', (req, res) => {
  const reqPromises = bitcoin.networkNodes.map((newtorkNodeUrl) => {
    const reqOptions = {
      uri: newtorkNodeUrl + '/blockchain',
      method: 'GET',
      json: true,
    };

    return rp(reqOptions);
  });

  Promise.all(reqPromises).then((blockchains) => {
    const currChainLen = bitcoin.chain.length;
    let maxChainLen = currChainLen,
      newLongestChain = null,
      newPendingTransactions = null;
    blockchains.forEach((blockchain: Blockchain) => {
      if (blockchain.chain.length > maxChainLen) {
        maxChainLen = blockchain.chain.length;
        newLongestChain = blockchain.chain;
        newPendingTransactions = blockchain.pendingTransactions;
      }
    });

    const isValidateChain = newLongestChain
      ? bitcoin.validateChain(newLongestChain)
      : false;

    if (!newLongestChain || (newLongestChain && !isValidateChain)) {
      res.json({
        message: 'Current chain has not been replaced.',
        chain: bitcoin.chain,
      });

      return;
    }

    if (newLongestChain && isValidateChain) {
      bitcoin.chain = newLongestChain;
      res.json({
        message: 'Current chain has been replaced.',
        chain: bitcoin.chain,
      });
    }
  });
});
测试 consensus 部分:
⚠️:刚开始错误使用了 post 去实现,应该是 get,代码部分改了,postman 测试这里暂时不改了
3331、3332、3333 这三个 nodes 运行 consensus 都不会有任何的区别,因为 3 条 blockchain 都是一致的:
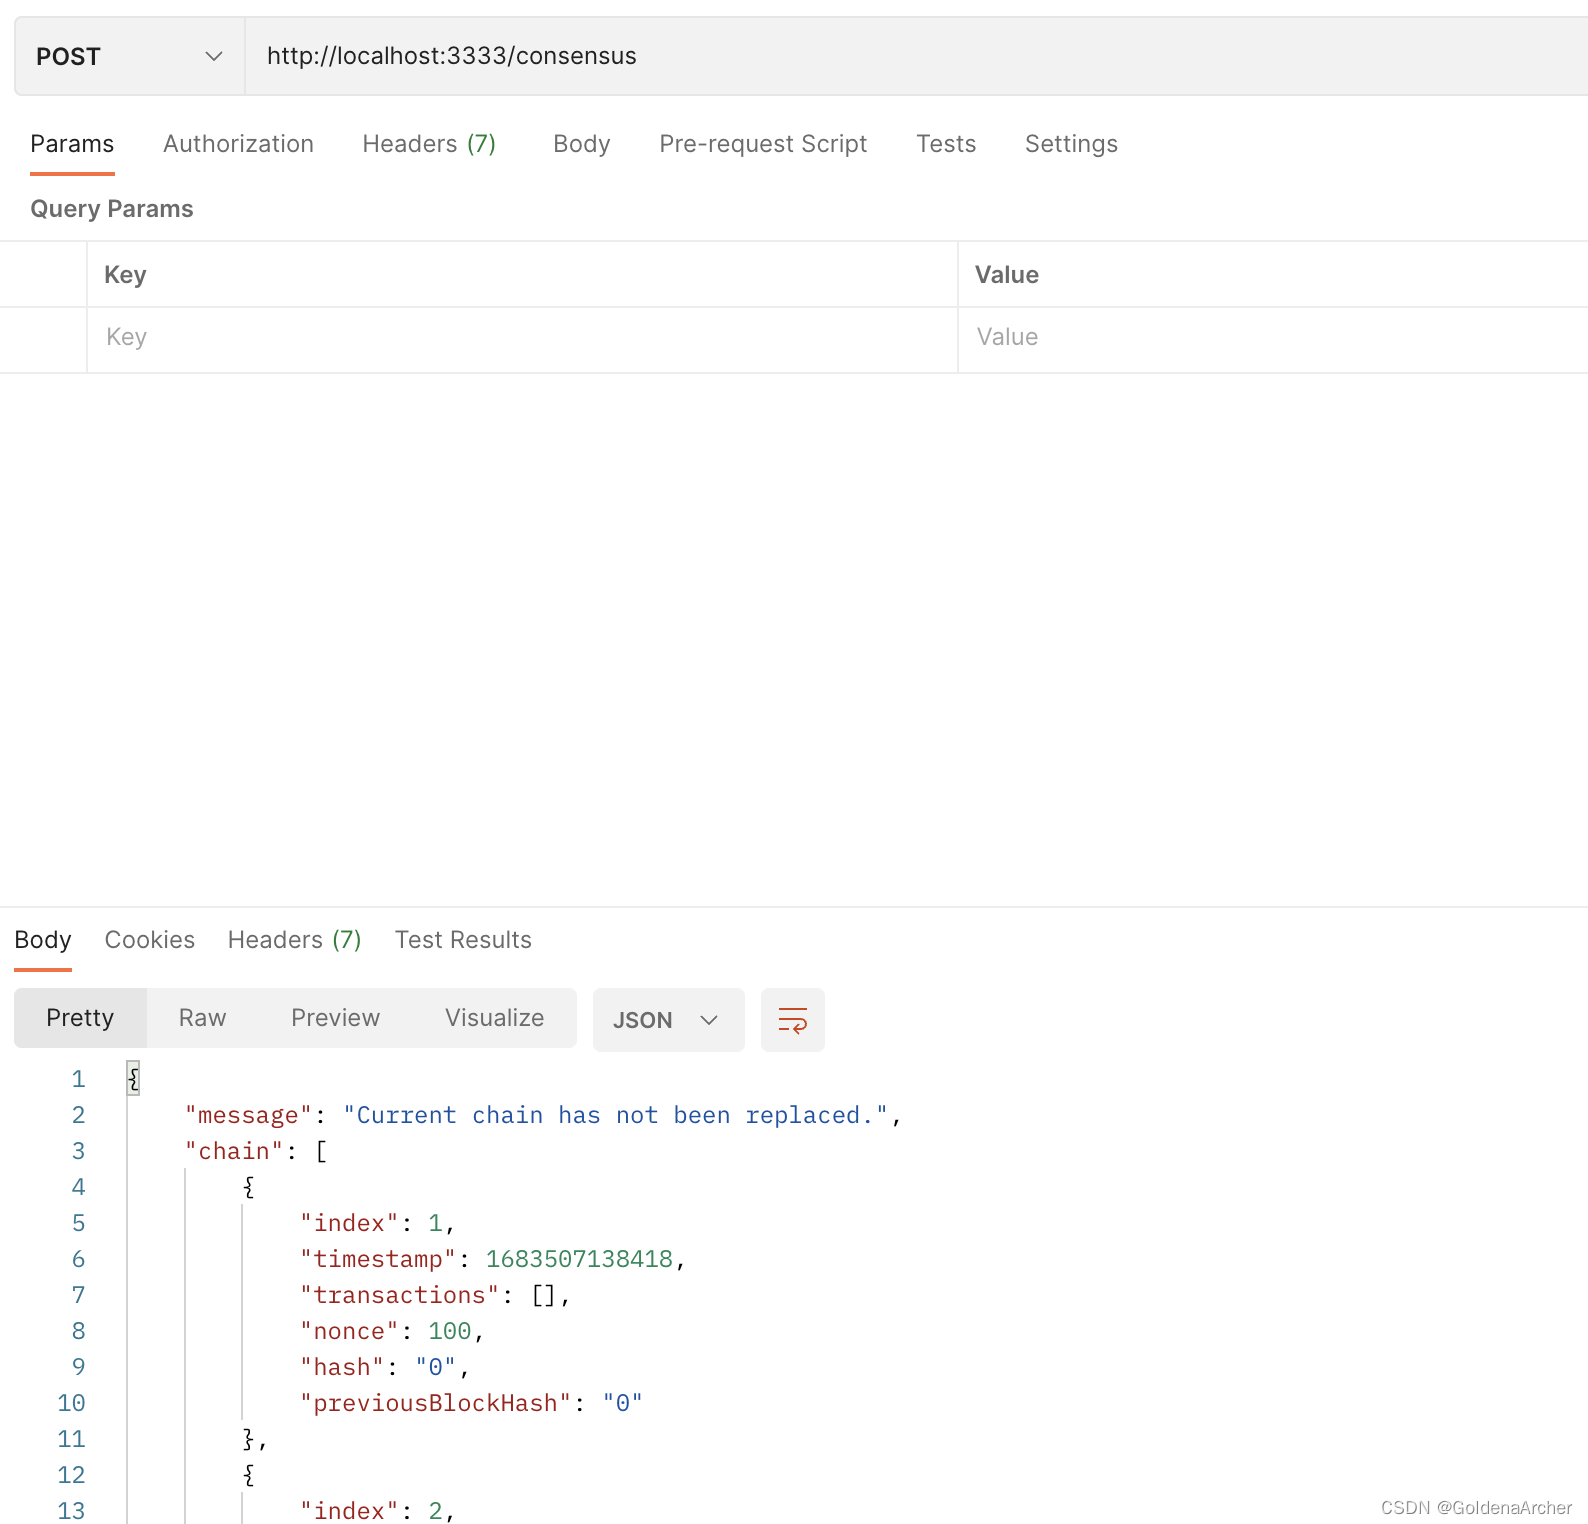
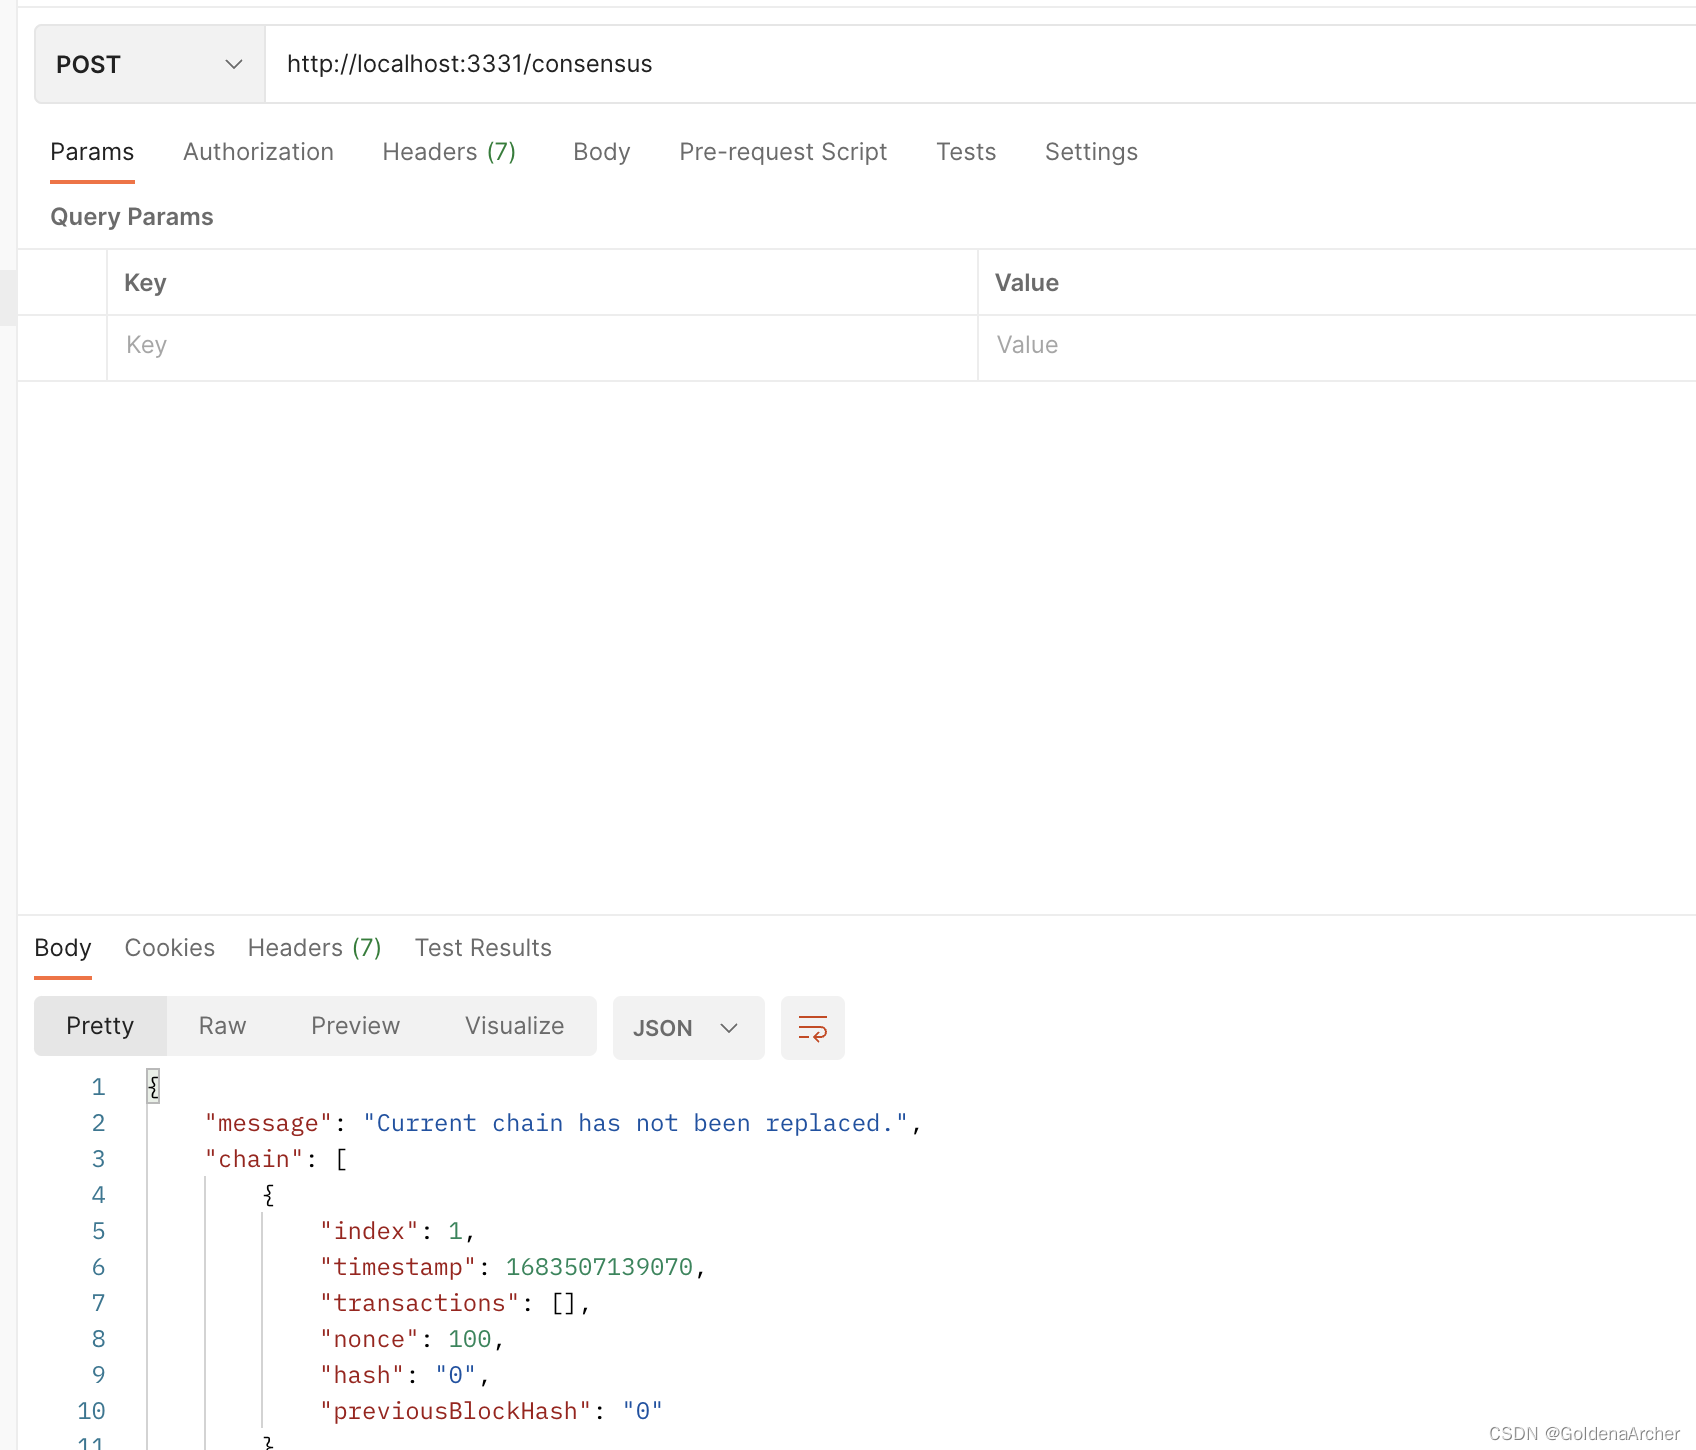
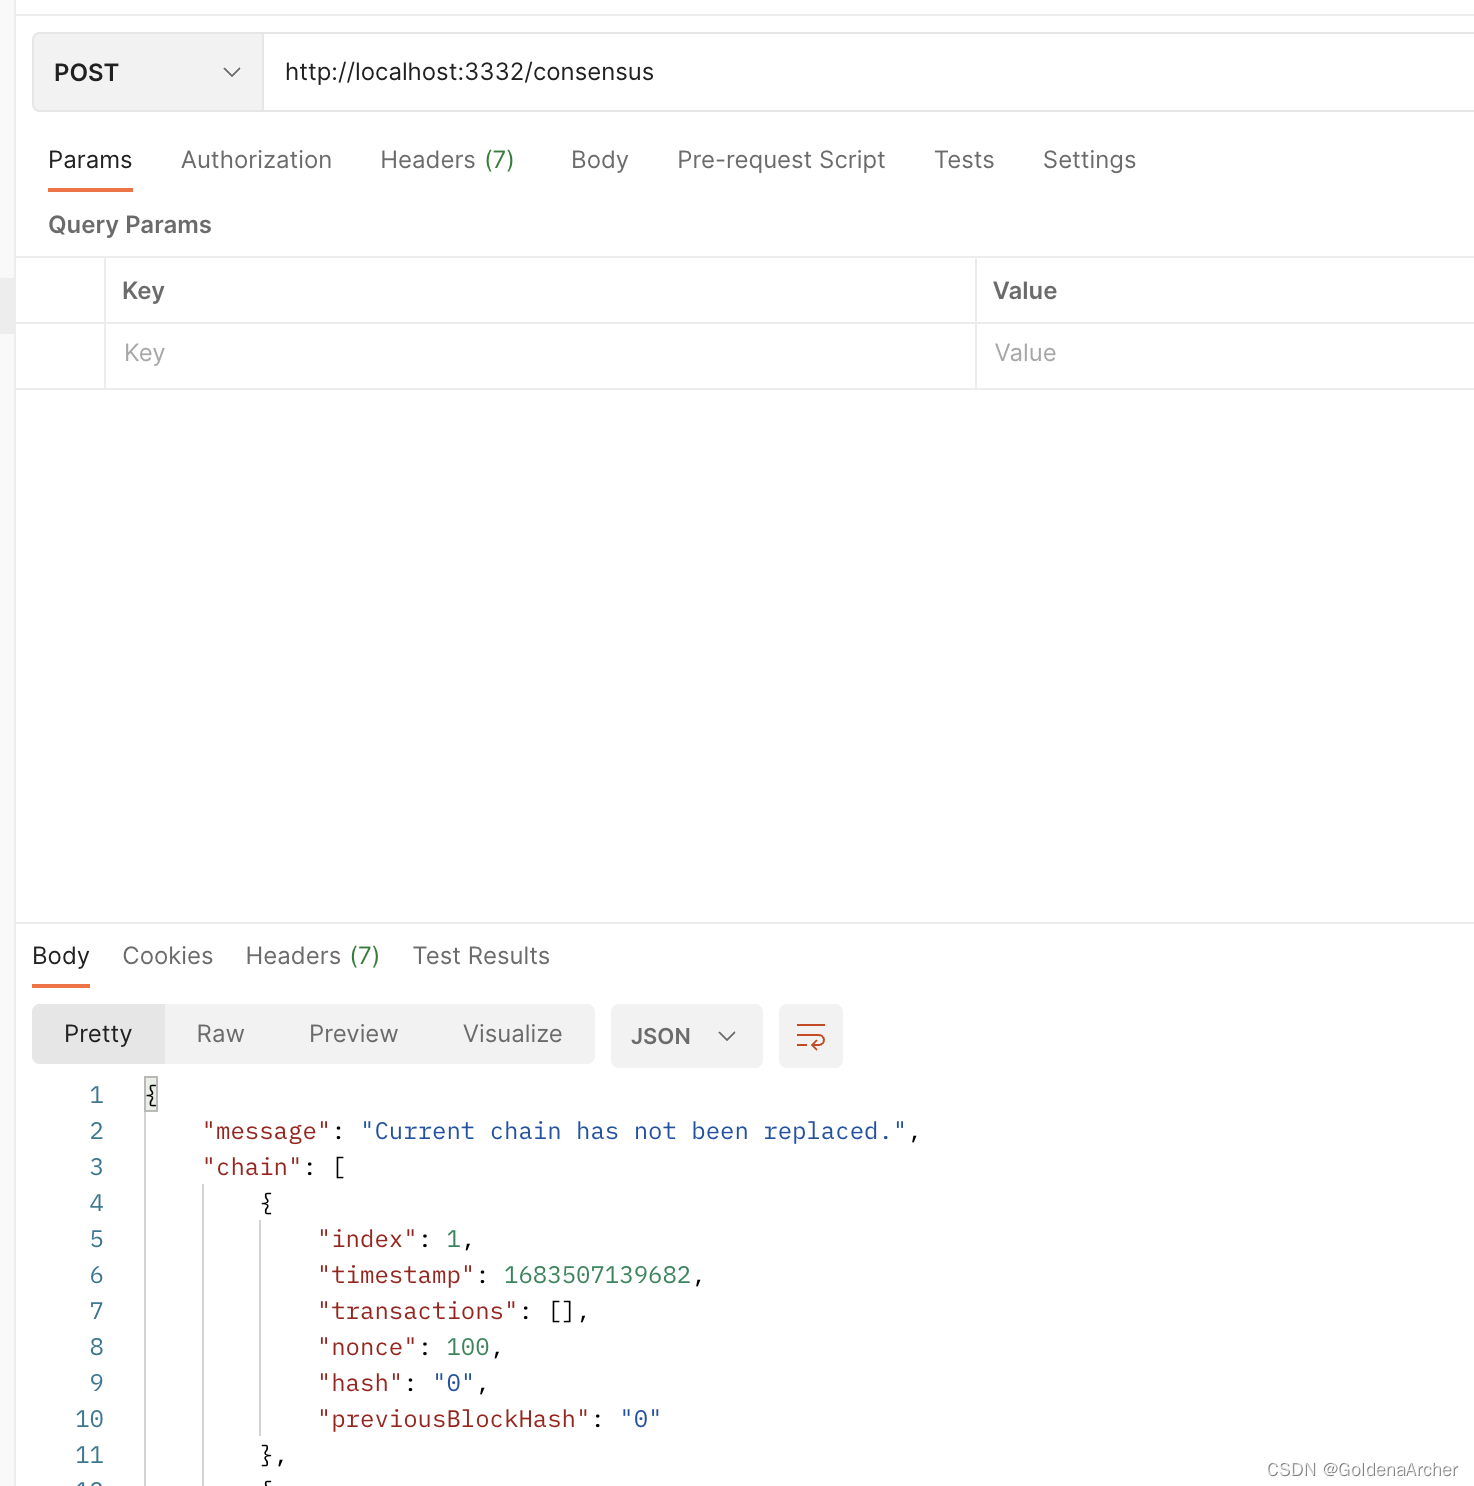
但是这个时候如果有新的 node 加到了 network 中,那么这个 node 上所留有的就是一个空的 blockchain:
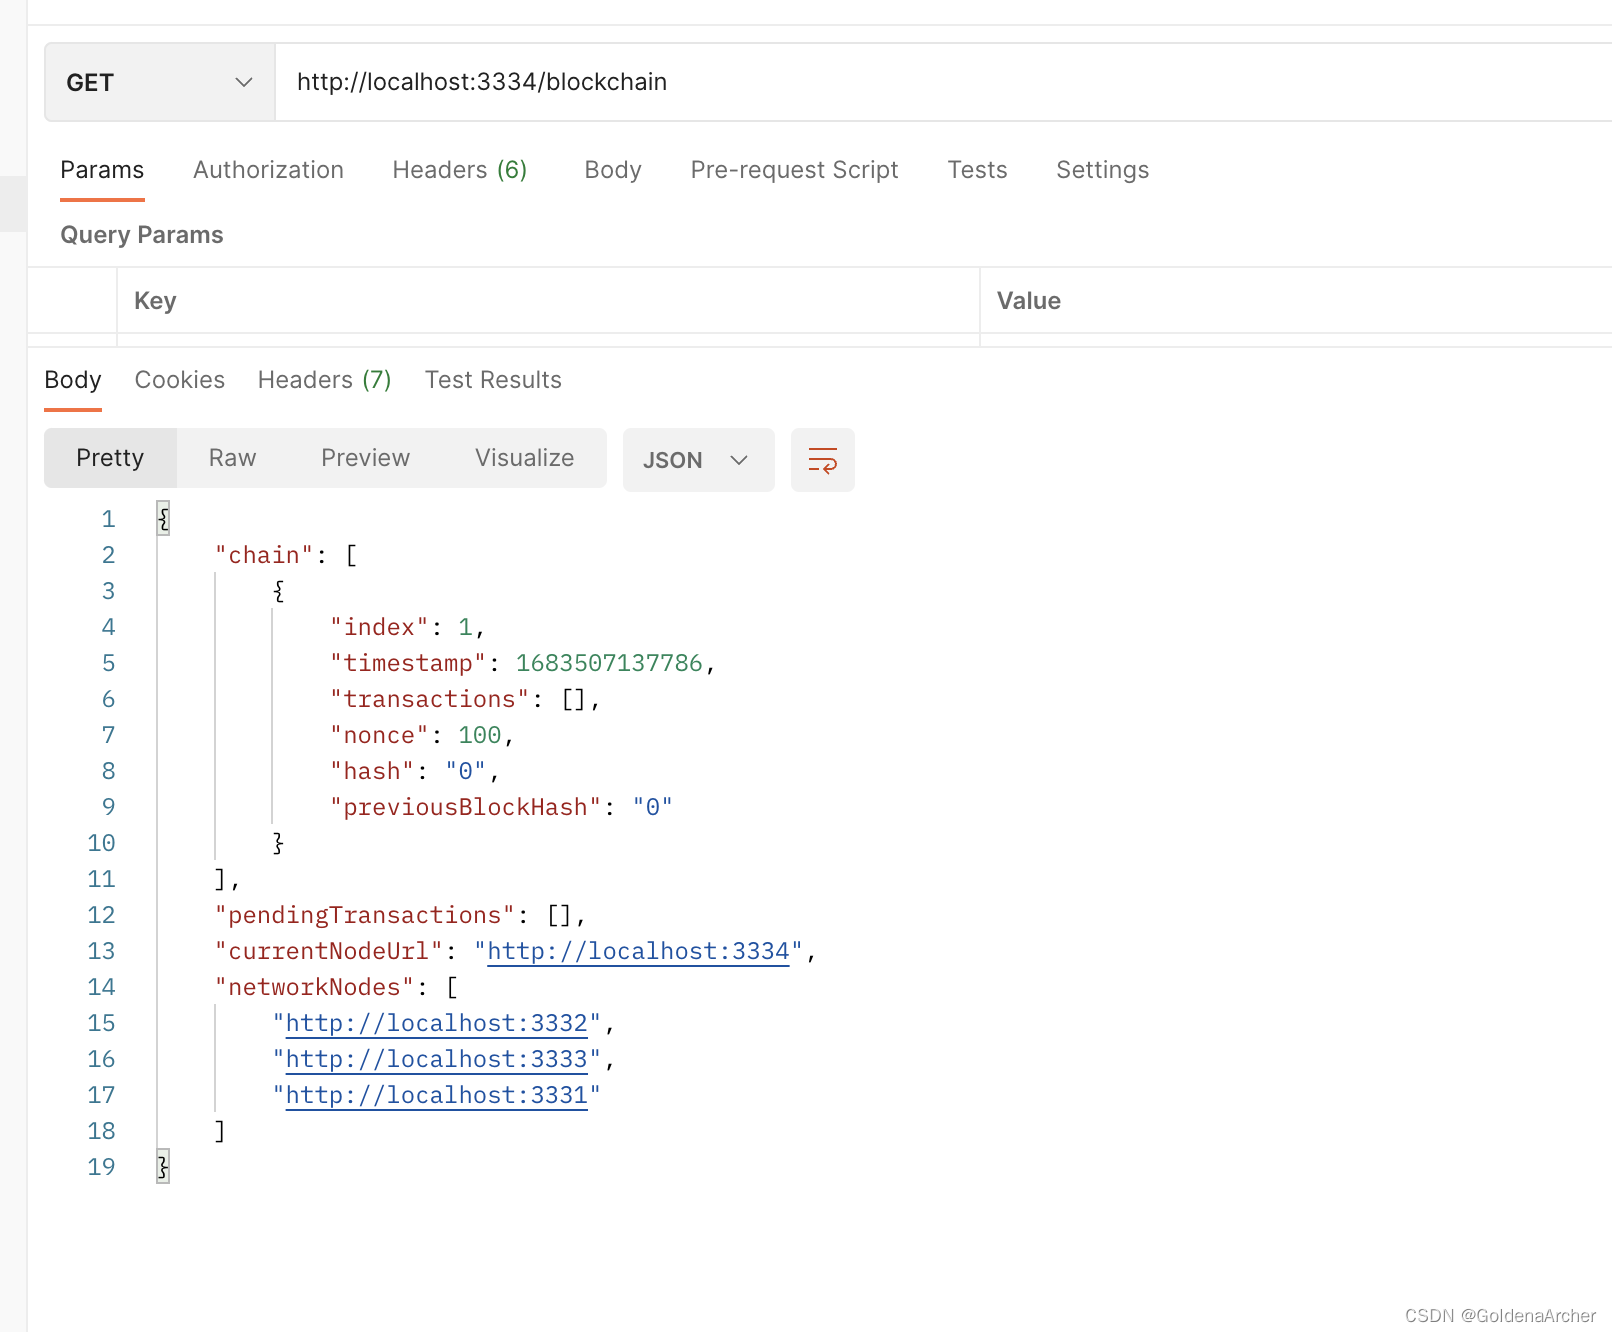
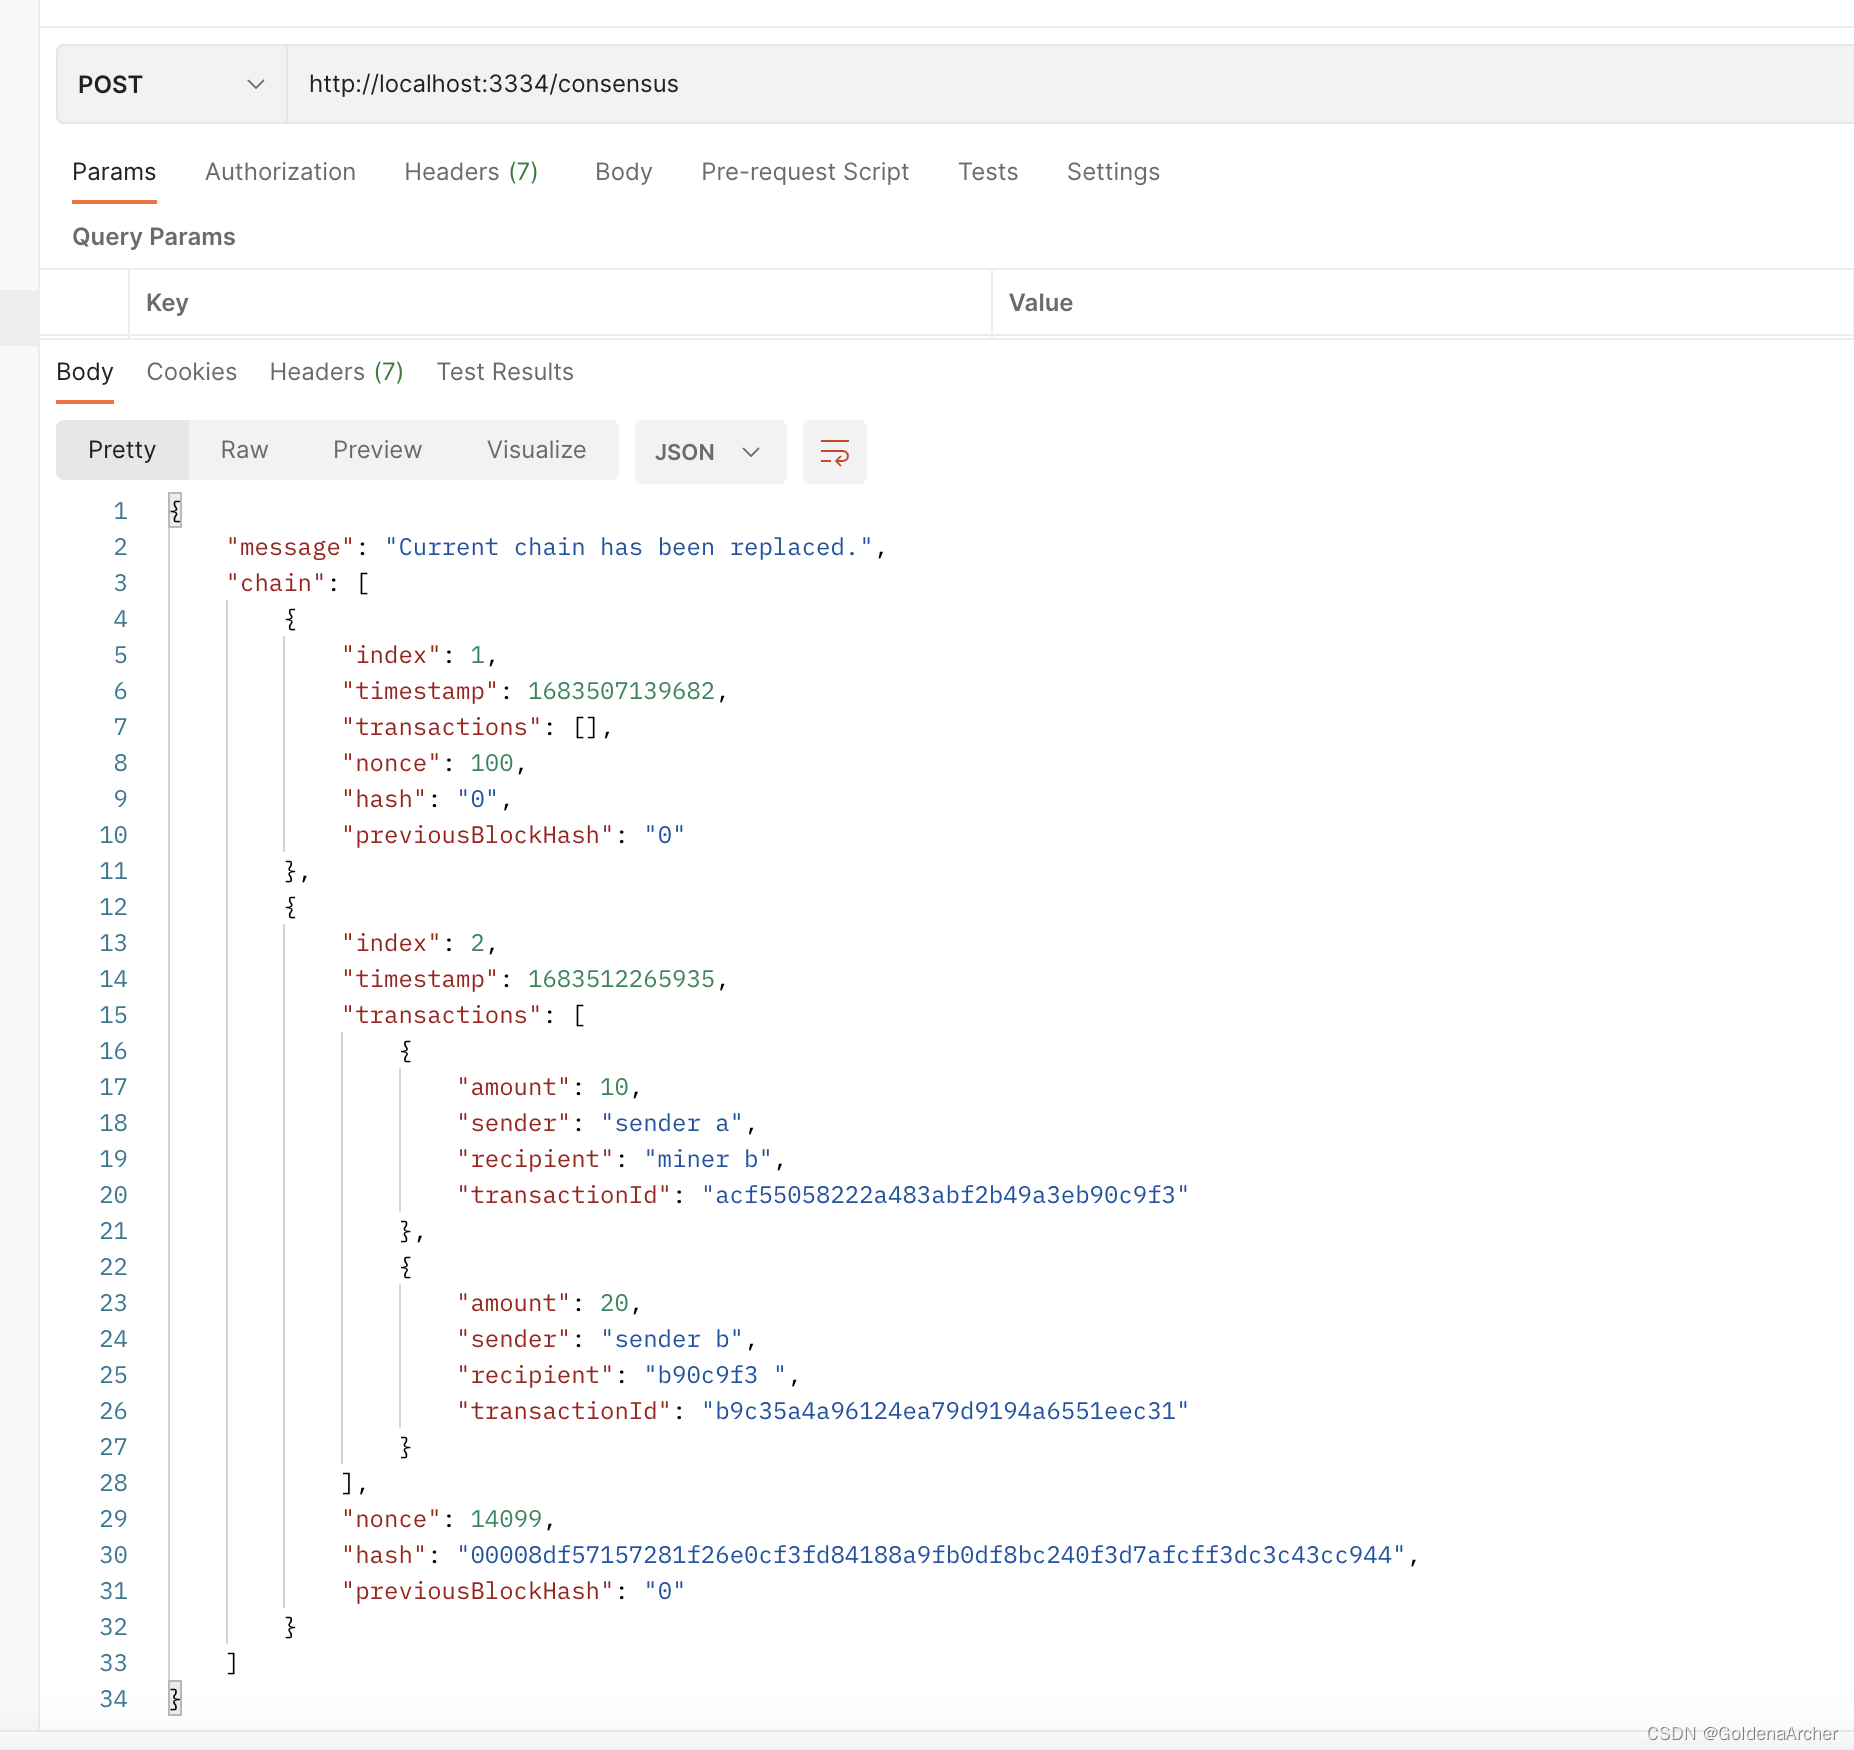
再运行 consensus 就会使得当前 node 上的 blockchain 被当前网络中最长的 blockchain 所取代:
