文章目录
- 1.项目配置及环境
- 2.项目工程结构
- 3.Project下的系列设置
- 自定义config.gradle
- setting.gradle
- build.gradle(:project)
- 添加module
- module_common下的build.gradle配置
- 遇到的报错一
- 遇到的报错二 applicationId问题
- module_xxx下的build.gradle示例
由于目前刚开始学习模块化的配置, 很多高级的玩法还不会, 先记录一下最基础的一些配置方法,后续再补全.
1.项目配置及环境
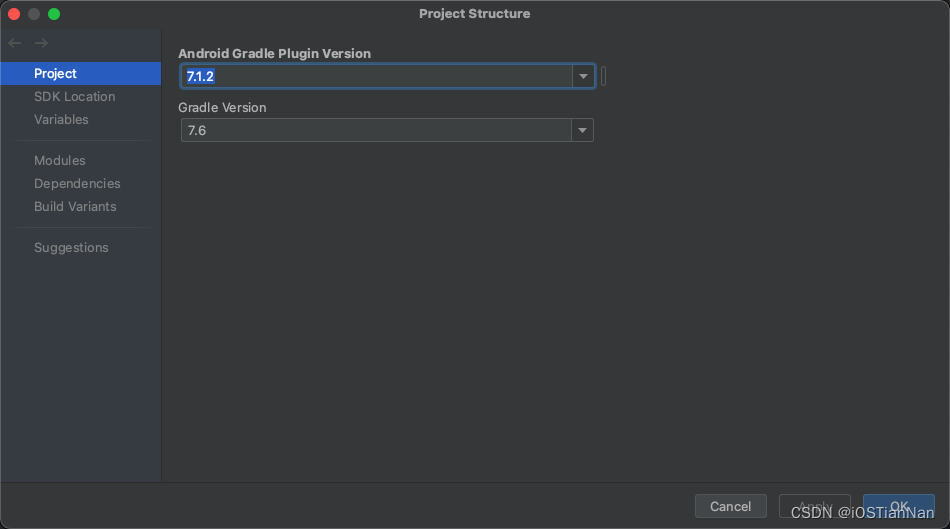
gradle版本 7.6
java版本 18

2.项目工程结构
这个是一个示例, 里面都没有实际代码
目前是搭个样子, 后面会继续补充,让这些模块和lib都真正实现

3.Project下的系列设置
下面开始逐步设置工程, 先对project下的各个文件进行处理,
自定义config.gradle
先搞一个自定义的 config.gradle, 这一步和gradle7一下的版本里面,是一样的没什么大变化
//ext 添加额外的属性
ext {
    /*defaultConfig*/
    compile_Sdk = 33
    min_Sdk = 26
    target_Sdk = 31
    version_Code = 1
    version_Name = "1.0.0"


    /*buildTypes*/
    multiDex_Enabled = true //添加Dex多分包支持, 暂时不知道用哪里, 先写着


    /*dependencies*/
    /*添加各种依赖配置*/
    //这里我没继续添加,后续用到了再加
}
setting.gradle
这里面不需要我们改动, 一般来说AndroidStudio会自动处理,这里也贴一下方便后面翻阅
//插件管理,指定插件下载的仓库,及版本。
pluginManagement {
    repositories {
        google()
        mavenCentral()
        gradlePluginPortal()
    }
}

//依赖管理,指定依赖库的仓库地址,及版本。即7.0之前的allprojects。
//顺序决定了先从哪个仓库去找依赖库并下载,一般为了编译稳定,会把阿里的镜像地址(或自建私有仓库)放在Google()仓库之前。
dependencyResolutionManagement {
    repositoriesMode.set(RepositoriesMode.FAIL_ON_PROJECT_REPOS)
    repositories {
        google()
        mavenCentral()
    }
}

//项目名称。
rootProject.name = "mokuaihua_testDemo"

/**
 * include:
 * 用于指定构建应用时应将哪些模块包含在内,即参与构建的模块。
 * 也可用于动态引用,在编译提速时,会module打成aar依赖来节省编译时间,但是为了开发方便,一般会动态选择哪些module使用源码依
 */

// 自动生成的,
include ':app'
include ':module_hello'
include ':module_common'
include ':library_network'
include ':library_network:library_arouter'
include ':library_route'
build.gradle(:project)
这里, 通过
apply from: 'config.gradle'将上面我们创建的config.gradle文件,应用到整个项目中
// Top-level build file where you can add configuration options common to all sub-projects/modules.
plugins {
    id 'com.android.application' version '7.1.2' apply false
    id 'com.android.library' version '7.1.2' apply false
}

// 将 config.gradle 配置文件 应用到整个项目
apply from: 'config.gradle'
基本的配置就这样了,接下来我们开始添加各个 module, 要做到既能够当做module参与app壳工程的编译, 也能够作为独立app运行
添加module
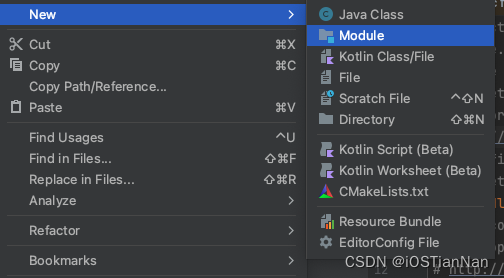
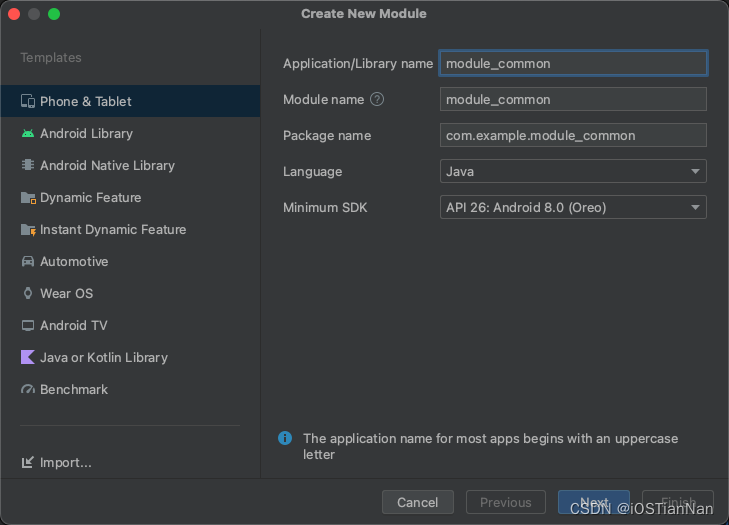
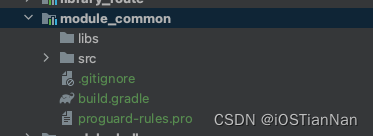
我们再添加一个 common 模块(具体里面干啥, 先没关, 先把架子打起来, 起码看起来像回事儿😀)
module_common下的build.gradle配置
遇到的报错一
这里,由于gradle7 对plugins{}做了限制,没办法在里面添加变量, 否则就会报错
比如我这样写
plugins {
    id 'com.android.library' apply(useModule.toBoolen())
    id 'com.android.application' apply(!useModule.toBoolen())
}
就会报错

所以,只能还用gradle7之前的方法来动态配置
// gradle7以下的老方案,可行
if (useModule.toBoolean()){
    apply plugin: 'com.android.library'
}else {
    apply plugin: 'com.android.application'
}
遇到的报错二 applicationId问题
由于默认创建了module_route之后,他的applicationId是如下, 但是如果要把 module_route切换成模块模式参与app壳工程的编译, 会出现 Library projects cannot set applicationId. applicationId is set to 'com.example.module_hello' in default config.的报错
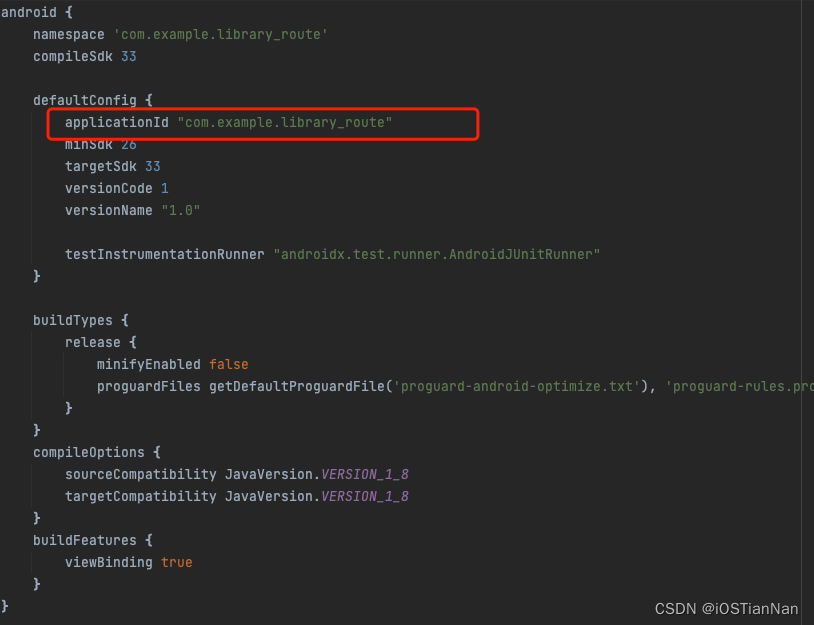
所以, 针对 applicationId也要做一下出来, 当然也很简单,加个判断就可以
        // 模块化模式下,不需要 applicationId
        if (!useModule.toBoolean()) {
            applicationId "com.example.module_hello"
        }
module_xxx下的build.gradle示例
//plugins {
//    id('com.android.library')
//}
//

// gradle7以下的老方案,可行
if (useModule.toBoolean()){
    apply plugin: 'com.android.library'
}else {
    apply plugin: 'com.android.application'
}


android {
    namespace 'com.example.module_hello'
    compileSdk compile_Sdk

    defaultConfig {
        // 模块化模式下,不需要 applicationId
        if (!useModule.toBoolean()) {
            applicationId "com.example.module_hello"
        }
        minSdk min_Sdk
        targetSdk target_Sdk
        versionCode version_Code
        versionName version_Name

        testInstrumentationRunner "androidx.test.runner.AndroidJUnitRunner"
    }

    buildTypes {
        release {
            minifyEnabled false //是否混淆
            proguardFiles getDefaultProguardFile('proguard-android-optimize.txt'), 'proguard-rules.pro'
        }
    }
    compileOptions {
        sourceCompatibility JavaVersion.VERSION_1_8
        targetCompatibility JavaVersion.VERSION_1_8
    }
}

dependencies {

    implementation 'androidx.appcompat:appcompat:1.4.1'
    implementation 'com.google.android.material:material:1.5.0'
    implementation 'androidx.constraintlayout:constraintlayout:2.1.3'
    testImplementation 'junit:junit:4.13.2'
    androidTestImplementation 'androidx.test.ext:junit:1.1.3'
    androidTestImplementation 'androidx.test.espresso:espresso-core:3.4.0'
}
后续待补充


