这里写目录标题
- 一 生成war包并给数据库导入数据
- 1.1生成war包
- 1.2 向数据库中导入数据
- 二 启动Tomcat
- 三 配置负载均衡并启动Nginx
- 1.cent121这台虚拟机上
- 2.检测两个tomcat的运行状态
- 3.配置nginx
- 4.启动
- 4.1 nginx报错
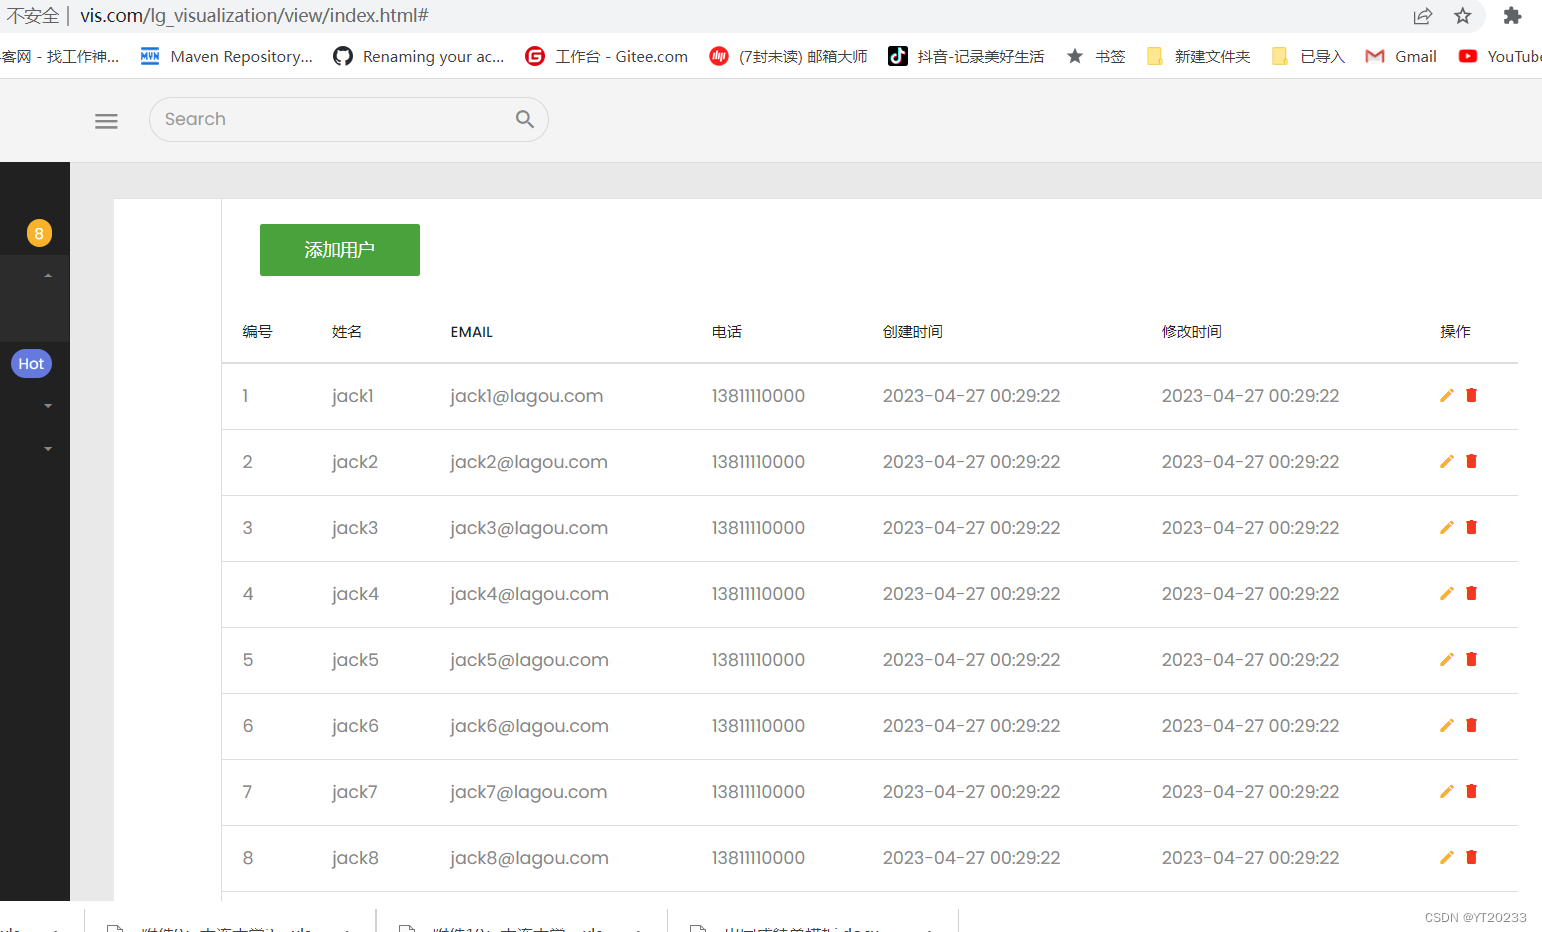
- 4.2 成功启动项目
- 四 命令总结
一 生成war包并给数据库导入数据
1.1生成war包
点两下这个package,就会在target目录下生成一个war包
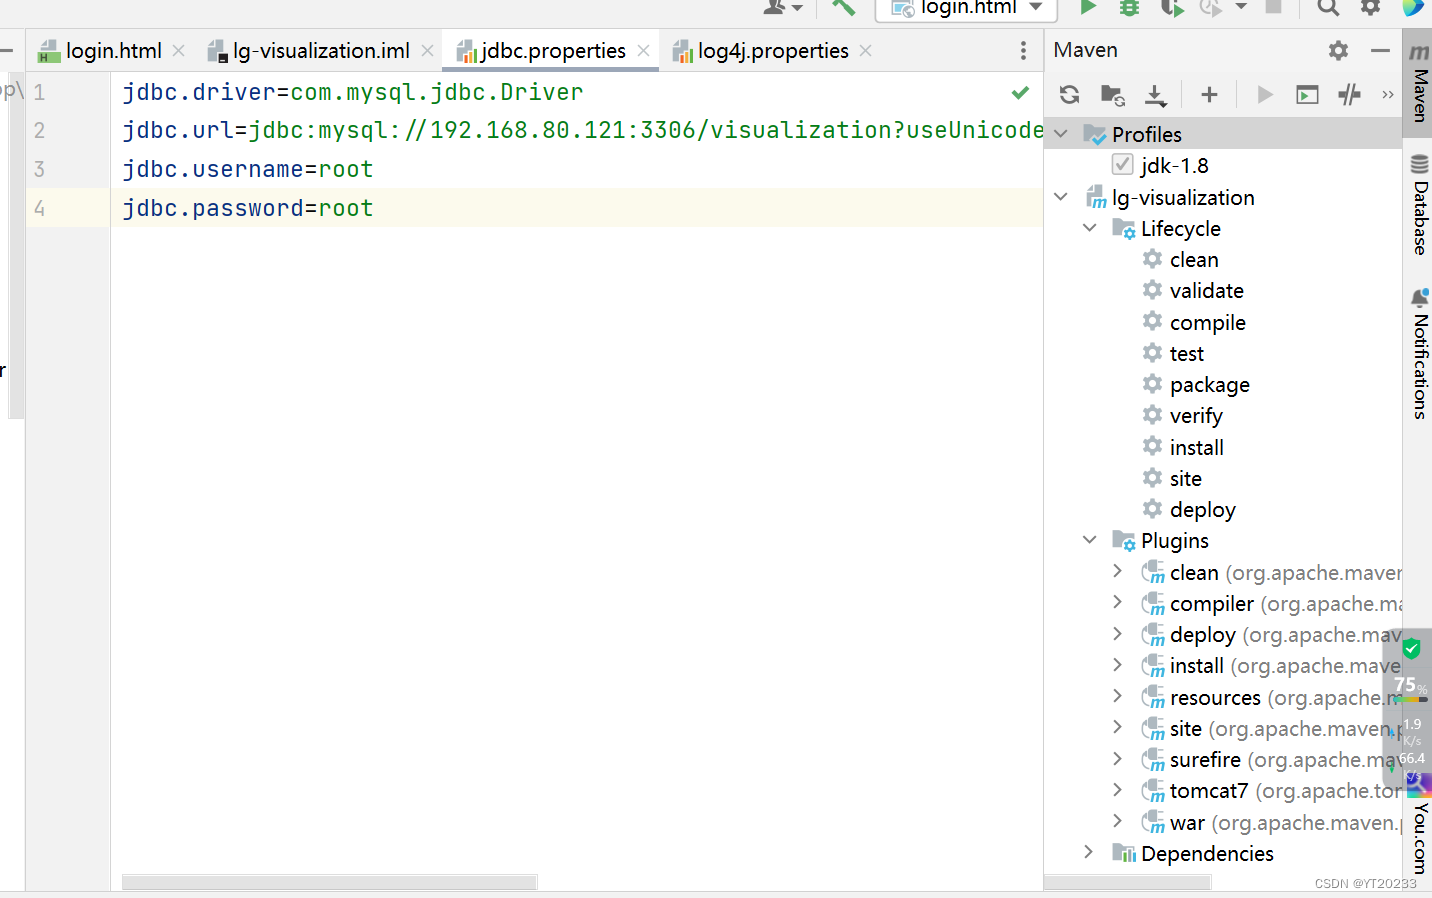
把这个warb包拿出来,放在桌面上备用
1.2 向数据库中导入数据
数据多的话,选择sql文件,直接运行
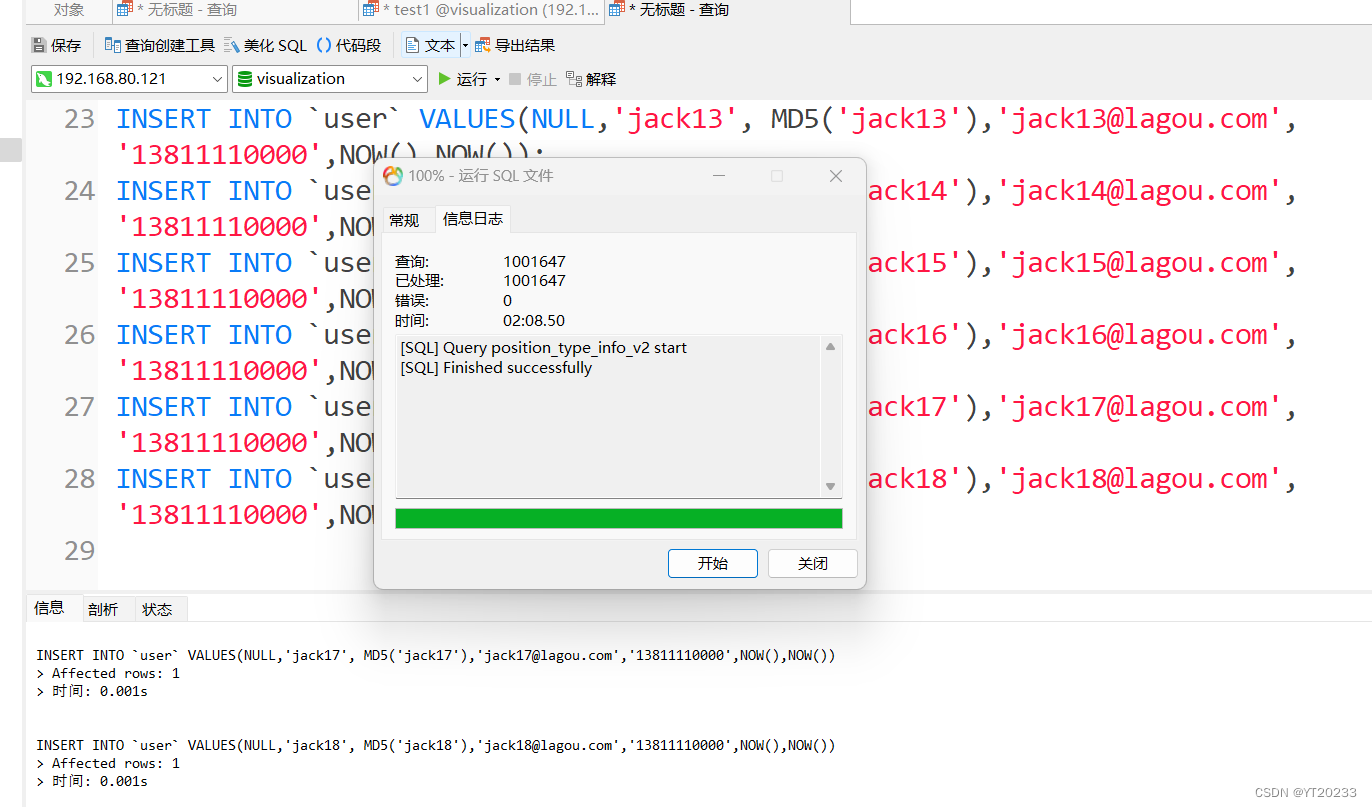
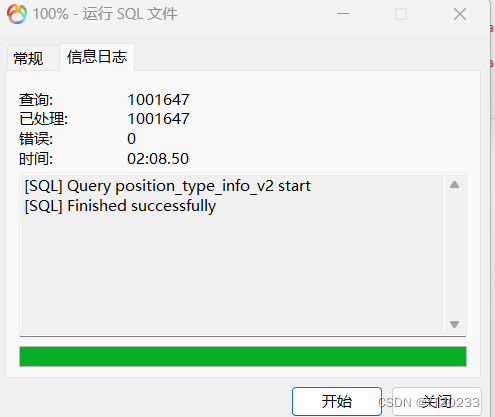
数据导入成功了
二 启动Tomcat
[root@localhost bin]# ./startup.sh
Using CATALINA_BASE:   /usr/tomcat2/apache-tomcat-7.0.68
Using CATALINA_HOME:   /usr/tomcat2/apache-tomcat-7.0.68
Using CATALINA_TMPDIR: /usr/tomcat2/apache-tomcat-7.0.68/temp
Using JRE_HOME:        /usr/java/jdk1.8.0_261/
Using CLASSPATH:       /usr/tomcat2/apache-tomcat-7.0.68/bin/bootstrap.jar:/usr/tomcat2/apache-tomcat-7.0.68/bin/tomcat-juli.jar
Tomcat started.
[root@localhost bin]# cd /usr/tomcat/apache-tomcat-7.0.68/bin
[root@localhost bin]# ./startup.sh
Using CATALINA_BASE:   /usr/tomcat/apache-tomcat-7.0.68
Using CATALINA_HOME:   /usr/tomcat/apache-tomcat-7.0.68
Using CATALINA_TMPDIR: /usr/tomcat/apache-tomcat-7.0.68/temp
Using JRE_HOME:        /usr/java/jdk1.8.0_261/
Using CLASSPATH:       /usr/tomcat/apache-tomcat-7.0.68/bin/bootstrap.jar:/usr/tomcat/apache-tomcat-7.0.68/bin/tomcat-juli.jar
Tomcat started.
8080和8081都可以

三 配置负载均衡并启动Nginx
1.cent121这台虚拟机上
虚拟机的位置:
http://192.168.80.121:8081/lg_visualization/view/index.html
nginx的位置 /usr/local/nginx/conf
两台虚拟机所在的位置:
tomcat
/usr/tomcat/apache-tomcat-7.0.68
Tomcat2
/usr/tomcat2/apache-tomcat-7.0.68
2.检测两个tomcat的运行状态
运行状态良好

http://192.168.80.121:8080/lg_visualization/view/index.html

3.配置nginx
首先在
/usr/local/nginx/conf
修改nginx里的nginx.conf文件
upstream vis{ # 用server定义 HTTP地址
server 192.168.80.121:8081;
server 192.168.80.121:8080; }
server {
 listen 80;
 server_name www.vis.com ;
location / {
# 利用 proxy_ pass可以将请求代理到upstream命名的HTTP服务
 proxy_pass http://vis;
 index login.html ; }
}
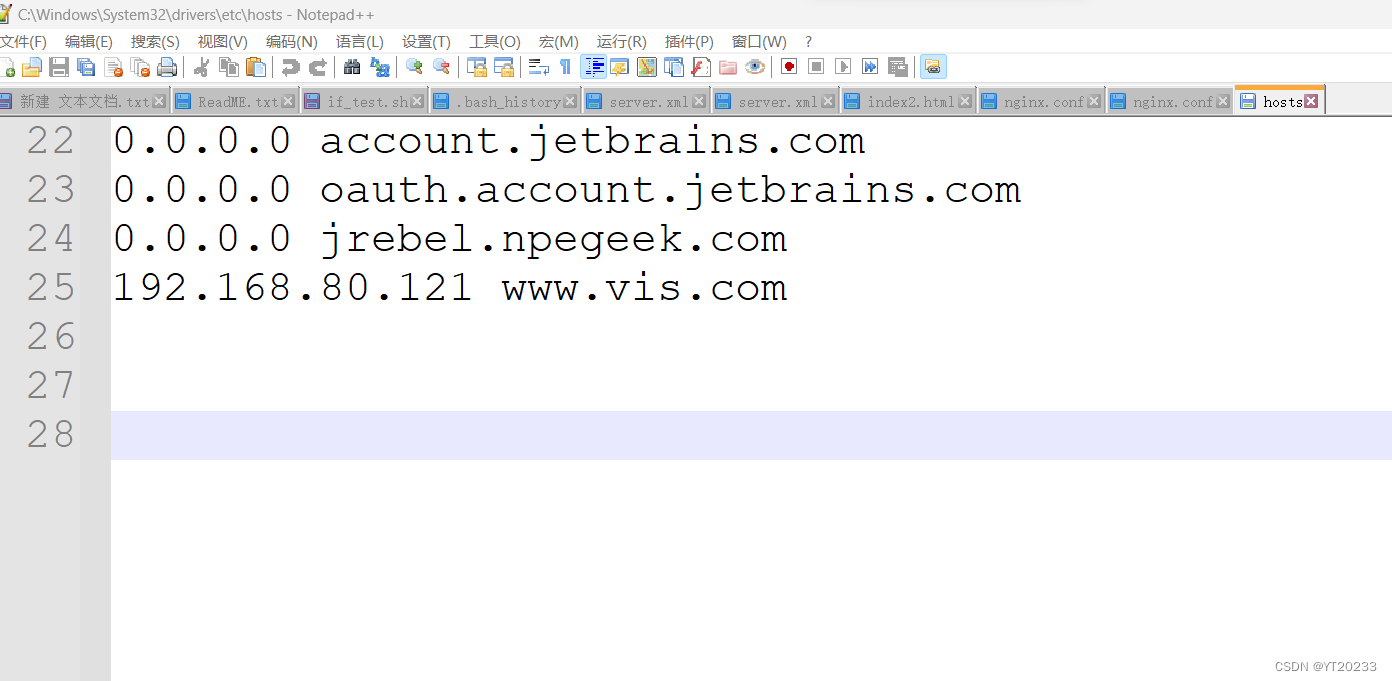
到hosts文件中修改
C:\Windows\System32\drivers\etc
4.启动
4.1 nginx报错
nginx启动报错:nginx: [error] open() “/var/run/nginx/nginx.pid“ failed (2: No such file or directory) 的解决
events下面加一句
pid 加路径名
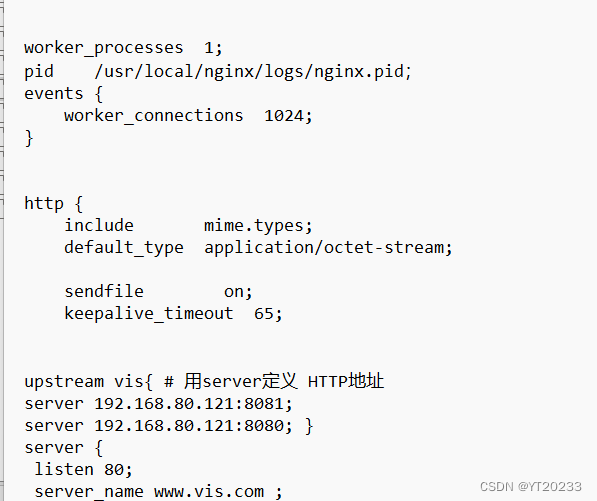
(1)进入 cd /usr/local/nginx/conf/ 目录,编辑配置文件nginx.conf ;

(2)在配置文件中有个注释的地方: #pid        logs/nginx.pid;

(3)将注释放开,并修改为:pid    /usr/local/nginx/logs/nginx.pid;

(4)在 /usr/local/nginx 目录下创建 logs 目录:mkdir /usr/local/nginx/logs

(5)再次启动nginx服务:cd /usr/local/nginx/sbin/ 问题解决
4.2 成功启动项目
四 命令总结
history
  287  cd /usr/local/nginx/conf
  288  ll
  289  vim niginx.cnf
  290  vim nginx.cnf
  291  cd /usr/local/nginx/conf
  292  cd ../
  293  ll
  294  cd sbin
  295  ll
  296  nginx  -s reload
  297  ./nginx  -s reload
  298  ./nginx
  299  ./nginx -s reload
  300  pwd
  301  cd /usr/tomcat2/apache-tomcat-7.0.68/bin
  302  ./shutdown.sh
  303  cd /usr/tomcat/apache-tomcat-7.0.68/bin
  304  ./shutdown.sh
  305  ./nginx
  306  cd /usr/local/nginx/conf
  307  cd ../
  308  ll
  309  cd sbin
  310  ll
  311  ./nginx
  312  ./nginx –c /usr/local/nginx/conf/nginx.conf
  313  mkdir /var/run/nginx
  314  ./nginx –c /usr/local/nginx/conf/nginx.conf
  315  ./nginx -c /usr/local/nginx/conf/nginx.conf
  316  ./nginx
  317  ./nginx -s reload
  318  cd /usr/tomcat2/apache-tomcat-7.0.68/bin
  319  ./startup.sh
  320  cd /usr/tomcat/apache-tomcat-7.0.68/bin
  321  ./startup.sh
  322  ./nginx -s reload
  323  cd /usr/local/nginx/conf
  324  cd ../
  325  ./nginx -s reload
  326  cd sbin
  327  ./nginx -s reload
  328  cd /usr/tomcat/apache-tomcat-7.0.68/bin
  329  ./shutup.sh
  330  ./shutdown.sh
  331  cd /usr/tomcat2/apache-tomcat-7.0.68/bin
  332  ./shutdown.sh
  333  cd /usr/tomcat2/apache-tomcat-7.0.68/bin
  334  .startup.sh
  335  ./startup.sh
  336  ./nginx -s reload
  337  cd /usr/local/nginx/conf
  338  cd ../
  339  cd sbin
  340  ./nginx -s reload
  341  ./nginx
  342  cd /usr/local/nginx/conf
  343  cd sbin
  344  cd ../
  345  ll
  346  cd sbin
  347  ./nginx
  348  cd /usr/local/nginx
  349  ./nginx
  350  cd sbin
  351  ./nginx
  352  cd sbin
  353  ./nginx
  354  find / -name ngnix.pid
  355  yum install find
  356  find / -name ngnix.pid
  357  ./nginx
  358  cd /
  359  mkdir /var/run/nginx/
  360  mkdir /usr/local/nginx/logs
  361  cd /usr/local/nginx/sbin/
  362  ./nginx
  363  history
