本地已经安装好了composer
1.新建 Laravel5.6.*项目
composer create-project --prefer-dist laravel/laravel laravel5+vue2+demo '5.6.*'
2. cd laravel5+vue2+demo
3. npm install
/routes/web.php 路由文件中, 修改
Route::get('/', function () {
    return view('index');
});
新建 Hello.vue 文件
在 resources/assets/js/components 目录下新建 Hello.vue 文件
<template>
	<div>
        <h1>Hello, laravel</h1>
        <p class="hello">{{ msg }}</p>
    </div>
</template>

<script>
export default {
    data() {
        return {
            msg: 'This is a Laravel with Vue and Element Demo.'
        }
    }
}
</script>

<style>
.hello {
    font-size: 2em;
    color: green;
}
</style>
修改 app.js 文件,渲染组件
修改 resources/assets/js/app.js 文件
require('./bootstrap');

window.Vue = require('vue');
// Vue.component('example', require('./components/Example.vue')); // 注释掉
import Hello from './components/Hello.vue'; // 引入Hello 组件
const app = new Vue({
    el: '#app',
    render: h => h(Hello)
});
app.js 是构建 Vue 项目的主文件,最后所有的组件都会被引入到这个文件,在引入所有组件之前,bootstrap.js 文件做了一些初始化的操作。同时,因为有 window.Vue = require('vue') ,不需要 import Vue from ‘vue’ 重复导入 Vue 了。
新建 Laravel 视图文件,和 Vue 交互
在 resources/views 目录下新建 index.blade.php 文件
<!doctype html>
<html lang="en">
<head>
    <meta charset="UTF-8">
    <title>laravel</title>
</head>
<body>
    <div id="app"></div>
    <script src="{{ mix('js/app.js') }}"></script>
</body>
</html>
你可能在其他教程中看到有的在使用 assets 函数,这两个函数的主要区别就是 assets 函数会直接使用所填路径去 public 文件夹下找文件,而 mix 函数会自动加载带 hash 值的前端资源。这是和 Laravel 前端资源的缓存刷新相关的,如果现在还不明白,不要紧,你记得使用 mix 函数就好了,然后继续往后看。
启动网站服务
php artisan serve编译前端组件,运行
npm run dev 该命令默认会去执行根目录下的 webpack.mix.js 文件,使用 Laravel 提供的 Laravel Mix 编译资源,并将编译好的资源放在根目录 public 文件夹下。
说明:前端编译工具有许多,比如 gulp、webpack 等等,Laravel 也为自己提供了开箱即用的编译工具,比如 Laravel5.3 及更早版本提供基于 gulp 的 Laravel Elixir 和从 Laravel5.4 开始提供基于 webpack 的 Laravel Mix,当然你也可以不使用官方提供的工具,自己去配置编译工具。这些编译工具的作用都是一样的,使用方法也大同小异。前面说过,本文第一次安装尽量简单,能运行即可,所以不再去配置前端编译工具,使用官方提供的即可。
访问项目
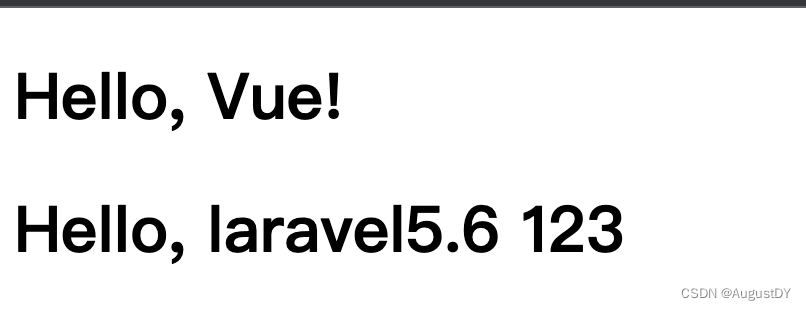
前为止,Laravel + Vue 已经完成了,下面开始引入 Element。
引入 Element
执行命令,安装 ElementUI
npm i element-ui -S修改 resources/assets/js/app.js 文件
import Hello from './components/Hello.vue'; // 引入Hello 组件
import ElementUI from 'element-ui'; //这里已经直接引入所有的Element,其中的方法都可以直接额拿过来使用,不用再去单独加载
import 'element-ui/lib/theme-chalk/index.css';
Vue.use(ElementUI);
修改 Hello.vue 文件,使用 Element 组件
修改 resources/assets/js/components/Hello.vue 文件为
<template>
		<div>
	        <h1>Hello, laravel5.6 123</h1>
	        <el-button @click="visible = true">按钮</el-button>
	        <el-dialog v-model="visible">
	            <p>欢迎使用 Element</p>
	        </el-dialog>
    </div>
</template>

<script>
export default {
    data() {
        return {
            visible: false
        }
    }
}
</script>

<style>
.hello {
    font-size: 2em;
    color: green;
}
</style>
编译,运行
npm run dev访问项目,点击按钮
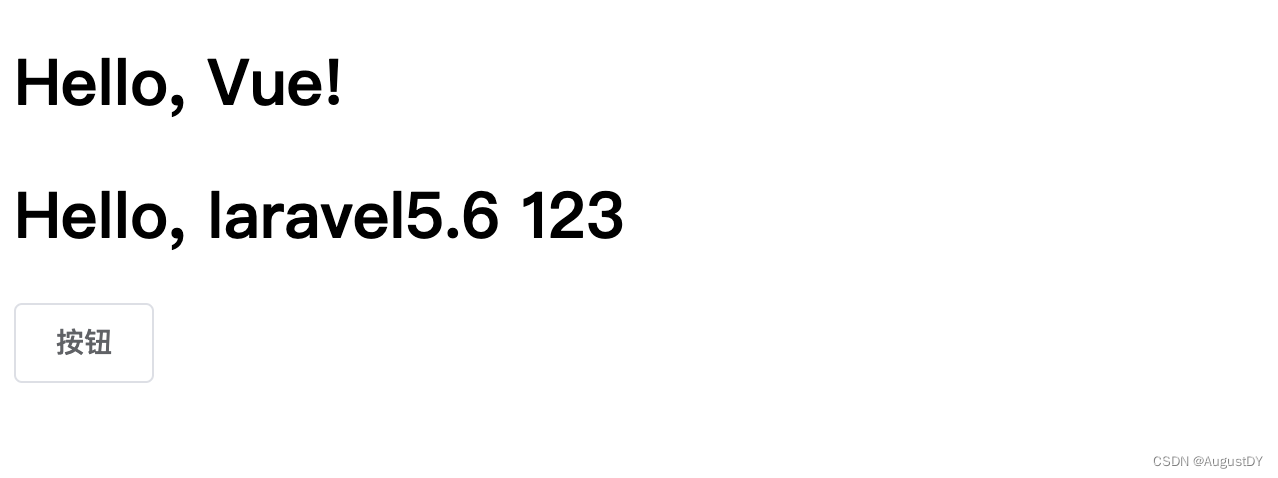
Laravel5.5.6 + Vue2 + Element 的环境搭建已经完成了,为了方便理解,第一次的搭建过程尽量简洁。本文下面的部分将使用 Vue 路由等等,逐步完善,便于后期的开发。
完善 CSRF 防护
环境搭建完成后,访问项目,打开开发者模式,切换到 Console ,会看到以下报错

请求伪造攻击(CSRF),自动为每一个有效用户会话生成一个 CSRF 令牌,该令牌用于验证授权用户和发起请求者是否是同一个人。
修改 resources/views/index.blade.php 文件为
<!doctype html>
<html lang="en">
<head>
 <meta charset="UTF-8">
    <meta name="csrf-token" content="{{ csrf_token() }}">
    <title>laravel</title>
</head>
<body>
    <div id="app"></div>

    <script src="{{ mix('js/app.js') }}"></script>
</body>
</html>
注:创建一个 meta 标签并将令牌保存到该 meta 标签中,问题可解决。
使用 Vue Router
构建大型项目时,使用 Vue Router 将是一个好的方式,它可以帮助你更好的组织代码,优化路由。
安装 vue-router
执行命令,安装 vue-router 版本控制在3.*内,高版本报错。
npm install --save vue-router@3.5.3配置 vue-router
在 resources/assets/js 目录下新建目录 router ,同时在 router 目录下新建 index.js 文件
import Vue from 'vue';
import VueRouter from 'vue-router';
Vue.use(VueRouter);
export default new VueRouter({
    saveScrollPosition: true,
    routes: [ {
            name: 'hello',
            path: '/hello', component: resolve => void(require(['../components/Hello.vue'], resolve))
        } ]
 });
引入 vue-router
在 resources/assets/js 目录下新建 App.vue 文件
<template> <div>
        <h1>Hello, {{ msg }}!</h1>
        <router-view></router-view> <!--路由引入的组件将在这里被渲染-->
    </div>
</template>

<script>
export default {
    data() {
        return {
            msg: 'Vue'
        }
    }
}
</script>

<style>
</style>
修改 resources/assets/js/app.js 文件为
// import Hello from './components/Hello.vue';
import App from './App.vue';
import ElementUI from 'element-ui';
import 'element-ui/lib/theme-default/index.css';
Vue.use(ElementUI);
import router from './router/index.js';

const app = new Vue({
    el: '#app',
    router,
    render: h => h(App)  //将Vue的App.vue文件挂载到index.blade.php的id='app' 的文件中
});
重新编译
npm run dev通过路由访问 hello 组件
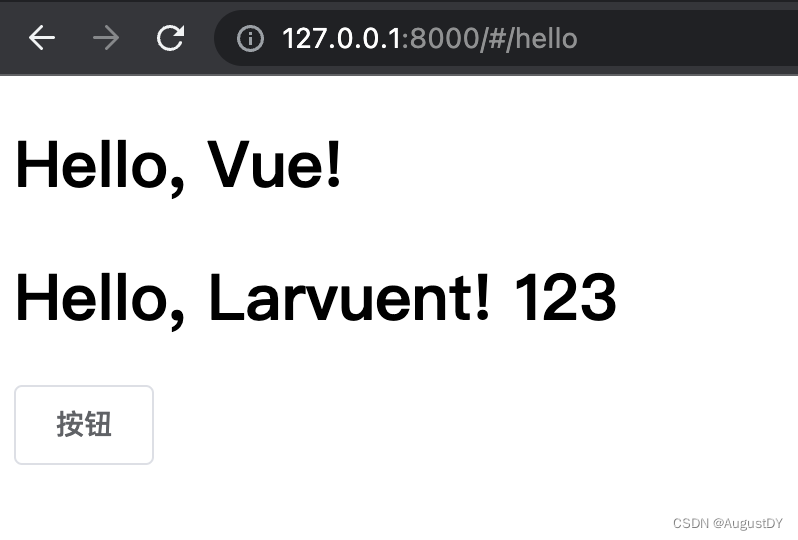
件,只需在 resources/assets/js/components 目录下新建 vue 文件,在 resources/assets/js/router/index.js 文件里引入,然后就可以通过路由访问了。
代码拆分
代码拆分是将一些不经常变动的代码提取出来,以避免每次都要重新编译,如果你频繁更新应用的 JavaScript,需要考虑对 vendor 库进行提取和拆分,这样的话,一次修改应用代码不会影响 vendor.js 文件的缓存。
Laravel Mix 的 extract 方法可以实现这样的功能:
修改项目根目录下的 webpack.mix.js 文件
mix.js('resources/assets/js/app.js', 'public/js')
   .sass('resources/assets/sass/app.scss', 'public/css')
   .extract(['vue','axios']);
extract 方法接收包含所有库的数组或你想要提取到 vendor.js 文件的模块,使用上述代码作为示例,Mix 将会生成如下文件:
public/js/manifest.js  // Webpack manifest runtime
public/js/vendor.js  // vendor 库
public/js/app.js  // 应用代码
同时修改 resources/views/index.blade.php 文件为
<!doctype html>
<html lang="en">
<head>
    <meta charset="UTF-8">
       <meta name="csrf-token" content="{{ csrf_token() }}">
    <title>laravel</title>
</head>
<body>
    <div id="app"></div>
    <script src="{{ mix('js/manifest.js') }}">
    </script> <script src="{{ mix('js/vendor.js') }}"></script>
    <script src="{{ mix('js/app.js') }}"></script>
    </body>
</html>
全局的 mix 函数会根据 public/mix-manifest.json 中的路径去加载对应的文件,同时也要注意引入三个 js 文件的顺序,以避免出错。
重新执行命令,就可以了。
npm run watch完成


