目录
一、下拉google官方的libyuv库代码
二、在android项目中集成libyuv库
1.环境配置
2.拷贝libyuv源码文件
编辑3.配置cmake libyuv相关的链接编译等
三、使用libyuv库
1.libyuv库完成camera的旋转
2.libyuv库实现翻转
3.libyuv库实现缩放
4.libyuv库实现裁剪
一、下拉google官方的libyuv库代码
官方地址 https://chromium.googlesource.com/libyuv/libyuv
如果打不开打不开,可以去 github 上下载:https://github.com/lemenkov/libyuv
下拉完成后目录如下所示:
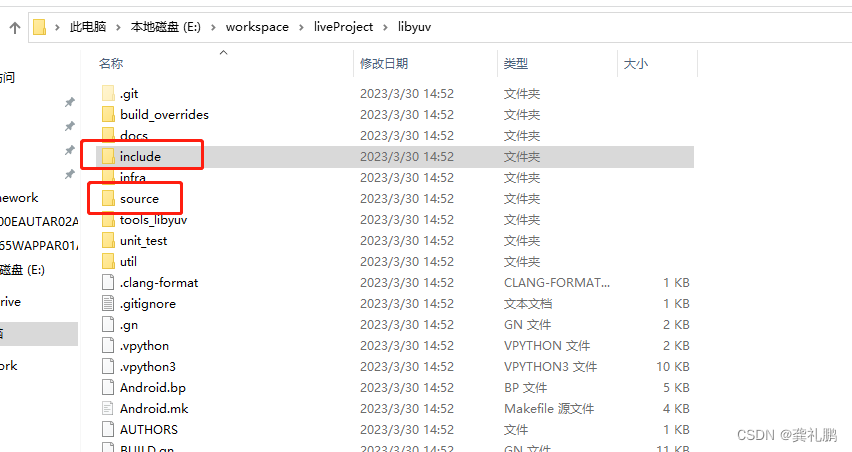
主要我们用到的是include和source目录内容
二、在android项目中集成libyuv库
1.环境配置
首先配置方面要支持ndk,所以需要下载cmake和ndk配置,如下:
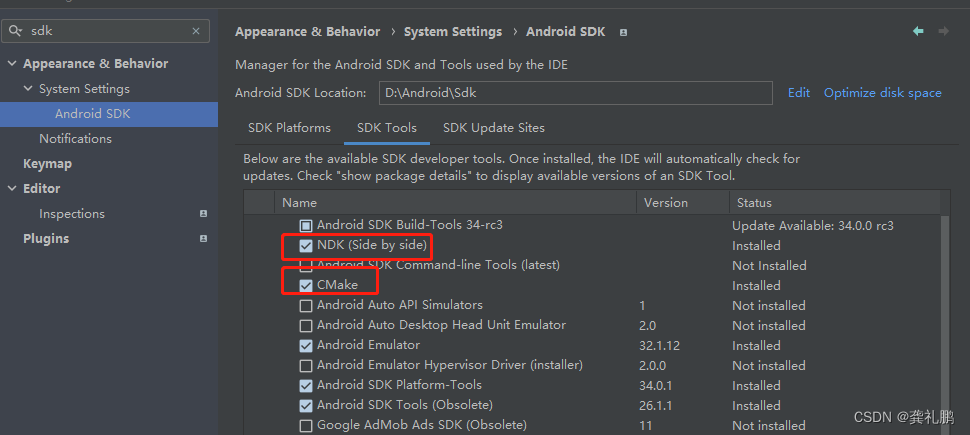
然后下面的集成流程是根据Android Studio Electric Eel | 2022.1.1 Patch 2版本进行的,不同版本可以稍有差异
2.拷贝libyuv源码文件
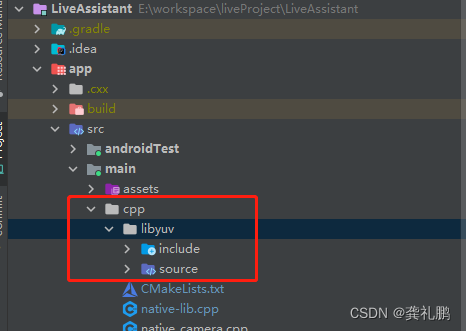
将include的文件和source文件拷贝到项目中,我这边是专门在cpp目录下建了一个libyuv文件夹,然后将include文件夹和source文件夹拷贝进来,如下:
3.配置cmake libyuv相关的链接编译等
首先我的cmake路径和libyuv是在同一目录下,这个老版本android studio和新版本有所差异,注意分辨,和下面的cmake中配置libyuv路径有关,然后我这边是以同一目录下进行配置的,配置文件如下所示:
# For more information about using CMake with Android Studio, read the
# documentation: https://d.android.com/studio/projects/add-native-code.html

# Sets the minimum version of CMake required to build the native library.

cmake_minimum_required(VERSION 3.6.0)

# Declares and names the project.

project("xxx")

# Creates and names a library, sets it as either STATIC
# or SHARED, and provides the relative paths to its source code.
# You can define multiple libraries, and CMake builds them for you.
# Gradle automatically packages shared libraries with your APK.

set(baseCppPath "libyuv")

SET(ly_src_dir ${baseCppPath})
FILE(GLOB_RECURSE ly_source_files ${ly_src_dir}/*.cc)
LIST(SORT ly_source_files)

add_library( # Sets the name of the library.
        liveassistant

        # Sets the library as a shared library.
        SHARED

        # Provides a relative path to your source file(s).
        ${ly_source_files}
        native-lib.cpp)

include_directories(${baseCppPath}/include)

# Searches for a specified prebuilt library and stores the path as a
# variable. Because CMake includes system libraries in the search path by
# default, you only need to specify the name of the public NDK library
# you want to add. CMake verifies that the library exists before
# completing its build.

find_library( # Sets the name of the path variable.
        log-lib

        # Specifies the name of the NDK library that
        # you want CMake to locate.
        log)

# Specifies libraries CMake should link to your target library. You
# can link multiple libraries, such as libraries you define in this
# build script, prebuilt third-party libraries, or system libraries.

target_link_libraries( # Specifies the target library.
        xxx

        # Links the target library to the log library
        # included in the NDK.
        jnigraphics
        ${log-lib})

如果想详细了解上面cmake配置的具体内容可参考:https://gonglipeng.blog.csdn.net/article/details/120026867
三、使用libyuv库
1.libyuv库完成camera的旋转
首先在jni中的cpp文件中添加头文件,如下:
头文件
|
|
然后是cpp文件的具体实现
|
|
上面xxx对应自己的路径名
然后是java层代码实现,先加载so包:
|
|
然后实现java代码,如下:
|
|
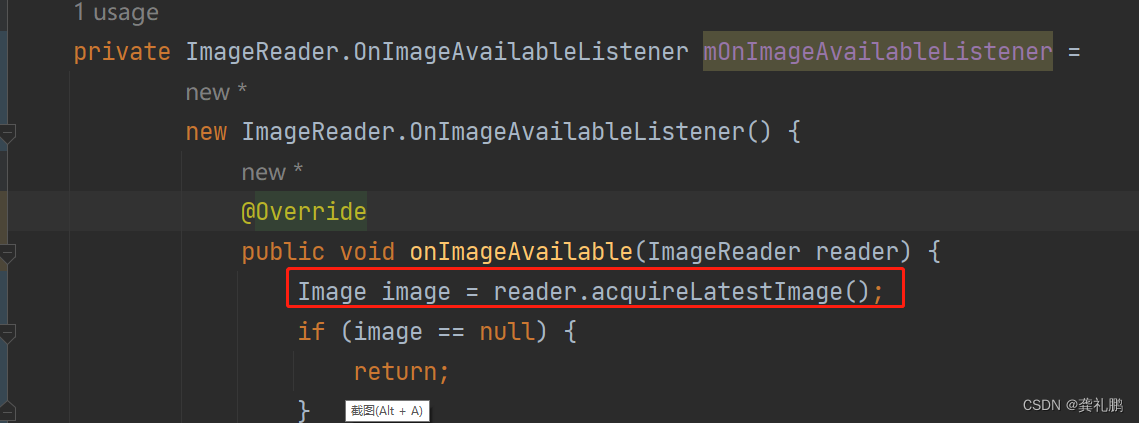
上面两种实现一是直接传入camera2中通过OnImageAvailableListener回调获取的Image,部分代码如下:
另一种方式是传递中间数据YuvFrame,然后写存储数据的YuvFrame类,如下,注意是kotlin方式写的
|
|
2.libyuv库实现翻转
翻转有水平翻转和垂直翻转,垂直翻转可以直接通过旋转实现,水平翻转需要重新调用libyuv库,代码如下所示:
|
|
|
|
3.libyuv库实现缩放
注意宽高必须为偶数,不然会出现花屏,代码如下所示:
|
|
|
|
4.libyuv库实现裁剪
注意宽高和位置必须为偶数,不然会出现花屏,代码如下:
|
|
|
|
上面的裁剪需要传入一个原始数据的数组,得到原始数据的代码如下:
|
|
如上就是使用libyuv的旋转、翻转、缩放、裁剪的核心操作,如果需要将image转换成YuvFrame,可以如下操作,代码:
|
|
|
|

