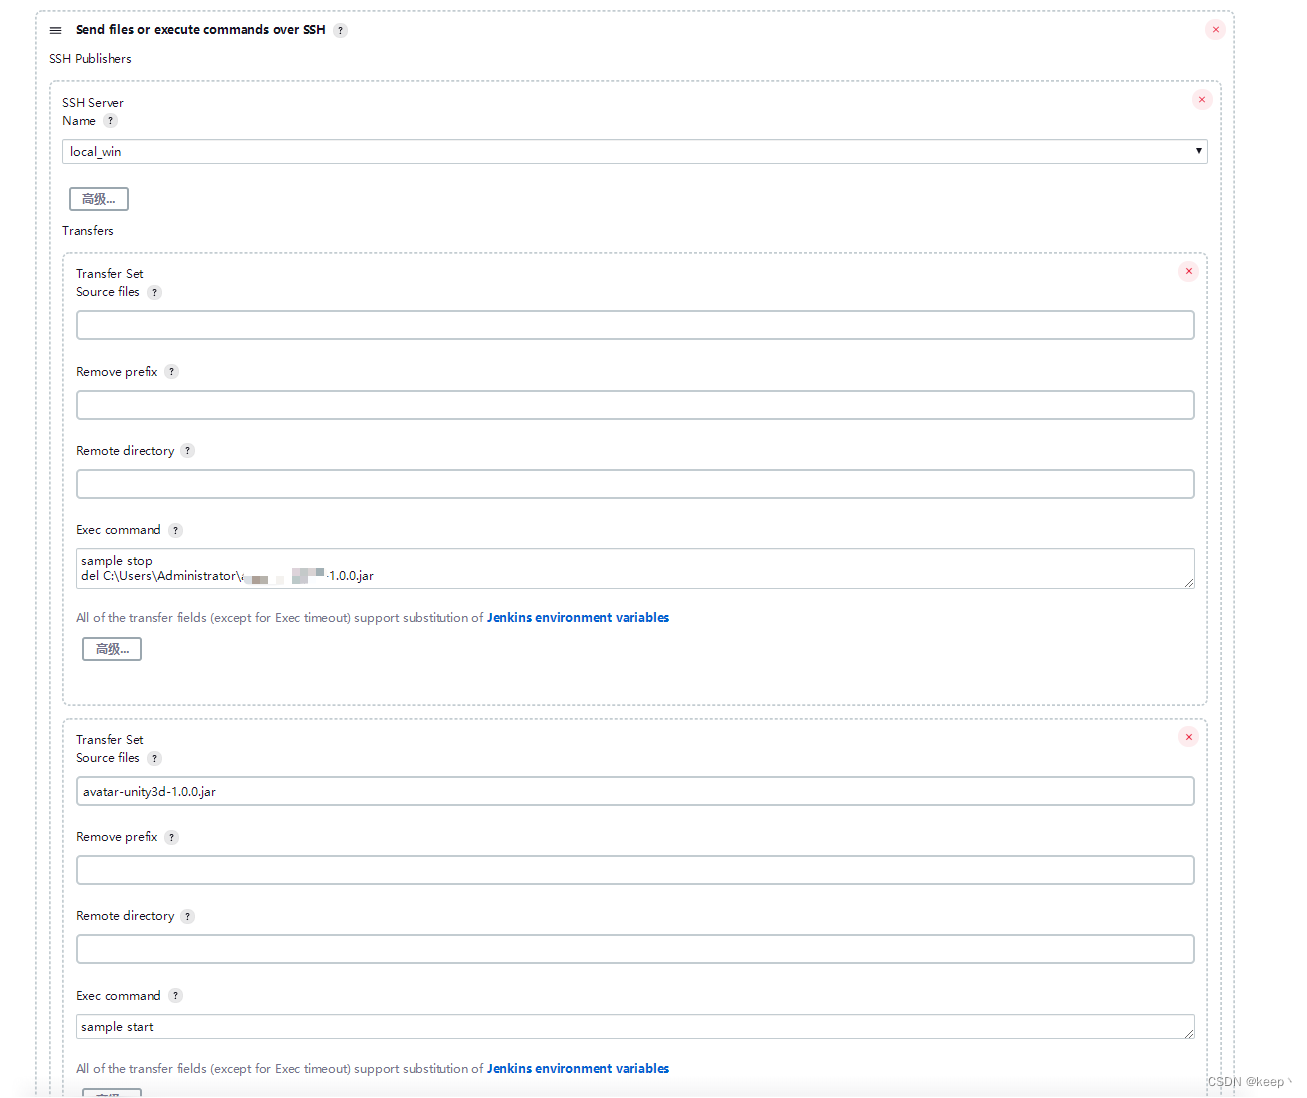
一、创建数据库:

3.创建SSM框架对应的配置文件
springMVC配置文件:1.扫描controller;2.配置视图解析器;3.静态资源不拦截;4.开启注解驱动支持(自动配置映射器和适配器)。
<?xml version="1.0" encoding="UTF-8"?>
<beans xmlns="http://www.springframework.org/schema/beans"
       xmlns:mvc="http://www.springframework.org/schema/mvc"
       xmlns:context="http://www.springframework.org/schema/context"
       xmlns:xsi="http://www.w3.org/2001/XMLSchema-instance"
       xsi:schemaLocation="
        http://www.springframework.org/schema/beans
        http://www.springframework.org/schema/beans/spring-beans.xsd
        http://www.springframework.org/schema/mvc
        http://www.springframework.org/schema/mvc/spring-mvc.xsd
        http://www.springframework.org/schema/context
        http://www.springframework.org/schema/context/spring-context.xsd">

    <!--1.让springMVC框架只管理com.chen.controller-->
    <context:component-scan base-package="com.shi.controller"/>
    <!--2.配置视图解析器-->
    <bean id="viewResolver" class="org.springframework.web.servlet.view.InternalResourceViewResolver">
        <property name="prefix" value="/"/>
        <property name="suffix" value=".jsp"/>
    </bean>
    <!--3.静态资源不拦截-->
   <mvc:resources mapping="/css/**" location="/css/"/>
    <mvc:resources mapping="/js/**" location="/js/"/>
    <mvc:resources mapping="/img/**" location="/img/"/>
    <!--4.开启注解驱动:默认会加载试图映射器和视图适配器-->
    <mvc:annotation-driven/>

</beans><?xml version="1.0" encoding="UTF-8"?>
<beans xmlns="http://www.springframework.org/schema/beans"
xmlns:xsi="http://www.w3.org/2001/XMLSchema-instance"
xmlns:context="http://www.springframework.org/schema/context"
xmlns:aop="http://www.springframework.org/schema/aop"
xsi:schemaLocation="
http://www.springframework.org/schema/beans
http://www.springframework.org/schema/beans/spring-beans.xsd
http://www.springframework.org/schema/context
http://www.springframework.org/schema/context/spring-context.xsd
http://www.springframework.org/schema/aop
http://www.springframework.org/schema/aop/spring-aop.xsd">
<!--1.让spring框架管理的com.shi包中所有的对象,但是排除使用了Controller注解的类-->
<context:component-scan base-package="com.shi">
<context:exclude-filter type="annotation" expression="org.springframework.stereotype.Controller"/>
</context:component-scan>
<!--2.让spring框架的jdbc管理数据库的连接-->
<bean id="dataSource" class="org.springframework.jdbc.datasource.DriverManagerDataSource">
<property name="driverClassName" value="com.mysql.cj.jdbc.Driver"/>
<property name="url" value="jdbc:mysql://localhost:3306/mydb"/>
<property name="username" value="root"/>
<property name="password" value="root"/>
</bean>
<!--3.配置SqlSessionFactoryBean,把SqlSessionFactory对象交给IOC管理,他会自动创建
sqlSession对象,会根据mapper接口再创建代理对象-->
<bean id="factoryBean" class="org.mybatis.spring.SqlSessionFactoryBean">
<property name="dataSource" ref="dataSource"/>
<property name="configLocation" value="classpath:mybatis.xml"/>
</bean>
<!--4.配置扫描器,扫描mapper文件,让mybatis知道要创建什么接口的实现类-->
<bean id="scannerConfigurer" class="org.mybatis.spring.mapper.MapperScannerConfigurer">
<property name="basePackage" value="com.shi.dao"/>
</bean>
</beans>
mybatis的配置文件:自作自身的一些配置,当前阶段为空即可;

4.配置web项目的核心配置文件web.xml
1. 配置监听器,检测servlet容器创建的时候加载 spring.xml 配置文件;
2. 配置核心控制器DispatcherServlet,创建的时候加载 springmvc.xml 配置文件;
<?xml version="1.0" encoding="UTF-8"?>
<web-app xmlns="http://xmlns.jcp.org/xml/ns/javaee"
         xmlns:xsi="http://www.w3.org/2001/XMLSchema-instance"
         xsi:schemaLocation="http://xmlns.jcp.org/xml/ns/javaee http://xmlns.jcp.org/xml/ns/javaee/web-app_4_0.xsd"
         version="4.0">

    <!--1.配置监听器,检测servlet容器创建的时候加载 spring.xml-->
    <listener>
        <listener-class>org.springframework.web.context.ContextLoaderListener</listener-class>
    </listener>
    <context-param>
        <param-name>contextConfigLocation</param-name>
        <param-value>classpath:spring.xml</param-value>
    </context-param>

    <!--2.配置核心控制器DispatcherServlet,创建的时候加载 springmvc.xml-->
    <servlet>
        <servlet-name>dispatcherServlet</servlet-name>
        <servlet-class>org.springframework.web.servlet.DispatcherServlet</servlet-class>
        <init-param>
            <param-name>contextConfigLocation</param-name>
            <param-value>classpath:springmvc.xml</param-value>
        </init-param>
        <load-on-startup>1</load-on-startup>
    </servlet>
    <servlet-mapping>
        <servlet-name>dispatcherServlet</servlet-name>
        <url-pattern>/</url-pattern>
    </servlet-mapping>

    <!--3.配置字符集过滤器,设置中文编码-->
    <filter>
        <filter-name>encodingFilter</filter-name>
        <filter-class>org.springframework.web.filter.CharacterEncodingFilter</filter-class>
        <init-param>
            <param-name>encoding</param-name>
            <param-value>utf-8</param-value>
        </init-param>
    </filter>
    <filter-mapping>
        <filter-name>encodingFilter</filter-name>
        <url-pattern>/*</url-pattern>
    </filter-mapping>
</web-app>
5.项目的实现
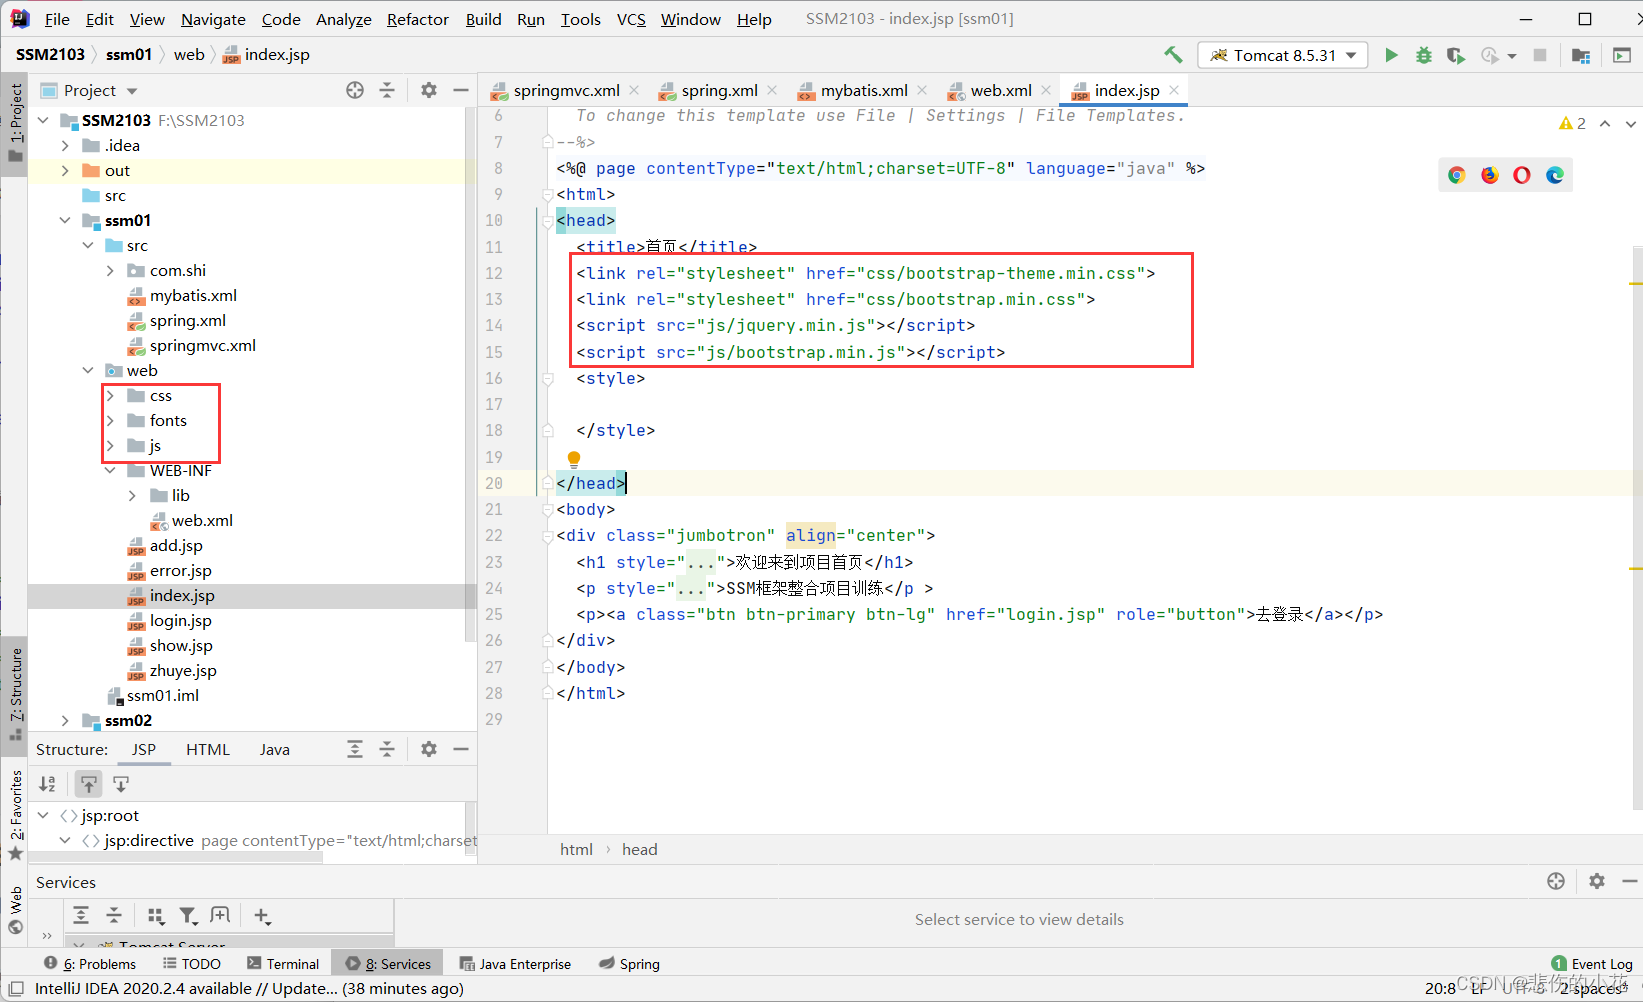
bootstrap可以进行页面美化
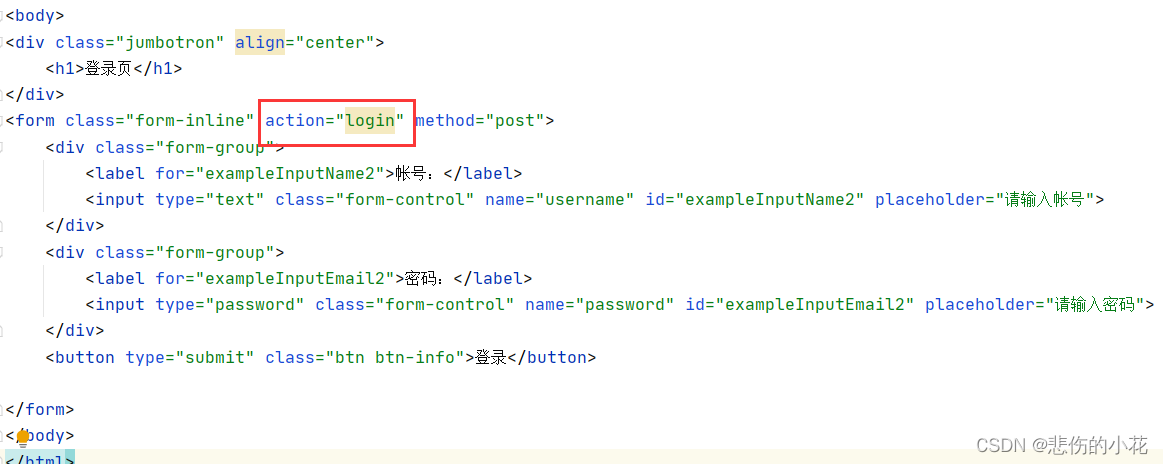
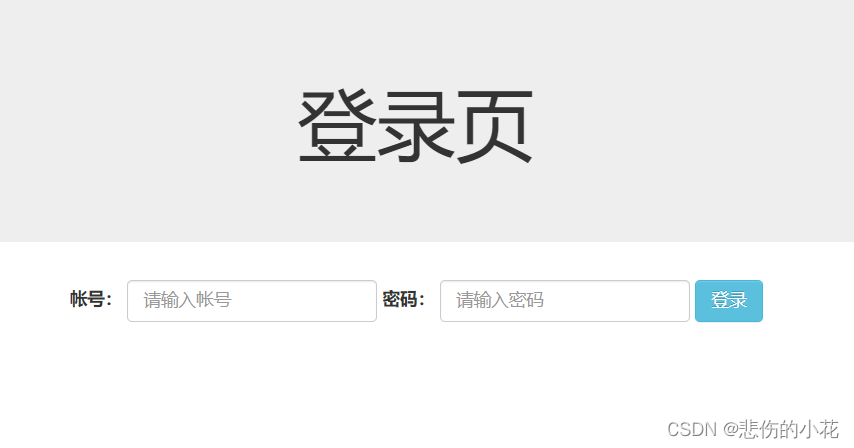
5.1.2 创建用户操作的控制器,完成登录的请求处理
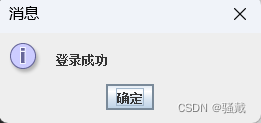
请求发生后,自动进行数据绑定,拿到用户提交的用户名和密码执行数据的查询,获得数据中该用户的信息;如果信息为空说明登录失败;否则表示登录成功;然后请求查询所有的商品信息;
控制层代码:

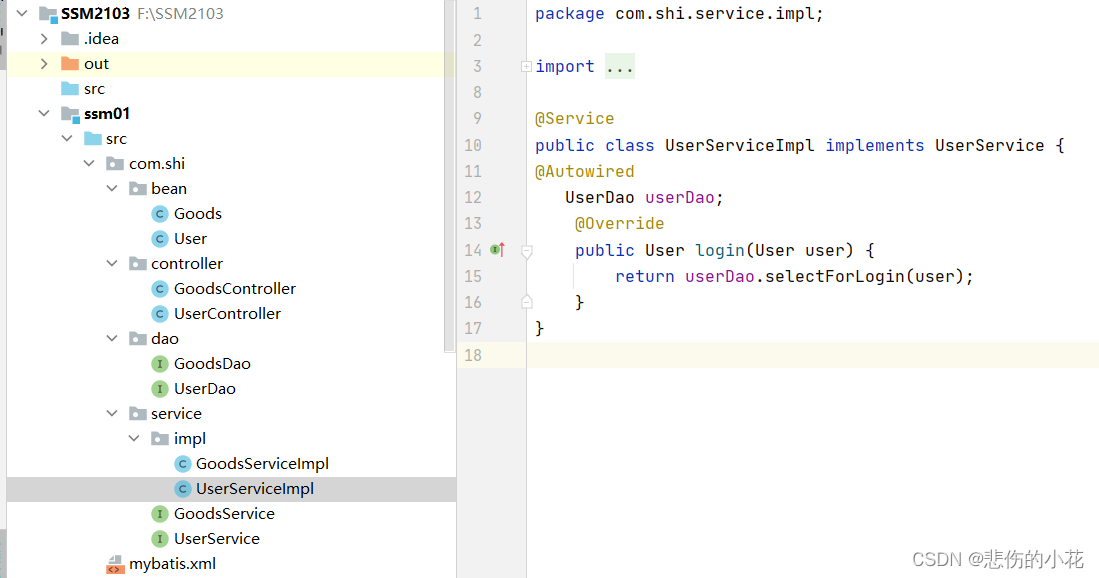
业务层代码:
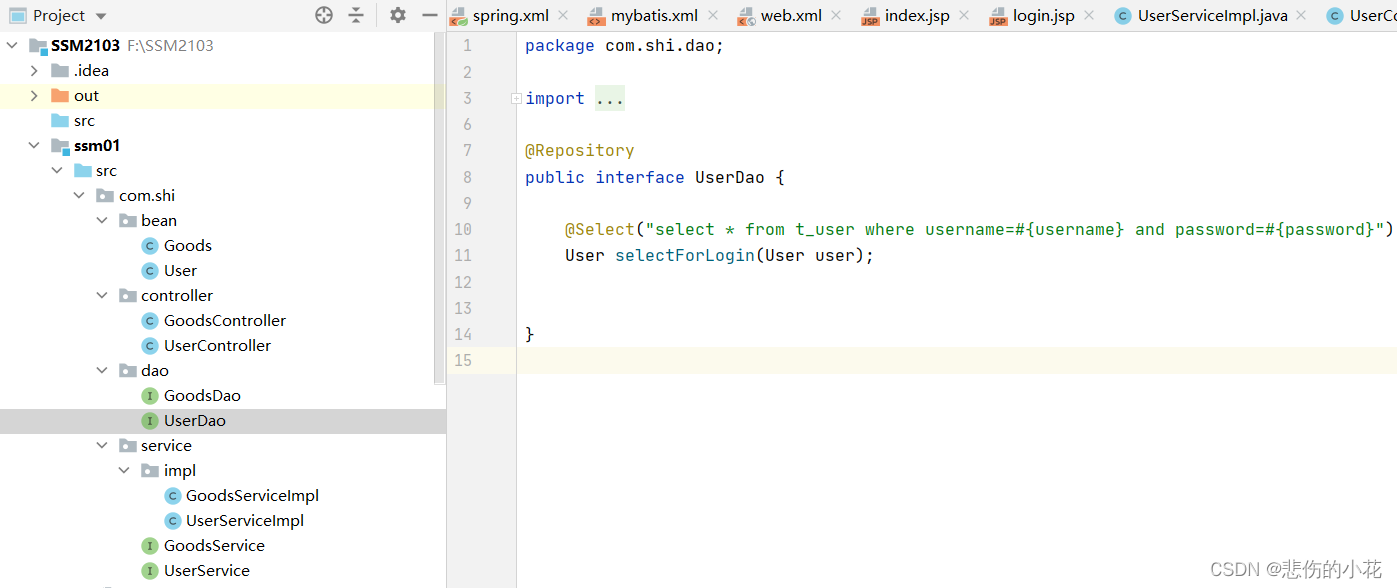
数据持久层代码:
若登录失败则跳转到error.jsp


若登录成功则

业务层代码:

持久层代码:

5.1.4 在主页进行数据的展示
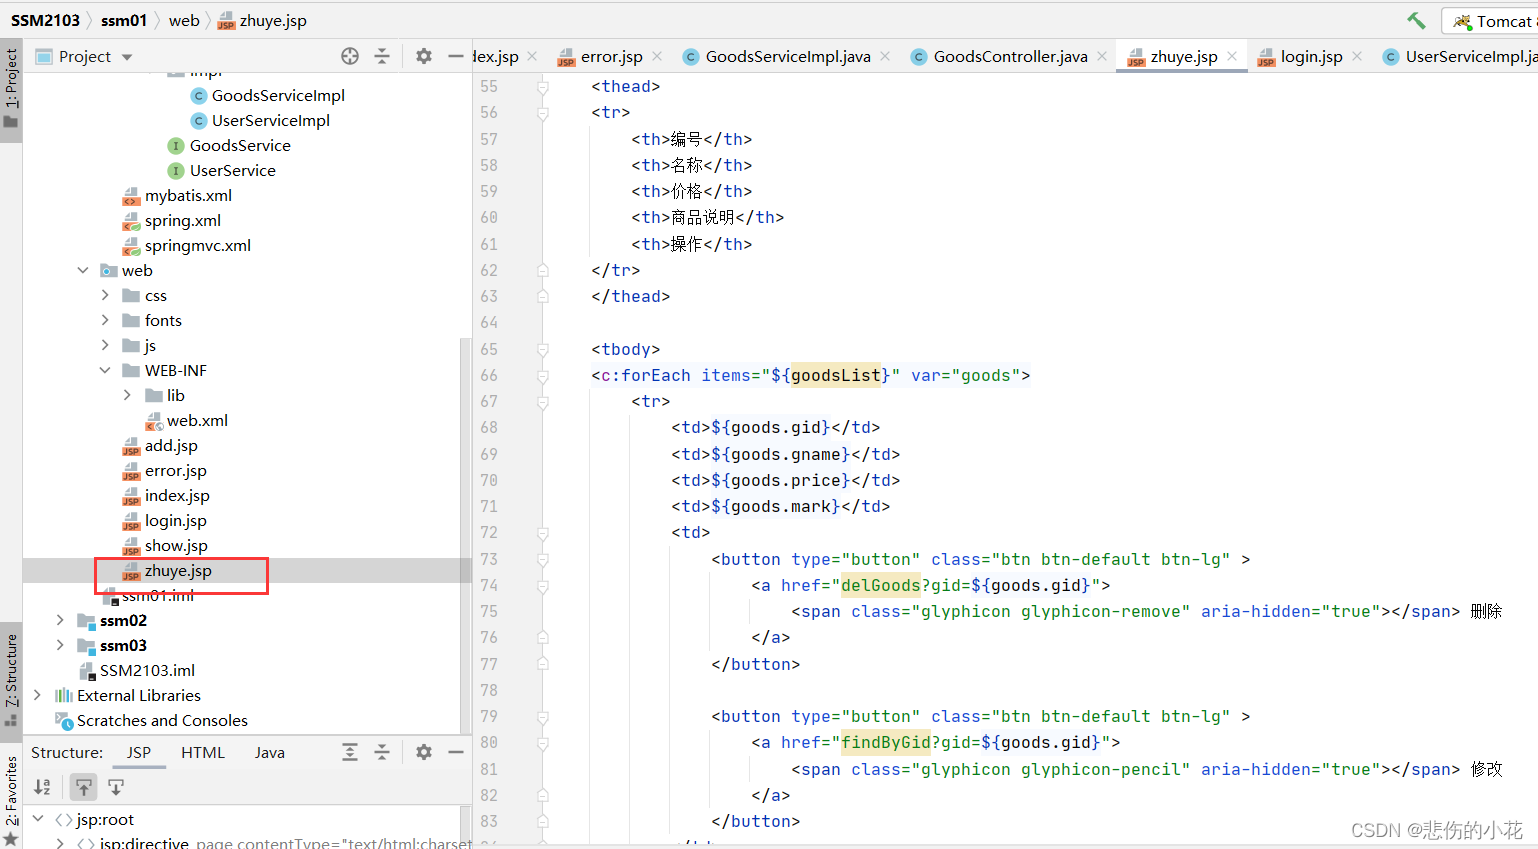
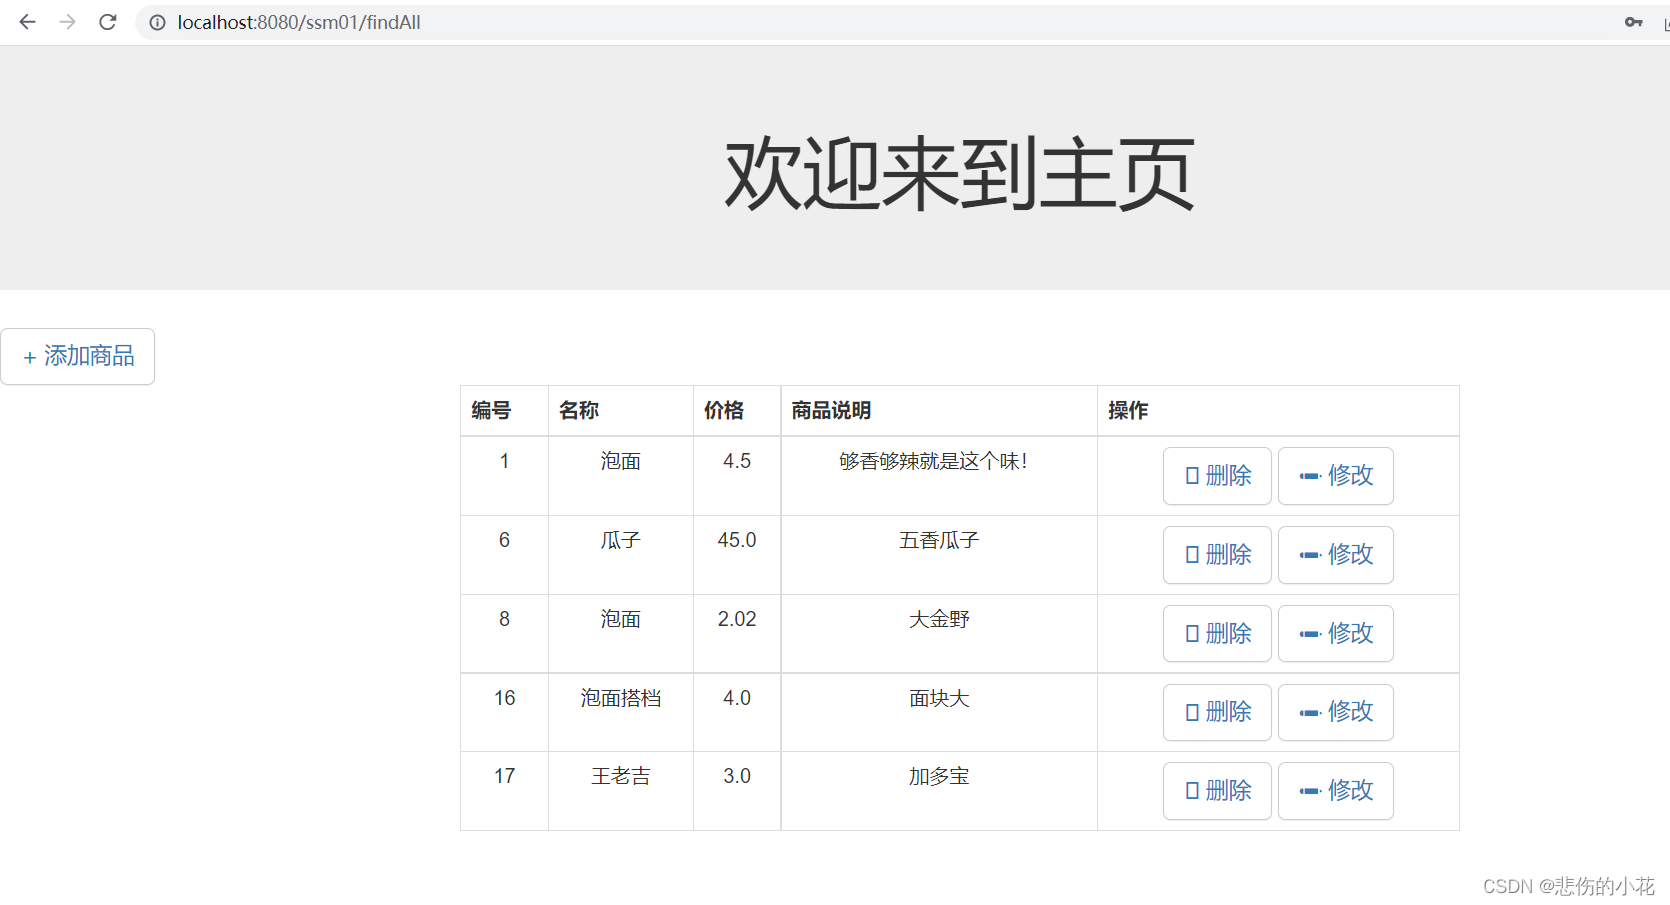
5.2添加功能
5.2.1 点击主页的添加商品超链接,跳转到商品信息添加页面,代码如下:
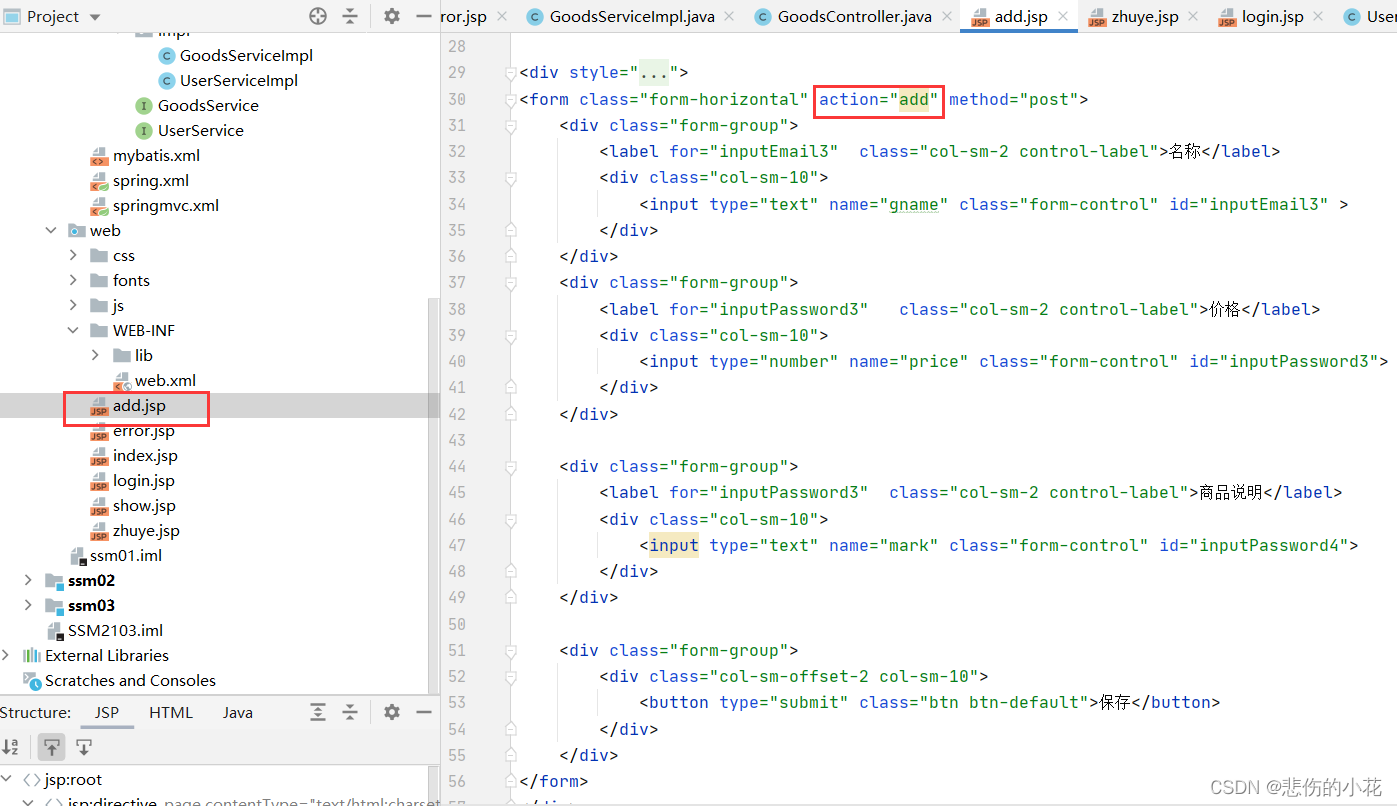

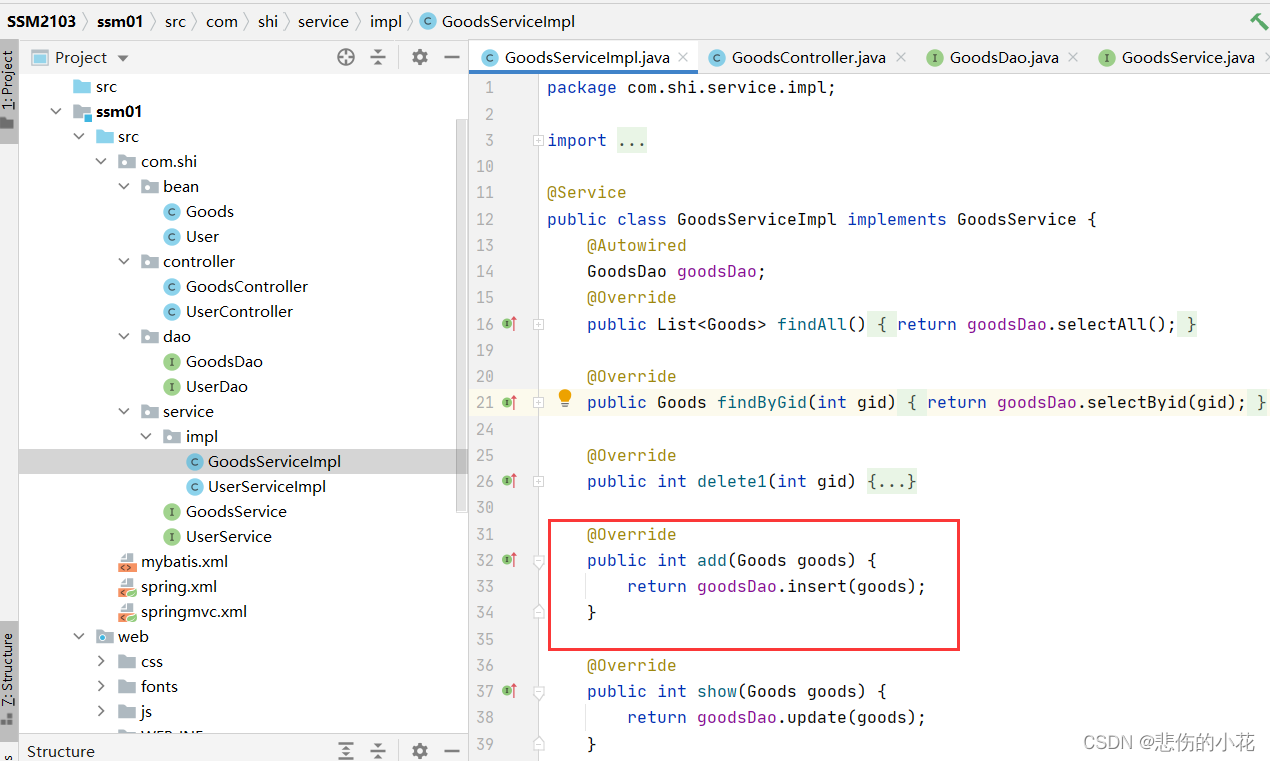
5.2.2 当点击保存的时候请求add,且传递表单录入的数据,控制器对应的请求处理方法获得商品信息执行数据库的添加操作

业务层代码:
数据持久层代码:

检查数据库是否新增成功
5.3 删除功能

5.3.2 在控制器对应的方法中执行请求处理,并根据获取到的商品编号执行数据库的删除操作
控制层代码

业务层代码:

数据持久层代码:

检查数据库是否删除成功

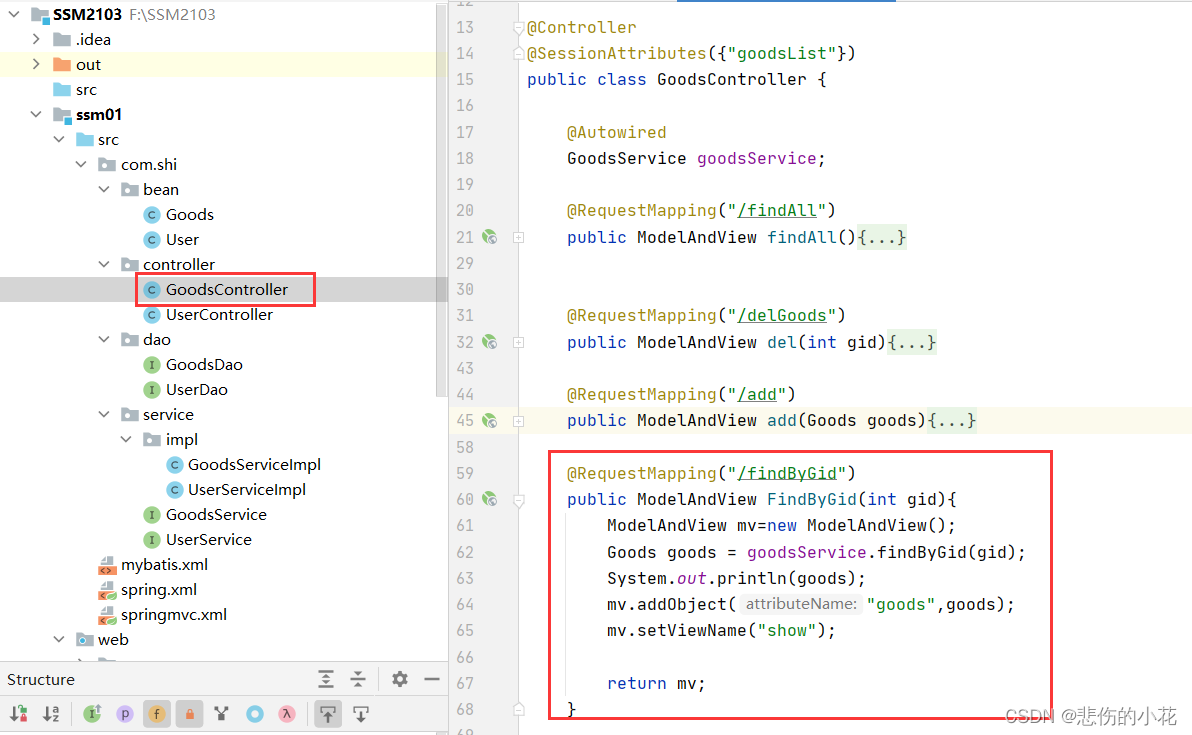
5.4.2 在控制器对应的方法中执行请求处理,并根据获取到的商品编号执行数据库的查询操作
控制层代码
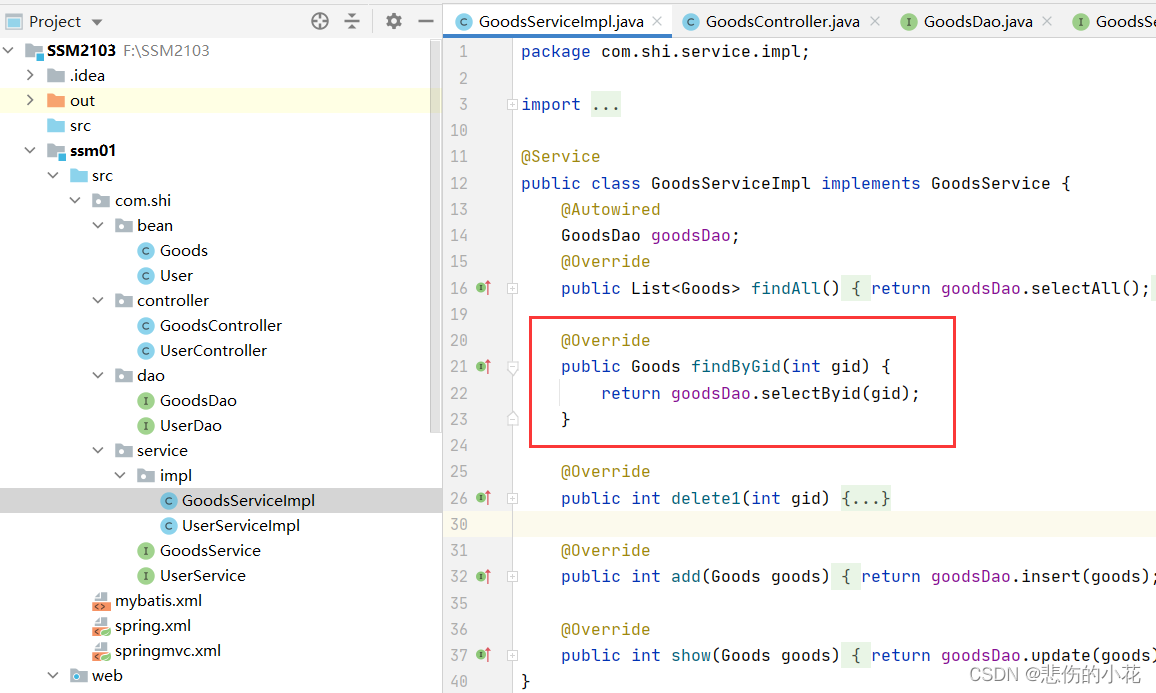
数据库持久层代码

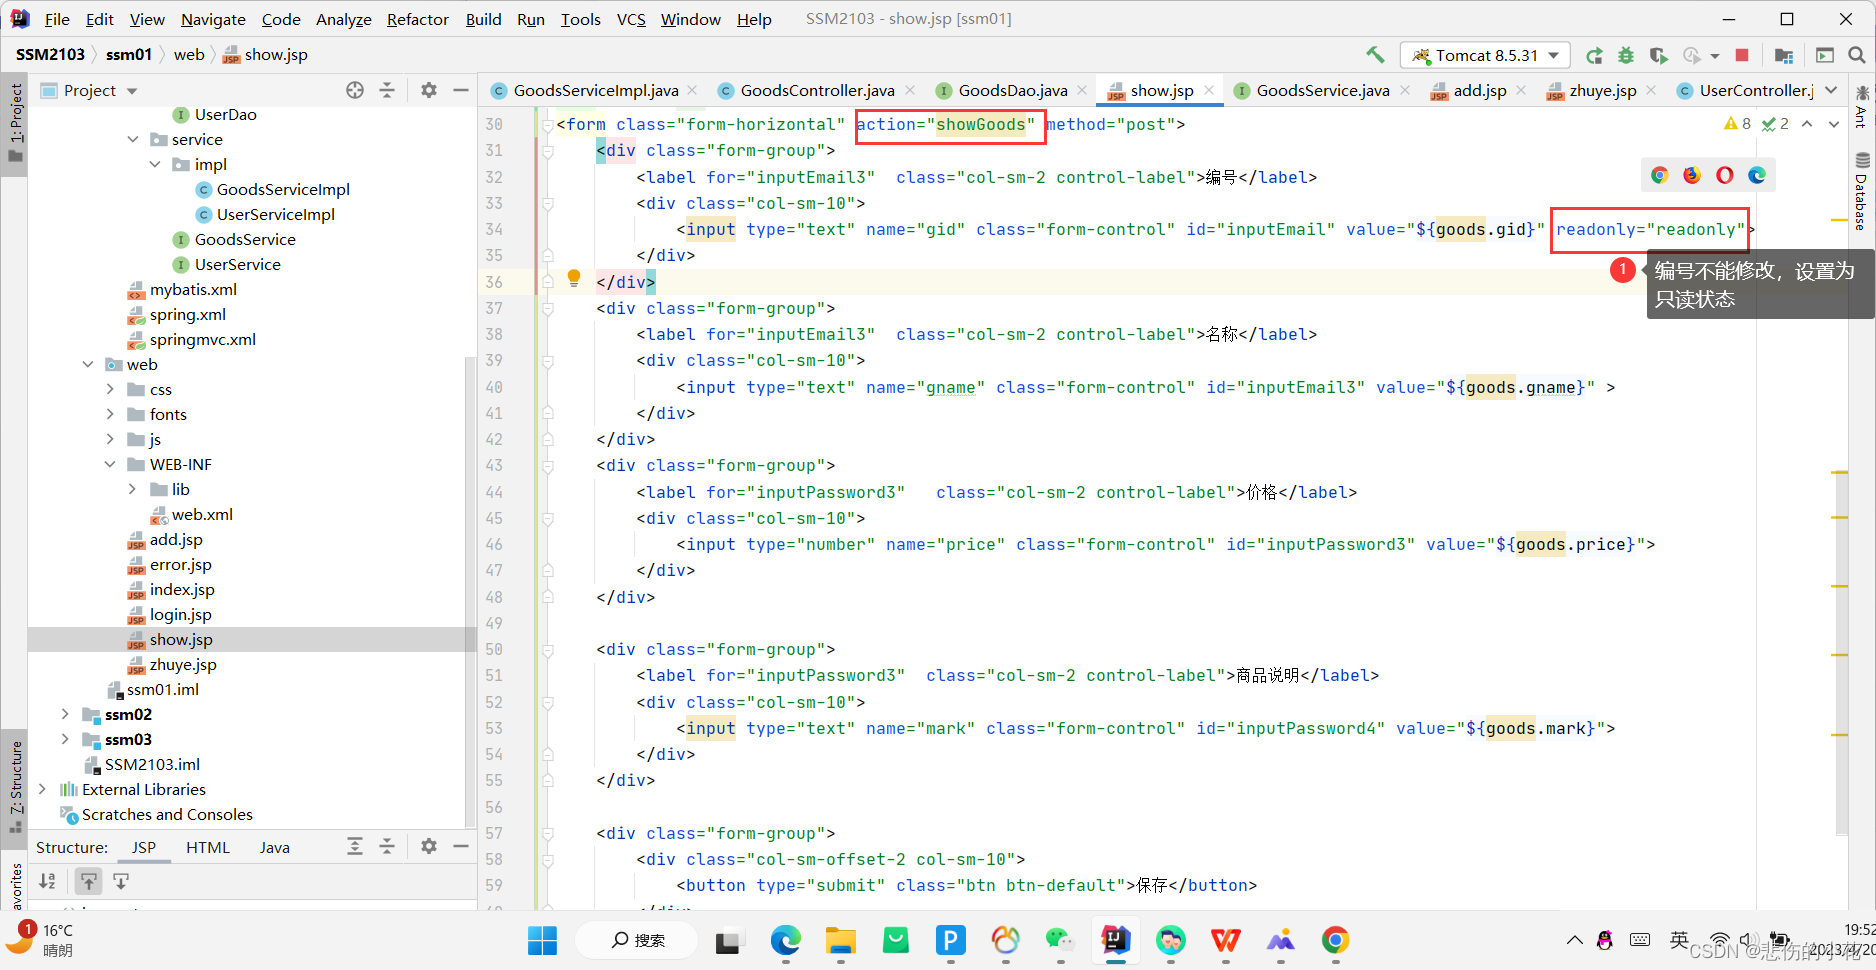
5.4.3 在数据展示页面showGoods.jsp页面中使用EL表达式把数据显示在表单元素中
由于修改时需要根据id进行修改,所以在数据展示页面的表单中需要显式id且设置为只读状态

5.4.4 当点击修改按钮时执行数据更新操作
控制层代码

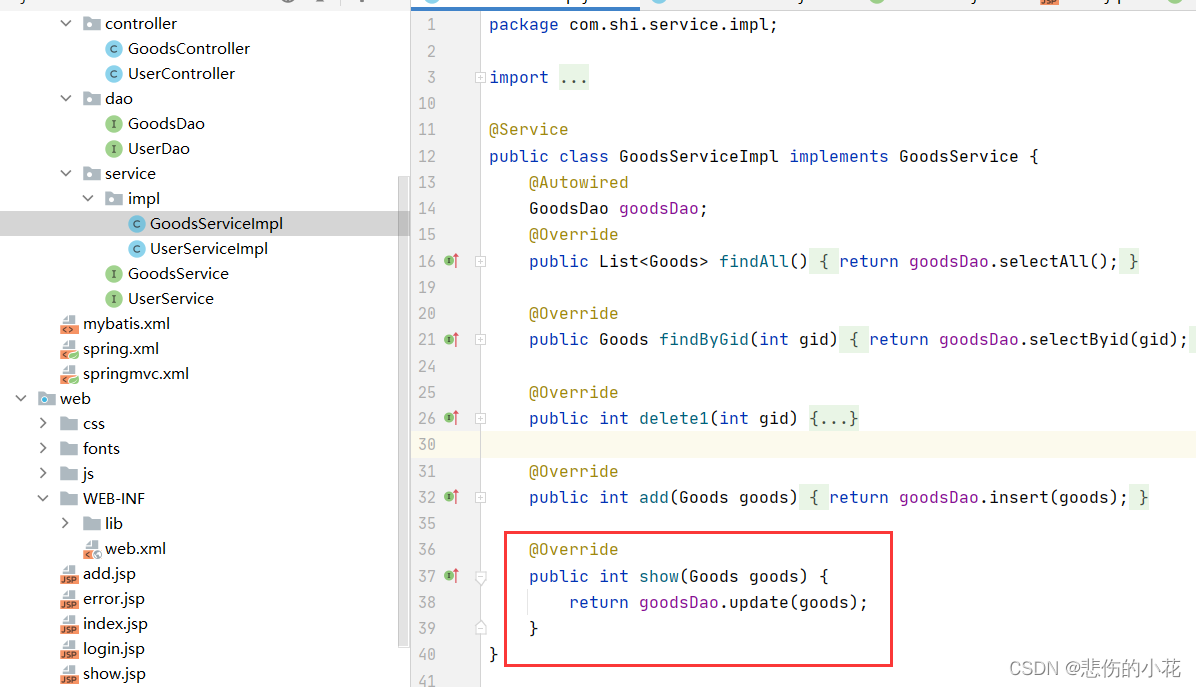
业务层代码:
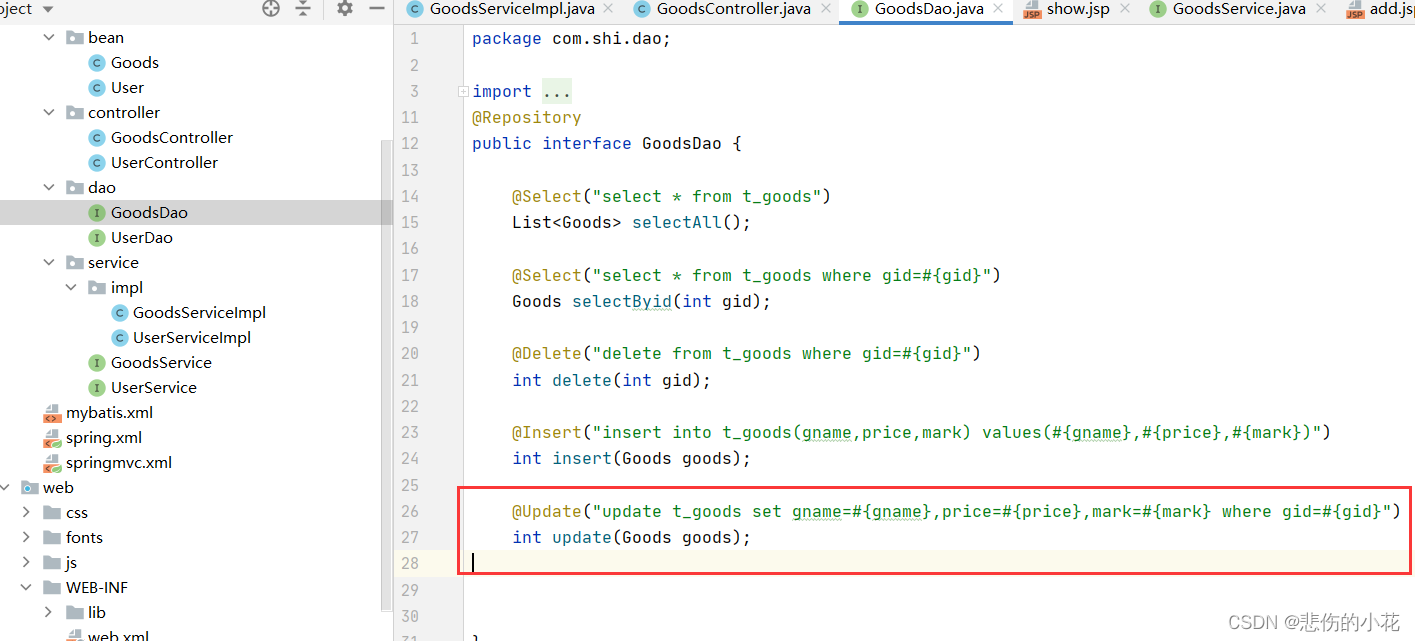
数据库持久层代码:
检查数据库是否修改成功。


![[python][学习]turtle.circle()函数](https://img-blog.csdnimg.cn/img_convert/2d35173b367d43ad86c5dbf40ca91167.png)
